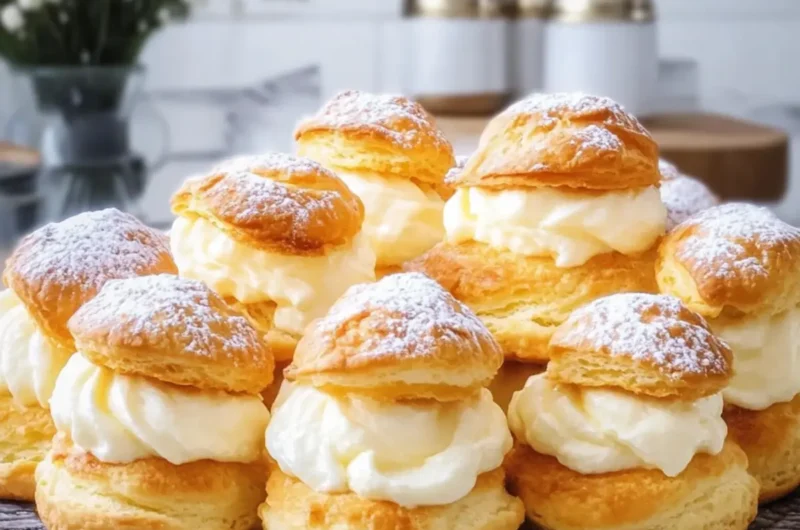
When the sweet scent of vanilla wafts through my kitchen, I can’t help but smile. There’s something about it that sparks joy—just like the first bite of a freshly made homemade vanilla cream puff. These delightful treats, with their airy choux pastry shells and silky cream filling, transform any ordinary day into a celebration. I stumbled upon the magic of cream puffs during a rainy afternoon when I was craving something light yet indulgent. Since that moment, they’ve become my go-to dessert for everything from casual family dinners to elegant gatherings.
What I love most about these homemade vanilla cream puffs is their versatility. They’re surprisingly easy to make, and their delicate nature makes them perfect for impressing guests without the stress of complicated baking techniques. Whether you dust them with powdered sugar for a touch of elegance or serve them as is, they always manage to steal the show. Ready to dive into this delicious journey? Let’s make some magic happen in your own kitchen!
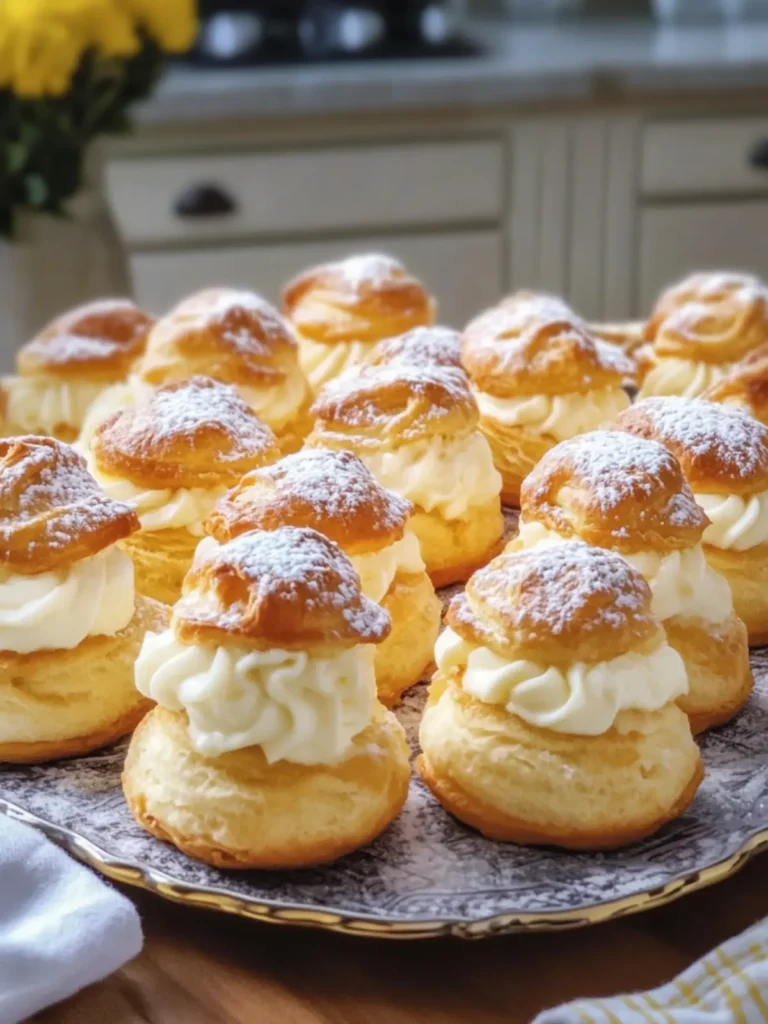
Why will you love Homemade Vanilla Cream Puffs?
Delightful Elegance: These airy pastries are perfect for any occasion, bringing a touch of sophistication to your dessert table.
Effortless Pleasure: With minimal ingredients and straightforward steps, you’ll whip up a batch with ease.
Luscious Filling: The silky vanilla cream adds a blissful richness that complements the crisp choux perfectly.
Versatile Treat: Customize them with various toppings or fillings; the possibilities are endless!
Crowd-Pleasing Delight: Everyone loves these charming puffs, making them a surefire hit at gatherings.
Embrace the joy of homemade desserts with this recipe and surprise your loved ones with something special!
Homemade Vanilla Cream Puff Ingredients
• Here’s everything you need to create your own delightful pastries!
For the Choux Pastry
- Water – ½ cup (120 ml) is essential for creating steam, helping the puffs rise beautifully.
- Whole Milk – ½ cup (120 ml) brings creaminess and flavor to the dough.
- Unsalted Butter – ½ cup (115 g) adds richness; be sure to use unsalted for better control over saltiness.
- Granulated Sugar – 1 tablespoon enhances the flavor of the dough itself.
- Salt – ¼ teaspoon balances the sweetness, making the puffs more delicious.
- All-purpose Flour – 1 cup (125 g) is the backbone of the dough, creating that wonderful texture.
- Large Eggs – 4 at room temperature ensure a smooth, glossy batter that puffs up perfectly.
For the Vanilla Cream Filling
- Whole Milk – 2 cups (480 ml) creates a luscious base for the custard filling.
- Granulated Sugar – ½ cup (100 g) sweetens the cream to perfection.
- Large Egg Yolks – 4 contribute to a rich and creamy texture in the filling.
- Cornstarch – ¼ cup (30 g) is a thickening agent that gives the cream its desired consistency.
- Unsalted Butter – 2 tablespoons adds a silky finish to the filling.
- Vanilla Extract – 2 teaspoons infuse the cream with that delightful vanilla flavor essential for homemade vanilla cream puffs.
- Salt – ¼ teaspoon rounds out the flavors in the filling.
Optional Topping
- Powdered Sugar – 2 tablespoons for a sweet dusting that adds elegance to your dessert presentation.
How to Make Homemade Vanilla Cream Puffs
-
Preheat your oven to 400°F (200°C) and line two baking sheets with parchment paper. This prepares your kitchen for baking these delightful puffs to perfection!
-
Combine water, milk, butter, sugar, and salt in a saucepan and bring to a gentle boil over medium heat. Stir occasionally until the butter has melted and the mixture is bubbling gently.
-
Remove from heat and add all the flour at once. Stir vigorously until a smooth dough forms that pulls away from the pan’s sides. This is when the magic of choux pastry begins!
-
Return to low heat and stir for 1–2 minutes until a thin film forms on the bottom of the saucepan. This helps ensure your dough is dry enough for perfect puffs. Transfer to a mixing bowl and cool for 5 minutes.
-
Beat in the eggs one at a time, mixing thoroughly after each addition. The dough should be smooth, glossy, and thick enough to fall slowly from a spatula—this makes for airy cream puffs!
-
Pipe or spoon 1½-inch mounds onto the prepared baking sheets, leaving 2 inches between each puff. Smooth any pointed tops with a damp finger to ensure even baking.
-
Bake at 400°F (200°C) for 15 minutes. Without opening the oven, reduce the temperature to 350°F (175°C) and bake for another 20–25 minutes until the puffs are deeply golden and firm to the touch.
-
Turn off the oven, pierce each puff once near the bottom to release steam, and leave them inside with the door slightly open for 5–10 minutes to cool completely. This prevents sogginess and keeps them fluffy!
-
Heat milk in a saucepan until steaming. In a separate bowl, whisk together egg yolks, sugar, cornstarch, and salt until smooth. This forms the base for your luscious vanilla cream.
-
Slowly whisk the warm milk into the egg mixture. Return everything to the saucepan and cook over medium heat, whisking constantly until thick and bubbling—this is the custard magic!
-
Remove from heat, stir in butter and vanilla, and transfer to a bowl. Cover the surface with plastic wrap to prevent a skin from forming and refrigerate until completely cold.
-
Slice each cooled shell horizontally or make a small opening underneath. Pipe generous amounts of the chilled vanilla cream into each puff—get ready to indulge!
-
Arrange on a serving platter and dust lightly with powdered sugar if desired. This little touch adds a delightful finishing flourish!
Optional: Serve with fresh berries for an extra burst of flavor.
Exact quantities are listed in the recipe card below.
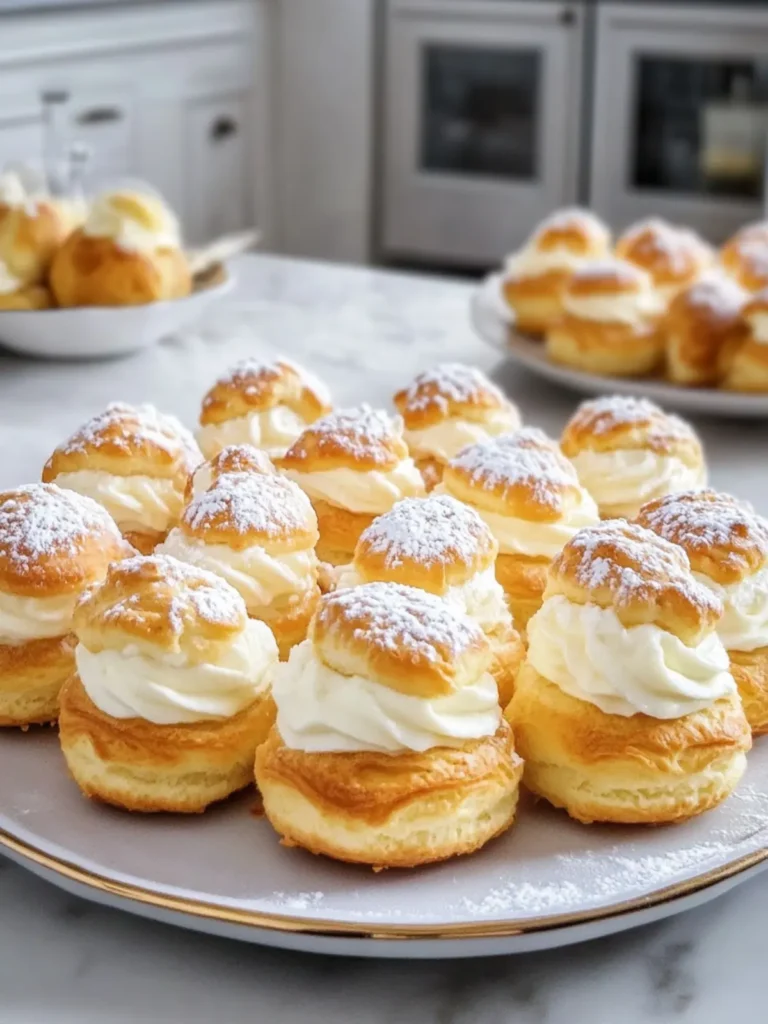
Make Ahead Options
These homemade vanilla cream puffs are perfect for meal prep enthusiasts! You can prepare the choux pastry dough up to 24 hours in advance. Simply make the dough, transfer it to an airtight container, and refrigerate. For the vanilla cream filling, it can also be made ahead and stored in the fridge for up to 3 days. To maintain quality, cover the surface of the cream with plastic wrap to prevent a skin from forming. When you’re ready to serve, fill the cooled choux shells with the chilled vanilla cream, and dust with powdered sugar right before presenting them to your guests. Enjoy effortless baking while still delivering delicious, impressive treats!
Vanilla Cream Puff Variations
Feel free to let your creativity soar and customize these delightful treats to your heart’s content!
-
Chocolate Drizzle: Drizzle melted dark or white chocolate over the top for an extra touch of sweetness. It’s a simple yet glamorous addition.
-
Fruit-Filled: Swap out the vanilla cream for fresh whipped cream mixed with seasonal fruits. Think strawberries or raspberries for a burst of freshness!
-
Nutty Crunch: Stir in finely chopped nuts like pistachios or almonds into the cream for delightful texture and a nutty twist. The added crunch elevates every bite.
-
Spiced Delight: Add a pinch of cinnamon or nutmeg to your vanilla cream for a warm, cozy flavor. It’s perfect for fall and winter gatherings.
-
Lemon Zest: Brighten your cream with a teaspoon of lemon zest. It enhances the vanilla’s flavors and brings a refreshing zing to the puffs.
-
Coconut Cream: Substitute half of the milk with coconut milk in the filling for a tropical flavor that transports you to paradise!
-
Savory Puffs: Replace the sweet filling with a savory mixture of cream cheese, herbs, and cooked vegetables for an unexpected appetizer. These are perfect for cocktail parties!
-
Spicy Kick: Incorporate a dash of cayenne pepper into the cream for a surprising heat that beautifully offsets the sweetness. It’s an adventurous twist for the daring!
Tips for the Best Homemade Vanilla Cream Puffs
Perfect Dough: Use room temperature eggs to ensure a smooth choux pastry, which will help your homemade vanilla cream puffs rise beautifully.
Don’t Peek: Avoid opening the oven door while baking; this can let out steam and cause your puffs to collapse.
Steam Release: Remember to pierce each puff after baking to release steam. This keeps them light and airy instead of soggy.
Chilling Time: Allow the vanilla cream filling to cool completely before piping it into the puffs; this ensures the filling holds its shape perfectly.
Dusting Technique: Sift powdered sugar lightly over the puffs just before serving to maintain a clean, elegant presentation and avoid clumping.
What to Serve with Homemade Vanilla Cream Puffs?
Elevate your dessert experience by pairing these light and delightful pastries with the perfect accompaniments, ensuring a sweet moment to remember.
-
Fresh Berries: The tartness of strawberries, raspberries, or blueberries contrasts beautifully with the creamy filling, adding a burst of freshness to your treat.
-
Chocolate Sauce: A rich drizzle of warm chocolate sauce creates an indulgent pairing, providing a decadent flavor that complements the airy pastry.
-
Coffee or Espresso: The robust richness of coffee balances the sweetness of the cream puffs, making each bite even more enjoyable with a soothing sip.
-
Whipped Cream: Light and fluffy whipped cream enhances the creaminess of the filling while adding an extra layer of decadence to each bite.
-
Lemon Curd: For a zesty twist, serve with a small dollop of tangy lemon curd. Its bright flavors lift the creaminess and offer a delightful contrast.
-
Vanilla Ice Cream: The creamy texture of vanilla ice cream pairs perfectly, creating a delightful treat reminiscent of classic desserts and ensuring satisfaction in every bite.
Explore these combination ideas to turn your homemade vanilla cream puffs into a truly memorable dessert experience!
How to Store and Freeze Homemade Vanilla Cream Puffs
Room Temperature: Enjoy your cream puffs fresh for the best texture, ideally within 1 day of making them.
Fridge: Store the filled cream puffs in an airtight container in the refrigerator for up to 2 days. The pastry may soften over time, but the flavor stays delightful.
Freezer: Place unfilled cream puffs in a single layer on a baking sheet to freeze. Once solid, transfer to a resealable bag and keep for up to 1 month.
Reheating: To refresh frozen cream puffs, simply bake them at 350°F (175°C) for about 10 minutes until warmed through. Fill with freshly made vanilla cream before serving for the best results!
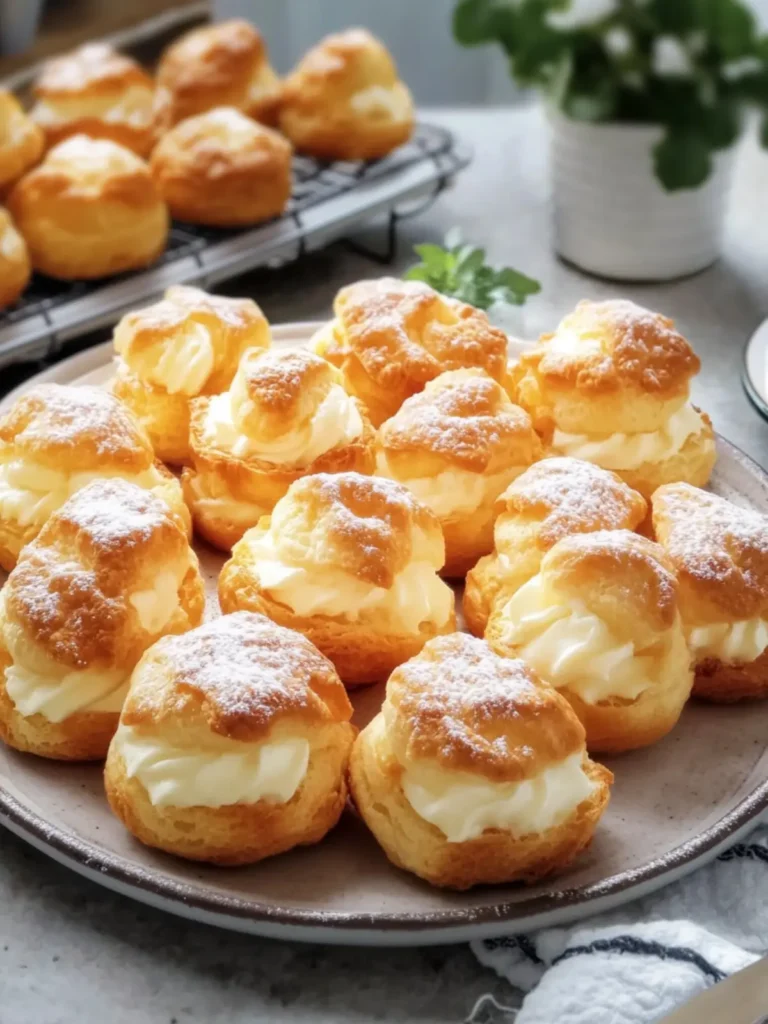
Homemade Vanilla Cream Puffs Recipe FAQs
How should I choose the ripeness of the ingredients?
For the choux pastry, ideally, use fresh eggs at room temperature; this helps achieve a smoother dough. For the cream filling, ensure your milk is fresh and full-fat for the best flavor and texture.
How should I store my homemade vanilla cream puffs?
Store filled cream puffs in an airtight container in the refrigerator for up to 2 days. While the pastry may gradually soften, the flavors will remain delicious. For optimal taste and crispness, it’s best to consume them fresh!
Can I freeze homemade vanilla cream puffs?
Absolutely! To freeze unfilled cream puffs, place them on a baking sheet in a single layer, freeze until solid, and then transfer them to a resealable bag. They’ll keep well for up to 1 month. When you’re ready to enjoy, bake them at 350°F (175°C) for about 10 minutes to refresh, then fill with freshly made cream.
What should I do if my choux pastry doesn’t rise?
If your cream puffs don’t rise, check that you didn’t open the oven door while baking—it lets steam escape, which is crucial for rising. Also, make sure your dough was mixed well and had the right amount of flour versus eggs. Lastly, ensure you’re using the correct temperature settings; a hot oven is vital for those perfect puffs!
Are homemade vanilla cream puffs suitable for people with allergies?
These delightful pastries contain gluten and dairy, so they may not be suitable for those with gluten intolerance or lactose sensitivity. For a gluten-free option, you can try a gluten-free flour blend, but be sure to check the specific blend’s properties for the best results. As with any recipe, always consult with friends or family about their allergies before serving!
How long will my vanilla cream filling last?
The vanilla cream filling can be stored in the refrigerator, covered tightly with plastic wrap, for up to 3 days. Just give it a good stir before using, and if it’s too firm, let it sit at room temperature for a little while to soften.
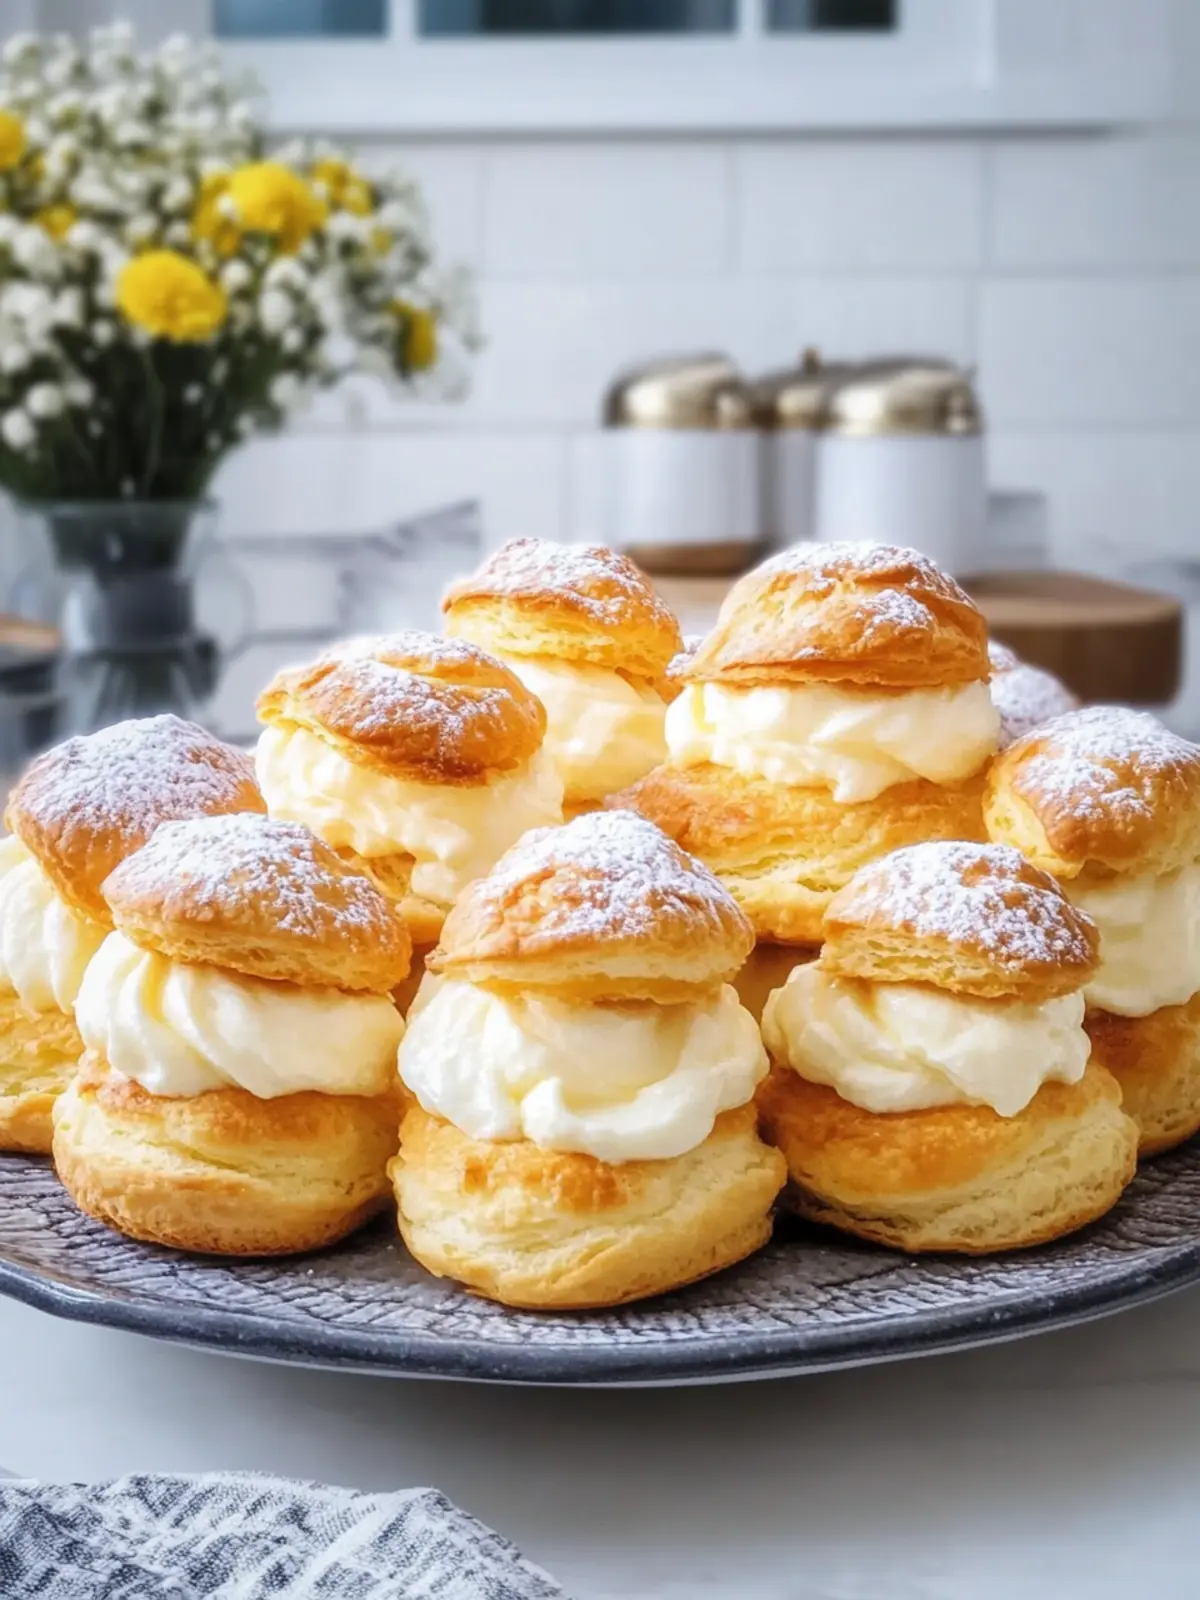
Delicious Homemade Vanilla Cream Puffs for Sweet Moments
Ingredients
Equipment
Method
- Preheat your oven to 400°F (200°C) and line two baking sheets with parchment paper.
- Combine water, milk, butter, sugar, and salt in a saucepan and bring to a gentle boil over medium heat.
- Remove from heat and add all the flour at once. Stir vigorously until a smooth dough forms.
- Return to low heat and stir for 1–2 minutes until a thin film forms on the bottom of the saucepan.
- Beat in the eggs one at a time, mixing thoroughly after each addition.
- Pipe or spoon 1½-inch mounds onto the prepared baking sheets, leaving 2 inches between each puff.
- Bake at 400°F (200°C) for 15 minutes. Without opening the oven, reduce the temperature to 350°F (175°C) and bake for another 20–25 minutes.
- Turn off the oven, pierce each puff once near the bottom to release steam, and leave them inside for 5–10 minutes.
- Heat milk in a saucepan until steaming.
- Whisk together egg yolks, sugar, cornstarch, and salt until smooth.
- Slowly whisk the warm milk into the egg mixture.
- Return everything to the saucepan and cook over medium heat, whisking constantly until thick and bubbling.
- Remove from heat, stir in butter and vanilla, and transfer to a bowl. Cover and refrigerate until cold.
- Slice each cooled shell horizontally or make a small opening underneath. Pipe the chilled vanilla cream into each puff.
- Arrange on a serving platter and dust lightly with powdered sugar if desired.