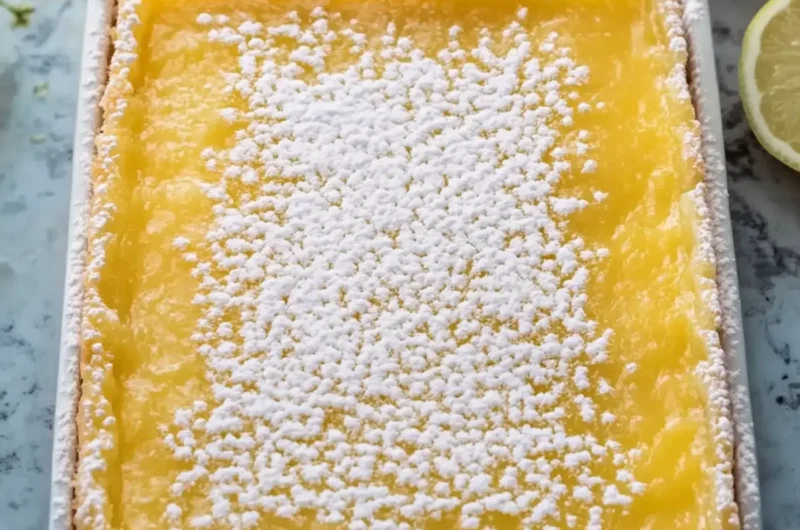
There’s something truly refreshing about a bite of a homemade lemon bar, with its buttery, crumbly crust giving way to a silky-smooth tangy filling. I first kindled my passion for these delightful treats when a friend brought them to a summer picnic. The sunny flavor and melt-in-your-mouth texture instantly transported me to sun-drenched citrus groves. Now, whenever I’m in need of a cheerful pick-me-up or a sweet surprise for friends, these homemade lemon bars are my secret weapon.
The beauty of this recipe lies in its simplicity. You don’t need to be a pastry chef to create these crowd-pleasers—just a passion for good food and a few fresh ingredients. Whether you’ve had a long day at work, are prepping for a weekend gathering, or just want to complement your afternoon tea, this recipe is the perfect remedy. Trust me, the compliments will flow as these beautiful lemon bars vanish from the plate! So, let’s dive in and bring a little sunshine to your kitchen with these irresistible homemade lemon bars.
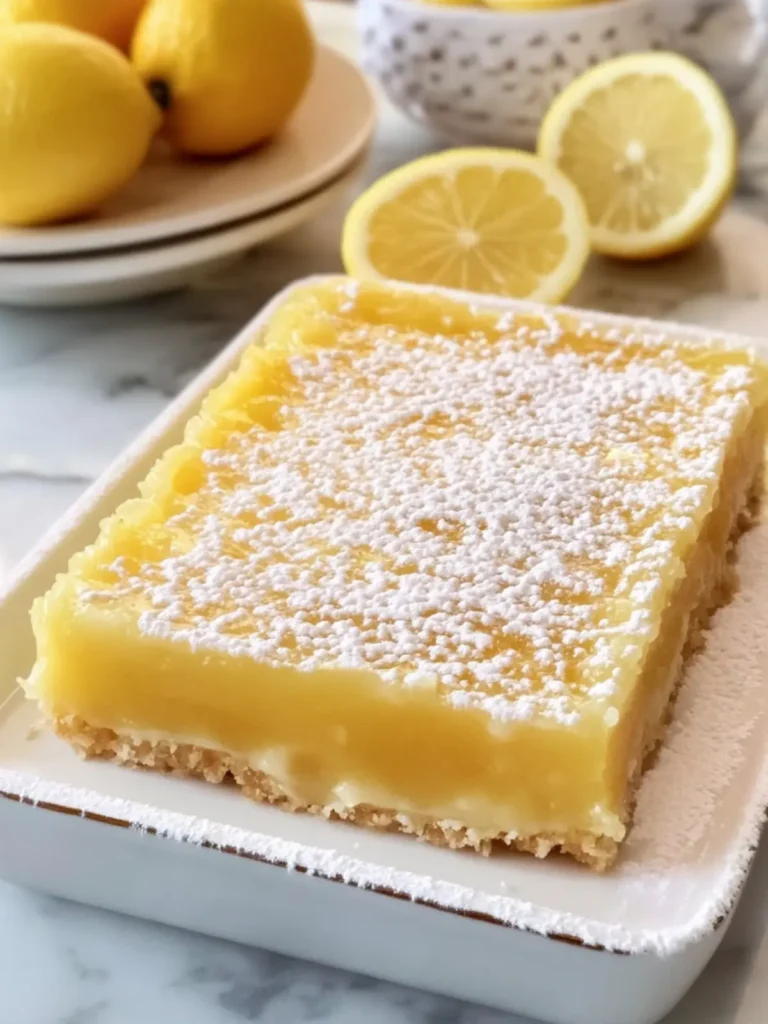
Why love Homemade Lemon Bars?
Delightful flavor: The balance of buttery crust and zesty lemon filling brings a refreshing burst to your taste buds.
Simplicity shines: Just a few ingredients are all you need for success in your baking endeavors.
Perfect for sharing: Whether at a picnic or a cozy gathering, these bars are guaranteed to impress your friends and family.
A beautiful presentation: Dusting with powdered sugar gives them that bakery-style finesse, making them perfect for any occasion.
Quick to make: With an easy prep time and straightforward steps, you’ll have delicious lemon bars ready in no time.
Versatile enjoyment: Enjoy them as a dessert or a cheerful snack any time of day! Try pairing them with a cup of tea for a delightful afternoon treat.
Homemade Lemon Bar Ingredients
For the Crust
• All-purpose flour – This forms the base of your crust, providing that delightful crumbly texture.
• Powdered sugar – Adds sweetness and helps create a tender crust.
• Unsalted butter – Ensures a rich, buttery flavor; softened for easy mixing.
• Salt – Just a hint enhances the sweetness and balances the flavors.
For the Lemon Filling
• Large eggs – They provide structure and richness to your lemon filling.
• Granulated sugar – Sweetens the tangy lemon juice, creating a perfect balance of flavors.
• Freshly squeezed lemon juice – This is the star of your homemade lemon bars, offering that irresistible tartness.
• Finely grated lemon zest – Intensifies the lemon flavor and adds a lovely fragrance.
• All-purpose flour – A small amount thickens the filling for a smooth texture.
• Baking powder – Just a touch helps the filling rise slightly, giving it a lovely lightness.
For Dusting
• Powdered sugar – A final dusting lends a beautiful finish and extra sweetness to your homemade lemon bars.
Now you’re all set! Gather these ingredients and bring a burst of sunshine into your kitchen with these delightful lemon bars!
How to Make Homemade Lemon Bars
-
Preheat your oven: Set your oven to 350°F (175°C). Lightly grease a 9 × 13-inch rectangular baking dish and line it with parchment paper for easy removal later.
-
Mix the crust ingredients: In a mixing bowl, combine 2 cups all-purpose flour, ½ cup powdered sugar, softened butter, and salt. Mix until a soft, crumbly dough forms, and it should hold together when pressed.
-
Press and bake the crust: Press the dough evenly into the bottom of the prepared dish. Bake for 18–22 minutes until lightly golden around the edges, filling your kitchen with a delightful aroma.
-
Whisk the lemon filling: In another bowl, whisk the eggs and granulated sugar until smooth. Add freshly squeezed lemon juice, lemon zest, ¼ cup all-purpose flour, and baking powder. Whisk until everything is completely combined.
-
Pour over the crust: Carefully pour the lemon mixture evenly over the hot, prebaked crust, making sure it spreads out nicely.
-
Bake until set: Return the dish to the oven and bake for 22–27 minutes, until the lemon filling is set and the center has only a slight jiggle—this will make for creamy bars.
-
Cool down: Allow the lemon bars to cool at room temperature for 1 hour. After that, refrigerate for another 2 hours until firm and ready to slice.
-
Dust and serve: Dust the surface evenly with 3 tablespoons powdered sugar for that bakery-style finish. Cut into squares using a sharp knife, or serve directly from the dish for a rustic touch.
Optional: Garnish with extra lemon zest for an added pop of color.
Exact quantities are listed in the recipe card below.
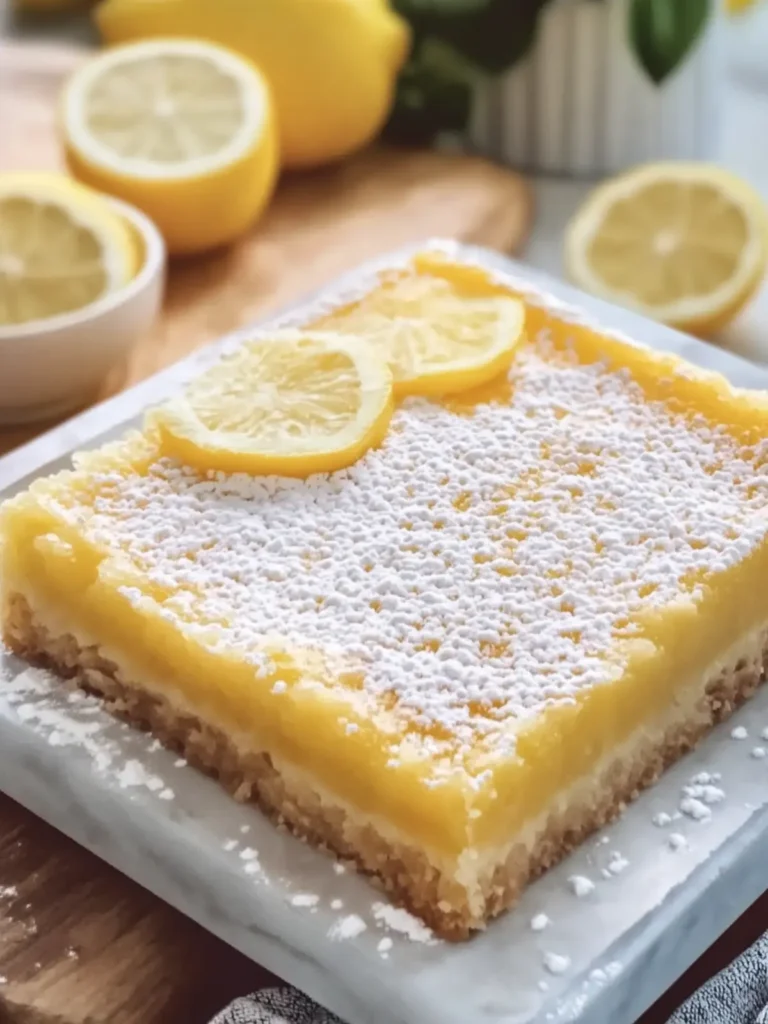
Make Ahead Options
Homemade lemon bars are a wonderful choice for meal prep, making busy days feel a little brighter! You can prepare the crust up to 3 days in advance; just wrap it tightly in plastic wrap and refrigerate to keep it fresh. For the filling, mix the lemon juice, zest, and other ingredients, then refrigerate this mixture for up to 24 hours as well. When you’re ready to bake, simply pour the chilled filling over the crust and bake as directed. This way, you’ll enjoy the same delightful taste with minimal effort, ensuring your homemade lemon bars are just as delicious and refreshing when it’s time to serve!
Homemade Lemon Bar Variations
Feel free to get creative and make these delicious lemon bars your own with these delightful twists!
-
Gluten-Free: Substitute all-purpose flour with a 1:1 gluten-free flour blend for a suitable alternative.
-
Lower Sugar: Use a sugar substitute like erythritol or monk fruit for a lower sugar option without sacrificing taste.
-
Lemon-Lime Zest: Replace half of the lemon zest with lime zest for a fun, zesty twist that brightens the flavor.
-
Berry Surprise: Fold in a cup of fresh blueberries or raspberries into the lemon filling before baking for a fruity burst.
-
Coconut Creme: Add ½ cup of shredded coconut to the crust for a tropical twist that pairs perfectly with the lemon.
-
Herbal Infusion: Infuse the hot lemon mixture with fresh basil or mint right before pouring it into the crust for an aromatic touch.
-
Maple Sweetness: Swap granulated sugar with pure maple syrup for a unique depth of flavor and toffee-like sweetness.
-
Chili Kick: Add a pinch of cayenne pepper or chili powder to the lemon filling for an unexpected heat that balances the tartness.
Let your imagination run wild, and bring a fresh twist to these classic homemade lemon bars!
Expert Tips for Homemade Lemon Bars
• Use Fresh Ingredients: Freshly squeezed lemon juice and zest provide a brighter flavor compared to bottled alternatives. This is key for your homemade lemon bars.
• Don’t Overmix: When combining the lemon filling, avoid overmixing to prevent excessive air bubbles. This helps ensure a silky, smooth texture.
• Watch the Baking Time: Keep an eye on your lemon bars; they should be set with only a slight jiggle in the center when done. Overbaking can yield a dry filling.
• Cool Properly: Let the bars cool completely at room temperature before refrigerating. This helps them set efficiently, achieving the ideal firm texture.
• Dust Before Servicing: Dust with powdered sugar right before serving for a fresh, beautiful presentation. It minimizes the risk of it dissolving into the filling.
How to Store and Freeze Homemade Lemon Bars
Room Temperature: Keep your homemade lemon bars in an airtight container at room temperature for up to 3 days. This is perfect for enjoying a quick treat with your morning coffee!
Fridge: For longer freshness, store lemon bars in the refrigerator in an airtight container for up to 1 week. Chilling enhances their tart flavors!
Freezer: If you want to make these tasty bars ahead of time, freeze them wrapped tightly in plastic wrap and then in foil for up to 3 months. Just thaw in the fridge before serving.
Reheating: Enjoy them chilled or bring them to room temperature before dusting with powdered sugar and serving for that perfect zing!
What to Serve with Homemade Lemon Bars?
Bright, tangy, and effortless, the delightful sweetness of these lemon bars is just waiting to be complemented by your favorite side dishes or refreshments!
-
Whipped Cream: A dollop of freshly whipped cream adds a creamy texture that beautifully balances the tartness of the lemon bars.
-
Iced Green Tea: Refreshing and lightly flavored, iced green tea serves as a lovely drink pairing that complements the citrus notes.
-
Fresh Berries: Juicy strawberries and blueberries introduce a burst of freshness that enhances the lemony flavor while offering a beautiful color contrast.
-
Lemon Sorbet: For a fabulous dessert duo, a scoop of lemon sorbet echoes the tangy flavor of the bars and offers a cool, clean finish.
-
Almond Biscotti: Crunchy and nutty, almond biscotti provides a delightful texture and flavor contrast, making every bite an experience.
-
Coconut Macaroons: These chewy, sweet confections can elevate your dessert table and will have guests reaching for a lemon bar and a macaroon.
-
Sparkling Water: A refreshing glass of sparkling water with a twist of lemon enhances the zesty vibe and cleanses the palate between bites.
-
Classic Iced Tea: Serve sweetened or unsweetened; the mellow flavors of iced tea create a nice balance against the bright notes of the bars.
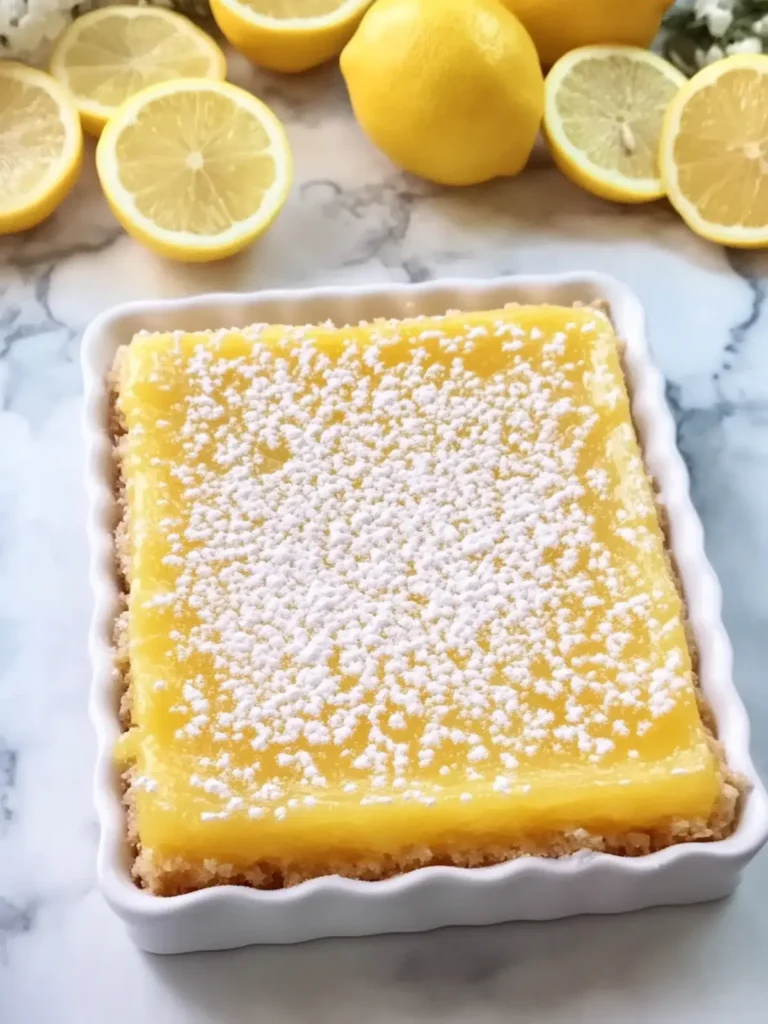
Homemade Lemon Bars Recipe FAQs
How do I choose the right lemons for my lemon bars?
Absolutely! You’ll want to select fresh lemons that are firm and heavy for their size, indicating they are juicy. Avoid any lemons with dark spots or wrinkles, as these can indicate overripeness. When you squeeze them, they should feel slightly soft, which means they’re perfect for juicing!
How should I store leftover lemon bars?
The best way to store your homemade lemon bars is by placing them in an airtight container. If stored at room temperature, they’ll last for up to 3 days. For longer preservation, pop them in the fridge, where they can stay fresh for up to 1 week. Just make sure they are fully cooled before covering to maintain their delightful texture.
Can I freeze homemade lemon bars?
Very much so! To freeze your lemon bars, first ensure they are completely cooled. Then, wrap each piece tightly in plastic wrap, and follow with a layer of aluminum foil to prevent freezer burn. They can be frozen for up to 3 months. When you’re ready to enjoy them, simply thaw them in the refrigerator overnight.
What should I do if my lemon filling is too runny?
If you find that your lemon filling is runny after baking, it may require a little extra cooking time. Place the dish back into the preheated oven for an additional 5–10 minutes, keeping an eye on it until the center has only a slight jiggle. If this happens often, note that you may want to slightly increase the amount of flour in the filling next time to create a firmer consistency.
Are homemade lemon bars safe for pets?
While your lemon bars are delicious for humans, it’s wise to keep them away from pets. The high sugar content, combined with lemon’s natural acidity, can be harmful to cats and dogs. If you’re looking for a pet-friendly treat, consider whipping up a batch of plain, unsweetened yogurt drops for them instead!
How long do lemon bars take to set in the fridge?
To achieve the perfect firm texture, allow your homemade lemon bars to chill in the refrigerator for around 2 hours after cooling. This helps the flavors meld beautifully while ensuring they slice neatly into squares for serving. The waiting is worth it!
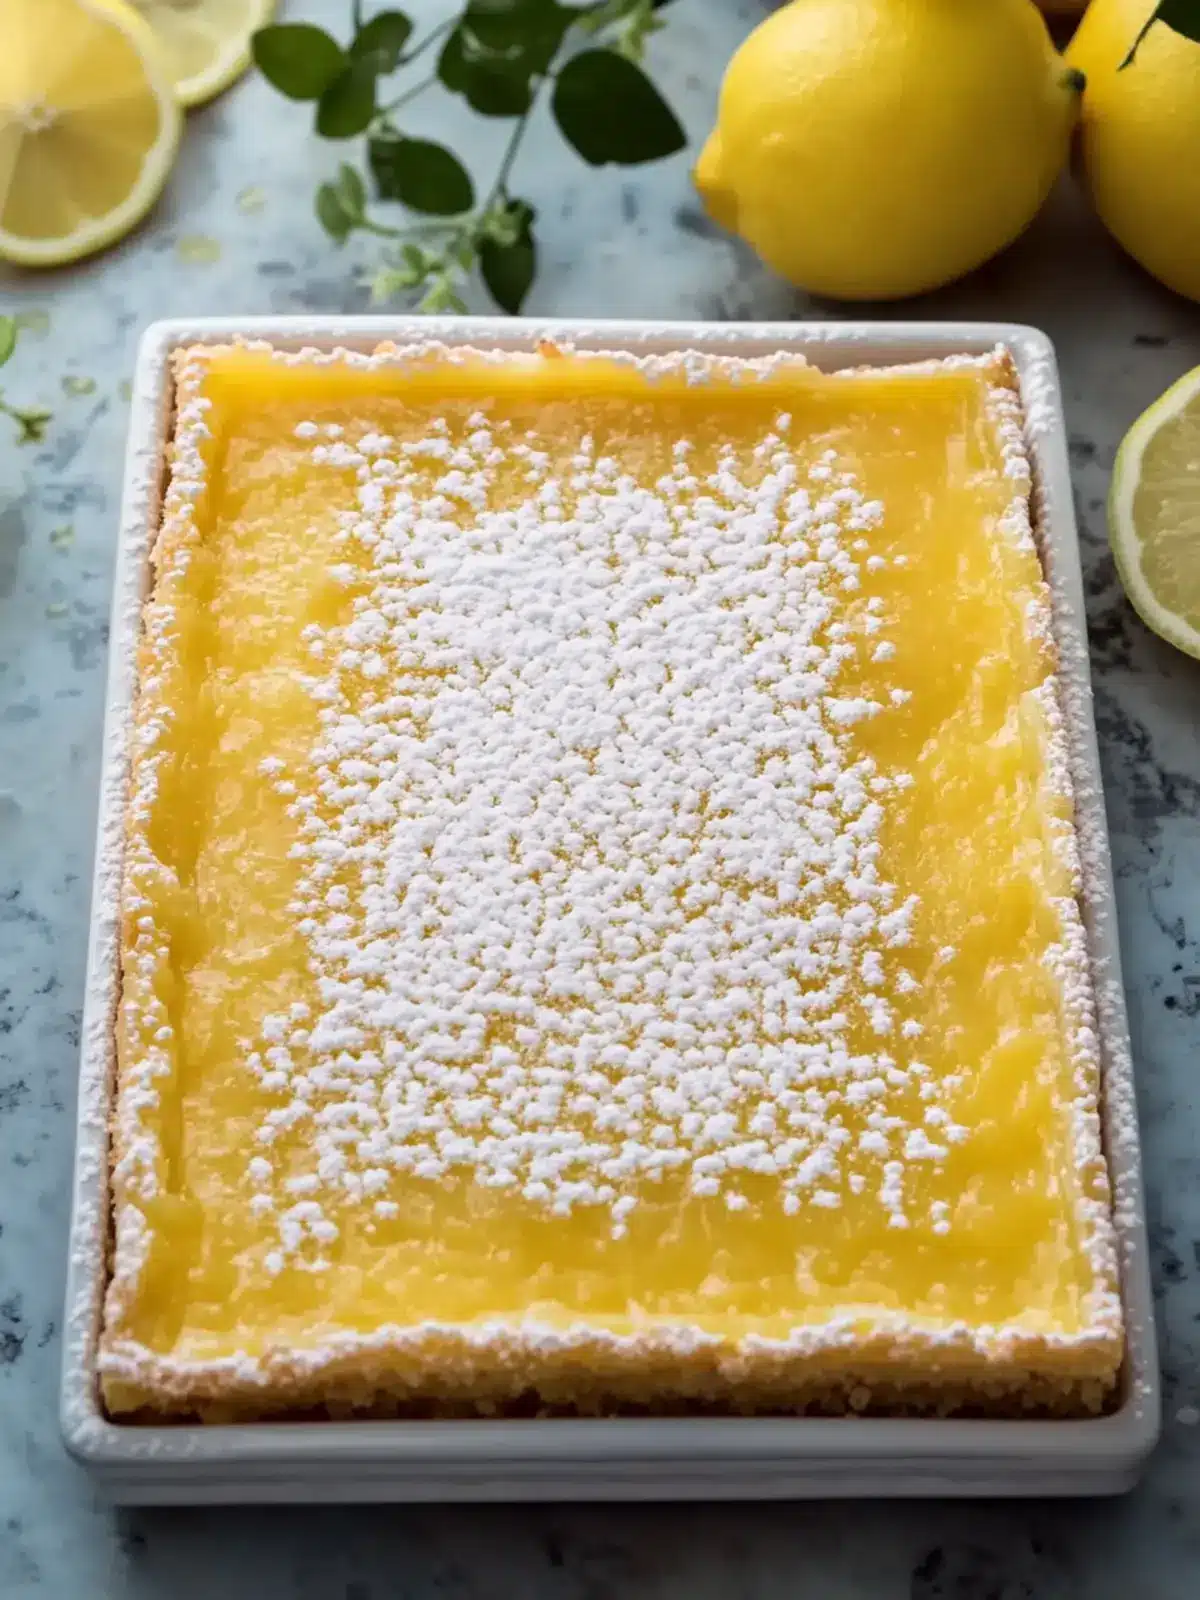
Zesty Homemade Lemon Bar Recipe That's Irresistibly Tart
Ingredients
Equipment
Method
- Preheat your oven to 350°F (175°C). Lightly grease a 9 × 13-inch baking dish and line it with parchment paper.
- In a mixing bowl, combine 2 cups all-purpose flour, ½ cup powdered sugar, softened butter, and salt. Mix until a soft dough forms.
- Press the dough evenly into the bottom of the prepared dish and bake for 18–22 minutes until lightly golden.
- In another bowl, whisk the eggs and granulated sugar until smooth. Add lemon juice, lemon zest, ¼ cup all-purpose flour, and baking powder.
- Pour the lemon mixture over the hot, prebaked crust.
- Return the dish to the oven and bake for 22–27 minutes until set with a slight jiggle in the center.
- Let the lemon bars cool at room temperature for 1 hour, then refrigerate for another 2 hours until firm.
- Dust the surface with 3 tablespoons powdered sugar before serving, and cut into squares.