There’s something undeniably comforting about the sweet scent of coconut mingling with warm, velvety glutinous rice. When I first tasted Filipino Biko, I was drawn into a world of texture and flavor that made me forget all about the fast food I’d been relying on. For a dish as elegant as it is satisfying, Biko is a remarkable discovery—perfect for any occasion, yet simple enough to whip up during a quiet evening at home.
The joy of crafting this dish lies in the transformation of humble ingredients into a delightful dessert that shines at any gathering. The sticky rice, enhanced by the richness of coconut milk and the depth of dark brown sugar, creates a treat that’s not just delicious but also deeply satisfying. Eager to bring something extraordinary to the table? This Filipino Biko Sticky Rice Recipe is your go-to sweet escape from the ordinary, offering a delicious twist that everyone will love. Let’s dive into making this irresistible treat!
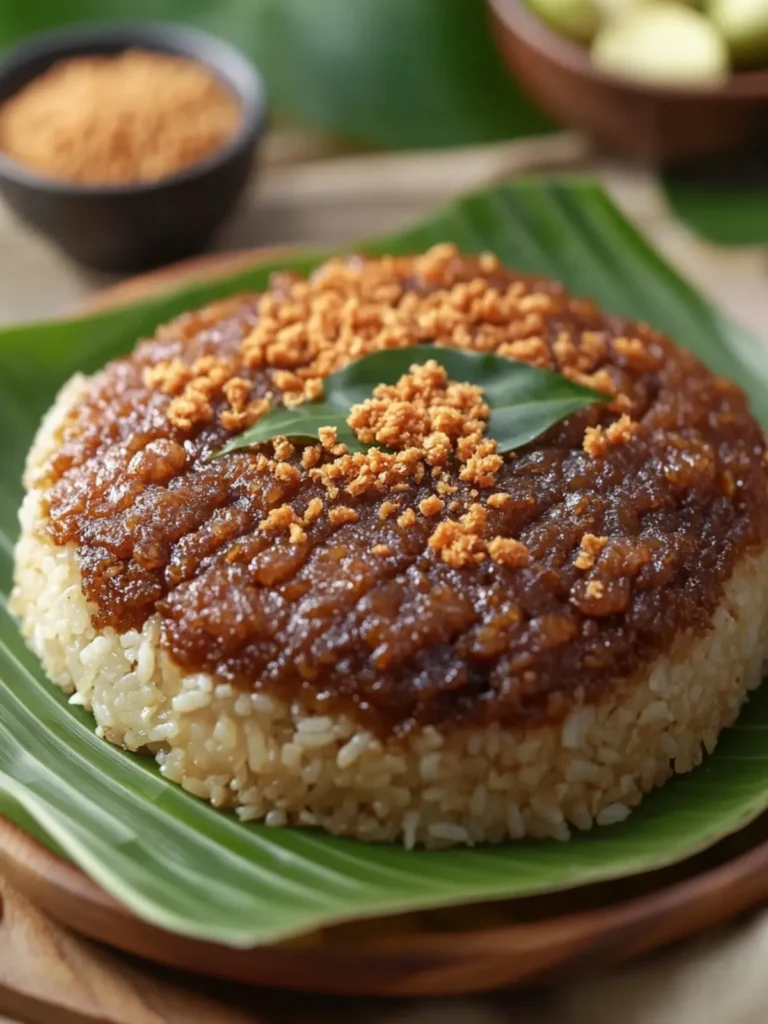
Why is Filipino Biko Sticky Rice Recipe special?
Deliciousness in Every Bite: This delightful dessert is not just sweet; it’s packed with rich coconut flavor and the perfect balance of sticky texture that will leave everyone craving more.
Simple Steps: Preparing this dish requires minimal effort, making it an ideal project for both novice cooks and seasoned chefs alike.
Versatile Dish: It’s perfect for any occasion, whether it’s a family gathering, a potluck, or just a cozy night in.
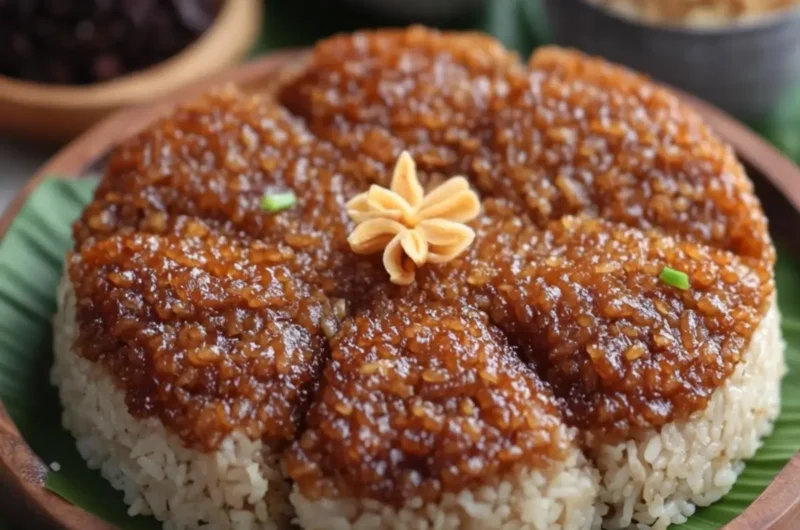
Impressive Presentation: With its glossy finish and golden-brown latik topping, Biko looks as good as it tastes, showcasing your cooking skills to family and friends.
Nostalgic Comfort: Every bite takes you on a trip down memory lane, connecting you to traditional Filipino flavors while offering a delightful break from fast food.
Filipino Biko Sticky Rice Ingredients
• Gather these ingredients to create a mouthwatering Filipino Biko Sticky Rice dish!
For the Rice Base
• Glutinous rice – This key ingredient gives your Biko its signature sticky texture.
• Water – Use to cook the glutinous rice until tender but still slightly firm.
For the Coconut Mixture
• Coconut milk – Delivers a rich, creamy flavor that makes this dessert unforgettable.
• Dark brown sugar – Adds a deep, caramel-like sweetness that perfectly complements the coconut.
• Salt – Enhances the flavors and balances the sweetness.
• Pandan leaf (optional) – Infuses a beautiful fragrance into the dish for added authenticity.
For the Topping
• Coconut cream – Cook this to create golden-brown latik, adding a delightful crunch and richness on top.
How to Make Filipino Biko Sticky Rice
-
Rinse the glutinous rice under cold water until the water runs mostly clear. This step is crucial for removing excess starch, which ensures your rice cooks nicely without becoming too gummy.
-
Combine the rinsed rice and water in a pot or rice cooker. Cook the rice until tender, but still slightly firm, as this texture is essential for creating the perfect base for your Biko.
-
Pour the coconut cream into a pan and cook over medium-low heat. Stir frequently until the oil separates and golden-brown coconut curds (latik) form, which adds a delightful crunch to the topping.
-
Simmer in a wide pan, combining coconut milk, dark brown sugar, and salt. Use medium-low heat while stirring to ensure the sugar dissolves and the mixture thickens slightly, forming a luscious coconut syrup.
-
Stir the cooked glutinous rice into the coconut mixture, continuing to cook over low heat. Mix thoroughly for 15–25 minutes until the rice absorbs most of the liquid and becomes thick, sticky, and glossy.
-
Brush a round tray with reserved coconut oil, and if desired, line it with banana leaves for a traditional touch. Spread the sticky rice evenly across the tray, creating a smooth surface.
-
Bake at 375°F (190°C) for about 15–25 minutes, keeping an eye on it until the surface caramelizes beautifully. Alternatively, you can broil it briefly, watching closely to prevent burning.
-
Sprinkle the golden-brown latik over the top of the baked Biko. Allow it to cool slightly before cutting into squares for serving, letting those delightful flavors meld together.
Optional: Serve it warm with additional coconut cream drizzled on top for an extra indulgent treat.
Exact quantities are listed in the recipe card below.
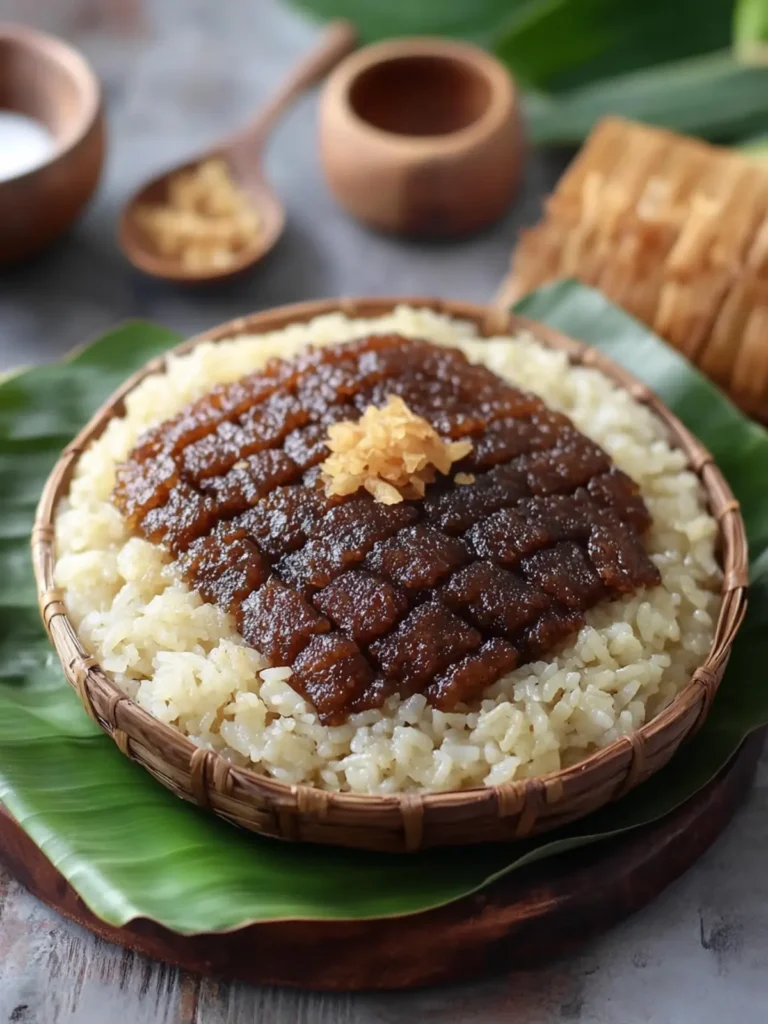
Filipino Biko Sticky Rice Variations
Feel free to get creative and tailor this delightful dessert to your taste and needs!
-
Dairy-Free: Swap coconut cream with a non-dairy alternative like almond or cashew cream for a lighter version. This will give it a different nutty flavor while keeping it creamy.
-
Gluten-Free: Ensure your ingredients are certified gluten-free. Use gluten-free rice syrup to avoid any cross-contamination while still achieving that sweet taste.
-
Flavor Infusion: Add 1 teaspoon of vanilla extract or a dash of cinnamon to the coconut mixture for an aromatic twist. The warmth of these flavors will complement the coconut nicely.
-
Tropical Treat: Mix in fresh fruits like mango or pineapple chunks into the coconut mixture before baking. This adds a burst of freshness and delightful contrast in texture.
-
Nutty Crunch: Stir in toasted nuts like cashews or almonds for added texture and crunch. Not only will you add flavor, but a satisfying crunch will elevate every bite.
-
Pandan Boost: Incorporate a few drops of pandan extract into the coconut mixture for an even richer flavor and beautiful green hue. This will elevate the authentic taste of your Biko even further.
-
Spicy Sweetness: For those who enjoy a bit of heat, consider adding a pinch of cayenne pepper or chili flakes to the coconut mixture for a surprising spicy kick.
-
Vegan Delight: Ensure all your ingredients are plant-based. The recipe naturally lends itself to vegan cooking with coconut milk and alternative sweeteners, making it accessible for everyone.
Each variation can transform your Biko experience, inviting your friends and family to a new flavor adventure!
Make Ahead Options
These Filipino Biko Sticky Rice treats are perfect for meal prep enthusiasts! You can prepare the glutinous rice and the coconut mixture up to 24 hours in advance, storing them separately in airtight containers in the refrigerator to keep them fresh. When you’re ready to serve, simply reheat the coconut mixture gently on the stove, then combine it with the cooked rice, and proceed to bake as directed. For the best quality, keep the baked Biko at room temperature and consume it within 3 days for optimal flavor and texture. This way, you’ll have an irresistible dessert ready to impress with minimal effort during busy weeknights!
Expert Tips for Filipino Biko Sticky Rice
• Perfect Rice Texture: Always rinse the glutinous rice until the water is mostly clear. This removes excess starch for a non-gummy, perfectly sticky result.
• Heat Control: Maintain a medium-low heat while simmering the coconut milk and sugar mixture. Too high can cause it to scorch, affecting the flavor of your Filipino Biko sticky rice.
• Stir Regularly: As you cook the rice in the coconut mixture, stir frequently to ensure even absorption and prevent sticking to the bottom of the pan.
• Watch the Oven: Baking time can vary, so keep a close eye on your Biko towards the end. It should be golden brown and caramelized on top but not burnt.
• Add a Personal Touch: Feel free to experiment with flavors! Adding a pandan leaf while simmering provides a lovely aroma that elevates your dish even further.
What to Serve with Filipino Biko Sticky Rice?
Elevate your meal experience by complementing the sweet indulgence of Biko with these perfect pairings.
-
Fresh Mango Slices: Juicy mangoes bring a refreshing contrast that balances the rich sweetness of the Biko perfectly.
-
Coconut Pancakes: Fluffy pancakes with coconut flavor replicate the dessert’s taste while providing a delightful breakfast option.
-
Filipino Lechon: The savory, crispy pork juxtaposes the sweetness of Biko, making for an unforgettable combination of flavors.
-
Ube Halaya: This smooth purple yam dessert adds creaminess and vibrant color, making it a visually stunning addition to your table.
-
Green Tea: The earthy notes of green tea cleanse the palate after the richness of Biko, creating a harmonious balance.
-
Pineapple Juice: A glass of refreshing pineapple juice enhances the tropical vibe, perfectly complementing the coconut flavor of the sticky rice.
-
Crispy Fried Tofu: Adding a savory, protein-packed bite provides contrast to the dessert while introducing its own delightful texture.
-
Chocolate Cake: For those with a sweet tooth, pairing Biko with a chocolate cake offers a decadent treat for dessert lovers.
-
Coconut Milk Drink: A chilled coconut milk beverage enhances the dish’s flavors and ties in the coconut theme throughout your meal.
How to Store and Freeze Filipino Biko Sticky Rice
Room Temperature: Allow your Biko to cool completely before covering it with plastic wrap. It can be stored at room temperature for up to 2 days.
Fridge: Keep leftover Biko in an airtight container in the refrigerator for up to 5 days. This preserves the sticky texture while preventing it from drying out.
Freezer: For longer storage, freeze pieces of Biko in a single layer on a baking sheet until solid, then transfer to a zip-top bag for up to 3 months.
Reheating: To enjoy, thaw overnight in the fridge, then reheat in the microwave or oven until warm. Adding a splash of coconut milk can restore moisture and enhance the flavor of your Filipino Biko Sticky Rice.
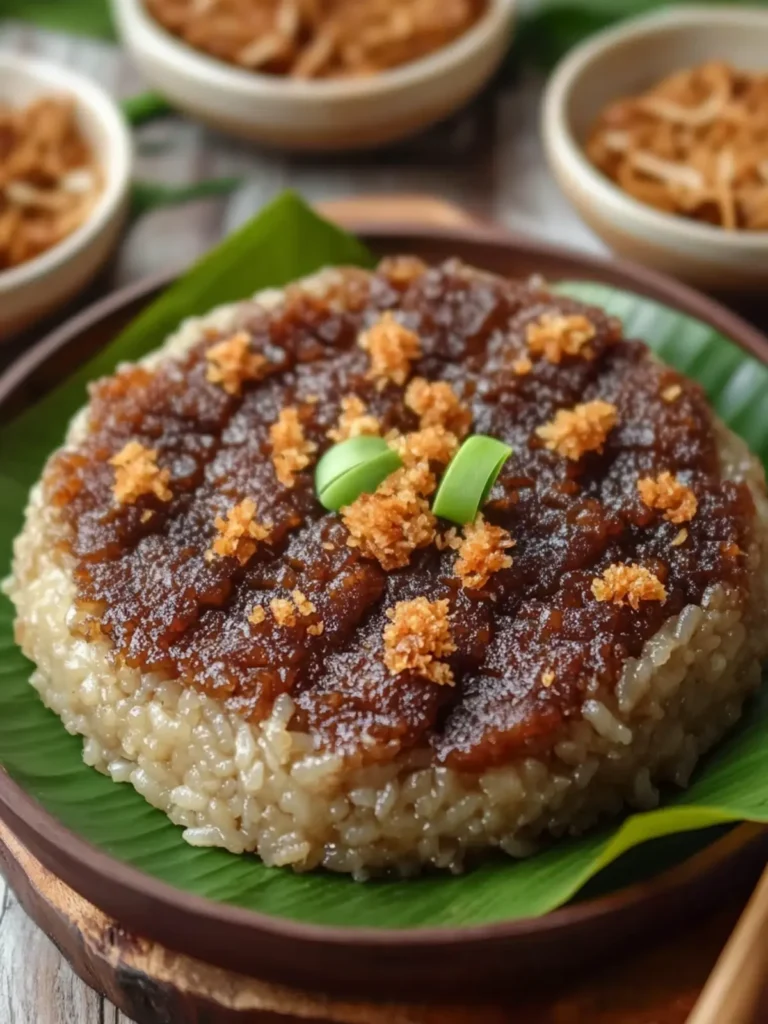
Filipino Biko Sticky Rice Recipe FAQs
Which type of glutinous rice should I use?
Absolutely go for Thai or sweet glutinous rice labeled specifically for making desserts. Look for rice with a glossy surface and a slightly sticky texture when cooked.
How do I store leftover Biko?
After allowing your Biko to cool completely, cover it with plastic wrap and store it at room temperature for up to 2 days. If you want to keep it longer, place it in an airtight container in the refrigerator; it can last for about 5 days in the fridge without losing its delightful texture.
Can I freeze Filipino Biko?
Yes! To freeze, slice your Biko into squares and place them in a single layer on a baking sheet. Put the baking sheet in the freezer until the pieces are solid, then transfer to a zip-top bag for long-term storage. They can be kept frozen for up to 3 months. When ready to enjoy, simply thaw overnight in the fridge and reheat until warm.
What if my Biko turns out too dry or crumbly?
If your Biko seems a bit dry, don’t worry! You can enhance its moisture by adding a splash of coconut milk when reheating. Stir gently to incorporate and enjoy its sticky and creamy texture again. Remember to store in an airtight container to maintain the right consistency and prevent drying out.
Is there a way to make Biko more allergy-friendly?
Absolutely! For a nut-free version, ensure your coconut milk and cream are processed without cross-contamination. You can substitute coconut with almond or soy milk for a different flavor profile. However, keep in mind that this may change the texture and taste slightly, but it can work in a pinch!
How do I know when my coconut mixture is ready?
You’ll know your coconut mixture is sufficiently thickened when it leaves a visible trail through the liquid as you stir, and the bubbles appear slower. The combination should be glossy and stick to your spatula or spoon but still pour easily into your rice. Enjoy crafting this delightful Filipino Biko Sticky Rice Recipe!
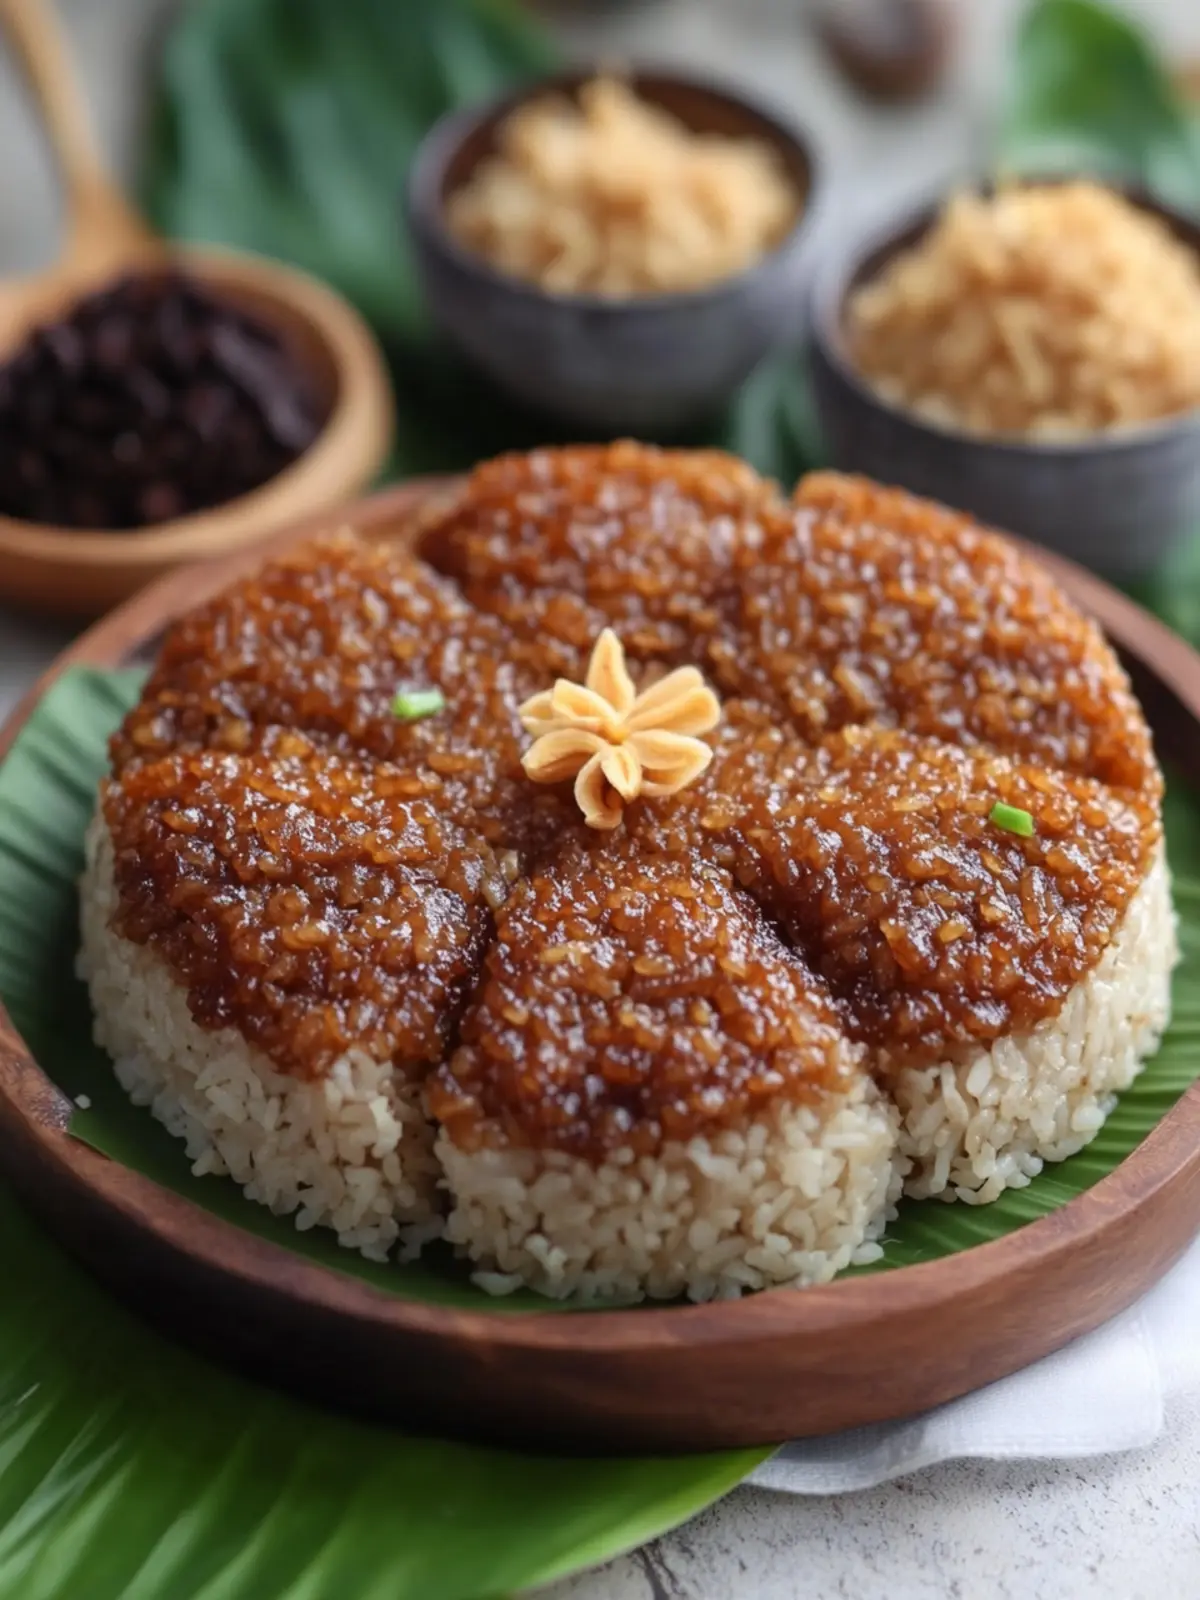
Delicious Filipino Biko Sticky Rice Recipe for Home Chefs
Ingredients
Equipment
Method
- Rinse the glutinous rice under cold water until the water runs mostly clear.
- Combine the rinsed rice and water in a pot or rice cooker and cook until tender.
- Pour the coconut cream into a pan and cook over medium-low heat until golden-brown latik forms.
- Simmer coconut milk, dark brown sugar, and salt in a wide pan over medium-low heat.
- Stir the cooked glutinous rice into the coconut mixture, mixing thoroughly for 15-25 minutes.
- Brush a round tray with reserved coconut oil, spread the sticky rice evenly.
- Bake at 375°F for about 15-25 minutes until the surface caramelizes.
- Sprinkle the golden-brown latik over baked Biko and allow it to cool slightly before serving.