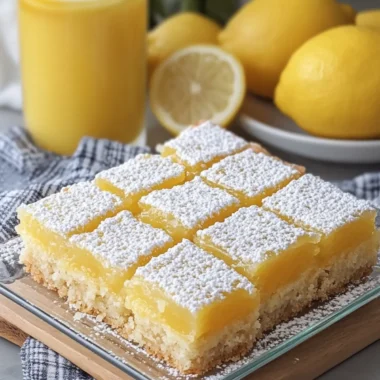
There’s something undeniably refreshing about the first bite of a homemade lemon bar. The bright, tangy flavor dances on your taste buds, instantly transporting you to sunny shores, no matter where you are. I discovered my love for these delightful treats during a summer picnic, where their perfect balance of sweetness and citrus zest was the star of the dessert table. Suddenly, I realized that store-bought snacks could never compare to the joyous experience of making them at home.
As I experimented in my kitchen, I found that crafting these Easy Lemon Bars was surprisingly simple—a dream come true for anyone tired of fast food routines. With just a handful of familiar ingredients and a fuss-free method, you’ll impress friends and family with your baking prowess in no time. Whether you’re hosting a garden party or just looking for a sweet pick-me-up after a long day, these bars are the perfect blend of comfort and sophistication. Join me on this culinary adventure and discover how easy it is to bring a slice of sunshine into your home!
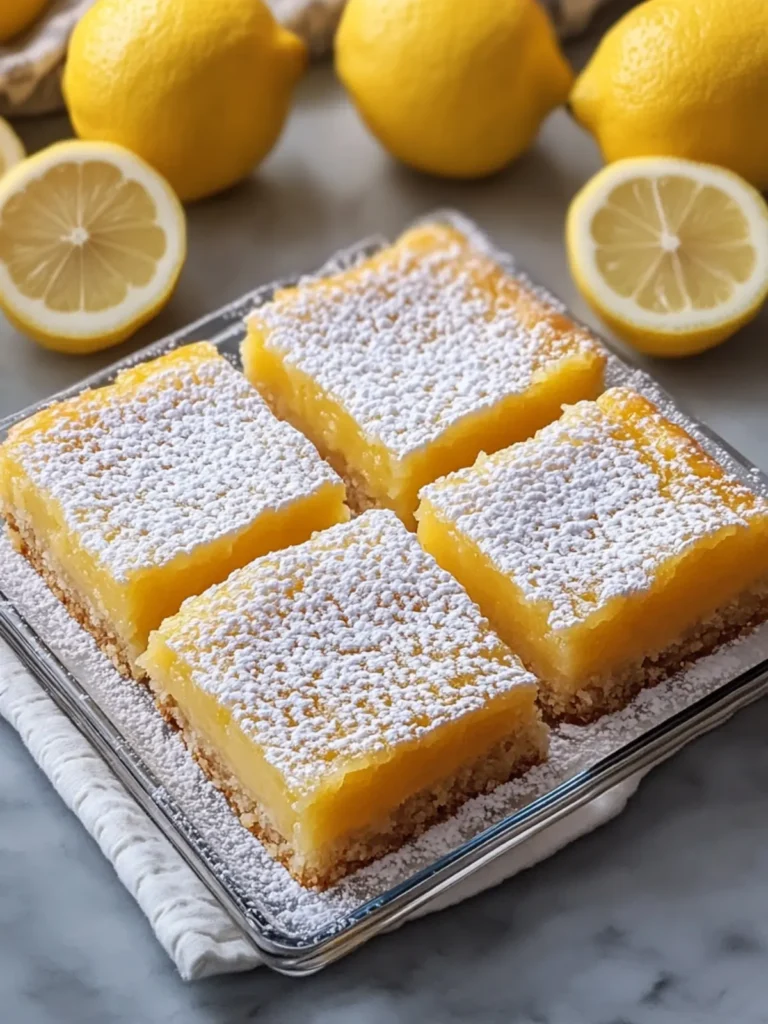
Why are these Easy Lemon Bars a must-try?
Unforgettable Flavor: Bursting with zesty lemon goodness, each bite delivers the perfect balance of sweet and tart.
Effortless Preparation: With just a few simple steps, you’ll create a stunning dessert that looks and tastes like it took hours to make.
Versatile Delight: Perfect for any occasion, whether it’s a summer picnic, birthday party, or a cozy night in.
Crowd Favorite: Everyone loves these bars, making them a surefire way to impress your guests or delight your family.
Quick Chill Time: After baking, a little patience is all you need—just refrigerate for a cool and refreshing treat!
Feel free to explore more delicious options with our homemade treats to elevate your dessert game!
Easy Lemon Bars Ingredients
• Get ready to create the perfect treat with these simple ingredients!
For the Crust
• All-purpose flour – essential for a sturdy base that holds everything together.
• Powdered sugar – adds a touch of sweetness and keeps the crust soft.
• Unsalted butter – ensures a rich, creamy flavor in your crust.
• Salt – just a pinch enhances the overall sweetness.
• Vanilla extract – brings warmth and depth to the crust.
For the Filling
• Granulated sugar – balances the tartness of the lemons beautifully.
• Eggs – provide the structure and richness to the filling.
• Fresh lemon juice – the star ingredient that delivers that zesty punch.
• Finely grated lemon zest – adds extra aroma and zestiness to the filling.
• Additional all-purpose flour – helps to set the filling and give it a creamy texture.
• Salt – a small amount enhances the lemon flavor.
For the Dusting
• Powdered sugar – a light sprinkle on top makes for a picture-perfect finish.
These Easy Lemon Bars will turn your kitchen into a sunny paradise, ready to uplift any gathering or personal moment!
How to Make Easy Lemon Bars
-
Preheat the Oven: Start by preheating your oven to 350°F (175°C). Line a 9 × 13-inch baking pan with parchment paper, allowing some overhang for easy removal later.
-
Make the Crust: In a bowl, combine 2 cups of flour, ½ cup of powdered sugar, and ¼ teaspoon of salt. Add 1 cup of softened unsalted butter and 1 teaspoon of vanilla extract. Mix until a soft, crumbly dough forms.
-
Press the Dough: Firmly press the dough evenly into the prepared pan, making sure it is level and slightly packed. This will create a sturdy base for your lemon filling.
-
Pre-bake the Crust: Bake the crust in the preheated oven for 18–20 minutes, or until it’s lightly golden around the edges, giving you that lovely, baked aroma.
-
Prepare the Lemon Filling: In a separate bowl, whisk together 1½ cups of granulated sugar and ¼ cup of flour. This will help ensure your filling is smooth and free of lumps.
-
Mix the Filling: Add 4 large eggs, ⅔ cup of fresh lemon juice, 1 tablespoon of finely grated lemon zest, and ¼ teaspoon of salt. Whisk well until smooth and fully combined.
-
Add Lemon Mixture: Pour the lemon mixture over the warm pre-baked crust, spreading it evenly to cover every inch.
-
Bake the Filling: Return the pan to the oven and bake for another 20–25 minutes. The filling should be set around the edges but will still have a slight jiggle in the center—this is key for that creamy texture!
-
Cool Completely: Once baked, remove the lemon bars from the oven and let them cool completely at room temperature for about 1 hour.
-
Chill for Best Results: Refrigerate the bars for at least 1 hour to help the filling firm up perfectly, making them even more delightful to cut.
-
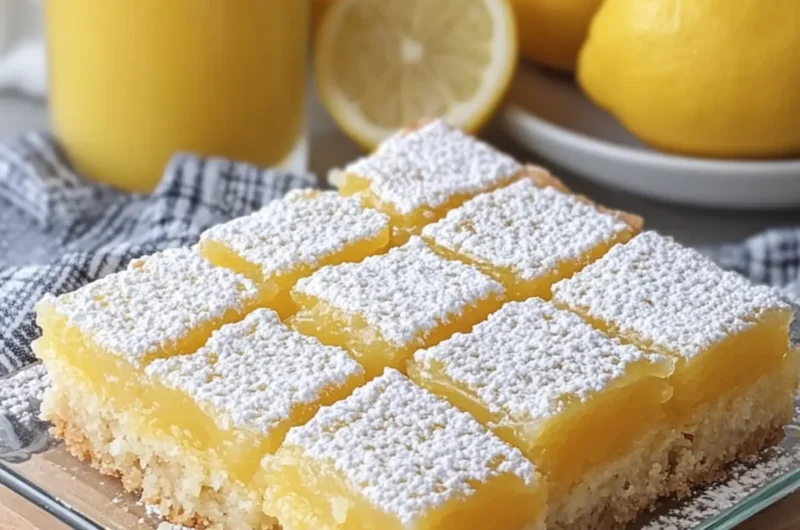
Dust with Powdered Sugar: Once chilled, lift the lemon bars out of the pan using the parchment paper. Generously dust the top with ¼ cup of powdered sugar for that lovely finishing touch.
-
Slice and Serve: Cut into squares with a sharp knife, wiping the blade between cuts to ensure clean edges, and prepare for smiles all around!
Optional: Garnish with fresh mint leaves for a burst of color and flavor.
Exact quantities are listed in the recipe card below.
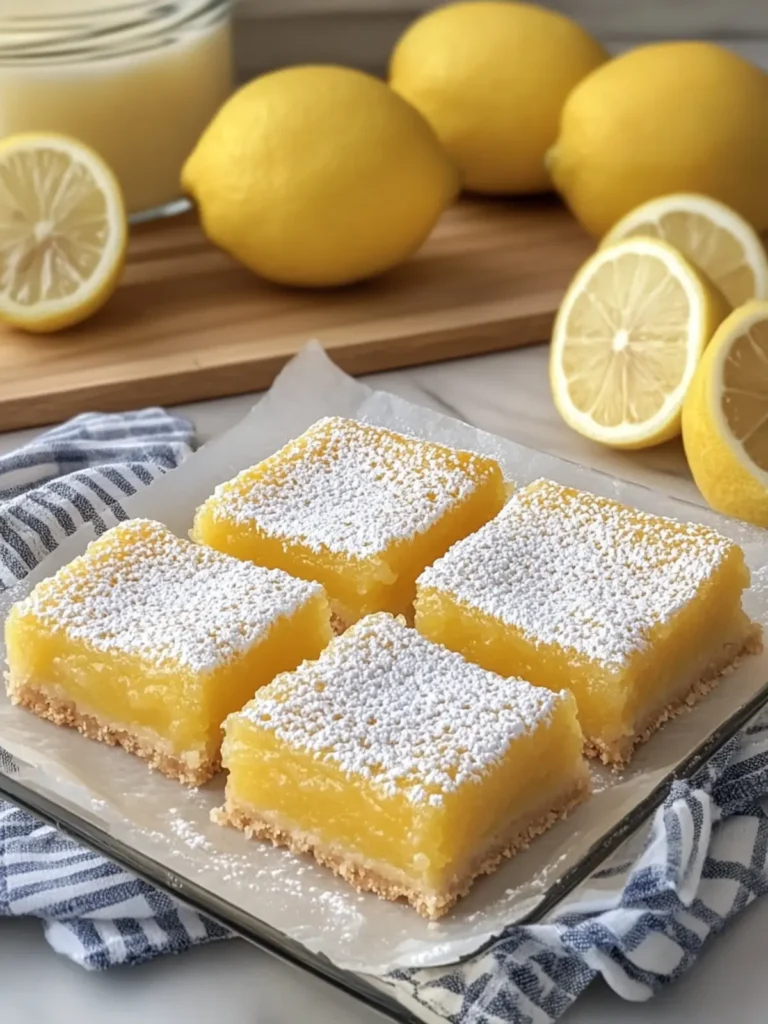
What to Serve with Easy Lemon Bars?
Enhance your dessert spread and create a delightful culinary experience with these delicious pairings.
- Fresh Berries: The sweetness and acidity of strawberries or raspberries complement the tartness of the lemon bars perfectly.
- Whipped Cream: A dollop of light whipped cream adds a creamy, airy contrast that balances the zesty filling.
- Iced Tea: Serve your lemon bars with a glass of refreshing iced tea, its subtle flavors enhancing the citrus notes beautifully.
- Lemon Sorbet: Keep the citrus theme alive with a scoop of lemon sorbet; it’s a refreshing palette cleanser between bites.
- Fruit Salad: A colorful bowl of mixed fruits introduces juicy textures and sweetness, making every bite delightful.
Imagine sharing a cozy afternoon with friends, enjoying the light, bright flavors of lemon bars alongside fresh berries and chilled iced tea. It’s a celebration of tastes that brings sunshine to your table!
Make Ahead Options
These Easy Lemon Bars are a fantastic choice for meal prep enthusiasts looking to save time! You can prepare the crust up to 24 hours in advance—just press it into the pan, cover it tightly with plastic wrap, and refrigerate until you’re ready to bake. Additionally, the filling can be mixed and stored in an airtight container for up to 3 days in the fridge; this prevents the eggs from breaking down and keeps the flavor fresh. When it’s time to bake, simply pour the filling over the pre-baked crust, bake as usual, and enjoy delicious lemon bars with minimal effort. The bars will be just as delightful and ready to impress your family or guests!
Expert Tips for Easy Lemon Bars
-
Chill Before Cutting: Allow the bars to chill long enough to set properly. This ensures clean cuts and prevents the filling from oozing out.
-
Sift the Sugar: Sifting powdered sugar before dusting prevents lumps and gives your Easy Lemon Bars a smooth, professional finish.
-
Juice and Zest Fresh Lemons: Fresh lemon juice and zest deliver the brightest flavor. Avoid bottled variations for the best taste!
-
Watch the Baking Time: Keep an eye on the filling while baking. You want a slight jiggle in the center for a creamy texture without overcooking.
-
Use Parchment Paper: Lining the baking pan with parchment makes it easy to lift the bars out once they’re cooled, preventing any sticky mess.
How to Store and Freeze Easy Lemon Bars
Room Temperature: Enjoy your Easy Lemon Bars fresh for up to 3 days by storing them in an airtight container at room temperature, away from direct sunlight.
Fridge: To keep them fresh longer, refrigerate the bars for up to 1 week in an airtight container. The cool environment enhances the lemon flavor!
Freezer: For longer storage, freeze individual slices in plastic wrap and then place them in a freezer-safe bag for up to 3 months. Thaw overnight in the fridge before enjoying.
Reheating: If you prefer them warm, gently reheat in the microwave for about 10-15 seconds, just enough to take the chill off without cooking them further.
Easy Lemon Bars Variations
Feel inspired to add your personal touch to these delightful lemon bars!
-
Gluten-Free: Substitute all-purpose flour with a 1:1 gluten-free baking flour blend for a deliciously inclusive treat.
-
Coconut Cream: Replace half the butter with unsweetened coconut cream for a tropical twist that enriches the flavor profile.
-
Mint Infusion: Add 1 tablespoon of finely chopped fresh mint to the lemon filling for a refreshing twist that pairs beautifully with lemon.
-
Berry Burst: Fold in 1 cup of fresh blueberries or raspberries into the lemon mixture before baking for a fruity surprise in each bite.
-
Lemon Lavender: Add 1 teaspoon of dried culinary lavender to the crust for a fragrant floral note that elevates the lemon’s brightness.
-
Chili Kick: Mix in a pinch of cayenne pepper to the lemon filling for a subtle heat that ignites all the flavors.
-
Creamy Cheesecake: Swirl in 4 ounces of softened cream cheese into the lemon filling for a rich and creamy texture without overpowering the lemony goodness.
-
Honey Sweetener: Replace granulated sugar with honey for a natural sweetness that pairs perfectly with the citrus flavors.
Embrace these variations, and make each batch uniquely yours!
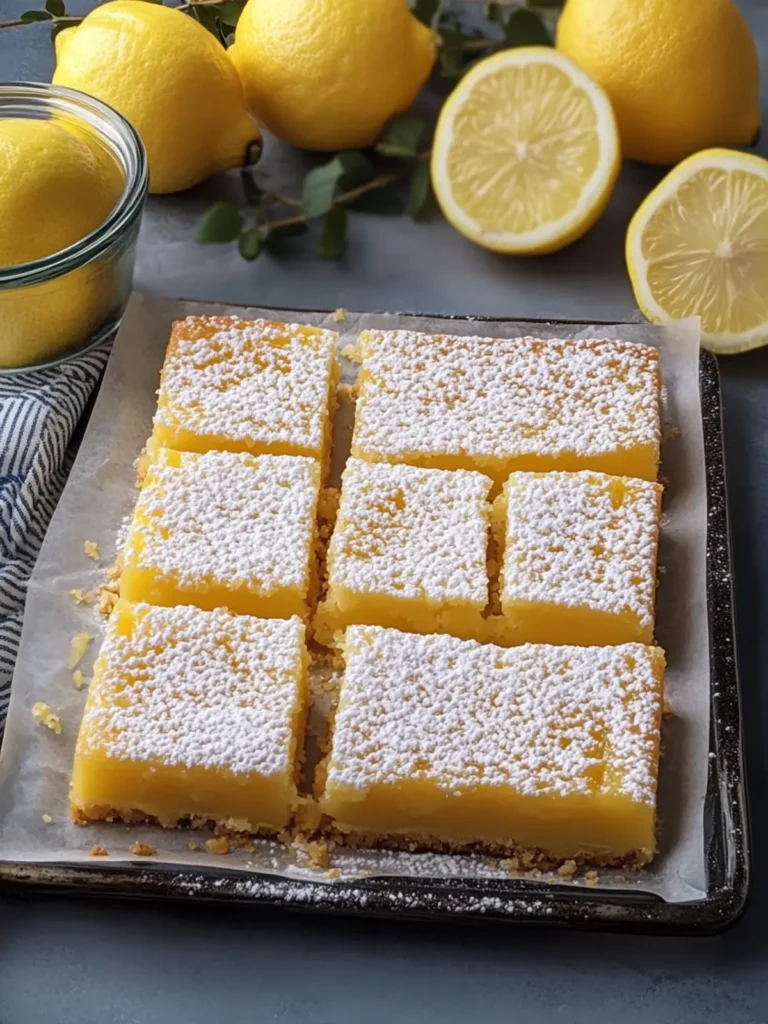
Easy Lemon Bars Recipe FAQs
What type of lemons should I use for the best flavor?
I recommend using fresh, ripe lemons for making your Easy Lemon Bars. Look for lemons that are firm, heavy for their size, and have a vibrant yellow color. Avoid lemons with dark spots or a dull appearance, as these can indicate overripeness or spoilage.
How should I store my Easy Lemon Bars?
You can keep your Easy Lemon Bars fresh for up to 3 days at room temperature in an airtight container. For longer storage, refrigerate them for up to 1 week, allowing the flavors to develop even more. Just make sure to keep them covered!
Can I freeze my Easy Lemon Bars?
Absolutely! To freeze your Easy Lemon Bars, wrap each slice in plastic wrap and place them in a freezer-safe bag. They can stay in the freezer for up to 3 months. When you’re ready to enjoy, simply thaw them overnight in the fridge and they’ll be ready to delight your taste buds!
How do I prevent my lemon filling from curdling?
To avoid curdling the filling, make sure all your ingredients, especially the eggs, are at room temperature before mixing. When adding the eggs, whisk them in one at a time, mixing until fully incorporated before adding the next. Also, avoid overmixing once the eggs are added to maintain that creamy texture.
Are these Easy Lemon Bars safe for pets or those with allergies?
While these lemon bars are a delicious treat for humans, the ingredients like sugar and citrus can be harmful to pets. Additionally, keep an eye on dietary restrictions; the bars contain gluten due to all-purpose flour and eggs, which may not be suitable for individuals with allergies to these ingredients. Always consult with a healthcare professional if unsure.
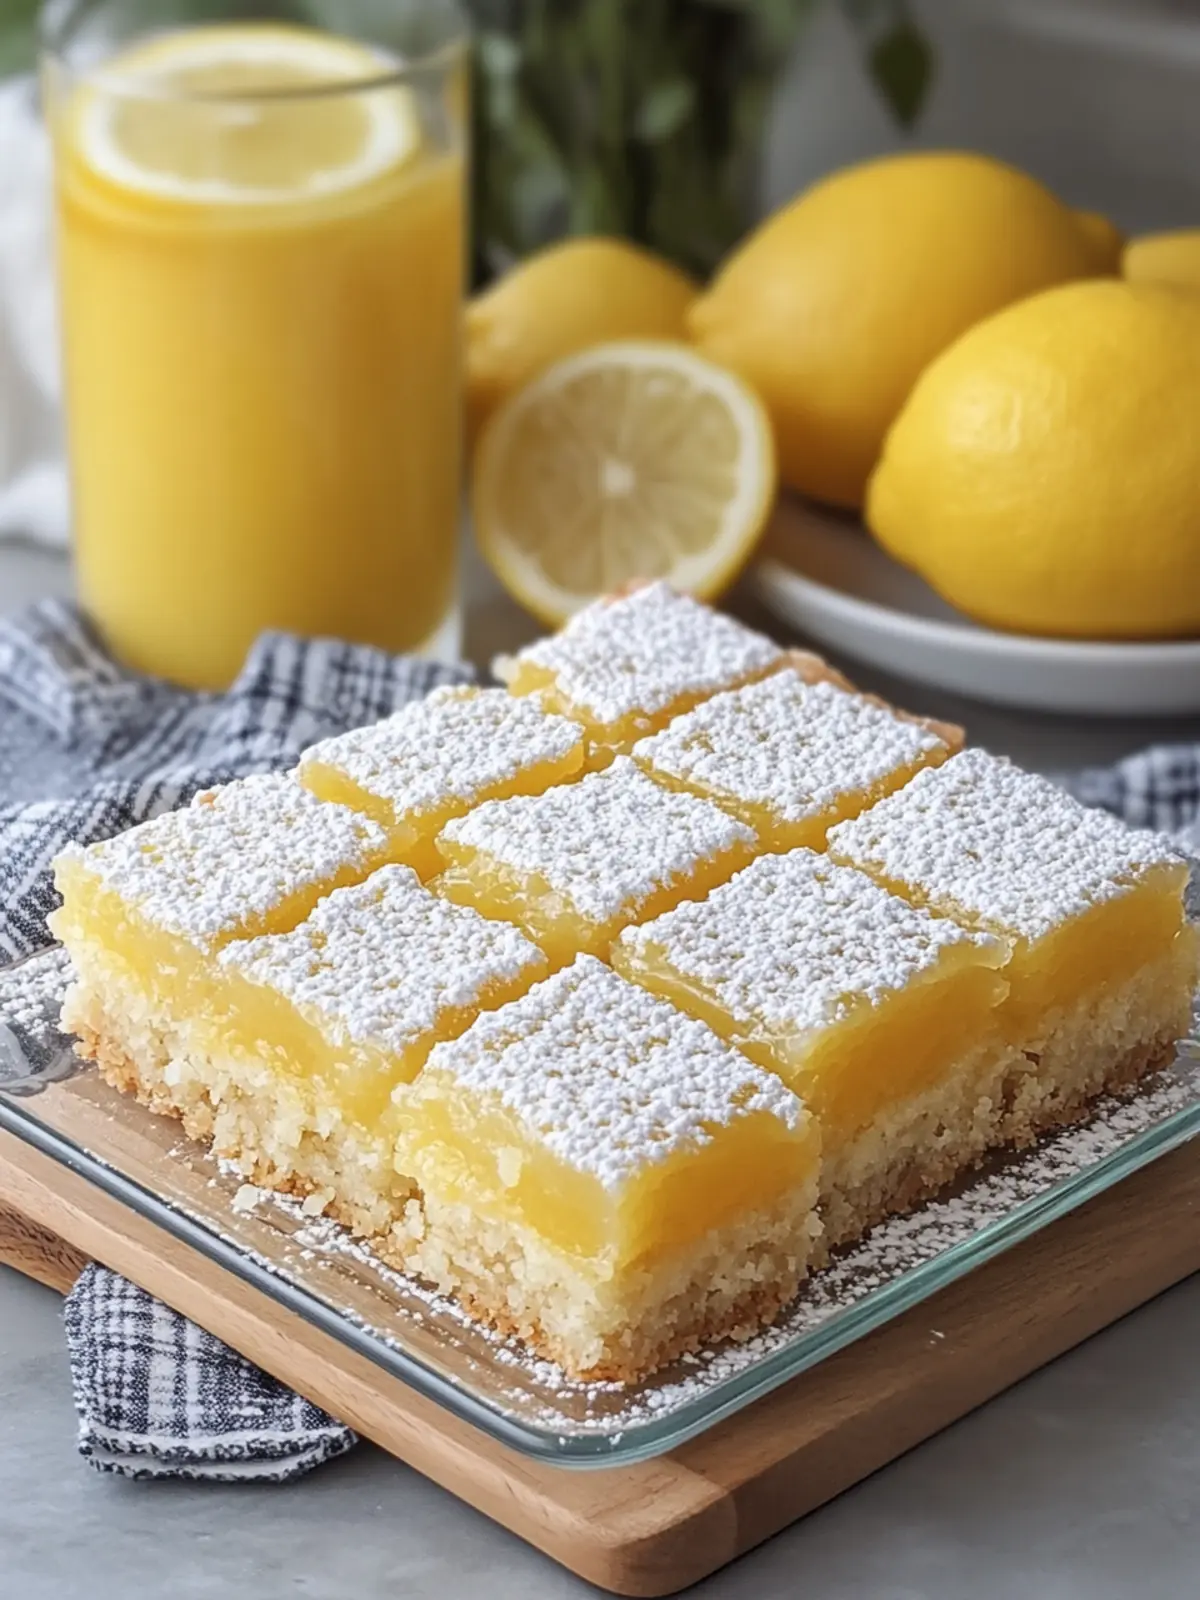
Deliciously Easy Lemon Bars That Brighten Your Day
Ingredients
Equipment
Method
- Preheat your oven to 350°F (175°C) and line a 9 × 13-inch baking pan with parchment paper.
- In a bowl, combine 2 cups of flour, ½ cup of powdered sugar, and ¼ teaspoon of salt. Add 1 cup of softened unsalted butter and 1 teaspoon of vanilla extract. Mix until a soft, crumbly dough forms.
- Firmly press the dough evenly into the prepared pan, ensuring it is level and slightly packed.
- Bake the crust in the preheated oven for 18–20 minutes until lightly golden.
- In a separate bowl, whisk together 1½ cups of granulated sugar and ¼ cup of flour.
- Add 4 large eggs, ⅔ cup of fresh lemon juice, 1 tablespoon of finely grated lemon zest, and ¼ teaspoon of salt. Whisk until smooth and combined.
- Pour the lemon mixture over the warm pre-baked crust, spreading evenly.
- Return to the oven and bake for another 20–25 minutes until set around the edges with a slight jiggle in the center.
- Remove from the oven and cool completely at room temperature for about 1 hour.
- Refrigerate the bars for at least 1 hour to firm up.
- Lift the lemon bars out using parchment and dust the top with ¼ cup of powdered sugar.
- Cut into squares and serve, optionally garnished with fresh mint leaves.