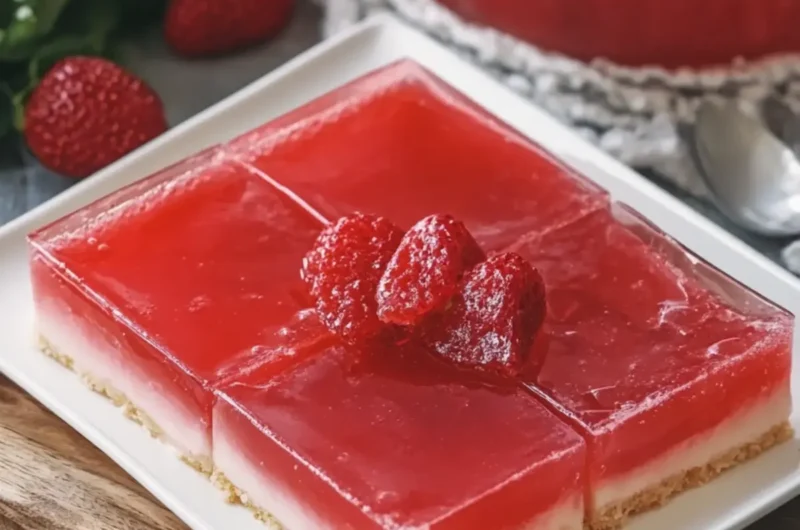
There’s something uniquely satisfying about taking just a handful of everyday ingredients and transforming them into a delightful treat. This Easy Jelly Slice has become a staple in my kitchen, especially when I’m looking for a dessert that strikes the perfect balance between indulgence and simplicity. The creamy, rich flavor of the cream cheese combined with the bright, fruity jelly atop a buttery biscuit base is a symphony of textures and tastes that everyone—friends, family, or even just myself—can’t resist.
I usually whip this up when I have a sudden craving for something sweet but don’t want to spend hours in the kitchen. It’s especially popular during gatherings; the vibrant red jelly topping catches the eye and invites everyone in for a taste. Plus, it’s a breeze to prepare, making it the perfect recipe for those of us trying to escape the cycle of fast food or repetitive meals. Let’s dive into creating this beautiful, nostalgic dessert that’s sure to impress without all the stress!

Why is this Easy Jelly Slice a Must-Try?
Irresistible combination of flavors: The creamy cheese and sweet jelly create a delightful contrast that will have your taste buds dancing.
Quick and easy prep time means you can whip this up in just 15 minutes—perfect for busy weeknights!
Stylish presentation: The vibrant red jelly on top not only tastes great but looks stunning at any gathering, making it a true showstopper.
Versatile dessert: You can switch up the jelly flavors to suit your mood or occasion—strawberry, raspberry, or even mix them!
Crowd favorite: This dessert caters to all ages, ensuring everyone’s sweet tooth is satisfied. Say goodbye to fast food—this slice is a delightful homemade treat!
Easy Jelly Slice Ingredients
Here’s everything you need to create this delectable Easy Jelly Slice!
For the Base
• Digestive biscuits or graham crackers – 250 g for that buttery crunch that forms the perfect base.
• Unsalted butter – ½ cup (113 g), melted to bind the biscuit crumbs beautifully together.
For the Cream Layer
• Cream cheese – 250 g, softened for a smooth and creamy filling.
• Sweetened condensed milk – ½ cup (120 g) lends a rich sweetness to balance the tartness.
• Vanilla extract – 1 tsp for a lovely aroma that elevates the flavor.
• Lemon juice – 1 tbsp (15 ml), a splash of freshness that brightens the cream mixture.
• Unflavored gelatin powder – 1 tsp helps the cream layer set perfectly.
• Cold water – 2 tbsp (30 ml) to activate the gelatin and keep your layers cohesive.
For the Jelly Topping
• Strawberry or raspberry jelly crystals – 1 packet (85 g). Choose your favorite for that irresistible fruity finish!
• Boiling water – 1 cup (250 ml) to dissolve the jelly crystals completely.
• Cold water – ½ cup (125 ml) to temper the mixture, helping it cool before pouring over the cream layer.
With these simple ingredients, you’re just moments away from making this stunning Easy Jelly Slice that promises to bring smiles and sweet memories!
How to Make Easy Jelly Slice
-
Prepare your dish: Line an 8 × 8-inch (20 × 20 cm) square glass casserole with parchment paper or lightly grease it to ensure easy removal later.
-
Make the base: Crush the digestive biscuits or graham crackers into fine crumbs and mix them with the melted butter. Press the mixture firmly into an even layer at the bottom of the prepared dish. Refrigerate for 15–20 minutes until set.
-
Bloom the gelatin: Sprinkle the unflavored gelatin over 2 tablespoons of cold water. Allow it to bloom for 5 minutes, then gently warm it until dissolved, taking care not to boil it.
-
Mix the cream layer: Beat the cream cheese until smooth, then add the sweetened condensed milk, vanilla extract, and lemon juice. Incorporate the dissolved gelatin until everything is evenly combined.
-
Layer the cream: Pour the cream mixture over the chilled biscuit base and smooth it out into an even layer. Refrigerate for 30–45 minutes, or until it’s set enough to support the jelly topping.
-
Prepare the jelly topping: Dissolve the jelly crystals in 1 cup of boiling water, stirring thoroughly. Add the cold water and let it cool to room temperature; avoid letting it set at this stage.
-
Add the topping: Slowly and gently pour the cooled jelly over the cream layer, ensuring an even spread. Refrigerate for at least 4 hours, or until completely firm.
-
Slice and serve: Carefully lift out the Easy Jelly Slice from the dish and cut into neat squares using a warm, clean knife for a tidy finish.
Optional: Garnish with fresh berries or mint leaves for a touch of elegance!
Exact quantities are listed in the recipe card below.
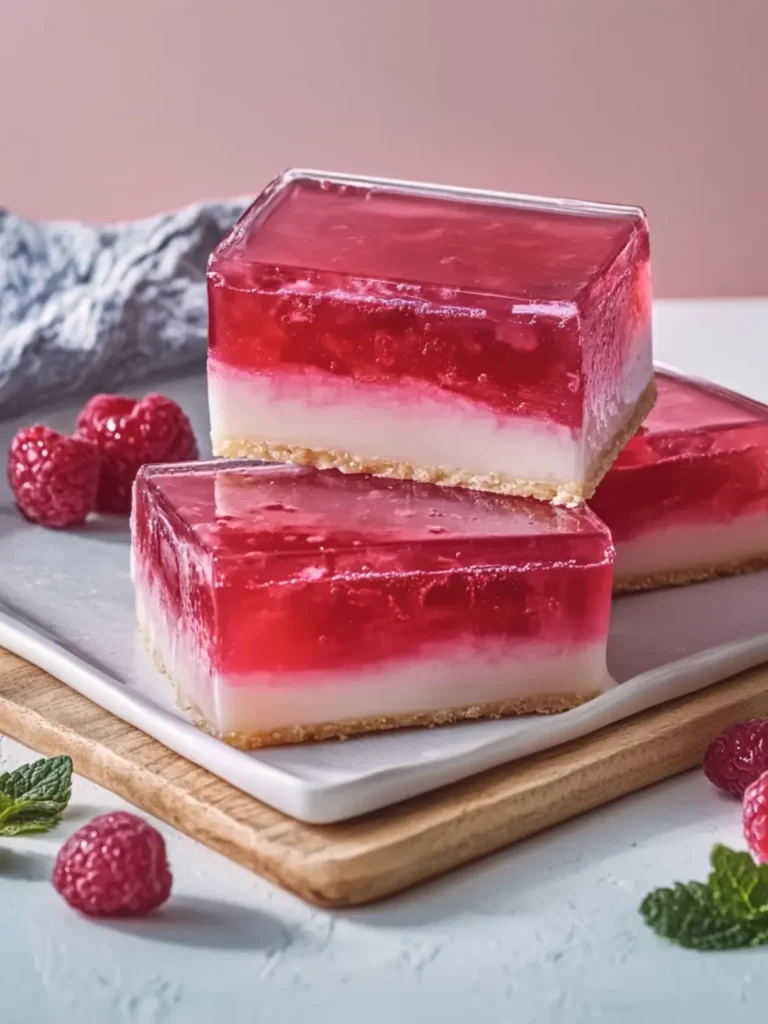
Expert Tips for Easy Jelly Slice
Chill Time Matters: Make sure to refrigerate your cream layer long enough before adding the jelly; this ensures the layers are distinct and won’t mix together.
Proper Gelatin Preparation: Always bloom the unflavored gelatin with cold water first; this prevents lumps and ensures a smooth cream layer in your Easy Jelly Slice.
Watch the Water Temp: Allow the jelly mixture to cool at room temperature to prevent melting the cream layer when poured.
Cutting Cleanly: Use a warm knife to slice the Easy Jelly Slice; this helps achieve clean edges for a beautiful presentation.
Experiment with Fruits: Don’t be afraid to switch up the jelly flavoring—try mixing different fruits or flavors to create a personalized touch!
How to Store and Freeze Easy Jelly Slice
Fridge: Keep your Easy Jelly Slice in an airtight container or covered with plastic wrap in the fridge for up to 5 days to maintain its freshness.
Freezer: For longer storage, you can freeze the Easy Jelly Slice for up to 2 months. Wrap individual squares tightly in plastic wrap before placing them in a freezer-safe container.
Thawing: To enjoy your frozen Easy Jelly Slice, transfer it to the fridge for about 4 hours or overnight to thaw gently, preserving its texture.
Serving Tips: After thawing, you can add a fresh garnish of berries or a drizzle of cream to elevate the dessert before serving!
What to Serve with Easy Jelly Slice?
Imagine a cheerful gathering where the sun shines brightly, bringing warmth to a cool afternoon—all that’s missing is the perfect platter to complement your delightful dessert!
-
Fresh Berries: Adding a medley of strawberries, blueberries, and raspberries not only enhances the visual appeal but their natural sweetness contrasts beautifully with the creamy filling.
-
Whipped Cream: A dollop of luscious whipped cream brings a lightness to each bite, enhancing the texture and richness of the Easy Jelly Slice.
-
Chocolate Drizzle: A simple drizzle of melted chocolate adds an indulgent twist to the assemblage of textures, making your dessert even more irresistible.
-
Mint Leaves: For a refreshing touch, garnish with a sprig of mint. Its vibrant color and aromatic flavor elevate the overall experience with a burst of freshness.
-
Ice Cream: Pairing with a scoop of vanilla or strawberry ice cream creates a delightful contrast of temperatures and flavors, beckoning for each indulgent spoonful.
-
Sparkling Juice: Serve your dessert with sparkling apple or raspberry juice for a fun, non-alcoholic beverage that pairs wonderfully with the sweet notes of the Easy Jelly Slice.
These pairings make for a stylish dessert table, ensuring every element works harmoniously together to create a memorable dining experience.
Make Ahead Options
These Easy Jelly Slices are a fantastic choice for those looking to save time while still serving up an impressive dessert! You can prepare the biscuit base and the cream layer up to 24 hours in advance, simply refrigerating them. For optimal freshness, keep the jelly layer separate until you’re ready to serve. Prepare the jelly topping and pour it over the cream layer just a few hours before serving (it needs at least 4 hours to set perfectly). By taking these simple steps, you’ll ensure that your Easy Jelly Slice remains just as delicious and eye-catching, allowing you to focus on enjoying time with your family instead of being tied to the kitchen!
Easy Jelly Slice Variations
Feel free to let your creativity shine by customizing this delightful dessert to match your taste and dietary preferences!
-
Gluten-Free: Substitute digestive biscuits with gluten-free cookies or almond flour mixed with coconut oil for a nutty flavor.
-
Low-Sugar: Use a sugar-free jelly powder and replace sweetened condensed milk with a low-calorie alternative for a healthier twist.
-
Fruit Layer: Add a fresh fruit layer by spreading a thin layer of mashed strawberries or raspberries on top of the cream before pouring the jelly.
-
Chocolate Lovers: Incorporate cocoa powder into the cream layer for a chocolatey flavor that beautifully contrasts with the jelly.
-
Add Zest: Boost the flavor by adding a teaspoon of orange or lime zest to the cream mixture for a citrusy brightness.
-
Nutty Crunch: Mix crushed nuts or granola into the biscuit base for an added texture that’ll give your Easy Jelly Slice a delightful crunch.
-
Dessert Shots: Layer the components into small glasses to create individual dessert shots—perfect for parties or casual gatherings.
-
Icy Treats: Freeze small portions in ice cube trays for a refreshing summer treat; just pop them out when you need a quick sweet fix!
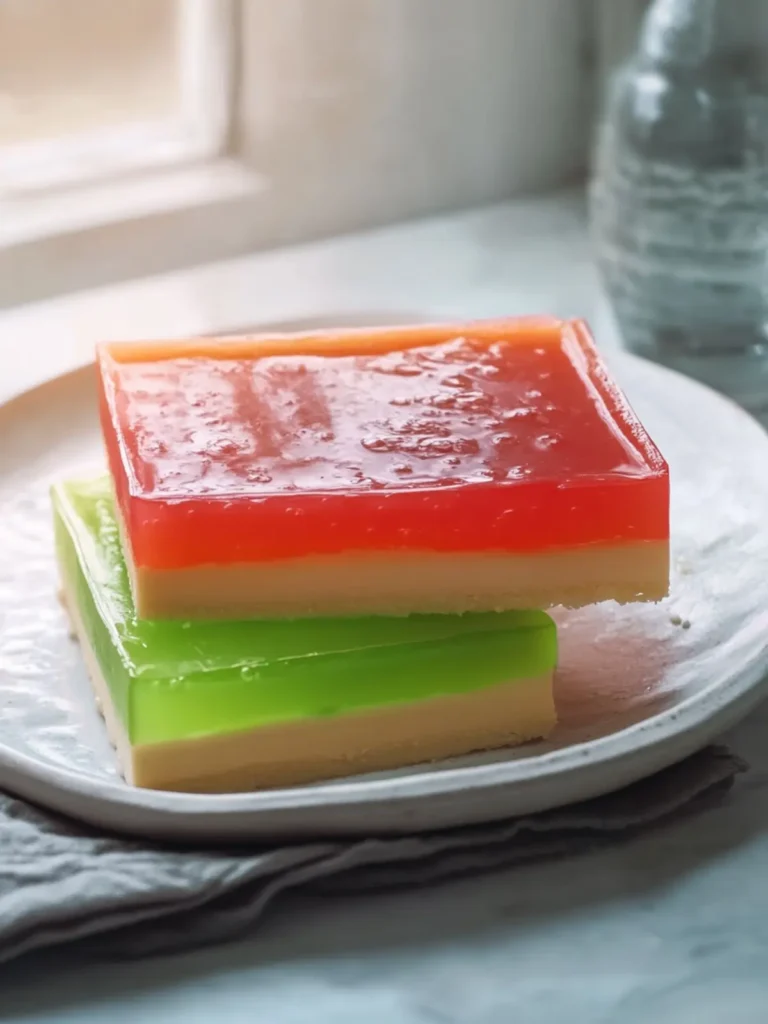
Easy Jelly Slice Recipe FAQs
What type of biscuits work best for the base?
Absolutely! You can use either digestive biscuits or graham crackers, depending on your preference. Digestive biscuits provide a delicious buttery crunch, while graham crackers offer a slightly sweeter flavor. Both create a perfect foundation for your Easy Jelly Slice.
How should I store the Easy Jelly Slice?
For short-term storage, keep your Easy Jelly Slice in an airtight container in the fridge. This will keep it fresh for up to 5 days. If you want to preserve it for a more extended period, you can freeze it! Just wrap individual squares tightly in plastic wrap and place them in a freezer-safe container. It will maintain its delightful flavors for up to 2 months.
Can I freeze the Easy Jelly Slice? What’s the best method?
Of course! To freeze your Easy Jelly Slice, first allow it to set fully in the refrigerator. Once set, wrap each square tightly in plastic wrap to prevent freezer burn. Place the wrapped squares in a freezer-safe container or bag, and they’ll keep well for up to 2 months. When you’re ready to enjoy, simply transfer them to the fridge for about 4 hours or overnight to thaw gently.
What do I do if my cream layer isn’t setting properly?
If you find your cream layer is not setting as expected, it’s likely that the gelatin was not bloomed correctly or fully dissolved. Make sure you bloom the unflavored gelatin in cold water for about 5 minutes before warming it gently to dissolve. Also, ensure that you refrigerate the cream layer long enough (30–45 minutes) to achieve a firm consistency before adding the jelly topping. If you’ve done all this and it’s still soft, it may need more time in the fridge.
Is this Easy Jelly Slice safe for children with allergies?
Great question! This dessert contains dairy and may not be suitable for individuals with lactose intolerance or dairy allergies. Always check for any allergies related to the specific ingredients, especially when using flavored jelly, as some may contain allergens. For a dairy-free version, consider using dairy-free cream cheese and a suitable jelly substitute that suits your dietary needs!
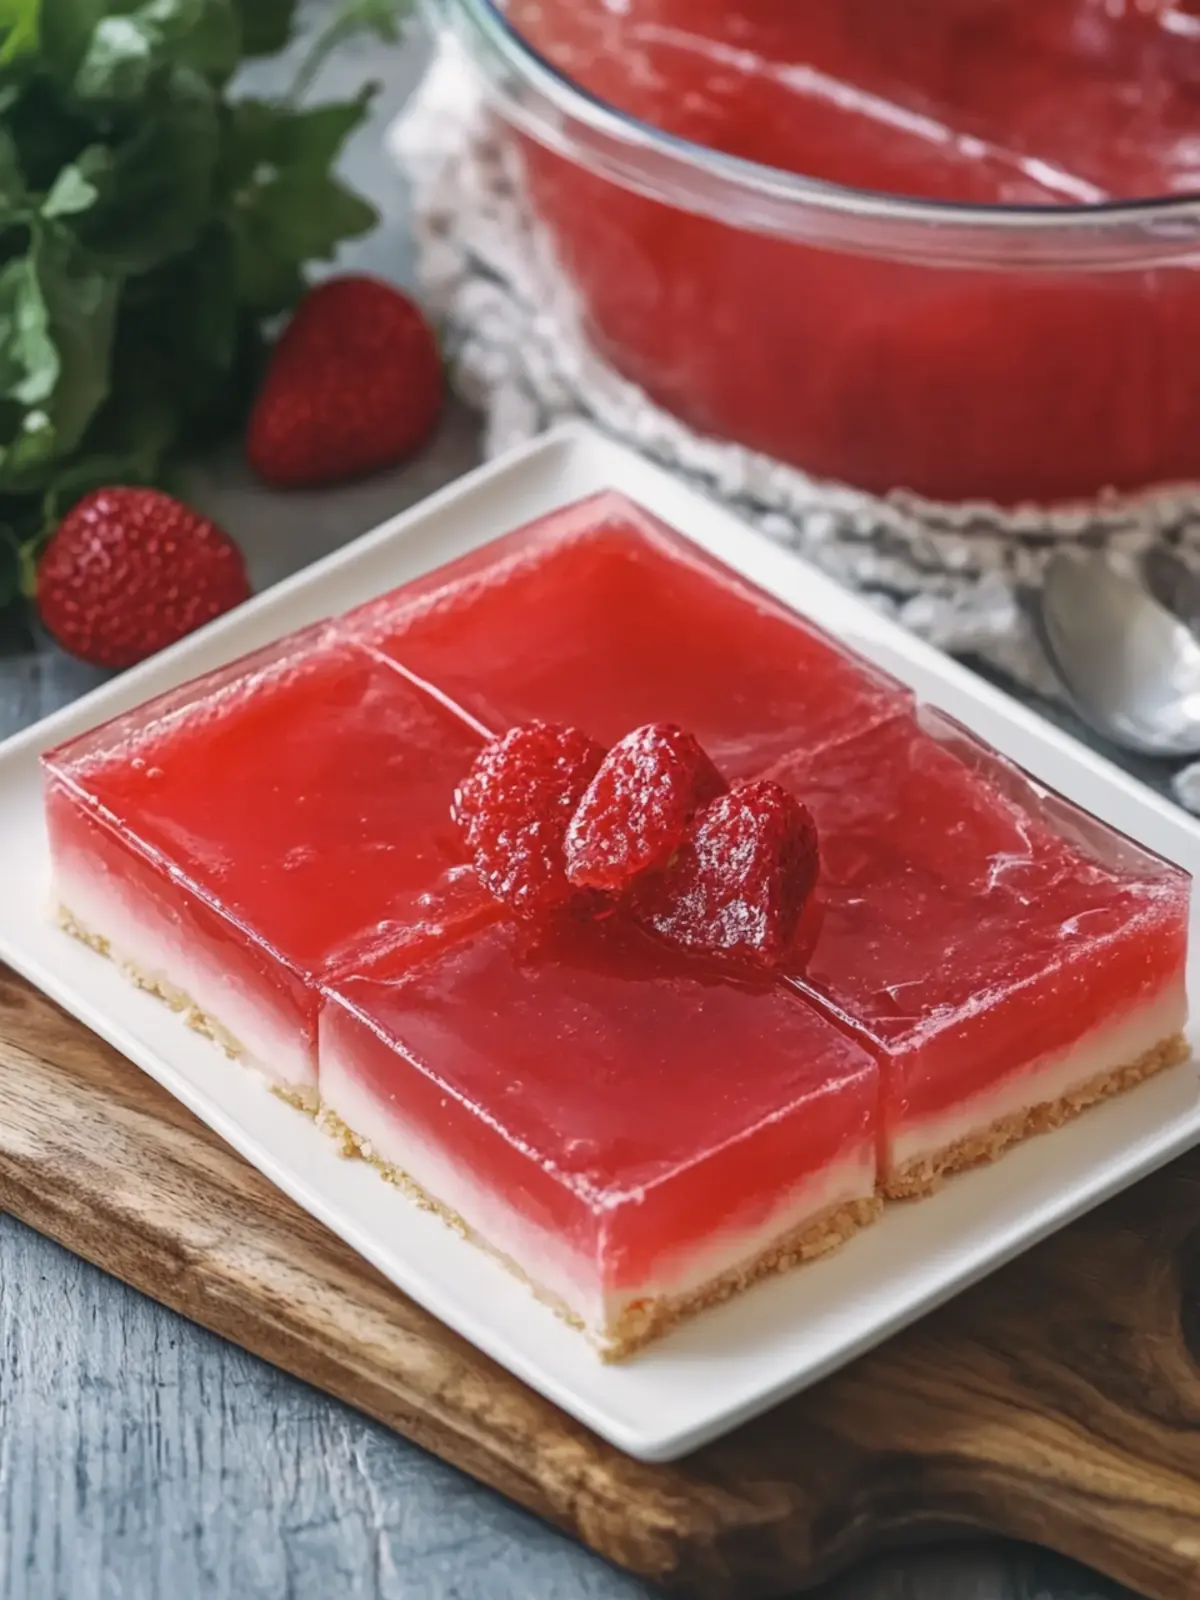
Delicious Easy Jelly Slice with Creamy Biscuit Base
Ingredients
Equipment
Method
- Line an 8 × 8-inch square glass casserole with parchment paper or lightly grease it.
- Crush the digestive biscuits and mix with the melted butter. Press firmly into the bottom of the dish, then refrigerate for 15–20 minutes.
- Sprinkle gelatin over cold water and allow to bloom for 5 minutes. Warm gently until dissolved.
- Beat cream cheese until smooth, then mix in sweetened condensed milk, vanilla extract, and lemon juice. Add dissolved gelatin and combine.
- Pour cream mixture over the chilled biscuit base and smooth it out. Refrigerate for 30–45 minutes.
- Dissolve jelly crystals in boiling water, then mix in cold water and let it cool to room temperature.
- Gently pour cooled jelly over the cream layer and refrigerate for at least 4 hours.
- Lift out the Easy Jelly Slice and cut into neat squares using a warm knife.