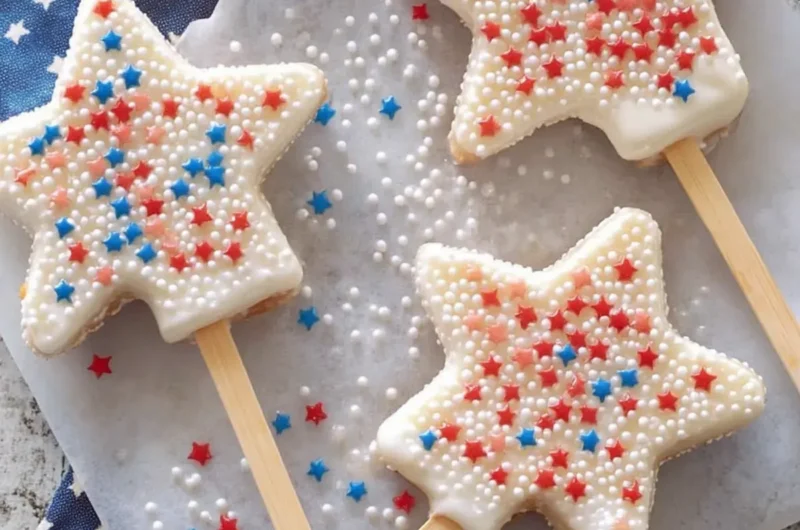
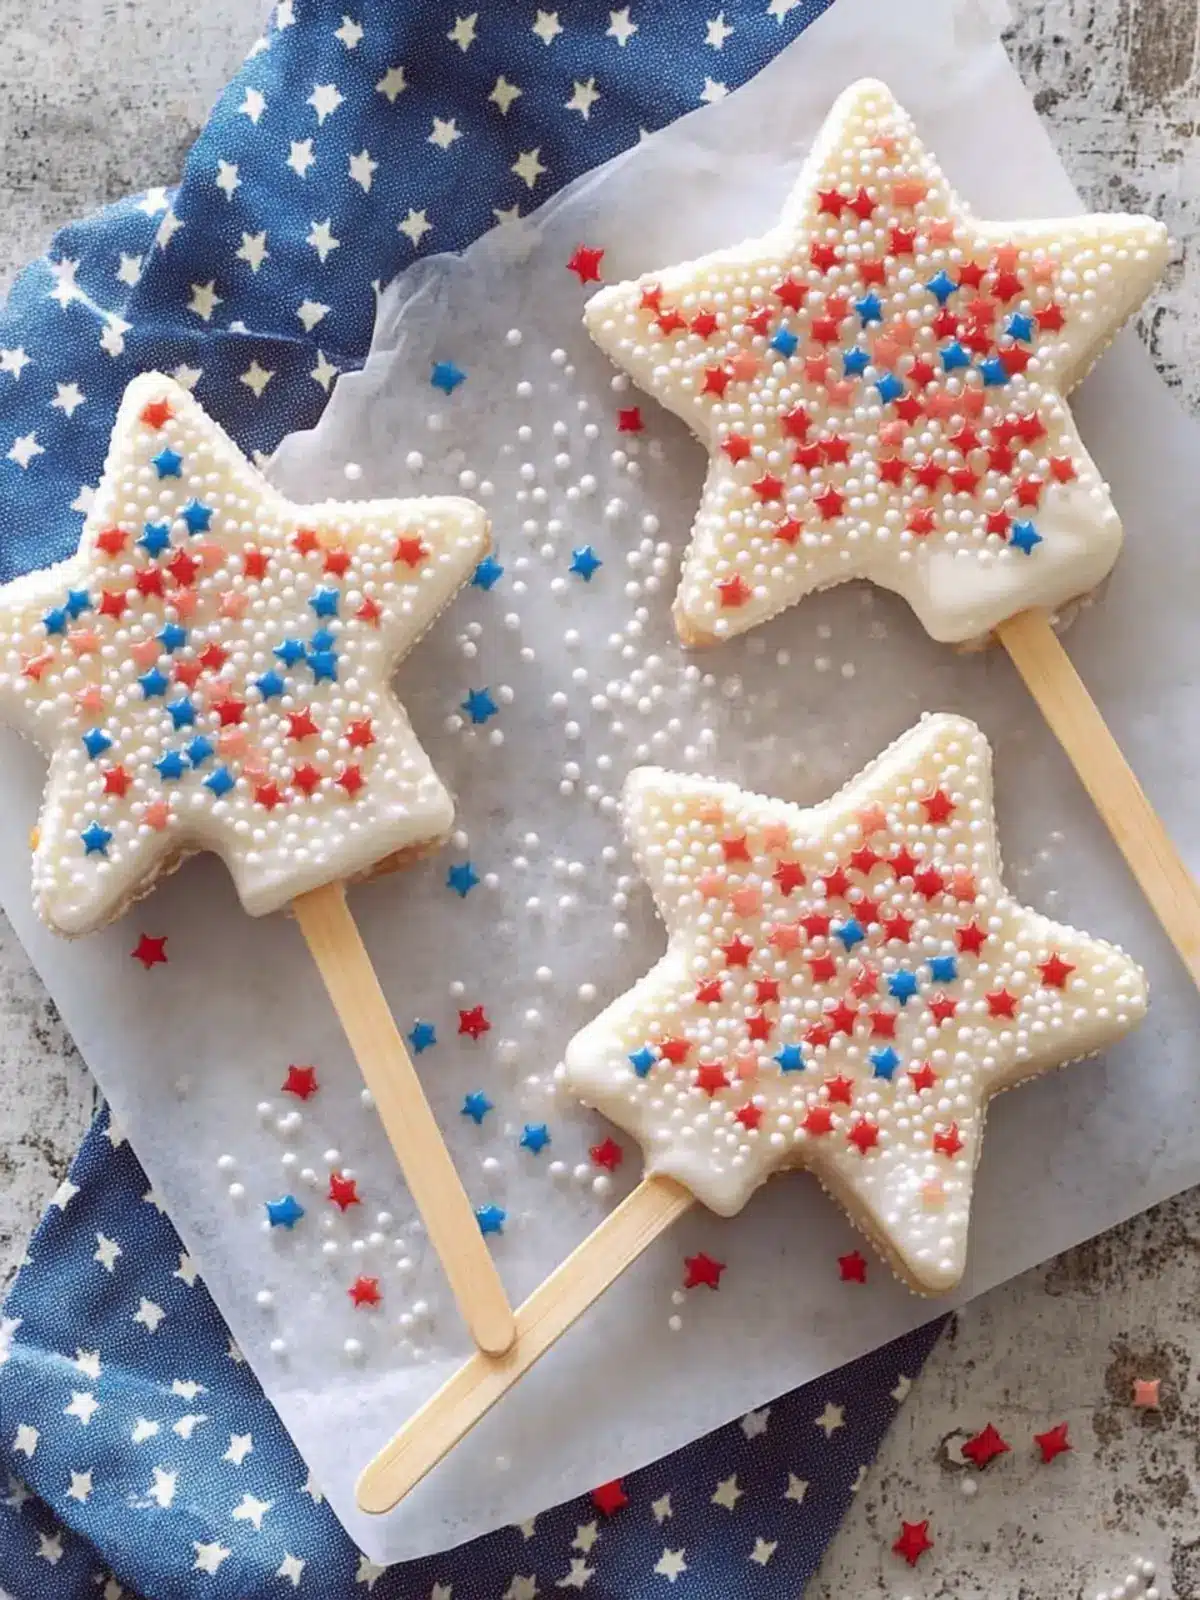
The sound of crackling rice and the sweet, warm aroma of melting marshmallows fill my kitchen, instantly transporting me back to my childhood. There’s something wonderfully nostalgic about crafting a treat that’s both playful and delicious, like these Crispy Star Pops. They’re not just any dessert; they’re a celebration on a stick! With just 30 minutes of prep time, these delightful pops are perfect for festive occasions, whether it’s the Fourth of July or a whimsical birthday party.
As I watched my kids beam with joy while adding sprinkles, I knew I had found a recipe that blends ease and excitement. Each star-shaped pop offers a delightful crunch on the outside, enveloping a soft, marshmallowy center. They’re incredibly versatile too—ideal for sharing, packaging as cute favors, or simply devouring at home. So, grab your butter and marshmallows, and let’s make a sweet creation that will have everyone smiling!
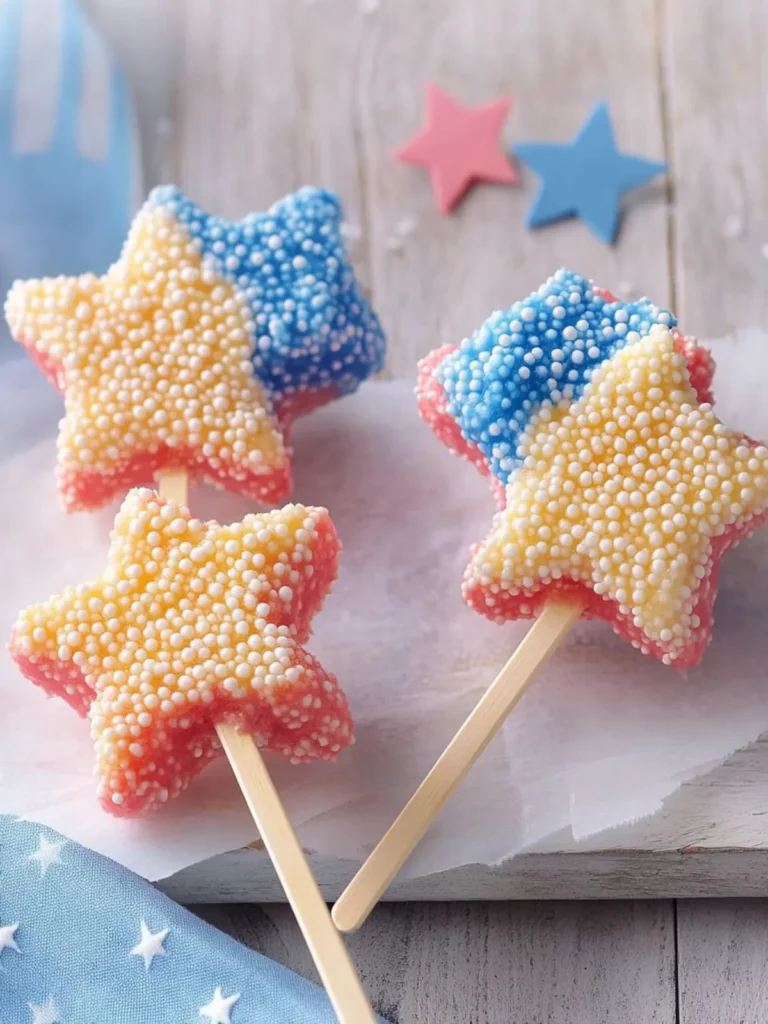
Why are Crispy Star Pops so delightful?
Nostalgic Appeal: These Crispy Star Pops are reminiscent of childhood treats, bringing back memories of joy and creativity in the kitchen.
Quick & Easy: With only 30 minutes of prep, they’re perfect for busy schedules without sacrificing fun.
Endless Customization: Personalize them with different sprinkles or flavors, making them suitable for any celebration.
Kid-Friendly: Kids love both making and eating these pops, making them a fantastic family activity.
Shareable Treat: Their festive look and delightful taste can easily earn you compliments at parties or gatherings—just like during my patriotic celebrations!
Sweet Satisfaction: Each pop delivers a satisfying crunch with a soft center, ensuring smiles with every bite.
Crispy Star Pops Ingredients
For the Base
- Miniature Marshmallows – Provide sweetness and base texture for the pops. Note: Regular marshmallows can be used but may alter the texture slightly.
- Butter – Adds richness and helps bind marshmallows when melted. Substitutable with margarine for dairy-free options.
- Rice Krispies – Creates the crispy texture of the pops. Substitute with another crispy cereal if preferred.
For Decoration
- Wooden Pop Sticks – Used for serving them as pops. Paper straws can be used for a festive twist.
- White Baking Chips – Used for coating the pops to add a sweet, creamy layer. Can replace with dark chocolate chips for a different flavor.
- Shortening – Helps achieve a smooth coating when melted with the white chips. Can omit but will affect the smoothness of the coating.
- Red, White, and Blue Sprinkles – Garnish for decoration, enhancing the festive appearance. Regular sprinkles can be used as an alternative.
How to Make Crispy Star Pops
-
Melt Together: In a Dutch oven, combine miniature marshmallows and butter over medium heat. Stir frequently until everything is fully melted and smooth, inviting that sweet aroma into your kitchen.
-
Mix and Coat: Remove the pot from heat and quickly stir in the Rice Krispies. Make sure every puff is coated evenly in the marshmallow mixture for that irresistible crunch.
-
Press into Pan: Grease a 15x10x1-inch baking pan. Press the sticky mixture into the pan evenly, creating a flat and firm surface to cut the perfect stars.
-
Cut the Stars: Use a 3-inch star-shaped cookie cutter to cut out your stars. Gently transfer them onto waxed paper, allowing them to keep their shape while cooling.
-
Melt Coating: In a microwave-safe bowl, combine white baking chips and shortening. Microwave in 30-second intervals, stirring until the mixture is completely smooth and creamy.
-
Decorate: Drizzle or spread the melted white coating over each star. Immediately add red, white, and blue sprinkles to each, ensuring they stick for that festive flair!
-
Cool Completely: Allow the pops to cool completely on the waxed paper before serving or packaging for your next celebration.
Optional: For an extra touch of fun, try adding flavored extracts to the marshmallow mixture!
Exact quantities are listed in the recipe card below.

What to Serve with Crispy Star Pops?
Complement your festive celebration with these delightful treats that add a splash of color and sweetness to your gathering.
-
Fresh Fruit Skewers: Juicy strawberries, blueberries, and pineapple chunks offer a refreshing contrast to the sweetness of the pops. They also add vibrant colors that match well with the patriotic theme.
-
Vanilla Ice Cream: Creamy, smooth vanilla ice cream provides a rich counterpart to the crunchy pops, creating a delightful texture combination. Serve it in small cups alongside the pops for easy enjoyment.
-
Chocolate Dipping Sauce: A warm, silky chocolate sauce invites guests to dip their pops for an extra indulgent twist. This pairing brings together the best of both worlds—crunchy and creamy.
-
Sparkling Lemonade: The zesty fizz of sparkling lemonade perfectly balances the sweetness of the Crispy Star Pops, making it a refreshing choice for summer gatherings. This drink adds an effervescent touch to your dessert table.
-
Nutty Trail Mix: A handful of mixed nuts, seeds, and dark chocolate pieces introduces a crunchy, savory element that contrasts beautifully with the sweet pops. This combination will keep everyone coming back for more.
-
Mini Cupcakes: Consider serving a selection of mini cupcakes with patriotic colors for a double dessert donation. This adds a whimsical touch and ensures there’s a variety of sweets for everyone to enjoy.
-
Fruit-Infused Water: Infuse water with fresh fruits like lemons, limes, and mint leaves for a refreshing beverage that adds flavor without all the sugar. A healthy option to balance out the dessert vibes.
Storage Tips for Crispy Star Pops
Room Temperature: Store your Crispy Star Pops in an airtight container at room temperature for up to 1 week to keep them fresh and crunchy.
Avoid Refrigeration: Do not refrigerate the pops, as this can cause them to lose their delightful crispiness and change the texture.
Packaging: If you’re making these for a party or as favors, consider wrapping them individually in wax paper to prevent sticking and maintaining their festive appearance.
Freezing: For longer storage, you can freeze the pops for up to 2 months. Just ensure they are well-wrapped in an airtight container or freezer bag to prevent freezer burn.
Expert Tips for Crispy Star Pops
-
Melt Carefully: Always melt marshmallows and butter over medium heat and stir frequently to avoid burning—nobody wants that toasted marshmallow taste!
-
Press Firmly: Ensure the mixture is pressed firmly into the pan; a flat base will allow for clean star shapes that hold together nicely.
-
Cooling Time: Allow the pops to cool completely before serving; this helps maintain their crispy texture and keeps them from sticking together.
-
Substitution Savvy: Don’t hesitate to swap ingredients, like using dairy-free margarine or dark chocolate chips, to make the Crispy Star Pops suit your dietary needs.
-
Storage Tips: Keep pops in an airtight container at room temperature to maintain their crunchiness; avoid refrigeration as it can ruin their delightful texture.
Make Ahead Options
These Crispy Star Pops are a fantastic treat to prepare ahead of time, making them perfect for busy weeknights or festive gatherings! You can make the base mixture and cut the star shapes up to 24 hours in advance; simply store the cut stars in an airtight container at room temperature to maintain their delicious crunch. When you’re ready to serve, just melt the white baking chips and drizzle them over the pops, adding sprinkles before the coating sets. This way, you can enjoy the fun of decorating with your family while saving precious time for your celebration!
Variations & Substitutions for Crispy Star Pops
Feel free to add your personal touch to these delightful pops—let creativity guide your kitchen!
-
Dairy-Free: Substitute butter with margarine and use non-dairy baking chips for a completely dairy-free treat.
Incorporating dairy-free options ensures everyone can enjoy these delicious pops without compromising on taste. -
Crispy Cereal Swap: Use another crispy cereal like Cornflakes or Fruity Pebbles instead of Rice Krispies for a fun flavor twist.
This enhances not just the crunch but also adds a unique taste profile, making each bite a surprise. -
Colorful Sprinkles: Change up the sprinkles according to the season or celebration—think orange and black for Halloween!
Different colors can transform the look and feel, catering to any festive occasion with ease. -
Chocolate Coating: Instead of white baking chips, melt dark or milk chocolate for a rich and indulgent flavor.
A chocolate coating adds an extra layer of satisfaction and pairs beautifully with the marshmallow texture. -
Flavor Boost: Mix in flavored extracts, like vanilla, almond, or even a splash of peppermint for a seasonal vibe.
Experimenting with flavors can surprise your palette and delight guests in ways they didn’t expect. -
Nutty Crunch: Add crushed nuts or nut butter to the Rice Krispies mix for an extra crunch and a hint of nutty flavor.
This gives a satisfying bite while providing a nutritious twist that adds depth to the texture. -
Heat Element: For those who love a kick, sprinkle in a bit of cinnamon or cayenne pepper to the melted mixture before coating them.
This unexpected zing will wake up the taste buds and impress adventurous snackers at your gathering. -
Mini Star Pops: Use mini cookie cutters for smaller star pops, perfect for kids’ parties or for a bite-sized treat.
Making them smaller not only creates a fun snack but also encourages moderation without skimping on enjoyment!
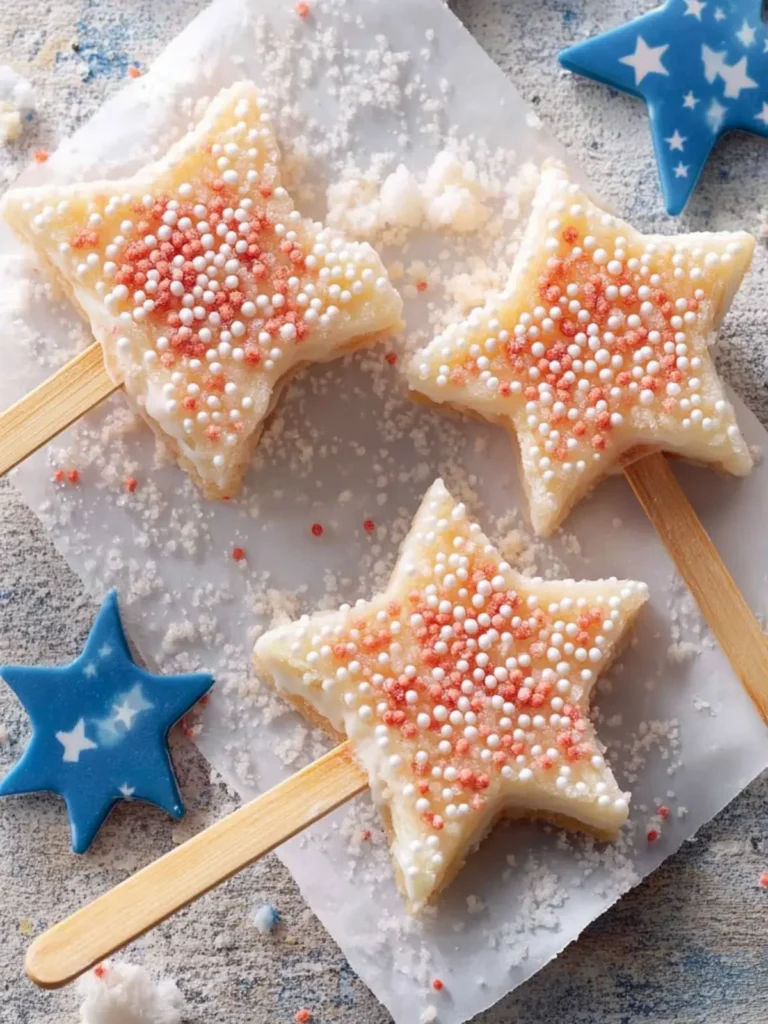
Crispy Star Pops Recipe FAQs
What is the best way to select and prepare the marshmallows?
Absolutely! For the best results, look for packages of miniature marshmallows that are fresh and free from any dark spots. When using regular marshmallows, be aware that they may slightly alter the texture of your Crispy Star Pops. To prepare them, just cut them into smaller pieces if you’re choosing the larger ones; this helps them melt more evenly with the butter.
How should I store my Crispy Star Pops?
I recommend storing your pops in an airtight container at room temperature for up to 1 week. If you leave them exposed to the air, they can become chewy instead of maintaining that delightful crunch. Avoid refrigeration, as it may cause them to lose their crispness and affect the texture.
Can I freeze my Crispy Star Pops?
Yes, you can freeze these treats for up to 2 months! To do this, wrap each star individually in plastic wrap or place them in a freezer-safe airtight container, ensuring they don’t stick together. When you’re ready to enjoy them, simply let them thaw at room temperature for about 30 minutes before serving.
What should I do if my star mixture is too sticky?
If your mixture feels too sticky, don’t worry! This can happen if the marshmallow mixture didn’t melt completely or if it was overcooked. To fix it, you can add a small amount of extra Rice Krispies, mixing them in until the desired consistency is achieved. Pressing the mixture more firmly into the pan will also help to maintain their shape.
Are there any allergy considerations with this recipe?
Very! If you’re making these for someone with allergies, be sure to check the ingredient labels. The use of butter can be substituted with dairy-free margarine for lactose-intolerant options. Additionally, if you want to avoid gluten, ensure that your Rice Krispies are labeled gluten-free. For nut allergies, confirm that your sprinkles and other additives are free from cross-contamination.
Crispy Star Pops: A Fun, Easy Treat for Celebrations
Ingredients
Equipment
Method
- In a Dutch oven, combine miniature marshmallows and butter over medium heat. Stir frequently until everything is fully melted and smooth.
- Remove the pot from heat and quickly stir in the Rice Krispies, making sure every puff is coated evenly in the marshmallow mixture.
- Grease a 15x10x1-inch baking pan and press the sticky mixture into the pan evenly, creating a flat and firm surface.
- Use a 3-inch star-shaped cookie cutter to cut out your stars. Transfer them onto waxed paper, allowing them to keep their shape while cooling.
- In a microwave-safe bowl, combine white baking chips and shortening. Microwave in 30-second intervals, stirring until the mixture is completely smooth.
- Drizzle or spread the melted white coating over each star. Immediately add red, white, and blue sprinkles to each.
- Allow the pops to cool completely on the waxed paper before serving or packaging.