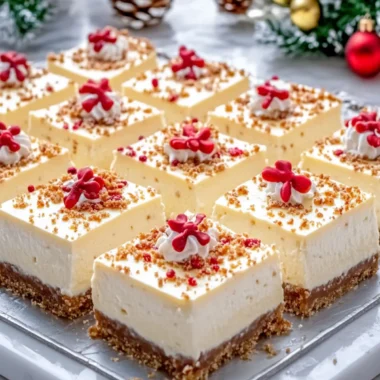
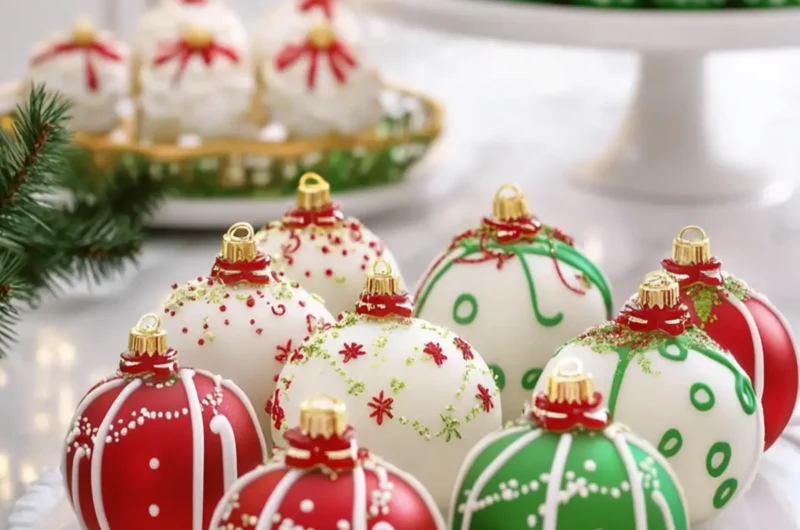
As the holiday season approaches, the air becomes rich with tradition, and the kitchen buzzes with the excitement of festive baking. Just the other day, while watching my children string lights on the tree, an idea struck me—what if we could bring the charm of Christmas ornaments to life in a delicious treat? That’s when I decided to whip up these delightful Christmas Ornament Cake Balls with Red, Green, and White Chocolate Coating.
With every bite, you’re met with the perfect combination of crisp, chocolatey Oreo goodness and creamy richness from the cream cheese. These little gems not only satisfy your sweet tooth but also add a whimsical touch to your holiday gatherings. Imagine placing a plate of these eye-catching treats on the table; they will not only look festive but will quickly become the star of your holiday spreads! So, whether you’re hosting a family gathering or need the perfect potluck contribution, these truffles are here to elevate your festive spirit without the fuss. Let’s dive into this fun and easy recipe that’s sure to become a new Christmas classic!
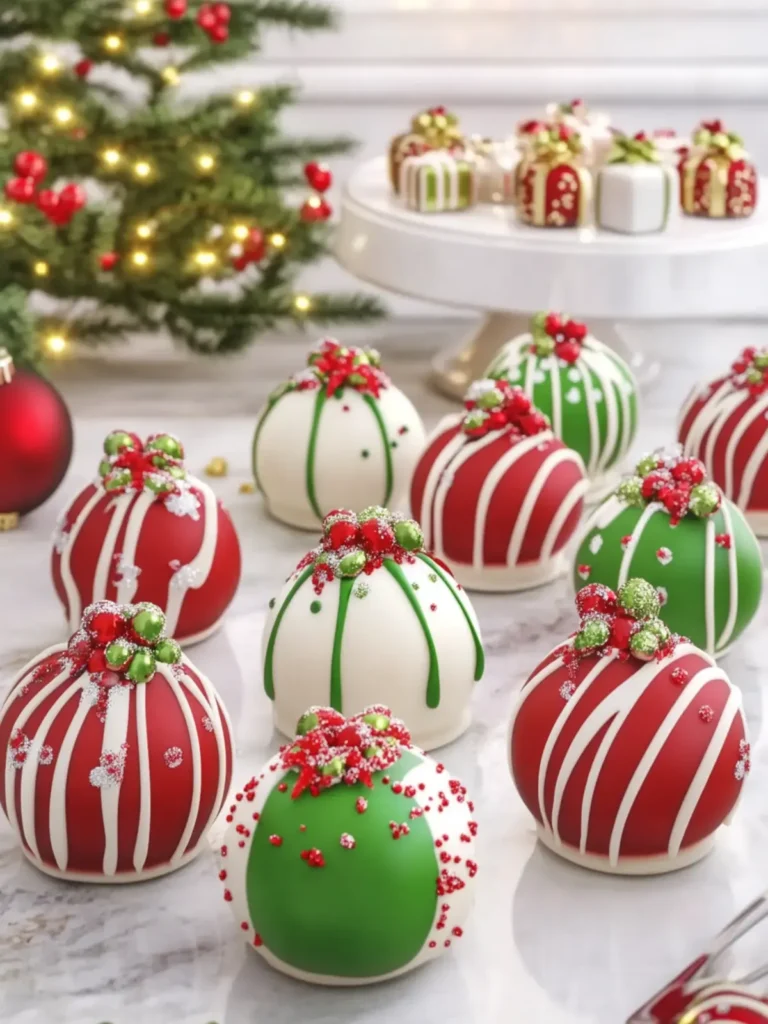
Why are Christmas Ornament Cake Balls a must-try?
Festive Fun: These Christmas Ornament Cake Balls are a playful take on traditional truffles that will thrill both kids and adults alike.
Easy to Make: With simple steps and basic ingredients, this recipe makes holiday baking a breeze.
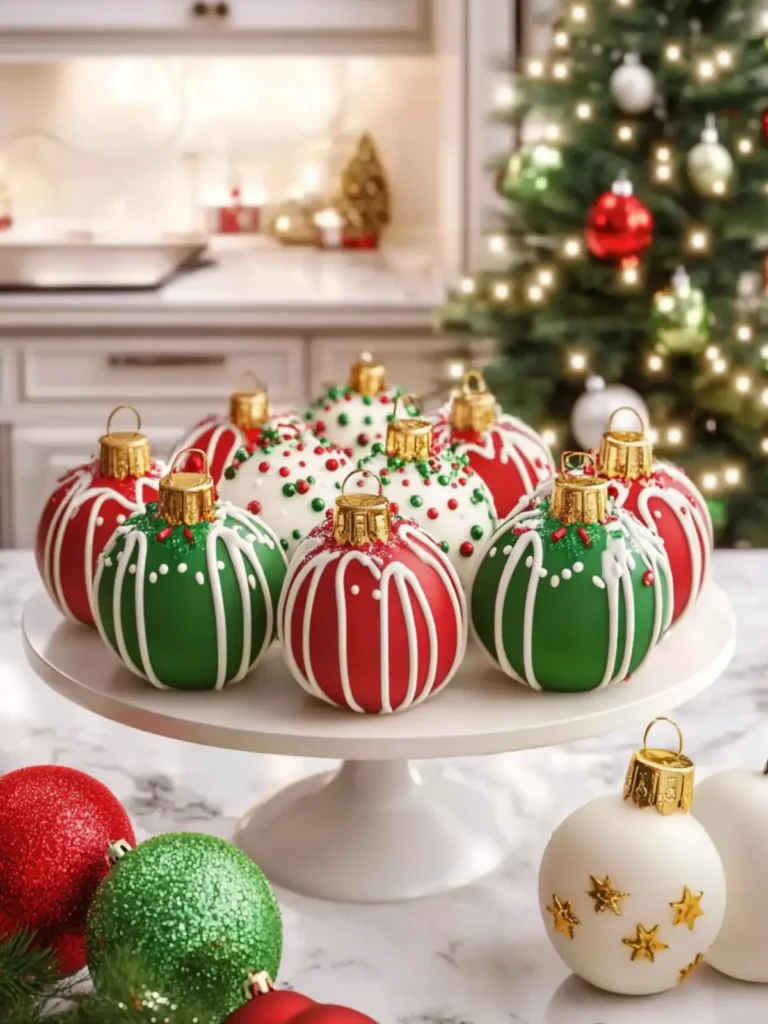
Impressive Presentation: Their colorful appearance and delightful design will steal the show at any gathering!
Deliciously Decadent: The creamy Oreo and cream cheese filling paired with vibrant chocolate coatings create a treat that’s sure to please.
Versatile Treat: Perfect for holiday parties, family get-togethers, or as thoughtful homemade gifts. Give them a try along with our Cheesecake Brownie Bars!
Christmas Ornament Cake Balls Ingredients
• Delightful components for festive treats!
For the Cake Balls
- 36 Oreo sandwich cookies – The base of the truffles, providing that beloved cookie crunch!
- 8 oz cream cheese, softened – Adds rich creaminess to balance the sweetness of the cookies.
- 1 teaspoon vanilla extract – A touch of warmth that enhances the overall flavor beautifully.
For the Chocolate Coatings
- 12 oz red candy melts – Bright and festive, these will be one of your main coating colors!
- 12 oz green candy melts – Adds a wonderful pop of color, reminiscent of Christmas trees.
- 12 oz white chocolate melting wafers – A creamy coating that creates a beautiful contrast with the other colors.
- 3 teaspoons coconut oil (optional) – Helps achieve a smoother melting consistency for your coatings.
For Decorating
- ¼ cup white chocolate melting wafers (for drizzling) – Adds an elegant touch to embellish the cake balls.
- 2 tablespoons red candy melts (for drizzling) – For delightful accents that tie in the festive colors.
- 2 tablespoons green candy melts (for drizzling) – Another festive drizzle to complete the look.
- 3 tablespoons red, green, and white Christmas sprinkles – These add a fun, decorative crunch to your creations!
- 2 tablespoons edible white snowflake sprinkles – Perfect for giving that winter wonderland feel.
- 24 small edible gold ornament caps with loops (or homemade fondant caps) – These charming caps transform your truffles into ornament-style delights!
Get ready to indulge in these Christmas Ornament Cake Balls with Red, Green, and White Chocolate Coating; they are sure to bring joy to your holiday celebrations!
How to Make Christmas Ornament Cake Balls
-
Crush the Oreos: Begin by placing all 36 Oreo cookies, cream filling included, into a food processor. Blend until you achieve fine crumbs, giving your truffles that irresistible cookie texture.
-
Mix the truffle mixture: In a large bowl, combine your fine Oreo crumbs, softened cream cheese, and vanilla extract. Mix until everything is perfectly blended into a thick, smooth dough that’s easy to handle.
-
Shape the balls: Divide your dough into 24 equal portions, about 1 tablespoon each. Roll each portion into a smooth, round ball, creating a lovely, uniform shape that fits the festive theme.
-
Chill the balls: Arrange your Oreo balls on a parchment-lined baking sheet and pop them in the refrigerator for 30 minutes. This helps them firm up, making them easier to coat.
-
Melt the coatings: In microwave-safe bowls, melt the red, green, and white candy coatings separately, heating in 20-second intervals and stirring until smooth. If needed, add 1 teaspoon of coconut oil to create a silky consistency.
-
Dip the Oreo balls: Carefully coat 8 balls in red, 8 in green, and 8 in white chocolate. Let any excess coating drip off before placing them back on the parchment-lined sheet to set.
-
Attach ornament caps: While the chocolate coating is still soft but not liquid, gently press one edible gold ornament cap onto the top of each ball to create that festive ornament look.
-
Prepare decorative drizzles: Melt the additional white chocolate, red candy melts, and green candy melts in separate bowls. Transfer each melted coating to small piping bags for easy drizzling.
-
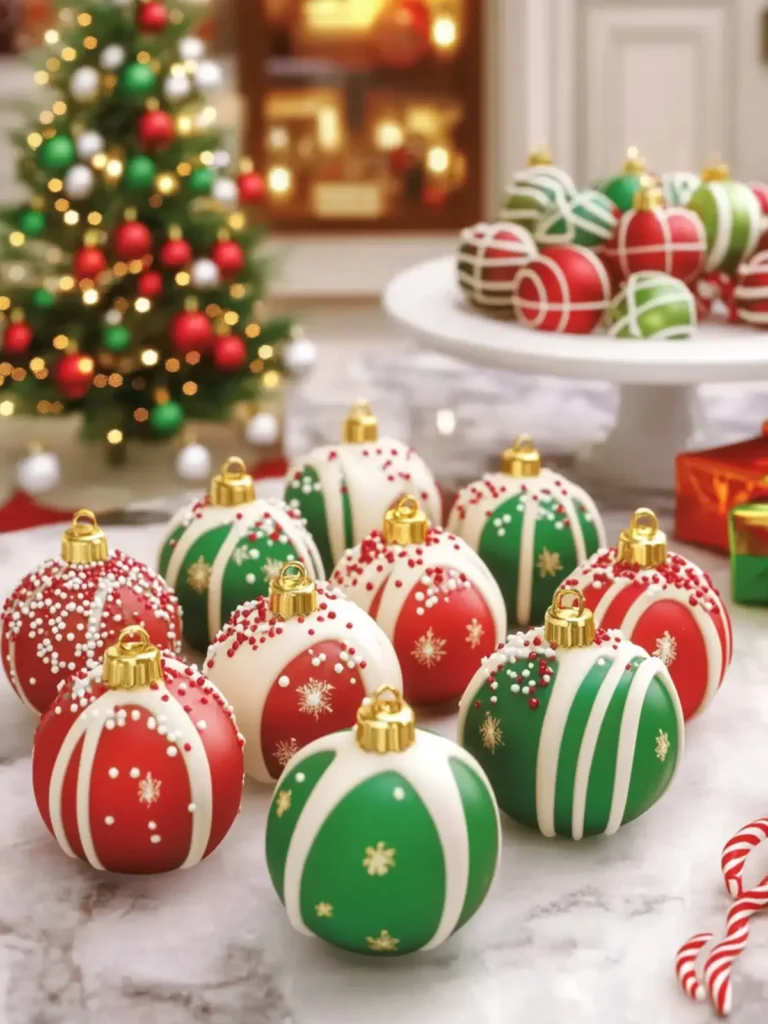
Decorate the ornaments: Drizzle white chocolate over the red and green coated balls, and then add thin lines of red and green onto the white ones. This gives your treats a lovely contrast and festive flair!
-
Sprinkle joy: Before the chocolate sets, scatter your red, green, and white sprinkles, along with edible snowflakes, over the coating for a delightful finish.
-
Set the treats: Return your decorated cake balls to the refrigerator for 15-20 minutes until the chocolate coating is completely firm, ensuring they hold their shape.
-
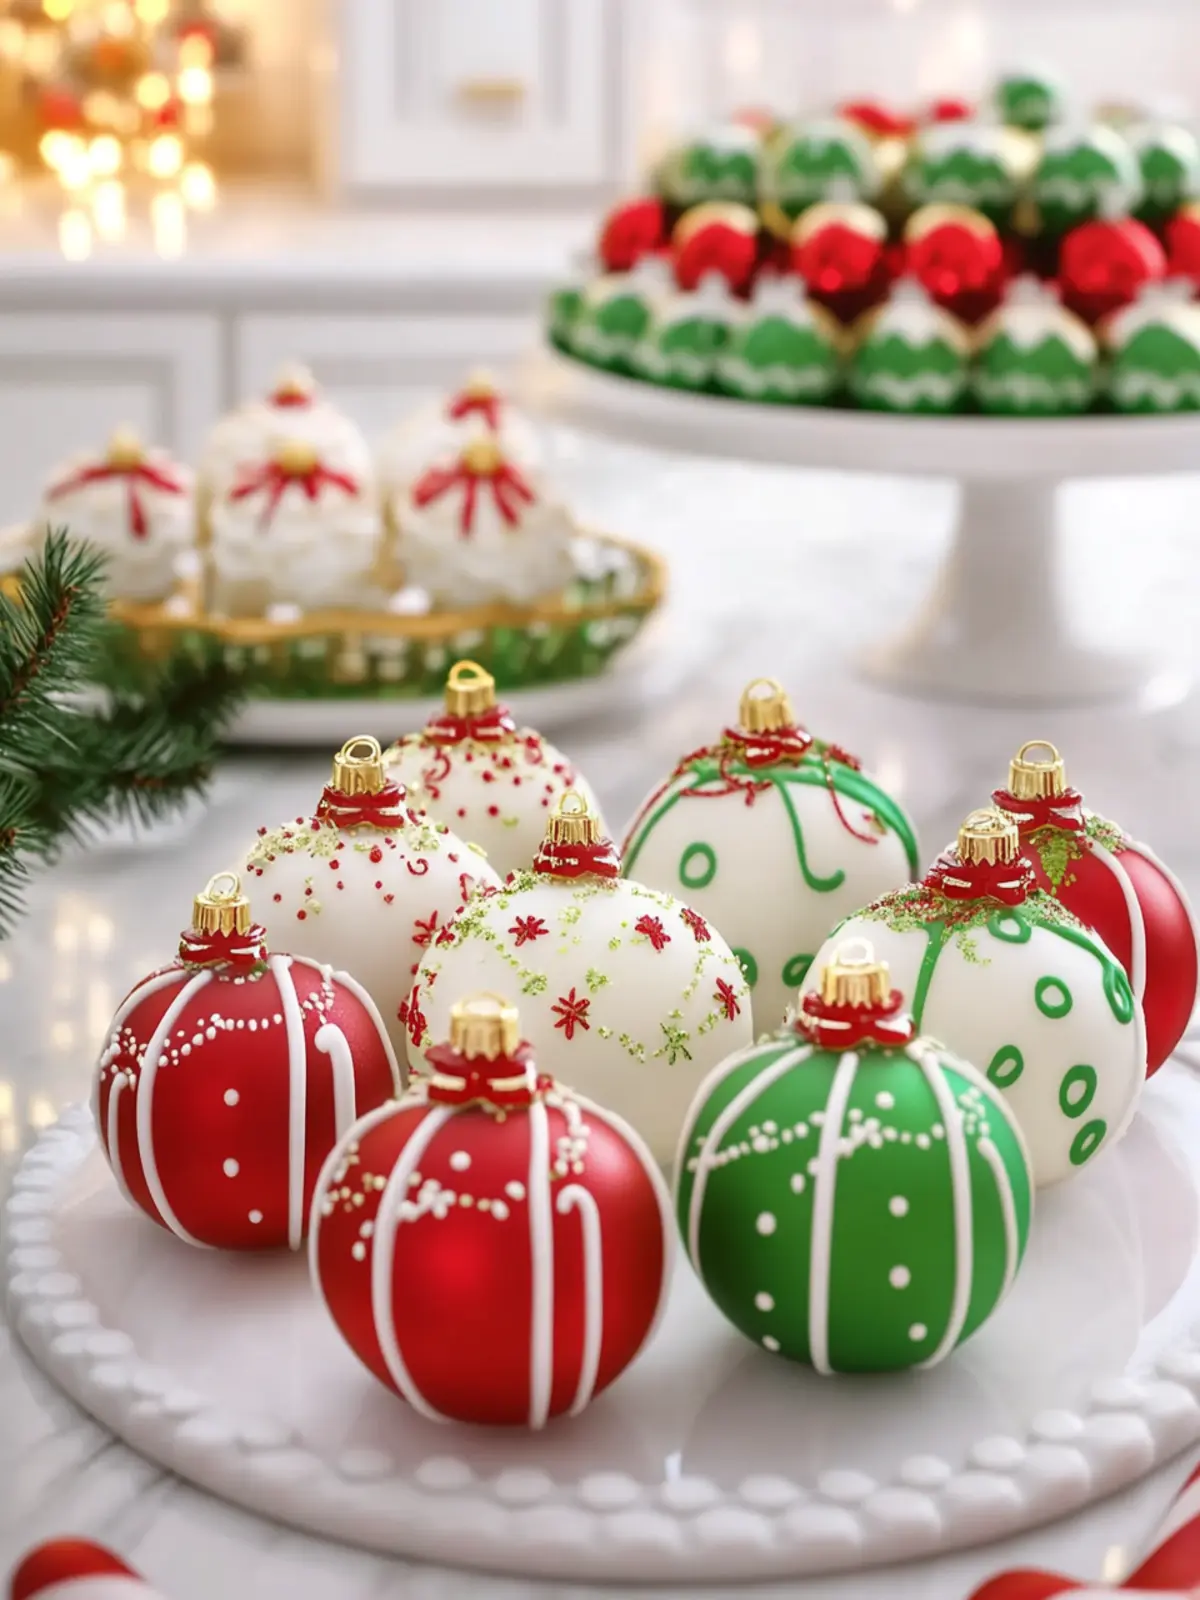
Serve the ornaments: Once set, arrange your beautiful cake balls in alternating red, green, and white rows on a rectangular cream-colored ceramic platter, ready to dazzle your guests!
Optional: Consider dusting with edible glitter for an extra sparkle!
Exact quantities are listed in the recipe card below.
Make Ahead Options
These Christmas Ornament Cake Balls are perfect for meal prep, allowing you to enjoy the festive fun without last-minute stress! You can prepare the truffle mixture up to 24 hours in advance; simply follow steps 1-3, then refrigerate the mixture until you’re ready to shape and coat them. Additionally, you can fully dip and decorate the cake balls up to 3 days ahead of time—just make sure to store them in an airtight container in the refrigerator to keep the chocolate coating nice and firm. When you’re ready to serve, simply take them out, let them sit for a few minutes to soften slightly, and watch everyone delight in these charming treats!
Christmas Ornament Cake Balls Variations
Feel free to personalize these delightful treats to suit your taste or dietary preferences!
- Nut-Free: Substitute cream cheese with sunflower seed butter to create a creamy, nut-free alternative without compromising flavor.
- Dark Chocolate Lovers: Swap the white chocolate for dark chocolate melts for a richer, more decadent experience that balances the sweetness.
- Vegan Option: Replace cream cheese with vegan cream cheese and use dairy-free chocolate coating to keep it plant-based without losing the creaminess.
- Minty Fresh: Add 1/2 teaspoon of peppermint extract to the truffle mixture for a refreshing twist that’s perfect for the holiday season.
- Extra Crunch: Mix in 1/4 cup of finely chopped nuts (like almonds or walnuts) into the truffle mixture for a delightful texture contrast.
- Spicy Twist: Incorporate a pinch of cayenne pepper into the chocolate coating for a fun kick that will surprise your taste buds.
- Fruit-Infused: Fold in 1/4 cup of finely chopped dried cranberries or cherries into the truffle mixture for a burst of fruity flavor and holiday cheer.
- Colorful Sprinkles: Use themed sprinkles, such as gold or silver, to match your holiday decor and add a unique visual touch to your Christmas platter.
Feel inspired and make these truffles your own!
What to Serve with Christmas Ornament Cake Balls?
When the festive season arrives, it’s time to spread joy through a marvelous meal and delightful treats.
- Rich Hot Chocolate: A velvety cup of hot chocolate pairs perfectly, bringing warmth and sweetness to each bite of the chocolatey truffles.
- Festive Fruit Salad: Bright and refreshing, a fruit salad with pomegranate seeds and citrus complements the richness of the cake balls wonderfully.
- Creamy Cheesecake: Serve with slices of creamy cheesecake for an indulgent dessert spread that will satisfy everyone’s sweet tooth during celebrations.
- Buttery Sugar Cookies: Classic sugar cookies, decorated with festive icing, offer a contrasting texture and additional holiday cheer when enjoyed alongside your treats.
- Christmas Punch: A sparkling cranberry punch or spiced apple cider adds a festive touch and balances the sweetness, making it an ideal drink companion.
- Mini Gingerbread Houses: Lean into the holiday spirit by including charming mini gingerbread houses on the table—they’re both decorative and delicious!
- Eggnog: This rich, creamy drink is a holiday staple that creates a nostalgic flavor burst when enjoyed alongside your Christmas Ornament Cake Balls.
Add these delightful accompaniments to your festive gathering to create a truly memorable spread!
How to Store and Freeze Christmas Ornament Cake Balls
Room Temperature: Store the Christmas Ornament Cake Balls in an airtight container at room temperature for up to 3 days for optimum freshness and flavor.
Fridge: To extend shelf life, refrigerate the cake balls in an airtight container for up to 1 week. They will stay delicious and keep their shape!
Freezer: For longer storage, you can freeze the cake balls. Wrap each in plastic wrap and place in a freezer-safe bag or container. They will last up to 2 months; just thaw in the fridge before serving.
Reheating: No need to reheat these treats; simply enjoy them chilled!
Expert Tips for Christmas Ornament Cake Balls
- Crush Evenly: Ensure all Oreo crumbs are fine and uniform to achieve a smooth truffle texture; this prevents lumps in your mixture.
- Chill Well: Don’t skip refrigerating the shaped balls for 30 minutes; it helps them keep their shape while being coated.
- Melt with Care: When melting candy coatings, use short 20-second intervals and stir often to avoid scorching; this guarantees a silky finish on your Christmas Ornament Cake Balls.
- Control Coating: Allow excess chocolate to drip off before placing on parchment; this reduces pooling and creates a cleaner look.
- Decorate Quickly: Add sprinkles and drizzles while the chocolate is slightly soft; this helps them stick better and look more festive!
- Use Quality Ingredients: Choosing high-quality chocolate melting wafers and fresh sprinkles can really elevate the flavor and presentation of your truffles.
Christmas Ornament Cake Balls with Red, Green, and White Chocolate Coating Recipe FAQs
What kind of Oreos should I use for the cake balls?
Absolutely! For the best flavor and texture, I recommend using regular Oreos—the classic variety. If you want to add a twist, feel free to experiment with different flavored Oreos like mint or peanut butter, but keep in mind that the overall taste will change.
How do I store leftover cake balls?
You can store the Christmas Ornament Cake Balls in an airtight container at room temperature for up to 3 days. If you want to keep them longer, place them in the refrigerator, where they will remain fresh for up to 1 week. Just make sure to keep them sealed to enjoy their delightful flavors!
Can I freeze Christmas Ornament Cake Balls?
Very! To freeze, wrap each cake ball individually in plastic wrap and place them in a freezer-safe container or bag. They will keep for up to 2 months. When you’re ready to enjoy them, simply transfer the truffles to the refrigerator to thaw overnight. This way, they maintain their texture and flavor beautifully.
What if my chocolate coating is too thick?
If your chocolate coating seems too thick for dipping, don’t worry! You can easily smooth it out. Just add 1 teaspoon of coconut oil to the melted chocolate. This will help thin it down and give you that lovely, silky finish. If it remains thick, continue to add more coconut oil sparingly until you’ve reached the desired consistency.
Are there any dietary considerations for these cake balls?
Certainly! If you or your loved ones have allergies, be mindful of the ingredients used. The cake balls contain dairy from the cream cheese and chocolate coatings. You can substitute with dairy-free cream cheese options and use vegan chocolate melts to cater to those dietary restrictions. Always check labels for allergens if you’re unsure!
Can I make these cake balls ahead of time?
Yes, you can make these scrumptious Christmas Ornament Cake Balls in advance! They’re perfect for preparing a day or two before your gathering. Just store them in the refrigerator, and they’ll be ready to dazzle your guests when it’s time to celebrate!
Christmas Ornament Cake Balls with Red, Green, and White Coating
Ingredients
Equipment
Method
- Crush the Oreos: Place all 36 Oreo cookies, cream filling included, into a food processor and blend until fine crumbs.
- Mix the truffle mixture: Combine fine Oreo crumbs, softened cream cheese, and vanilla extract in a bowl until blended into a thick dough.
- Shape the balls: Divide dough into 24 portions, roll each into a smooth, round ball.
- Chill the balls: Arrange on a parchment-lined baking sheet and refrigerate for 30 minutes.
- Melt the coatings: Melt red, green, and white candy coatings separately in microwave-safe bowls, adding coconut oil if needed.
- Dip the Oreo balls: Coat 8 balls in red, 8 in green, and 8 in white chocolate, letting excess drip off.
- Attach ornament caps: Press one edible gold ornament cap onto the top of each ball while chocolate is still soft.
- Prepare decorative drizzles: Melt additional white chocolate, red, and green candy melts separately, and transfer to piping bags.
- Decorate the ornaments: Drizzle white chocolate over red and green balls, and add thin lines of red and green onto the white ones.
- Sprinkle joy: Scatter sprinkles and snowflakes over coating before it sets for a delightful finish.
- Set the treats: Return decorated cake balls to the refrigerator for 15-20 minutes until chocolate is firm.
- Serve the ornaments: Arrange cake balls on a platter in alternating red, green, and white rows for presentation.