
There’s a certain joy that comes with the first bite of a rich, velvety dessert, and that’s exactly what you’ll experience with this Chocolate Silk Pudding Dessert. One evening, while sifting through my pantry, I stumbled upon a stash of chocolate cookie crumbs that sparked an idea. What if I could transform these humble ingredients into something unforgettable?
With layers of silky chocolate pudding and a creamy, dreamy filling, this dessert not only looks stunning—it’s incredibly easy to whip up! Perfect for gatherings or a cozy night in, it’s the kind of sweet creation that leaves everyone guessing your secret. The combination of chocolate and cream cheese gives it a unique twist that separates it from the usual desserts, making it a sure showstopper at your next dinner party. So let’s roll up our sleeves and dive into this delectable, no-bake treat that’s as simple as it is satisfying!
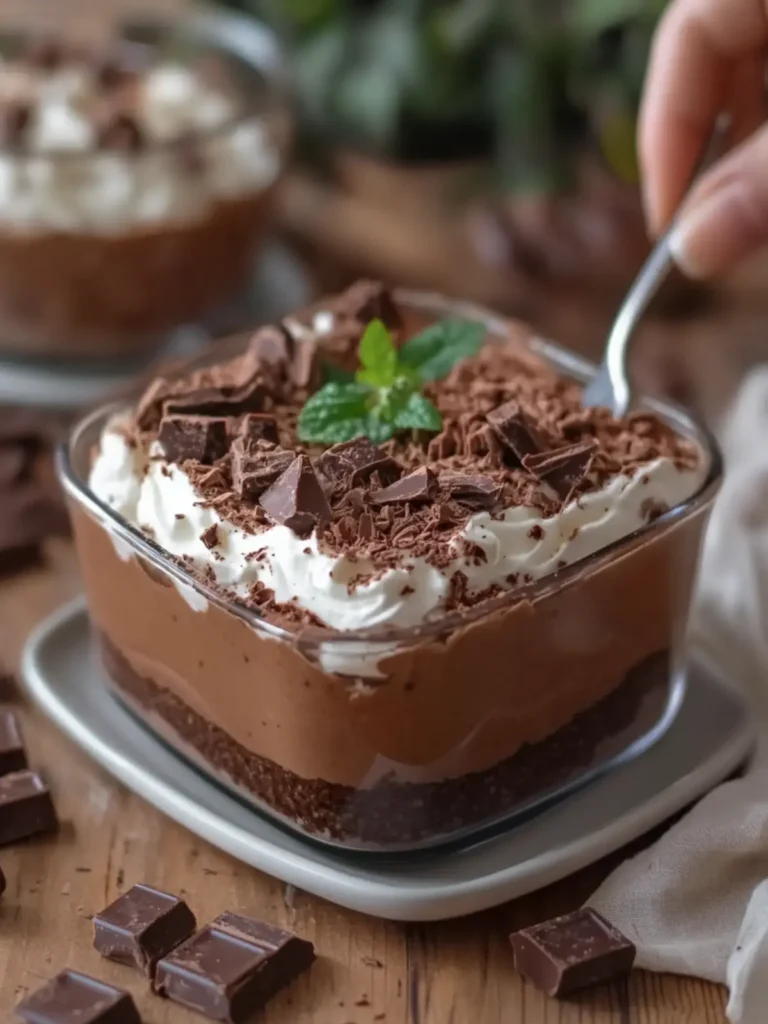
Why is Chocolate Silk Pudding Dessert a must-try?
Irresistible layers of chocolatey goodness: From the base of chocolate cookie crumbs to the layers of silky pudding, every bite is a revelation.
Crowd-pleaser: This dessert is perfect for impressing guests and is a guaranteed hit at any gathering.
No-bake convenience: Simple to prepare, this recipe requires no baking, saving you time in the kitchen.
Elegant presentation: Topped with chocolate curls or mini chips, it not only tastes divine but looks stunning on any table.
Unique twist: The addition of cream cheese adds a delightful creaminess that elevates this dessert above standard chocolate options.
Whip it up and serve after a delicious dinner, making an unforgettable ending to your meal!
Chocolate Silk Pudding Dessert Ingredients
• Dive into the rich flavors with these easy-to-find ingredients!
For the Crust
• Chocolate cookie crumbs – gives a rich, chocolatey foundation that’s easy to make.
• Unsalted butter – adds moisture and binds the crumbs perfectly.
For the Cream Cheese Layer
• Cream cheese – provides a smooth, creamy texture that balances the sweetness.
• Powdered sugar – sweetens the cream cheese while keeping it light and fluffy.
• Vanilla extract – enhances the overall flavor with a hint of warm sweetness.
• Whipped topping – folds in to create a light, airy mixture that’s heavenly.
For the Chocolate Pudding Layer
• Instant chocolate pudding mix – the star of the dessert, ensuring a luscious texture.
• Cold whole milk – essential for making the pudding extra creamy and rich.
• Heavy cream – adds a luxurious, velvety richness to the pudding.
• Vanilla extract – a dash further enhances the chocolate’s richness.
For the Topping
• Whipped topping – used generously to finish off your dessert with a creamy layer.
• Chocolate curls or shavings – adds a decorative touch and extra chocolate for the true enthusiast.
• Mini chocolate chips – optional, but these little bites of chocolate provide extra texture.
• Chocolate sauce – drizzle on top for a decadent finish, if desired.
Get ready to impress with this Chocolate Silk Pudding Dessert that combines rich flavors and an elegant appearance!
How to Make Chocolate Silk Pudding Dessert
-
Prepare the dish: Use a 9 × 13-inch rectangular glass dish as your base, ensuring it’s clean and ready for layering your delicious dessert.
-
Mix the crust: Combine the chocolate cookie crumbs with the melted butter in a bowl. Stir until the crumbs are well-coated and hold together, creating a perfect base.
-
Form the crust: Press the crumb mixture firmly into the bottom of the dish, ensuring it’s even and compact for optimal texture.
-
Chill the crust: Refrigerate the crust for 20 minutes to set, making it easier to layer on the subsequent creamy fillings.
-
Beat the filling: In a mixing bowl, beat the softened cream cheese, powdered sugar, and vanilla extract until completely smooth, creating a luscious filling.
-
Fold in whipped topping: Gently fold in the thawed whipped topping, mixing until the mixture is light and airy, which will balance the richness of the cream cheese.
-
Layer it up: Spread the cream cheese mixture evenly over the chilled crust, ensuring every corner is covered for maximum flavor in each bite.
-
Whisk the pudding: In another bowl, whisk together the instant chocolate pudding mixes, cold whole milk, heavy cream, and vanilla for about 2 minutes until thickened.
-
Let it sit: Allow the pudding mixture to stand for 5 minutes, which enhances its silky texture, making it perfect for layering.
-
Add the pudding layer: Spread the thick chocolate pudding evenly over the cream cheese layer, filling in any gaps to ensure a cohesive dessert.
-
Top with whipped topping: Spread the remaining whipped topping generously over the pudding layer, creating a lovely, creamy crown.
-
Sprinkle toppings: Garnish the dessert with chocolate curls, shavings, or mini chocolate chips for that extra touch of elegance and flavor.
-
Drizzle chocolate sauce: If you desire, drizzle chocolate sauce over the top for a decadent finish that will tempt anyone who lays eyes on it.
-
Chill before serving: Cover the dessert with plastic wrap and refrigerate for at least 4–6 hours, or preferably overnight to ensure firm, rich layers.
Optional: Top with fresh berries for a delightful contrast!
Exact quantities are listed in the recipe card below.

Chocolate Silk Pudding Dessert Variations
Feel free to personalize this delightful dessert and make it your own with these fun twists!
- Dairy-Free: Substitute cream cheese and whipped topping with cashew cream or a dairy-free blend for a vegan-friendly dessert.
- Nutty Addition: Incorporate crushed nuts, such as almonds or walnuts, into the crust for added crunch and flavor.
- Fruit Layering: Add a layer of sliced bananas or strawberries between the cream cheese layer and pudding for a refreshing fruity twist.
- Spicy Kick: Mix in a teaspoon of cinnamon or chili powder into the chocolate pudding for a subtle, warming spice that complements the sweetness.
- Minty Freshness: Stir in a few drops of peppermint extract into the whipped topping for a refreshing mint chocolate flavor that’s perfect for the holidays.
- Richer Chocolate: For the chocolate lovers, use dark chocolate pudding mix instead of instant for a more intense chocolate experience.
- Cookie Crust Variations: Experiment with different cookie bases, like graham crackers or Oreos, to switch up the crust flavor.
- Crunchy Topping: Crush up some chocolate-covered toffee or caramel candies to sprinkle on top for a delightful crunch alongside your chocolate curls.
Get creative and enjoy crafting a dessert that speaks to your taste buds!
Make Ahead Options
These Chocolate Silk Pudding Dessert layers are perfect for busy cooks looking to save time! You can prepare the crust and the cream cheese filling up to 24 hours in advance—just ensure you keep them refrigerated to maintain freshness. To do this, make the crust, press it into the dish, and chill it as directed. Then, whip up the cream cheese layer and layer it over the crust before covering. The chocolate pudding can be mixed and poured on top the day you plan to serve, ensuring a silky finish. Just remember, for the best results, chill the entire dessert for 4–6 hours, or overnight if possible, before garnishing with whipped topping and chocolate curls. You’ll achieve stunning, just-as-delicious results with minimal last-minute effort!
What to Serve with Chocolate Silk Pudding Dessert?
Looking to elevate your delightful dessert experience? Here are some companions that perfectly complement the rich and creamy layers of your chocolate silk pudding.
-
Fresh Berries: Juicy strawberries or raspberries add a pop of color and a refreshing tang, balancing the richness of the dessert beautifully.
-
Vanilla Ice Cream: A scoop of vanilla ice cream brings a classic touch, enhancing the chocolate flavors while adding a creamy cold contrast that’s simply irresistible.
-
Espresso or Coffee: A robust cup of espresso pairs wonderfully, cutting through the dessert’s sweetness and adding a sophisticated touch to your meal’s finale.
-
Chocolate Fondue: Create a fun interactive experience with warm chocolate fondue; dipping fruits or marshmallows adds a playful texture and flavor journey.
-
Chocolate-Covered Pretzels: The combination of salty and sweet is perfect for those who appreciate a crunchy addition that enhances the silky dessert experience.
-
Chocolate Cake Pops: Mini indulgences on a stick, these cake pops are great for those who want an extra hit of chocolate, making an enticing display alongside your pudding.
Each of these pairings not only complements the Chocolate Silk Pudding Dessert but also adds delightful textures and flavors, creating a magical meal experience!
How to Store and Freeze Chocolate Silk Pudding Dessert
Fridge: Store the Chocolate Silk Pudding Dessert covered in the refrigerator for up to 3 days. This keeps it fresh and chilled for those delightful after-dinner cravings.
Freezer: For longer storage, you can freeze the dessert (without the toppings) for up to 1 month. Wrap it well in plastic wrap and then foil to prevent freezer burn.
Thawing: To enjoy again, transfer the dessert to the fridge and allow it to thaw overnight. Top with fresh whipped cream and chocolate curls before serving for the best taste!
Serving: Always serve chilled for optimal texture and flavor. A quick re-chill for 30 minutes can enhance the creaminess if held at room temperature for too long.
Expert Tips for Chocolate Silk Pudding Dessert
Chill Properly: Allow the dessert to chill for a full 4–6 hours or overnight. This ensures that the layers set completely and enhance the overall flavor.
Layer Evenly: Spread your layers evenly to avoid a mismatched dessert and ensure each slice has the perfect balanced taste of chocolate silk pudding.
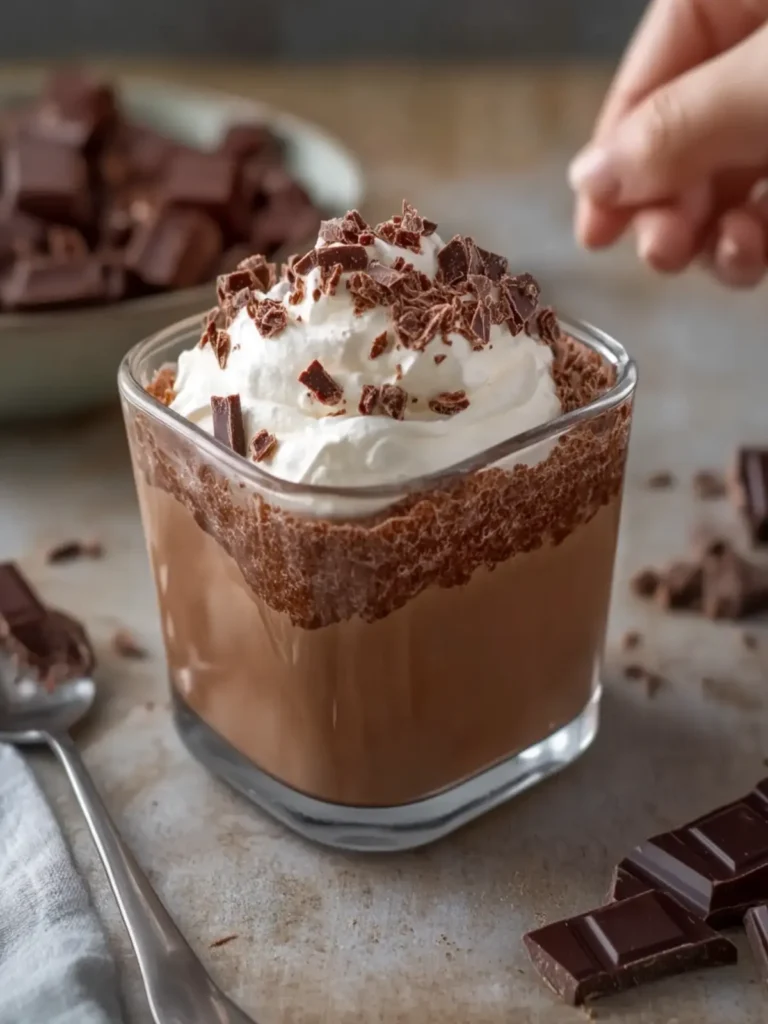
Don’t Skimp on Toppings: Use plenty of chocolate curls or mini chocolate chips to elevate your dessert’s presentation and provide delightful bursts of chocolate with every bite.
Mix Thoroughly: When mixing the cream cheese and powdered sugar, make sure there are no lumps. This will yield a smooth cream layer that complements the pudding perfectly.
Use Fresh Ingredients: For the best flavor, ensure your cream cheese and whipped topping are fresh. This elevates the creaminess and richness of your Chocolate Silk Pudding Dessert.
Chocolate Silk Pudding Dessert Recipe FAQs
What type of chocolate cookie crumbs should I use?
Absolutely! I recommend using chocolate wafer cookies or Oreos for a rich and flavorful crust. Simply crush them finely to create a uniform texture. If you’re feeling adventurous, you can also use gluten-free chocolate cookies for a delicious alternative!
How should I store leftovers of the Chocolate Silk Pudding Dessert?
You can store your dessert covered in the refrigerator for up to 3 days. Make sure to use plastic wrap or an airtight container to keep it fresh. That way, you can indulge in delightful bites that still boast their creamy, luxurious texture!
Can I freeze Chocolate Silk Pudding Dessert?
Yes, you can! For freezing, I recommend doing so without toppings. Wrap the dessert well in plastic wrap and then in aluminum foil to prevent freezer burn. It can be stored for up to 1 month. When you’re ready to enjoy it, simply transfer it to the fridge and let it thaw overnight before adding fresh toppings.
What if my pudding doesn’t set properly?
No worries! If your pudding layer isn’t thickening as expected, ensure you’ve mixed the ingredients properly and allowed it to sit for the 5 minutes as mentioned. If it’s still too runny, you can mix in a bit more pudding mix or try letting it chill longer in the refrigerator. Each layer should be well-chilled before adding the next!
Is this dessert suitable for those with allergies or dietary restrictions?
Always a thoughtful consideration! This Chocolate Silk Pudding Dessert contains dairy and gluten. If you’re making this for someone with lactose intolerance or gluten sensitivities, consider using lactose-free whipped topping and gluten-free chocolate cookie options. For a nut allergy, double-check all ingredient labels to ensure safety.
Can I make this dessert in advance?
Definitely! In fact, this dessert benefits from chilling overnight. Making it a day ahead allows the flavors to meld beautifully, resulting in an even richer taste. Just ensure you cover it properly in the fridge to keep it fresh and irresistible!
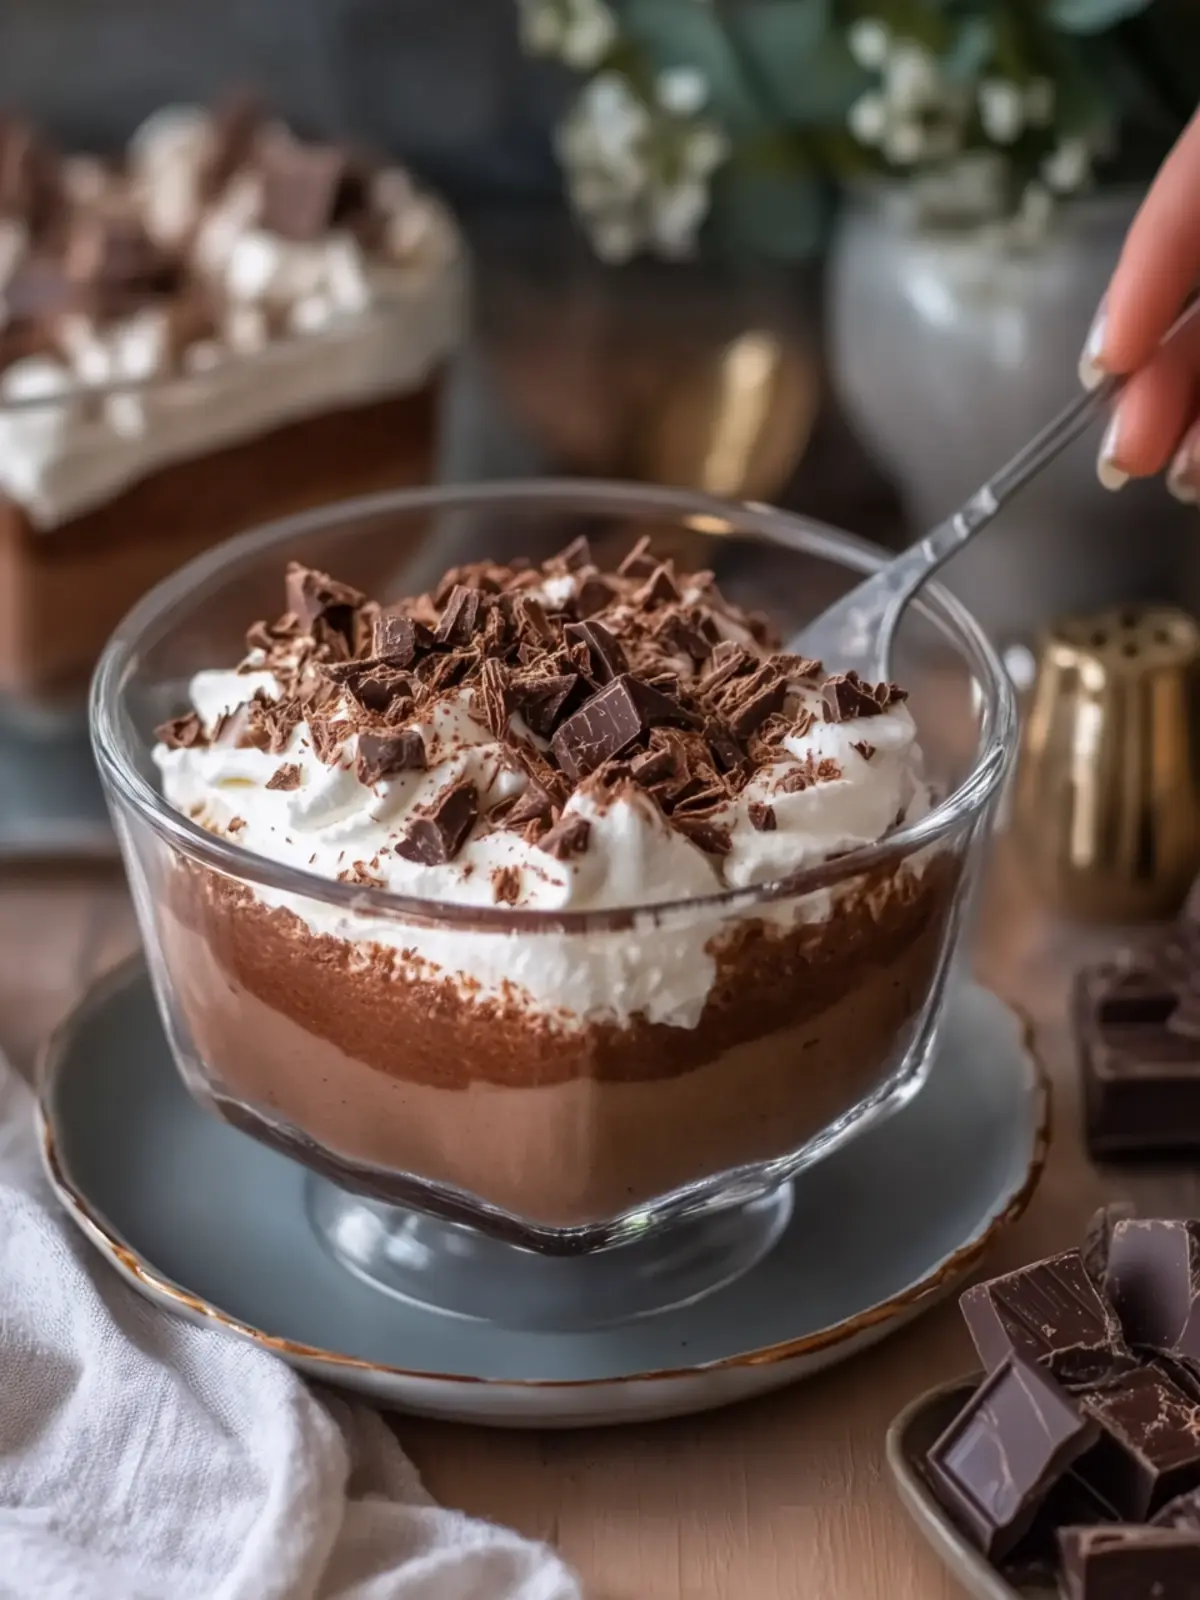
Decadent Chocolate Silk Pudding Dessert to Impress Your Guests
Ingredients
Equipment
Method
- Prepare the dish: Use a 9 × 13-inch rectangular glass dish as your base, ensuring it's clean and ready for layering your delicious dessert.
- Mix the crust: Combine the chocolate cookie crumbs with the melted butter in a bowl. Stir until the crumbs are well-coated and hold together, creating a perfect base.
- Form the crust: Press the crumb mixture firmly into the bottom of the dish, ensuring it’s even and compact for optimal texture.
- Chill the crust: Refrigerate the crust for 20 minutes to set, making it easier to layer on the subsequent creamy fillings.
- Beat the filling: In a mixing bowl, beat the softened cream cheese, powdered sugar, and vanilla extract until completely smooth.
- Fold in whipped topping: Gently fold in the thawed whipped topping, mixing until the mixture is light and airy.
- Layer it up: Spread the cream cheese mixture evenly over the chilled crust.
- Whisk the pudding: In another bowl, whisk together the instant chocolate pudding mixes, cold whole milk, heavy cream, and vanilla for about 2 minutes until thickened.
- Let it sit: Allow the pudding mixture to stand for 5 minutes.
- Add the pudding layer: Spread the thick chocolate pudding evenly over the cream cheese layer.
- Top with whipped topping: Spread the remaining whipped topping generously over the pudding layer.
- Sprinkle toppings: Garnish the dessert with chocolate curls, shavings, or mini chocolate chips.
- Drizzle chocolate sauce: If you desire, drizzle chocolate sauce over the top.
- Chill before serving: Cover the dessert with plastic wrap and refrigerate for at least 4–6 hours, or overnight.