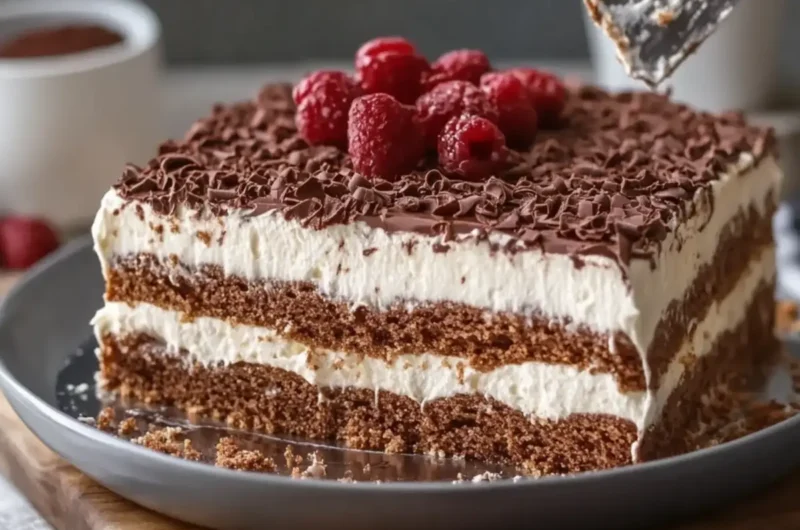
There’s a delightful hush in the kitchen when I prepare my Chocolate Icebox Cake, a dessert that feels both indulgent and effortless. The moment the rich aroma of chocolate fills the air, my heart swells with anticipation. This recipe was inspired by my love for quick and tasty treats that can be made ahead, leaving plenty of time to enjoy with family and friends.
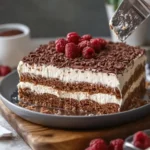
Imagine layering silky chocolate pudding, whipped cream, and graham crackers—a treat that is as pretty as it is delicious! It’s perfect for summer gatherings or cozy nights in, effortlessly blending rich flavors with a light texture. Plus, this dessert can serve a crowd without leaving you frazzled. The best part? It requires no baking, just a bit of mixing and a few hours in the fridge.
Join me in creating a chocolatey masterpiece that will have everyone coming back for seconds. Let’s dive into this simple yet show-stopping Chocolate Icebox Cake that is guaranteed to impress!
Why is Chocolate Icebox Cake so special?
Indulgent texture: The combination of rich chocolate pudding and fluffy whipped cream creates a decadently smooth dessert.
Crowd-pleaser: Sized to feed 12–15 people, it’s perfect for gatherings or family dinners.
No-bake simplicity: With zero baking required, you can whip it up effortlessly.
Time-saving: Just mix, layer, and chill overnight for a show-stopping treat.
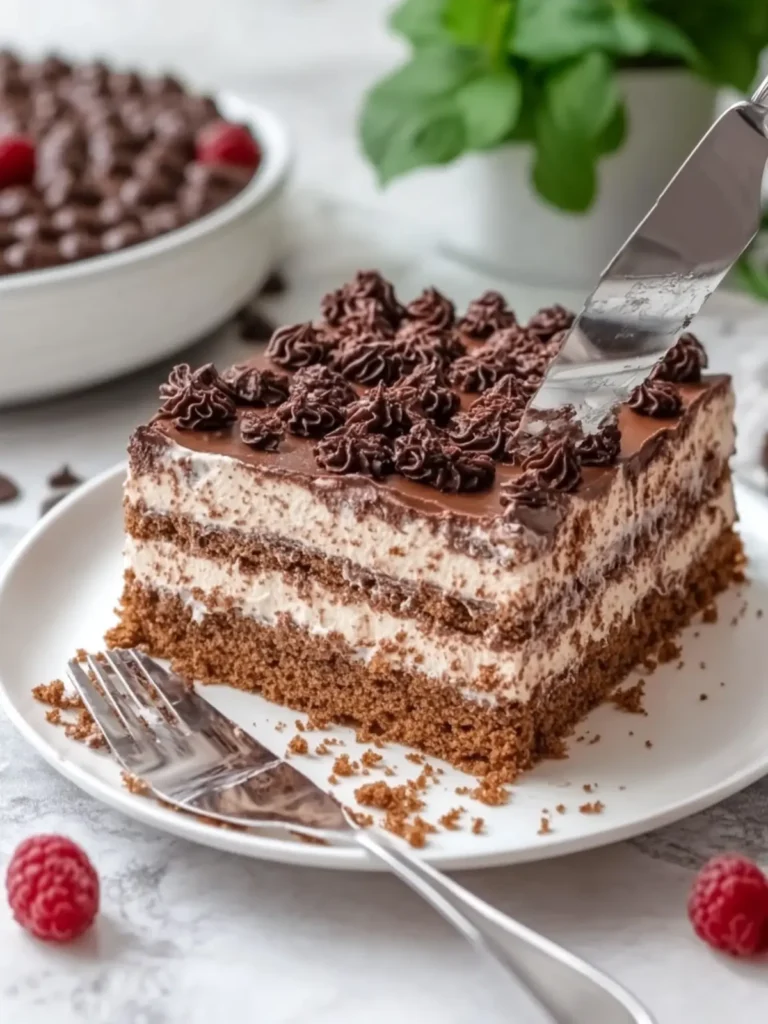
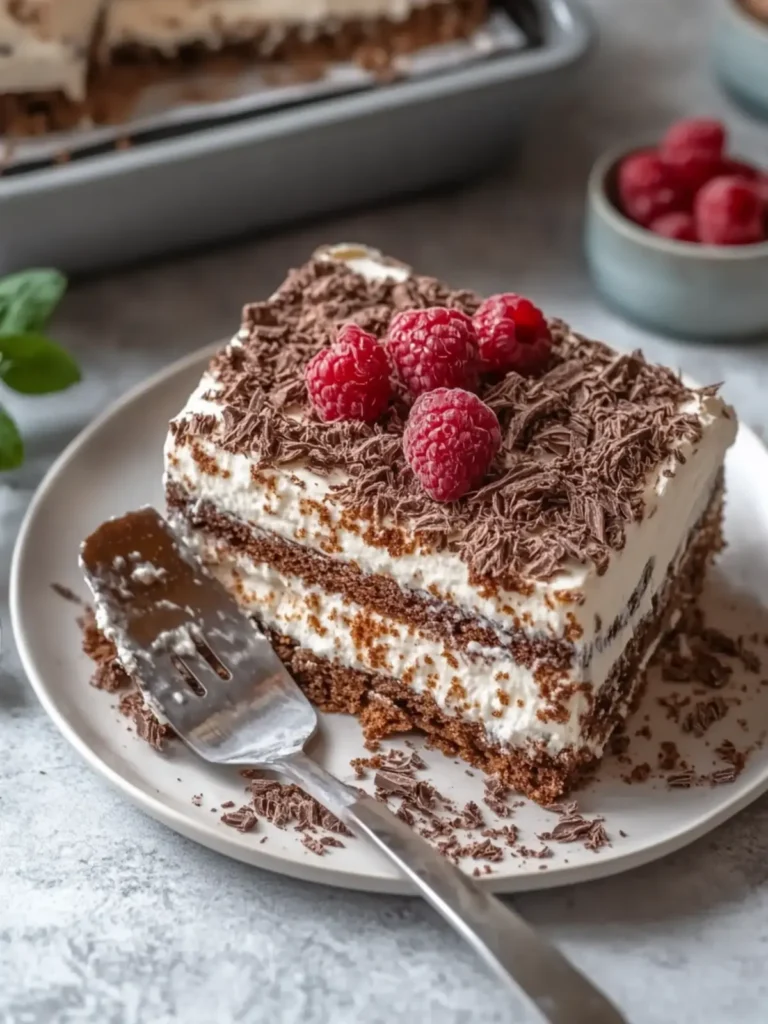
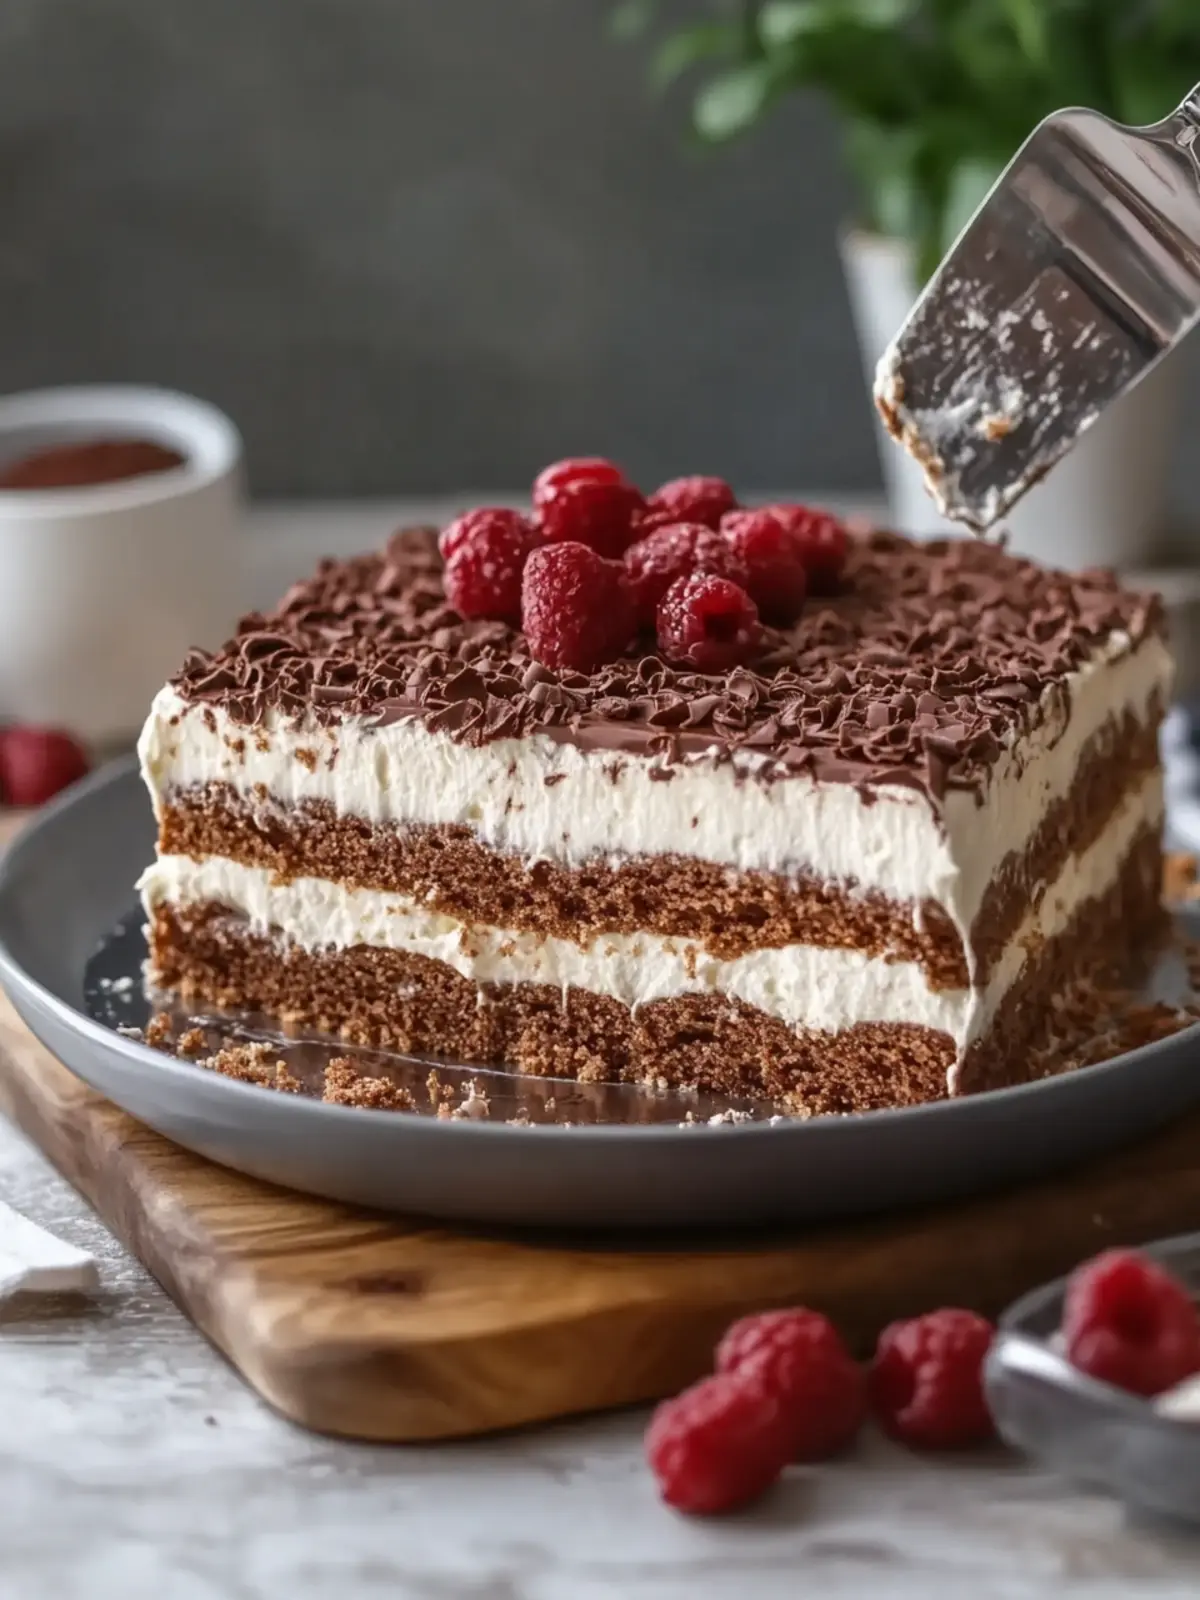
Eye-catching presentation: Garnished with chocolate shavings, it’s a dessert that looks as good as it tastes!
For more easy treats, check out my delicious Chocolate Pudding Cake!
Chocolate Icebox Cake Ingredients
For the Pudding Layer
• Instant chocolate pudding mix – this forms the rich, velvety base of the cake.
• Cold whole milk – essential for achieving a smooth and creamy consistency when mixed with pudding.
• Semi-sweet chocolate chips – they add bite-sized bursts of chocolate flavor to the pudding layer.
For the Whipped Cream
• Heavy whipping cream – chilled, this is whipped to create a light and fluffy topping that pairs beautifully with chocolate.
• Powdered sugar – it sweetens the whipped cream while helping it achieve a stable texture.
• Vanilla extract – for a hint of warmth and depth in the whipped cream flavor.
For the Layering
• Chocolate graham crackers – they provide a crunchy texture and chocolate boost; plain graham crackers work too!
• Mini chocolate chips – sprinkle these for an added texture contrast and fun chocolatey bites.
• Chocolate chips, melted – drizzle over the top for a gorgeous, glossy finish!
• Chocolate shavings or curls – these elevate the dessert’s appearance, making it extra special and inviting.
There you have it—the essential ingredients to make a standout Chocolate Icebox Cake that will definitely impress your guests!
How to Make Chocolate Icebox Cake
-
Prepare the pan: Lightly grease or line a 9×13-inch (23×33 cm) sheet pan or glass baking dish with parchment paper to make it easy to remove the cake later.
-
Mix the pudding: Whisk together the chocolate pudding mix and cold milk for about 2 minutes until the mixture thickens and gets creamy.
-
Add chocolate chips: Stir in the semi-sweet chocolate chips while the pudding is still cold but thick, ensuring every bite is chocolaty!
-
Whip the cream: In a separate bowl, whip the heavy cream, powdered sugar, and vanilla until stiff peaks form, creating that perfect fluffy topping.
-
Layer whipped cream: Spread a thin layer of whipped cream over the bottom of the pan to establish a foundation that will keep everything together.
-
Arrange graham crackers: Lay a single layer of chocolate graham crackers over the whipped cream, breaking pieces as needed to cover the entire pan.
-
Add pudding layer: Spread half of the chocolate pudding evenly over the crackers, making sure to cover them completely for maximum flavor.
-
Top with whipped cream: Spread another layer of whipped cream over the pudding, adding a light touch of creaminess to your cake.
-
Sprinkle chocolate chips: Sprinkle with half of the mini chocolate chips for delightful bites of chocolate hidden throughout the cake.
-
Repeat layers: Add another layer of graham crackers, followed by the remaining pudding, and top it all off with another layer of whipped cream.
-
Final touches: Finish with a final layer of graham crackers, spread the remaining whipped cream over the top for a smooth and creamy finish.
-
Drizzle chocolate: Drizzle the melted chocolate over the top and sprinkle generously with chocolate shavings for an elegant presentation.
-
Chill the cake: Cover tightly and refrigerate for at least 8 hours, preferably overnight; this allows flavors to meld beautifully.
-
Serve chilled: Cut into squares and serve chilled, watching faces light up with each delicious bite!
Optional: Add fresh berries on top for a vibrant, fruity contrast!
Exact quantities are listed in the recipe card below.
Make Ahead Options
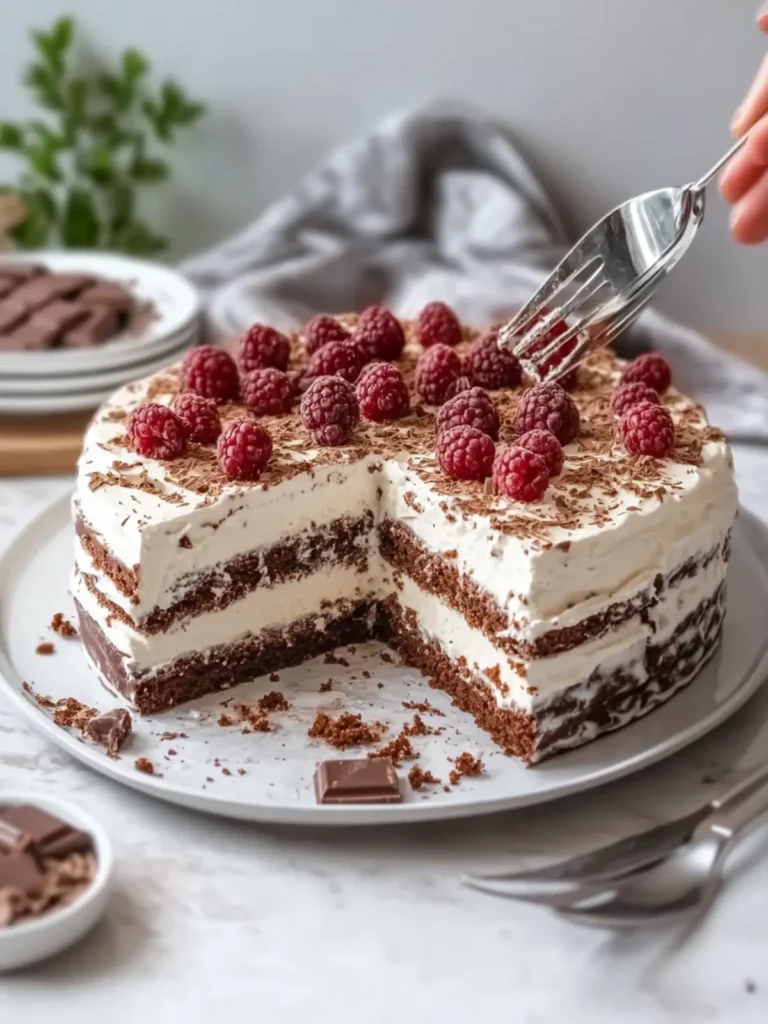
These Chocolate Icebox Cake layers are perfect for meal prep, helping you save time during busy weekdays! You can prepare the pudding layer and whipped cream up to 24 hours in advance, storing them separately in airtight containers in the refrigerator to maintain their textures. Assemble the cake by layering the graham crackers, pudding, and whipped cream just before serving for the best results. If stored correctly, the assembled cake can be kept in the fridge for up to 3 days without losing its delightful taste. Just drizzle the melted chocolate and add shavings right before serving to ensure a fresh, elegant finish. Enjoy a stress-free dessert that’s just as delicious and ready to impress!
What to Serve with Chocolate Icebox Cake?
Indulge in a delightful dessert experience that complements the rich and creamy layers of chocolate with the perfect side dishes.
- Fresh Berries: Juicy strawberries or raspberries add a burst of freshness that brightens each decadent bite.
- Minty Whipped Cream: A dollop of whipped cream infused with fresh mint offers a refreshing contrast to the rich chocolate.
- Hazelnut Coffee: A warm, nutty coffee enhances the chocolate experience, making each mouthful feel luxurious and cozy.
- Chocolate Sauce Drizzle: For the ultimate chocolate lover, a warm drizzle enhances the cake’s richness, creating a dessert experience that’s heavenly.
- Vanilla Ice Cream: Smooth, creamy vanilla ice cream provides a delightful temperature contrast that balances the cake’s richness.
- Nutty Granola: A sprinkle of crunchy granola adds texture, offering a delightful contrast to the smooth pudding layers.
- Chocolate Martini: For an adult touch, pair with a chocolate martini, complementing the dessert’s flavors while adding a fun twist to your gathering.
Dive into these pairings for an unforgettable chocolate-themed dessert experience that brings joy and satisfaction to every table!
How to Store and Freeze Chocolate Icebox Cake
Fridge: Store leftover Chocolate Icebox Cake in an airtight container; it will keep well for up to 3 days.
Freezer: For longer storage, freeze the cake before adding the whipped cream and chocolate shavings. Wrap tightly in plastic and foil; it lasts up to 2 months.
Thawing: When ready to enjoy, thaw the frozen cake in the fridge overnight before topping it with whipped cream and chocolate shavings.
Reheating: This dessert is best served chilled, so no reheating is necessary—just cut into squares and enjoy!
Chocolate Icebox Cake Variations
Feel free to get creative and put your own twist on this delightfully creamy dessert! Here are some scrumptious ideas to customize your Chocolate Icebox Cake.
- Dairy-Free: Substitute whole milk with almond or coconut milk and use dairy-free chocolate chips for a vegan-friendly option.
- Nutty Delight: Add a layer of crushed nuts, like walnuts or pecans, between the whipped cream and pudding for added crunch and flavor.
- Mint Chocolate: Incorporate mint extract into the whipped cream for a refreshing mint-chocolate twist that will tantalize your taste buds.
- Fruity Layers: Layer in fresh strawberries or raspberries for a sweet, tangy contrast that adds a pop of color and flavor.
- Spicy Kick: Mix a pinch of cayenne pepper into the chocolate pudding for a surprising heat that beautifully complements the richness.
- Peanut Butter Bliss: Swirl in peanut butter into the pudding layer for a nutty, decadent flavor explosion that will win over any peanut butter lover.
- Caramel Drizzle: Instead of melted chocolate on top, drizzle caramel sauce for a luscious sweetness that elevates this dessert.
- Coffee Infusion: Stir in some instant coffee granules into the pudding mix for a mocha-inspired flavor that chocolate and coffee lovers will adore.
Embrace these variations and explore a fabulous spectrum of flavors while reveling in the delightful essence of your homemade Chocolate Icebox Cake!
Tips for the Best Chocolate Icebox Cake
Chill Pipe: Allow the cake to chill overnight for the best flavor; this lets the layers meld beautifully and makes slicing easier.
Layer Smart: Spread each layer evenly to prevent any sliding and ensure every bite is deliciously balanced with pudding and whipped cream.
Avoid Soggy Crackers: Don’t rush the chilling time; allowing the graham crackers to soften too quickly can lead to a soggy base—patience is key!
Measure Wisely: Ensure you’re accurately measuring your ingredients, especially the milk and cream; this helps achieve that rich, creamy texture for your Chocolate Icebox Cake.
Drizzle Generously: When adding melted chocolate, make sure to drizzle generously for a delightful presentation and extra chocolate kick!
Chocolate Icebox Cake Recipe FAQs
What type of chocolate pudding mix should I use?
It’s best to stick with instant chocolate pudding mix for this recipe, as it thickens quickly and blends perfectly with cold milk, creating a rich and creamy base. Look for a brand that you enjoy, and I’ll bet you’ll love the taste!
How should I store leftover Chocolate Icebox Cake?
Store any leftovers in an airtight container in the fridge where it will last for up to 3 days. If you’re worried about it getting soggy, just make sure the container is sealed tightly to keep moisture out!
Can I freeze Chocolate Icebox Cake?
Absolutely! For best results, freeze the cake before adding the whipped cream and chocolate shavings. Slice it into pieces, wrap each in plastic wrap, followed by aluminum foil, and it can last in the freezer for up to 2 months. When you’re ready to enjoy, let it thaw in the fridge overnight before adding the toppings.
Why did my Chocolate Icebox Cake become too soggy?
Ah, sogginess can happen if the graham crackers absorb too much moisture too quickly. To prevent this, ensure you are chilling the cake for the full 8 hours or overnight, which allows the flavors to meld without the crackers losing their texture too rapidly.
Can I make this recipe gluten-free?
Yes! You can use gluten-free graham crackers to make this Chocolate Icebox Cake and still maintain that delightful crunch and flavor. Just check the packaging for any gluten-free labels to be sure it fits your dietary needs.
Is it safe for pets to have chocolate in the cake?
It’s important to keep this dessert away from pets, especially dogs, as chocolate can be toxic to them. Ensure all leftovers are stored out of reach, and enjoy this treat for yourself and your family only!
Delicious Chocolate Icebox Cake That Melts in Your Mouth
Ingredients
Equipment
Method
- Prepare the pan: Lightly grease or line a 9×13-inch sheet pan with parchment paper.
- Mix the pudding: Whisk together the chocolate pudding mix and cold milk for about 2 minutes until thick and creamy.
- Add chocolate chips: Stir in the semi-sweet chocolate chips while the pudding is still cold but thick.
- Whip the cream: In a separate bowl, whip the heavy cream, powdered sugar, and vanilla until stiff peaks form.
- Layer whipped cream: Spread a thin layer of whipped cream over the bottom of the pan.
- Arrange graham crackers: Lay a layer of chocolate graham crackers over the whipped cream.
- Add pudding layer: Spread half of the chocolate pudding evenly over the crackers.
- Top with whipped cream: Spread another layer of whipped cream over the pudding.
- Sprinkle chocolate chips: Sprinkle half of the mini chocolate chips.
- Repeat layers: Add another layer of graham crackers, followed by the remaining pudding, and top with another layer of whipped cream.
- Final touches: Finish with a final layer of graham crackers and spread remaining whipped cream on top.
- Drizzle chocolate: Drizzle melted chocolate over the top and sprinkle with chocolate shavings.
- Chill the cake: Cover tightly and refrigerate for at least 8 hours, preferably overnight.
- Serve chilled: Cut into squares and serve chilled.