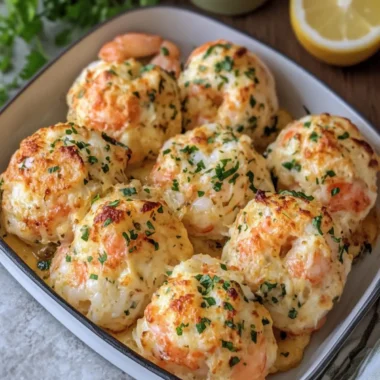
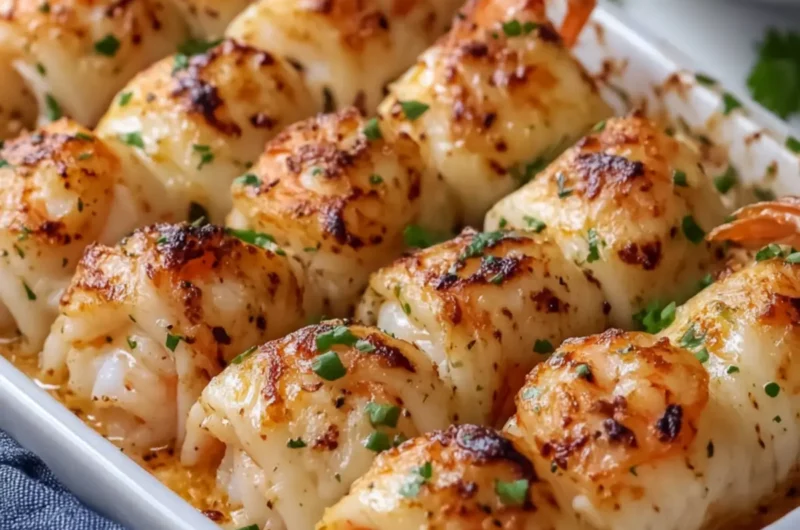
The first time I indulged in a delightful bite of Cheesy Garlic Shrimp Roll-Ups, everything around me faded into the background. The savory blend of shrimp, melted cheeses, and aromatic garlic wrapped in flaky crescent dough was nothing short of a revelation. These little treasures are the antidote to the fast-food fatigue that many of us experience—perfect for when you want comfort food that doesn’t skimp on flavor.
Picture this: a busy weeknight where you crave something tasty yet effortless. With just a handful of ingredients and a little under 30 minutes, you can whip up these cheesy, shrimp-filled delights that will have everyone in your household asking for seconds. From the creamy textures to the crispy edges, every bite is a slice of heaven. Plus, they’re incredibly versatile! Whether you’re serving them as an appetizer for a gathering or making them the star of a cozy family dinner, they’re sure to impress. Let’s dive into the recipe and discover just how easy it is to elevate your homemade meals!
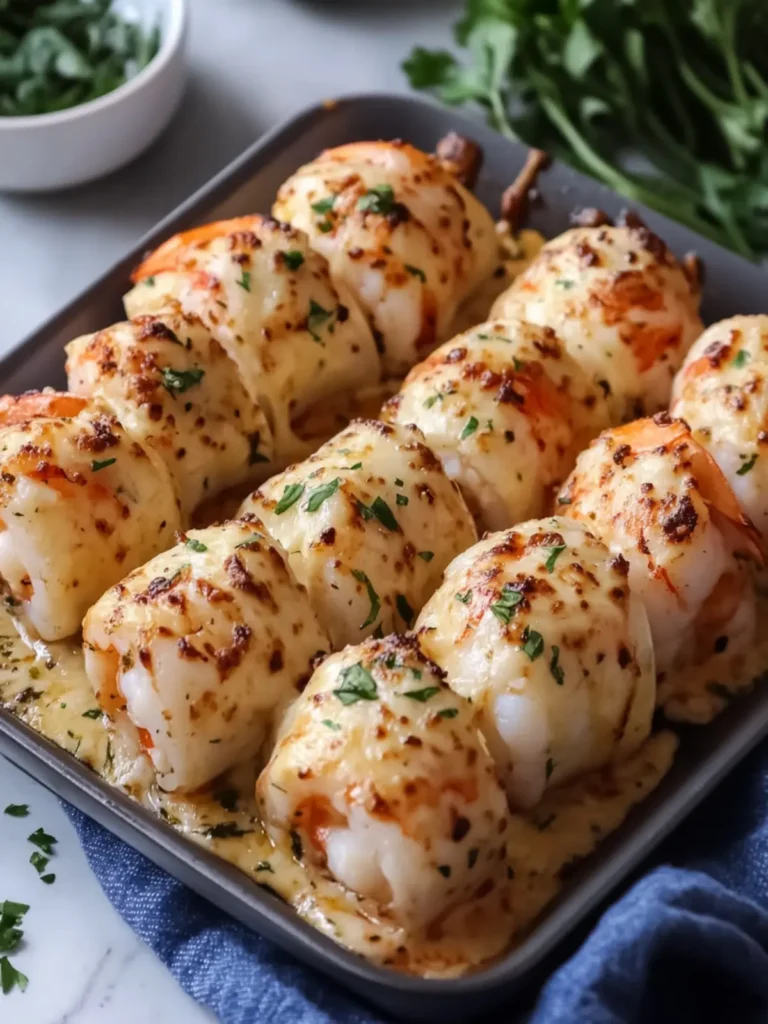
Why love Cheesy Garlic Shrimp Roll Ups?
Easy preparation: With just a few simple steps, you can create a gourmet snack in no time.
Flavor explosion: The blend of shrimp, cheese, and garlic delivers a savory punch that’s hard to resist.
Family-friendly: Kids and adults alike will clamor for these delightful roll-ups, making them a hit at any table.
Versatile serving: Perfect as an appetizer, party treat, or main dish, they fit any occasion.
Quick cooking: In about 30 minutes, you’ll have a delicious dish ready to enjoy.
These Cheesy Garlic Shrimp Roll-Ups are a fantastic way to break away from fast food and enjoy something homemade. For more fun ideas, check out our other quick recipes that will delight your taste buds!
Cheesy Garlic Shrimp Roll-Ups Ingredients
For the Shrimp Filling
• Large shrimp – 1 lb (450 g), peeled and deveined for a succulent base.
• Cream cheese – 4 oz (113 g), softened to create a creamy texture that binds the filling.
• Shredded mozzarella cheese – 1 cup, for that gooey, melty goodness in every bite.
• Grated Parmesan cheese – ¼ cup, adds a savory depth to the cheesy shrimp mixture.
• Minced garlic – 3 cloves, infusing each roll-up with aromatic flavor that complements the shrimp.
• Chopped fresh parsley – 2 tablespoons, for a touch of freshness and color in the filling.
For the Dough
• Refrigerated crescent roll dough – 1 can (8 oz / 225 g), providing a flaky and buttery wrap for the delicious filling.
For the Seasoning
• Butter – 2 tablespoons, melted to brush over the roll-ups for a golden finish.
• Olive oil – 1 tablespoon, used to sauté the shrimp to perfection.
• Mayonnaise – 1 tablespoon, enhancing the creamy filling without being overpowering.
• Lemon juice – 1 teaspoon, adding a bright zing that balances the richness of the cheeses.
• Salt – ½ teaspoon, enhancing all the flavors within these Cheesy Garlic Shrimp Roll-Ups.
Gather these ingredients, and you’ll be well on your way to creating a scrumptious dish your family will adore!
How to Make Cheesy Garlic Shrimp Roll-Ups
-
Preheat your oven to 375°F (190°C). This step is essential for achieving a perfectly baked roll-up with that golden hue we all love. Line your baking sheet with parchment paper for easy cleanup.
-
Sauté the olive oil in a skillet over medium heat. Add in the chopped shrimp and cook for 3–4 minutes, or until they turn pink and opaque. Drain any excess liquid and let the shrimp cool slightly.
-
Combine in a bowl the cream cheese, mozzarella, Parmesan, mayonnaise, lemon juice, and half of the minced garlic. Stir in the cooked shrimp and 1 tablespoon of chopped parsley until everything is mixed evenly.
-
Prepare the crescent dough by unrolling it and pressing the seams together to create a smooth rectangle. Spread the shrimp and cheese mixture evenly over the dough for a delicious filling in every bite.
-
Roll the dough tightly from the long side into a log shape. Use a sharp knife to cut it into 8–10 even slices, ensuring that each piece has a generous helping of the filling.
-
Mix the melted butter with the remaining garlic, then brush this flavorful mixture over the tops of the roll-ups for an extra layer of savory goodness.
-
Arrange the slices cut-side up on the prepared baking sheet. Bake for 15–20 minutes, or until the roll-ups are golden brown and the dough is completely cooked through.
-
Garnish with the remaining parsley and let them cool for 3–5 minutes before serving—this will make the flavors even more pronounced.
Optional: Serve with a side of marinara sauce for dipping.
Exact quantities are listed in the recipe card below.
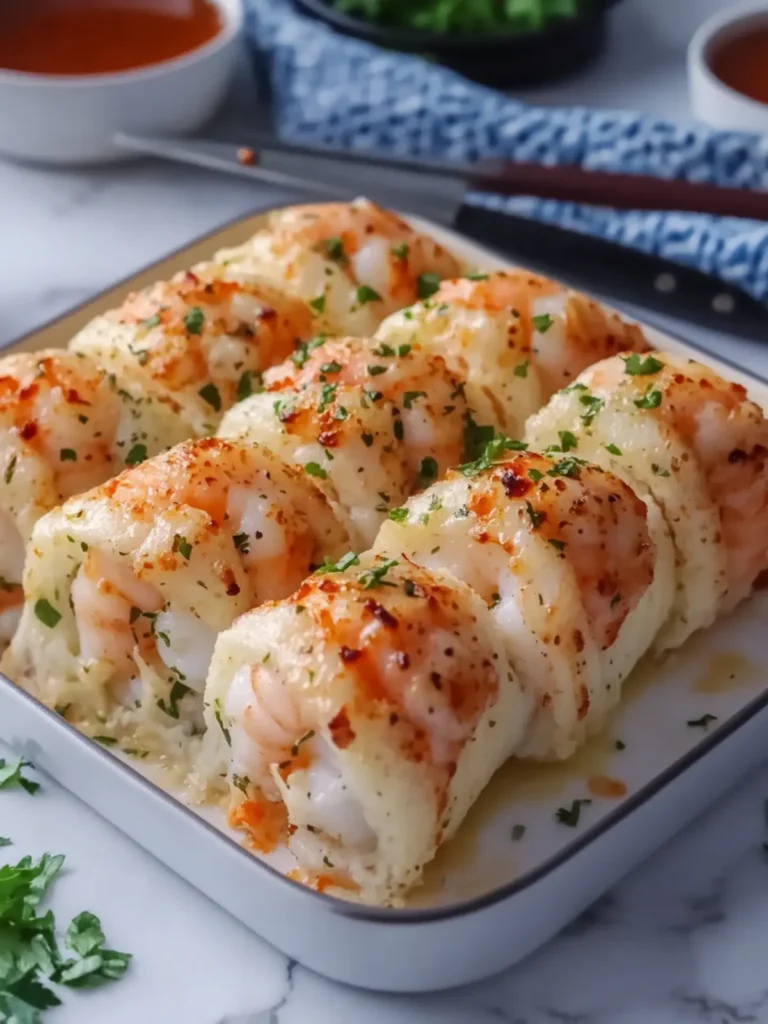
Storage Tips for Cheesy Garlic Shrimp Roll Ups
Fridge: Store leftover roll-ups in an airtight container in the fridge for up to 3 days. Reheat in the oven for a few minutes to restore crispiness.
Freezer: Freeze unbaked, sliced roll-ups on a baking sheet, then transfer to a freezer-safe bag for up to 2 months. Bake directly from frozen, adding a few extra minutes to the cooking time.
Reheating: For reheating, use the oven at 350°F (175°C) for about 10 minutes until warmed through, ensuring those cheesy garlic shrimp roll-ups retain their delightful texture.
Serving suggestion: When ready to serve, sprinkle with fresh parsley for an extra burst of flavor and color!
Cheesy Garlic Shrimp Roll Ups Variations
Get ready to personalize your delightful roll-ups and take them to new culinary heights!
- Gluten-Free: Use gluten-free crescent roll dough for a delicious option that everyone can enjoy.
- Spicy Kick: Add a teaspoon of red pepper flakes to the filling for a zesty, fiery twist.
Elevate your meal with just a sprinkle of heat! This little addition can transform your roll-ups into a bold experience your taste buds will adore.
- Veggie Boost: Fold in some finely chopped spinach or bell peppers for a pop of color and extra nutrition.
- Herbal Infusion: Try mixing in fresh dill or basil instead of parsley for a herby flavor that brightens every bite.
Imagine how the aroma of fresh herbs wafts through your kitchen, inviting everyone to the table.
- Creamy Alternative: Swap cream cheese for a lower-fat option like Greek yogurt or cottage cheese to lighten the dish while keeping it creamy.
- Cheese Variety: Replace mozzarella with your favorite cheese, such as cheddar or pepper jack, to introduce new flavors.
With each variation, you can create a unique experience for your family and friends, ensuring they enjoy something special every time you serve these treasured roll-ups!
What to Serve with Cheesy Garlic Shrimp Roll-Ups?
These delightful bite-sized treasures deserve the perfect accompaniment to create a memorable dining experience.
-
Garlic Bread: Its crispy texture and buttery flavor provide a wonderful contrast, making each bite even more indulgent. The garlic in both dishes complements one another beautifully, enhancing the overall experience.
-
Caesar Salad: This refreshing salad brings a tangy crunch and creaminess that cuts through the richness of the roll-ups, balancing the meal perfectly.
-
Steamed Asparagus: Tender yet crisp, asparagus adds a vibrant green element to your plate. Drizzled with lemon, it enhances the lemony zing in the shrimp roll-ups.
-
Creamy Coleslaw: The cool, crunchy cabbage with a hint of sweetness offers a nice textural contrast, brightening the meal and keeping it light.
-
Tomato Basil Soup: The rich, comforting flavors of tomato soup pair deliciously, providing a warm and hearty side that complements the roll-ups’ cheesy goodness.
-
Sparkling Lemonade: This refreshing and zesty drink adds a fun, bubbly element that elevates your meal, making it even more cheerful and inviting.
-
Chocolate Mousse: For a sweet ending, serve this smooth dessert. The luscious chocolate perfectly contrasts with the savory roll-ups, satisfying both savory and sweet cravings.
-
Fruit Salad: A colorful mix of seasonal fruits brings brightness and freshness, cleansing the palate between bites of those rich cheesy shrimp roll-ups.
Expert Tips for Cheesy Garlic Shrimp Roll-Ups
-
Shrimp Selection: Use fresh, large shrimp for the best texture. Frozen shrimp can work too, but ensure they’re fully thawed and patted dry to avoid excess moisture.
-
Avoid Overmixing: When combining the filling, mix just until combined to keep the shrimp tender and avoid a mushy texture.
-
Perfect Dough: Ensure the crescent roll dough is sealed well at the seams; otherwise, the filling may leak out during baking.
-
Golden Finish: For extra crunch, consider broiling the roll-ups for the last minute of cooking time to achieve a beautifully golden top.
-
Dip Options: Serve with a zesty dipping sauce like marinara or garlic aioli to enhance the flavors of these cheesy garlic shrimp roll-ups.
-
Customize Filling: Feel free to add vegetables like spinach or bell peppers for added nutrition and a pop of color, making your roll-ups even more delightful!
Make Ahead Options
These Cheesy Garlic Shrimp Roll-Ups are a fantastic option for meal prep, saving you time during busy weeknights! You can prepare the shrimp filling up to 24 hours in advance. Simply follow steps 1 through 3, mixing all your ingredients thoroughly and storing the filling in an airtight container in the refrigerator. For the dough, you can roll and slice the roll-ups and refrigerate them up to 3 days before baking to enhance their flavor. Just be sure to brush them with melted butter right before baking to ensure they achieve that golden, crispy finish. When ready to serve, bake directly from the fridge for 15–20 minutes for a delicious homemade dish everyone will love!
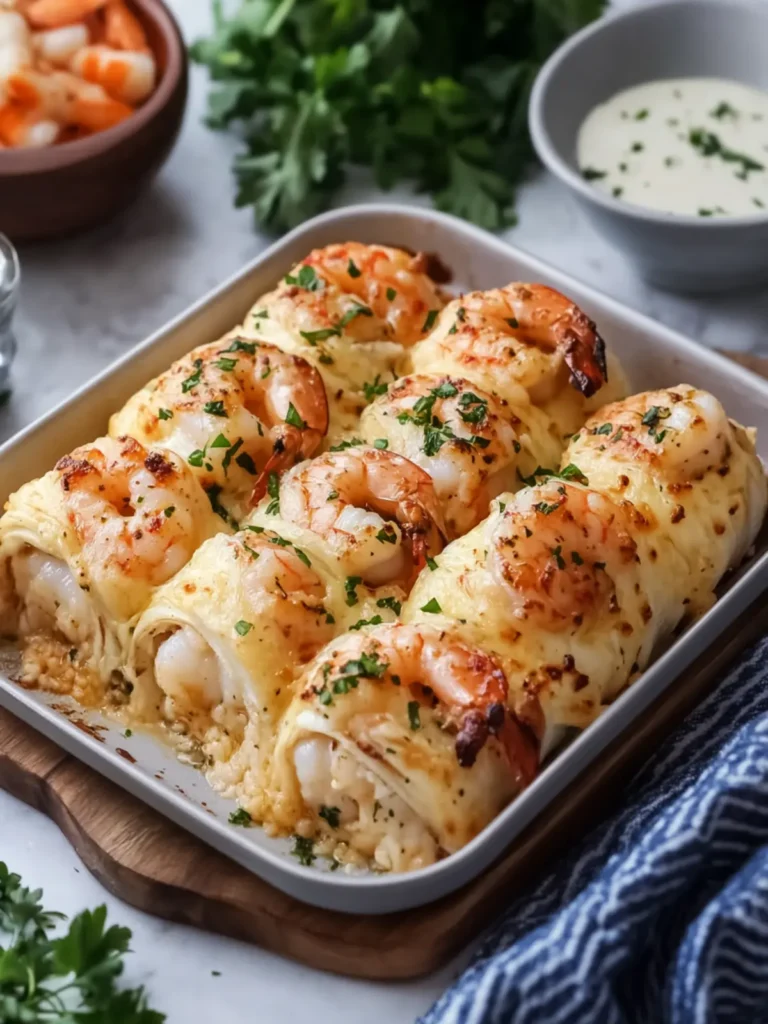
Cheesy Garlic Shrimp Roll-Ups Recipe FAQs
How do I select ripe shrimp for this recipe?
Absolutely! Look for fresh, large shrimp that have a firm texture and a mild ocean scent. If you’re choosing frozen shrimp, make sure they’re fully defrosted and patted dry to avoid excess moisture in your roll-ups.
How should I store leftover Cheesy Garlic Shrimp Roll-Ups?
You can store any leftover roll-ups in an airtight container in the fridge for up to 3 days. When you’re ready to enjoy them again, simply reheat in the oven for a few minutes to restore their delightful crispiness.
Can I freeze Cheesy Garlic Shrimp Roll-Ups?
Yes! To freeze unbaked roll-ups, place the sliced pieces on a baking sheet and freeze until solid. Then, transfer them to a freezer-safe bag where they’ll keep well for up to 2 months. When you’re ready to bake, just pop them in the oven from frozen, adding a few extra minutes to the cooking time to ensure they’re cooked through.
What should I do if my crescent dough is tearing?
No worries! If your crescent dough tears, simply patch it up by pressing the seams together. For added support, roll the dough slightly to smooth out any imperfections before spreading your filling. This will help prevent any leaking during baking.
Are there any dietary considerations I should keep in mind?
Absolutely! This recipe contains seafood, dairy, and gluten. It’s essential to check for allergies in your guests and consider using gluten-free dough or dairy-free cheese alternatives if needed. If you’re cooking for pets, avoid sharing these roll-ups, as shrimp and garlic can be harmful to them.
How do I know when my roll-ups are perfectly baked?
You’ll want to look for a golden-brown color on top of the roll-ups. A cooking time of 15–20 minutes in a preheated oven at 375°F (190°C) usually does the trick. For an extra crispy finish, consider broiling them for a minute or two at the end of cooking.
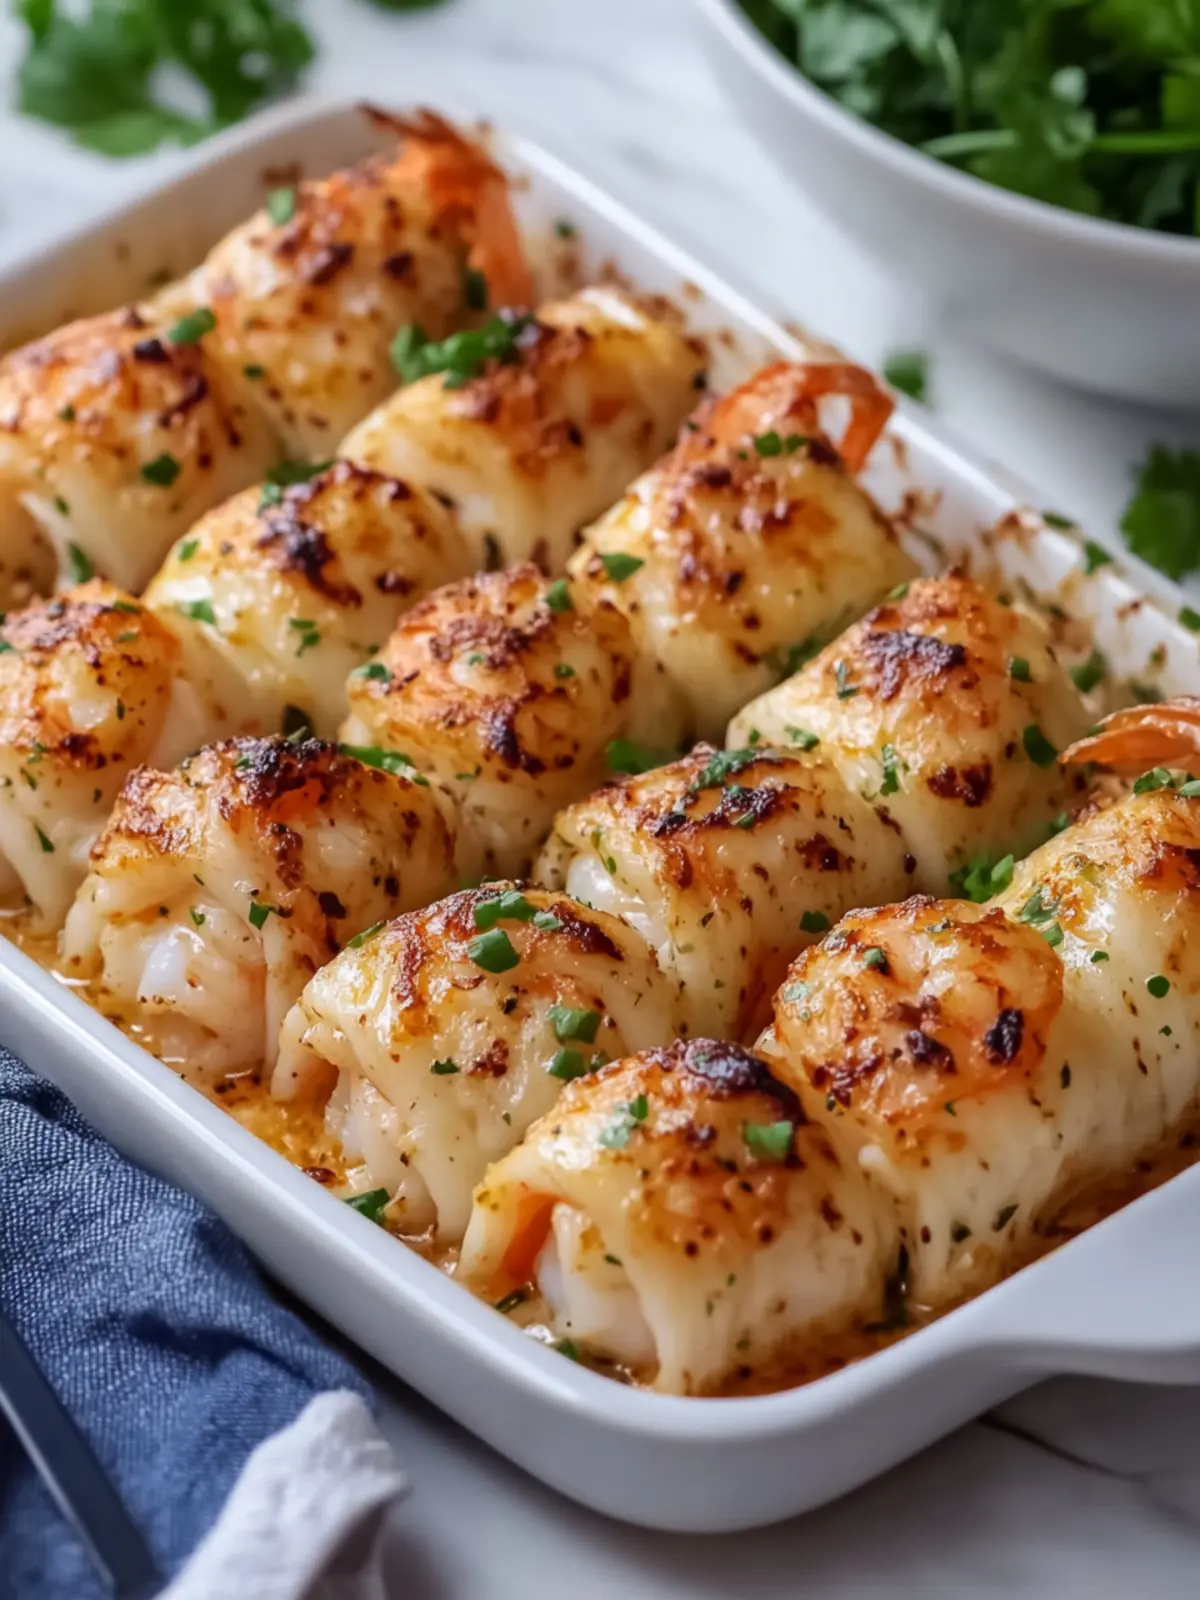
Cheesy Garlic Shrimp Roll Ups
Ingredients
Equipment
Method
- Preheat your oven to 375°F (190°C). Line your baking sheet with parchment paper.
- Sauté the olive oil in a skillet over medium heat. Add in the chopped shrimp and cook for 3–4 minutes until pink and opaque. Drain excess liquid and let cool.
- In a bowl, combine cream cheese, mozzarella, Parmesan, mayonnaise, lemon juice, and half the garlic. Stir in cooked shrimp and 1 tablespoon parsley.
- Unroll the crescent dough and press seams together. Spread the shrimp and cheese mixture over the dough.
- Roll the dough tightly from the long side into a log shape. Cut into 8–10 even slices.
- Mix melted butter with remaining garlic and brush over the roll-ups.
- Arrange slices cut-side up on the baking sheet. Bake for 15–20 minutes until golden brown.
- Garnish with remaining parsley and let cool for 3–5 minutes before serving.