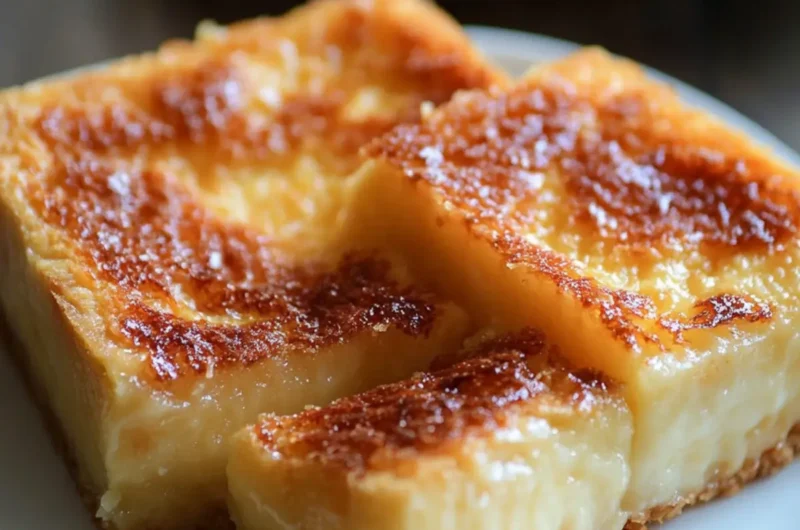
The first time I took a bite of creamy cassava cake, I felt transported to a cozy kitchen filled with laughter and warmth. This Filipino dessert, with its rich, cheesy topping and soft, flavorful center, has a way of evoking sweet memories. Imagine sinking your fork into a slice that’s both milky and moist, enveloping your taste buds in a delightful embrace of sweetness and creamy goodness. Whether you’re celebrating a special occasion or just seeking a comforting treat on a regular day, this cassava cake is incredibly versatile. It pairs perfectly with coffee or tea, creating an inviting afternoon snack that will leave everyone asking for seconds. So, roll up your sleeves and let’s dive into this Filipino classic that’s sure to impress your friends and family alike!
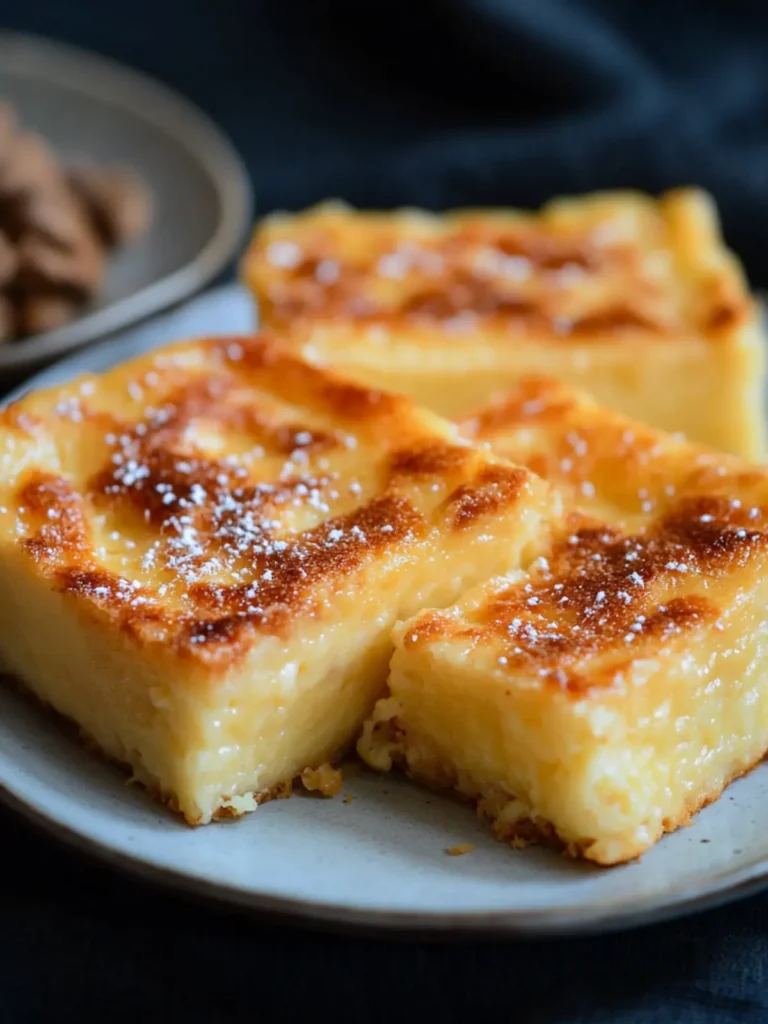
Why is this Cassava Cake Recipe Creamy and Cheesy?
Delightfully Unique: This creamy and cheesy cassava cake stands out for its extraordinary blend of flavors, combining the tropical sweetness of cassava with the savory richness of cheese.
Versatile Treat: Perfect for both casual afternoons and special occasions, it’s a dessert that caters to all tastes, making it a crowd favorite.
Easy to Make: With simple ingredients and straightforward steps, even novice bakers can master this recipe effortlessly.
Gluten-Free Goodness: Enjoy a gluten-free dessert without compromising on taste, making it an excellent option for various dietary needs.
Memorable Flavors: Each bite encapsulates a taste of Filipino culture, bringing warmth and nostalgia to your table. Try serving it alongside coffee or tea for an unforgettable experience!
Cassava Cake Ingredients
• Here’s what you need to make the perfect creamy and cheesy cassava cake.
For the Cake
- Grated Cassava – This is the base ingredient that provides moisture and structure; it’s best to use frozen or finely grated fresh cassava.
- Coconut Cream – Adds an irresistible creaminess and enhances the coconut flavor; substitute with full-fat coconut milk if needed.
- Evaporated Milk – Infuses the cake with added creaminess and sweetness; don’t skip this, as it works alongside condensed milk.
- Eggs – Essential for structure and moisture, binding all the ingredients together; for vegan options, you can use flax eggs.
- Butter (melted) – Brings richness and moisture; feel free to swap it with oil for a dairy-free version.
- Quick-melt Cheese (shredded) – Elevates the flavor and adds a delightful cheesy texture; can replace it with cheddar for a similar effect.
- Condensed Milk – Vital for that creamy profile and sweetness; consider using a sugar-free version if you want to reduce sugar.
For the Topping
- Coconut Cream – Continues the rich coconut theme and creates a luscious topping layer.
- Condensed Milk – Sweetens and enriches the topping; it’s essential for that decadent finish.
- Quick-melt Cheese – Adds a cheesy touch that mirrors the cake’s base; go for the same variety to maintain flavor harmony.
- Butter (melted) – Smooths the mixture for a silky topping; this enhances the overall texture of your final dish.
Enjoy crafting your creamy and cheesy cassava cake, a true Filipino dessert delight!
How to Make Cassava Cake
-
Preheat Oven: Start by preheating your oven to 350°F (175°C) to ensure it’s hot enough for baking your delicious cake.
-
Whisk Ingredients: In a large bowl, combine the eggs and whisk until smooth. Add the evaporated milk, condensed milk, melted butter, and coconut cream, mixing well until the mixture is smooth and creamy.
-
Mix in Cassava: Gently stir in the grated cassava along with half of the shredded quick-melt cheese, making sure your batter is well combined and smooth.
-
Bake the Cake: Pour the batter into a greased baking pan. Bake in the preheated oven for 1 hour, or until the top is set and lightly golden.
-
Prepare the Topping: While the cake is baking, combine the coconut cream, remaining condensed milk, shredded cheese, and melted butter in a separate bowl. Mix until it reaches a silky-smooth consistency.
-
Add the Topping: Once the cake is done baking, carefully pour the topping mixture over it. Return the pan to the oven and continue to bake until the topping thickens and becomes slightly golden, about 15-20 minutes.
-
Cool and Serve: Remove the cake from the oven and let it cool for a few minutes. Slice into generous pieces and serve warm or at room temperature.
Optional: Top with extra shredded cheese for a delightful finishing touch.
Exact quantities are listed in the recipe card below.
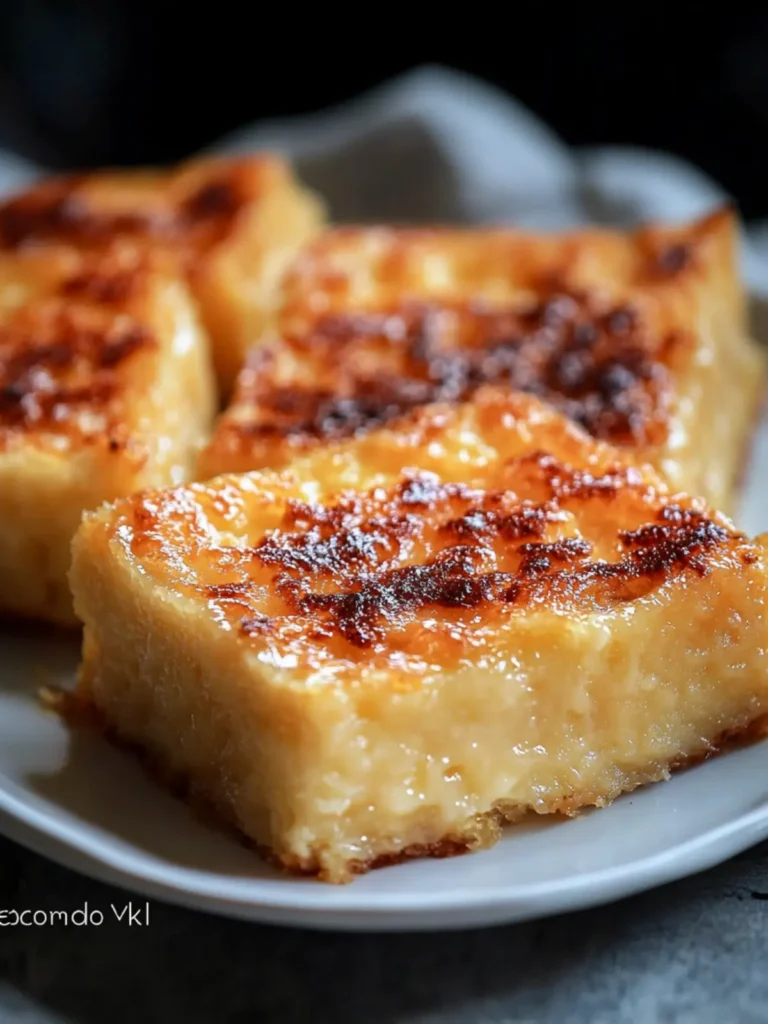
What to Serve with Creamy Cheesy Cassava Cake?
As you slice into this delightful dessert, think of the wonderful complements that can elevate your dining experience even further.
-
Coffee: A warm cup of coffee brings out the cake’s sweetness, making every bite feel comforting and rich.
-
Tea: Pairing with a fragrant herbal or green tea enhances the flavors, creating a light and refreshing balance.
-
Fresh Fruit Salad: Bright, juicy fruits add a contrast in texture and flavor, lightening the richness of the cake.
-
Vanilla Ice Cream: The cold creaminess of ice cream harmonizes beautifully with the cake, creating a delectable warm-and-cold combination.
-
Coconut Milk Shake: Elevate your dessert experience with a tropical milkshake that mirrors the cake’s coconut flavors.
-
Custard Sauce: A drizzle of warm custard adds an extra layer of sweetness and creaminess, making each bite luxurious.
-
Sweetened Condensed Milk Drizzle: A drizzle brings additional sweetness, enhancing the cake’s rich flavors and creamy texture.
-
Chocolate Sauce: For those who enjoy a fusion of flavors, a light drizzle of chocolate sauce adds a bold twist to the dessert.
-
Pineapple Chunks: Fresh pineapple introduces a zesty touch, providing a delightful contrast to the richness of the cake.
Embrace these pairing suggestions, and delight your guests with a memorable tasting journey!
Cassava Cake Variations
Get creative and explore new dimensions with this beloved dessert that invites customization through delightful twists and substitutions.
-
Dairy-Free: Swap quick-melt cheese with a lactose-free alternative to enjoy the same cheesy goodness without dairy. This ensures everyone can relish the cake without worry!
-
Nutty Crunch: Add macapuno strips or chopped nuts like cashews or almonds for a delightful crunch and extra flavor. The contrasting textures can elevate the overall experience!
-
Sugar-Free: Use sugar-free condensed milk to make this dessert suitable for those watching their sugar intake. You can enjoy the sweet richness without the guilt!
-
Flavor Boost: Mix in a teaspoon of vanilla extract or coconut extract to amplify the delicious coconut notes. These additions will create an aromatic experience as it bakes!
-
Coconut-Lover’s Dream: For enhanced coconut flavor, fold in shredded coconut into the batter. The extra chewiness complements the moistness of the cassava like a tropical vacation on your plate.
-
Chocolate Twist: Incorporate cocoa powder or chocolate chips to transform the cake into a rich, chocolatey version that still retains its creamy and cheesy character. A surprise for chocolate lovers!
-
Spicy Kick: For those who enjoy a bit of heat, add a pinch of cayenne pepper or finely chopped jalapeños into the batter. A spice twist adds depth and complexity that is utterly surprising!
-
Fruitful Addition: Top with fresh fruit slices, like mango or ripe bananas, for a refreshing contrast to the richness of the cake. The fruity topping enhances the sweetness, creating a delightful harmony.
With these variations, each bite of your cassava cake can tell a different story, ensuring every slice feels like an adventure!
Storage Tips for Cassava Cake
Fridge: Store your cassava cake in an airtight container in the refrigerator for up to 7 days to maintain its creamy texture and flavor.
Freezer: For longer storage, you can freeze the cassava cake for up to 3 months. Wrap it tightly in plastic wrap and then in aluminum foil to prevent freezer burn.
Reheating: To enjoy your cassava cake warm, preheat the oven to 350°F (175°C) and bake for about 10-15 minutes. Alternatively, you can microwave individual slices for about 30 seconds on medium power.
Room Temperature: If you plan to consume the cake within a day, you can keep it at room temperature covered, but it’s best enjoyed chilled or warmed for the best flavors from the creamy and cheesy elements.
Expert Tips for Cassava Cake Recipe
-
Smooth Batter: Ensure the mixture is well-blended for the best texture. Lumps can lead to uneven baking and a chewy consistency.
-
Watch for Topping Color: A slightly brown topping is normal and desirable; it adds a delectable richness that enhances the overall flavor of your cassava cake.
-
Don’t Skim on the Ingredients: Each ingredient plays a key role, especially the evaporated milk and cheese, which are essential for achieving that creamy and cheesy finish.
-
Adjust Baking Time: If your topping is browning too quickly, cover it loosely with aluminum foil to prevent burning while the cake continues baking.
-
Texture Check: Make sure to test the cake with a toothpick. If it comes out clean but slightly sticky, it’s perfectly done; over-baking can dry it out.
Make Ahead Options
These Creamy Cheesy Cassava Cake are perfect for busy home cooks looking to save time during hectic weekdays! You can prepare the batter up to 24 hours in advance; just mix all the ingredients but hold off on the cheese topping. Store the mixture in an airtight container in the refrigerator to keep it fresh. When you’re ready to bake, pour the batter into a greased pan and follow the baking instructions. For the topping, it can be mixed and stored separately for up to 3 days in the fridge. Simply add the topping before the final bake, and you’ll have a deliciously creamy and cheesy dessert with minimal effort, ready to delight your family!
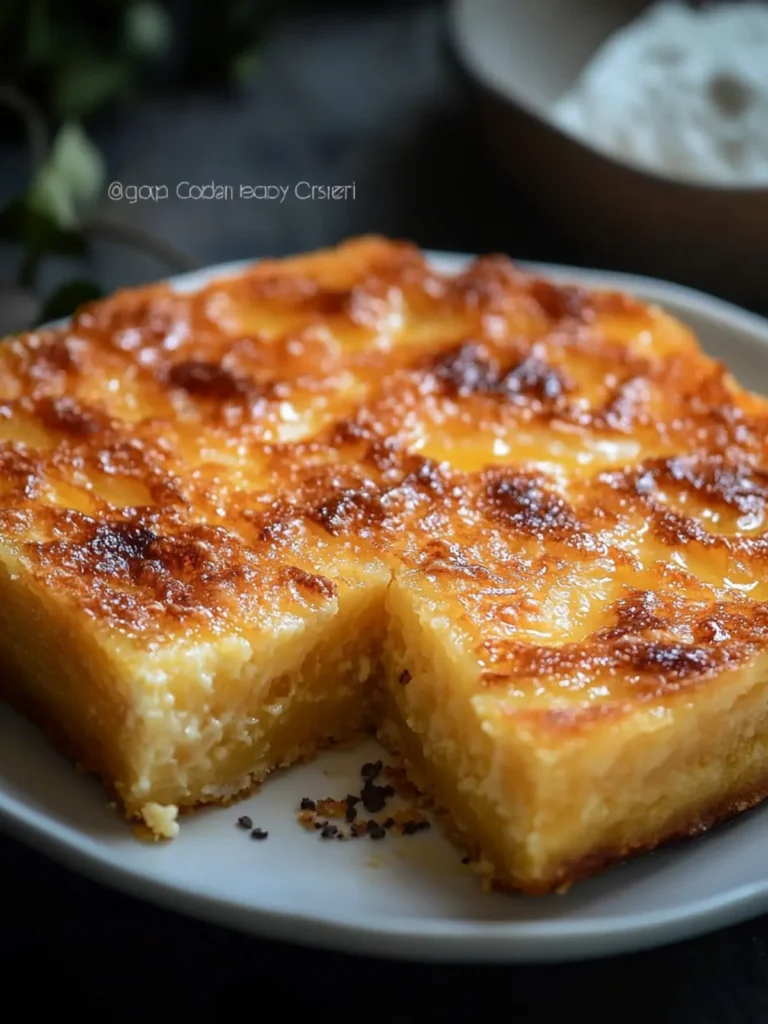
Cassava Cake Recipe Creamy and Cheesy Version Recipe FAQs
How should I select my grated cassava?
Absolutely! When selecting grated cassava, I recommend choosing frozen, as it’s typically available at Filipino grocery stores and ensures consistency. If using fresh cassava, make sure it’s finely grated and thoroughly wrung out to remove excess moisture; look for a firm texture without dark spots.
How do I store the cassava cake?
To keep your creamy and cheesy cassava cake fresh, store it in an airtight container in the refrigerator for up to 7 days. This method preserves its creamy texture and rich flavors. Allow it to cool completely before refrigerating to prevent condensation buildup.
Can I freeze cassava cake?
Yes, you can freeze your cassava cake for up to 3 months! Wrap it tightly in plastic wrap, then in aluminum foil to protect it from freezer burn. When you’re ready to enjoy, simply thaw it in the fridge overnight and reheat in the oven at 350°F (175°C) for about 10-15 minutes to bring back its creamy texture.
What should I do if my cassava cake is too dry?
If your cassava cake turns out too dry, it’s likely that it was overbaked. To avoid this in the future, check for doneness a bit earlier than the suggested time. Use a toothpick; if it comes out clean but slightly sticky, that’s perfect! Also, for extra moisture, consider adding a bit more coconut cream or butter in your next bake.
Is this recipe suitable for people with lactose intolerance?
Very much so! You can adapt the cassava cake recipe to be lactose-free by using dairy alternatives like lactose-free cheese and coconut cream instead of evaporated milk. Additionally, swapping butter for a vegetable oil will cater to those with dairy sensitivities without sacrificing flavor.
Can I serve the cassava cake at room temperature?
Absolutely! While this cassava cake is delightful when served chilled or warmed, it can also be enjoyed at room temperature. If serving it within a day, simply cover it to maintain freshness, and it will still be tasty and satisfying.
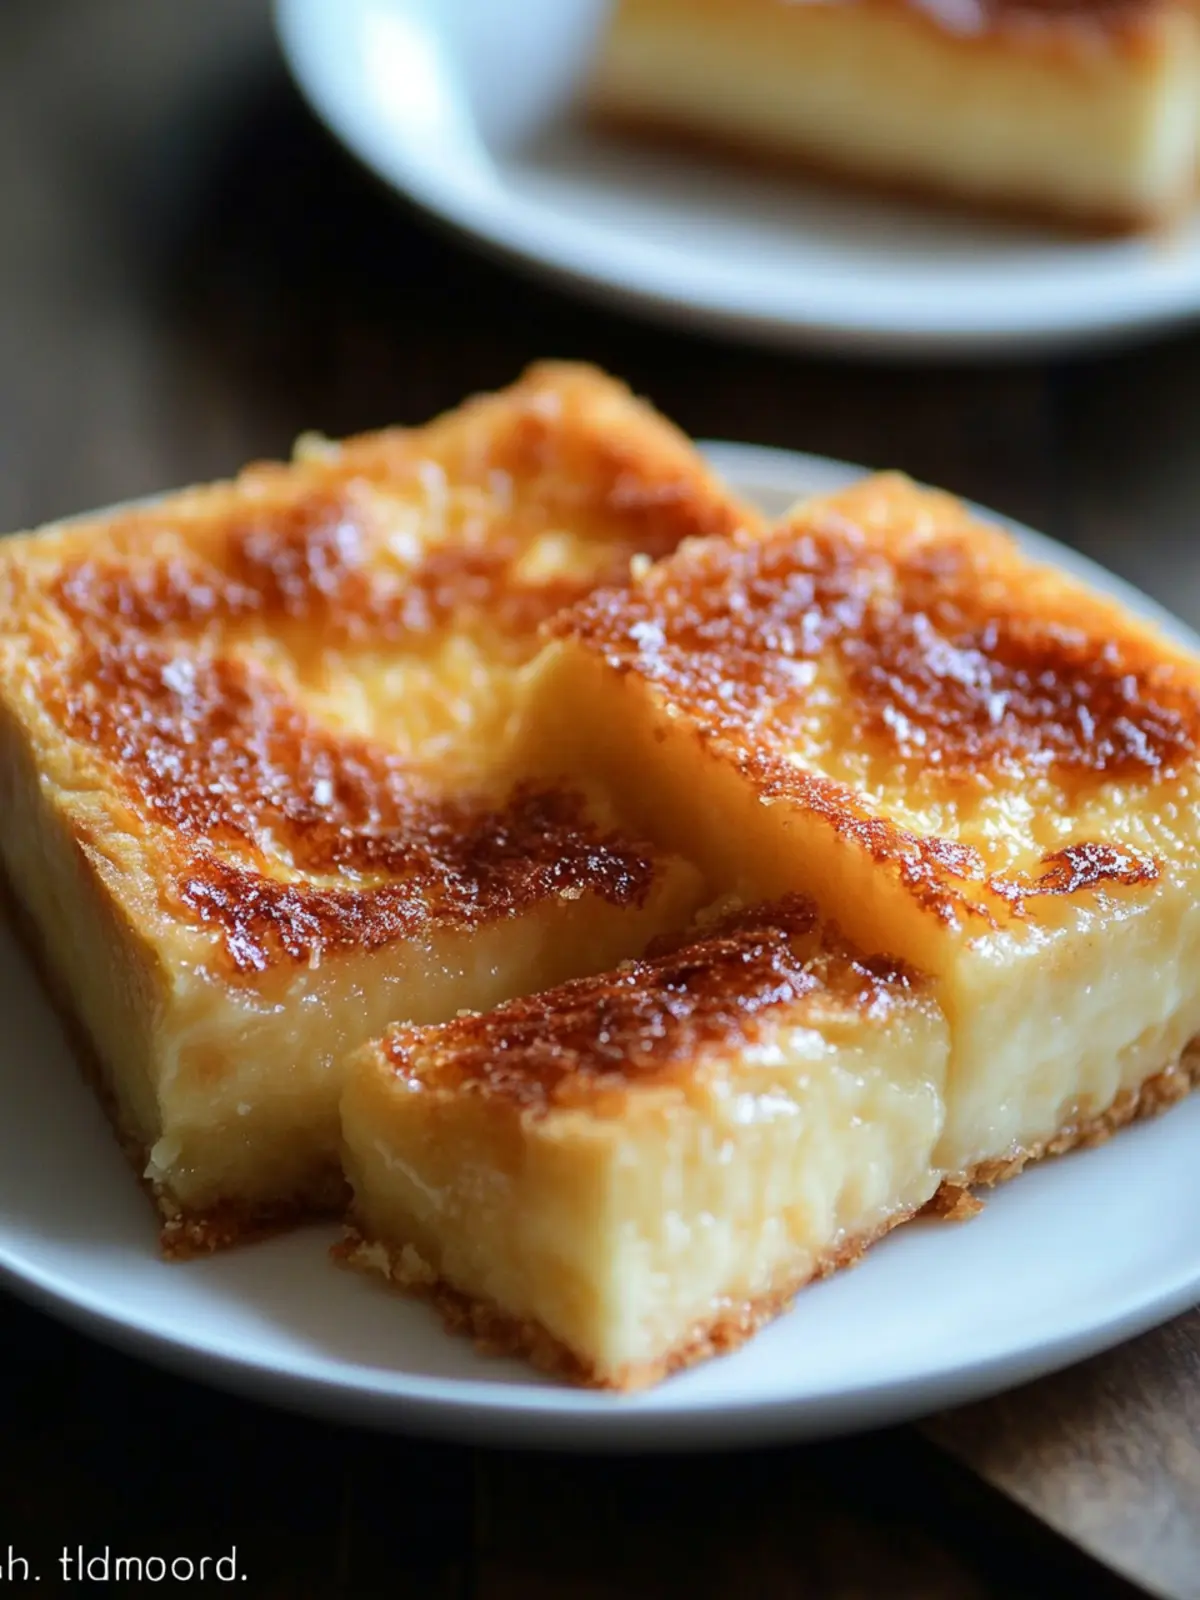
Creamy and Cheesy Cassava Cake Recipe for Sweet Moments
Ingredients
Equipment
Method
- Preheat your oven to 350°F (175°C).
- In a large bowl, whisk the eggs until smooth. Add evaporated milk, condensed milk, melted butter, and coconut cream; mix until creamy.
- Gently stir in the grated cassava and half of the shredded quick-melt cheese until well combined.
- Pour the batter into a greased baking pan and bake for 1 hour, or until set and lightly golden.
- While the cake bakes, combine the coconut cream, remaining condensed milk, shredded cheese, and melted butter for the topping; mix until smooth.
- Once baked, pour the topping mixture over the cake and return to the oven for another 15-20 minutes until thickened.
- Let it cool for a few minutes, slice, and serve warm or at room temperature.