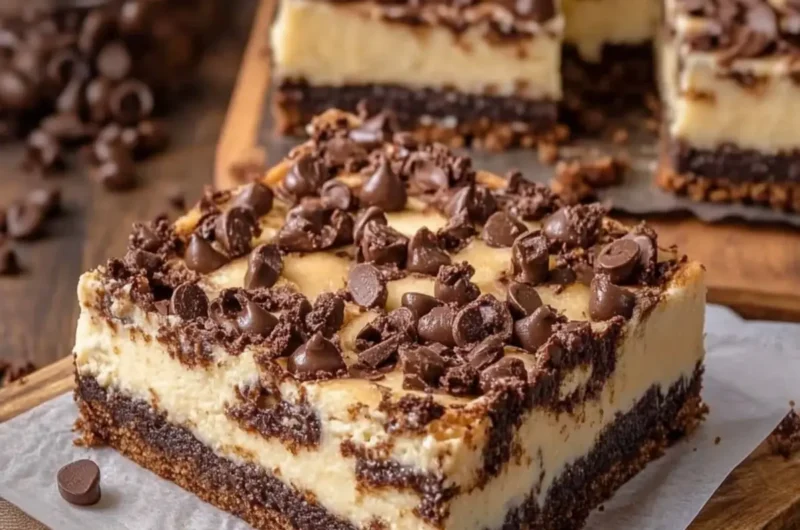
There’s a moment in every baker’s journey when the sheer joy of dessert creation leads to something truly extraordinary. For me, that moment was when I discovered Brownie Cheesecake Bars—an enchanting fusion of rich, fudgy brownies mingling with velvety cheesecake. Oh, the aroma wafting through the kitchen as they bake is enough to steal anyone’s heart!
This decadent treat came about one cozy afternoon when I had a craving that was hard to satisfy. I had brownie mix on one side and a yearning for something creamy and dreamy on the other. I decided to marry the two, and the result was a delightful cross between classic brownie and cheesecake that my family now calls the ultimate dessert.
Whether you’re looking to impress dinner guests or simply treat yourself after a long day, these Brownie Cheesecake Bars promise to bring smiles and satisfied cravings. Let me take you on a step-by-step journey to creating these delicious bars that are sure to become a favorite in your home.
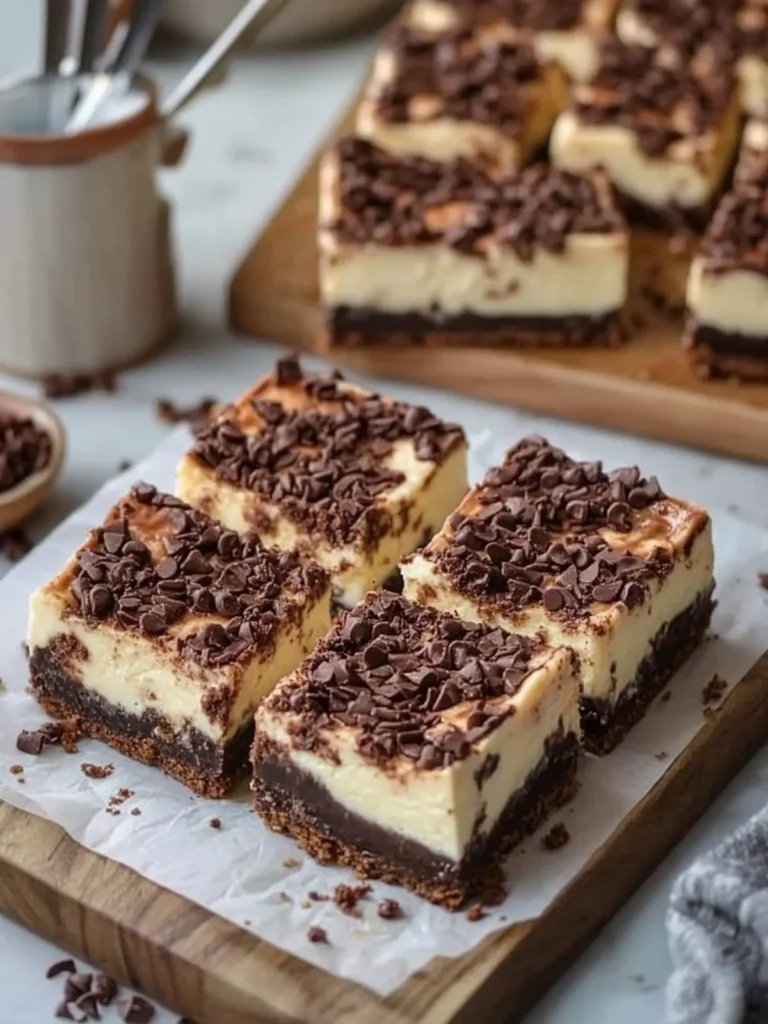
Why are these Brownie Cheesecake Bars irresistible?
Decadent and indulgent, these bars combine two dessert favorites into one heavenly treat. Gooey brownie layers come together with a smooth and creamy cheesecake filling, creating a delightful contrast of flavors. Perfectly shareable, they’re ideal for gatherings or simply lounging at home with a good book! Easy to make with straightforward steps, this recipe takes little time but yields maximum impact. Want more dessert inspiration? Check out our guide on easy homemade desserts.
Brownie Cheesecake Bars Ingredients
• If you’re ready to experience pure bliss, gather these ingredients!
For the Brownie Layer
• 1 cup unsalted butter, melted – provides a rich flavor and a moist texture.
• 2 cups granulated sugar – sweetens the brownies while creating a luscious bite.
• 4 large eggs – binds ingredients together for that perfect fudgy density.
• 2 teaspoons vanilla extract – enhances the overall flavor profile.
• 1 cup unsweetened cocoa powder – brings deep chocolate richness to the bars.
• 1 cup all-purpose flour – gives structure to your brownie base.
• 1/2 teaspoon salt – balances sweetness and enhances flavors.
• 1/2 cup semisweet chocolate chips – adds delightful bursts of chocolate throughout the brownie layer.
For the Cheesecake Layer
• 16 oz cream cheese, softened – creates a creamy, dreamy texture that everyone loves.
• 3/4 cup granulated sugar – sweetens the cheesecake while keeping it smooth.
• 2 large eggs – helps set the cheesecake filling to the perfect creamy consistency.
• 1 teaspoon vanilla extract – complements the cheesecake and adds depth.
With these Brownie Cheesecake Bars ingredients on hand, you’re one step closer to a delightful dessert that will wow your taste buds!
How to Make Brownie Cheesecake Bars
-
Preheat your oven to 350°F (175°C). Grease a 9 × 13-inch rectangular baking dish to ensure your bars come out easily and toasty golden.
-
Whisk together the melted butter and granulated sugar until smooth. This creates a luscious base that’s rich and sweet.
-
Add the eggs and vanilla extract, mixing well until everything is combined, and the mixture is light in color and fluffy.
-
Stir in the cocoa powder, flour, and salt. Mix just until combined—no need to overwork it! The batter should be thick and chocolatey.
-
Fold in the semisweet chocolate chips. These little chunks of joy will make each bite a delightful surprise!
-
Spread about 3/4 of the brownie batter evenly into your prepared dish. This will be the foundation for your luscious cheesecake layer.
-
Beat the cream cheese and granulated sugar together in a separate bowl until completely smooth. The creamy texture will add the perfect layer of indulgence.
-
Incorporate the eggs and vanilla extract into the cream cheese mixture. Beat until creamy and blended, making it as dreamy as you can!
-
Spread the cheesecake mixture evenly over the brownie layer in the dish. This will create a beautiful, rich contrast to the chocolate below.
-
Drop spoonfuls of the remaining brownie batter over the cheesecake. Don’t worry about making it perfect; it’ll create that delightful marbled look when baked!
-
Gently swirl the brownie batter into the cheesecake using a knife. Aim for a lovely, marbled effect that looks delightful!
-
Sprinkle a few extra chocolate chips over the top if desired, adding a touch of glamour before they go into the oven.
-
Bake for 35–42 minutes, until the edges are set and the center has a slight jiggle. You’ll see it puff up!
-
Cool completely for about 1 hour at room temperature. It’s tempting, but let it chill before cutting!
-
Refrigerate for at least 3 hours, preferably overnight, before serving. This helps meld the flavors together and creates the perfect texture.
Optional: Serve with a dollop of whipped cream for an extra indulgence.
Exact quantities are listed in the recipe card below.
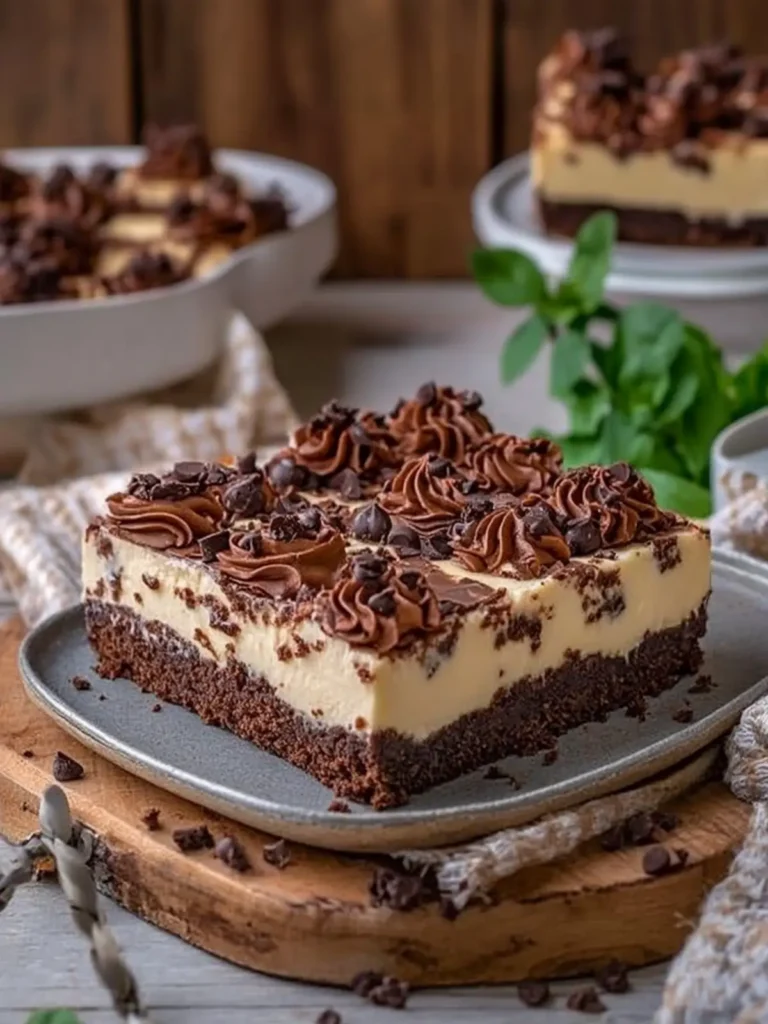
Brownie Cheesecake Bars Variations
Feel free to get creative and make these bars your own with these fun variations!
-
Nutty Crunch: Add 1 cup of chopped walnuts or pecans to the brownie layer for a delightful crunch and nutty flavor.
-
Swirl of Flavor: Incorporate 1/2 cup of your favorite fruit preserves or pie filling into the cheesecake layer for a fruity twist. The bursts of flavor will dance on your palate!
-
Gluten-Free: Substitute the all-purpose flour with a 1:1 gluten-free flour blend to keep the bars gluten-free without sacrificing taste.
-
Dairy-Free Delight: Replace the cream cheese with a dairy-free alternative, like cashew cream, and use coconut oil instead of butter for an indulgent dairy-free option.
-
Minty Fresh: Stir in a teaspoon of peppermint extract into the cheesecake layer for a refreshing mint chocolate experience. This holiday favorite will have everyone asking for more!
-
Spicy Chocolate: Add a pinch of cayenne or a dash of espresso powder into the brownie mix for an unexpected kick and richness. The heat will tantalize your taste buds!
-
Extra Chocolatey: Use dark chocolate chips instead of semisweet chips for a more intense chocolate flavor. A chocolate lover’s dream come true!
-
Choco-Coffee Boost: Fold in 1 tablespoon of instant coffee granules to the brownie batter for a deeper, richer chocolate flavor. It’s the perfect pick-me-up!
Let these variations inspire you to craft your own signature take on these scrumptious Brownie Cheesecake Bars!
Expert Tips for Brownie Cheesecake Bars
-
Room Temperature Ingredients: Ensure your cream cheese and eggs are at room temperature for a smoother cheesecake layer and easier mixing.
-
Don’t Overmix: When combining the brownie batter, mix just until combined to avoid tough bars. Overmixing can lead to a dense texture.
-
Swirl Techniques: Use a knife or a skewer to gently create a marbled effect. Don’t overdo it; keep some brownie batter visible for those tempting swirls!
-
Baking Time Check: Remember that every oven is different; start checking your bars at 35 minutes for the perfect bake. They should have a slight jiggle in the center.
-
Cooling Patience: Give your Brownie Cheesecake Bars enough cooling time before refrigerating. This enhances the flavors and ensures a firmer texture.
-
Flavor Variations: Experiment with adding flavors like mint extract or orange zest to the cheesecake layer for a delightful twist that keeps your taste buds excited!
Make Ahead Options
These Brownie Cheesecake Bars are perfect for busy home cooks looking to save time! You can prepare the brownie and cheesecake batters up to 24 hours in advance. Simply make each layer according to the recipe, then store them separately in airtight containers in the refrigerator. When you’re ready to bake, simply spread the brownie batter in the dish, add the chilled cheesecake layer, and finish with the remaining brownie batter as instructed. This method not only preserves the quality—keeping your bars just as delicious—but it also allows you to whip up a stunning dessert without the last-minute rush. Enjoy the ease of making your treats ahead of time while still impressing family and friends!
How to Store and Freeze Brownie Cheesecake Bars
Room Temperature: Store any leftover bars in an airtight container at room temperature for up to 2 days. Keep them in a cool, dry place to maintain freshness.
Fridge: For longer storage, place the Brownie Cheesecake Bars in the refrigerator, where they will stay fresh for up to 5 days. Store in an airtight container to prevent drying out.
Freezer: To freeze, wrap the bars tightly in plastic wrap and then in aluminum foil, or use a freezer-safe container for up to 3 months. Thaw in the fridge overnight before serving.
Reheating: If you want them warm, simply place in the microwave for 10-15 seconds. Enjoy the gooey, fudgy goodness!
What to Serve with Brownie Cheesecake Bars?
As you delve into the rich, chocolatey goodness of these treats, consider pairing them with delightful accompaniments to elevate the experience!
- Vanilla Ice Cream: The creamy chill of vanilla ice cream perfectly balances the brownie’s fudgy texture, creating a dreamy dessert duo.
- Fresh Berries: A medley of strawberries, raspberries, and blueberries brings a burst of freshness that cuts the richness of the cheesecake. Serve them alongside for a vibrant contrast!
- Whipped Cream: A fluffy dollop of whipped cream adds lightness and sweetness, turning each bite into a delightful celebration of flavors.
- Coffee: A cup of freshly brewed coffee enhances the chocolate richness, making for a comforting end to your meal or day.
- Chocolate Sauce: Drizzling chocolate sauce on top intensifies the chocolate experience. It’s a fun, gooey addition that chocolate lovers will cherish!
- Mint Leaves: For a refreshing twist, garnish with fresh mint leaves. They add a beautiful pop of color and a hint of coolness to balance the rich bars.
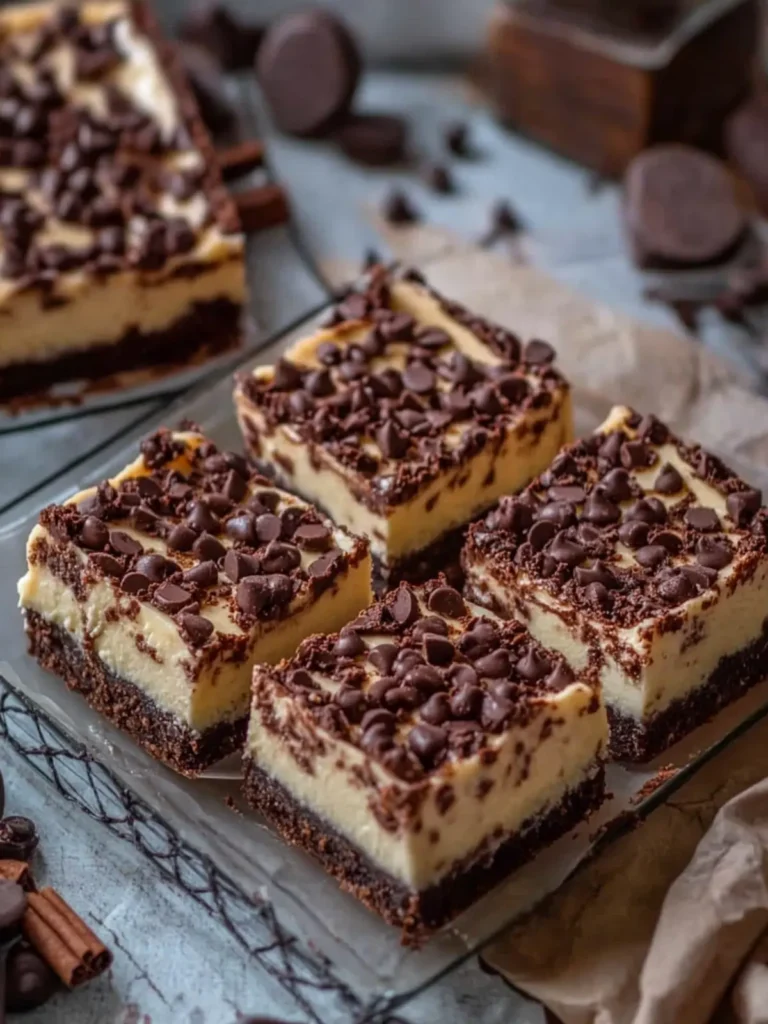
Brownie Cheesecake Bars Recipe FAQs
What type of chocolate works best for the brownie layer?
Absolutely! For these Brownie Cheesecake Bars, semisweet chocolate works wonders. I often use chocolate chips, as they melt perfectly and create pockets of gooey texture. If you prefer a richer taste, dark chocolate can add a delightful depth to your bars.
How long can I store leftover Brownie Cheesecake Bars?
You can store your leftover bars in the fridge in an airtight container for up to 5 days. They’re delightful served cold, but if you prefer a warm treat, simply pop them in the microwave for about 10-15 seconds before enjoying!
Can I freeze Brownie Cheesecake Bars?
Definitely! To freeze, wrap the bars tightly in plastic wrap and then in aluminum foil or place them in a freezer-safe container. They can be stored this way for up to 3 months. When you’re ready to enjoy, thaw them in the fridge overnight for the best texture.
Why did my cheesecake layer crack?
Ah, the classic cheesecake challenge! Cracking can occur for a couple of reasons. Make sure you’re not overbaking the bars; they should have a slight jiggle in the center. Also, mixing the cream cheese too vigorously can introduce air, causing cracks. Next time, mix gently and keep an eye on that baking time!
Can I use low-fat cream cheese in this recipe?
Very! You can use low-fat cream cheese if you want a lighter option. Just keep in mind that it might not be as creamy or rich as traditional cream cheese, but it still works beautifully!
Are these bars suitable for those with gluten allergies?
Unfortunately, these Brownie Cheesecake Bars contain all-purpose flour, which is not gluten-free. However, you can substitute it with a gluten-free flour blend for a delightful alternative that everyone can enjoy!
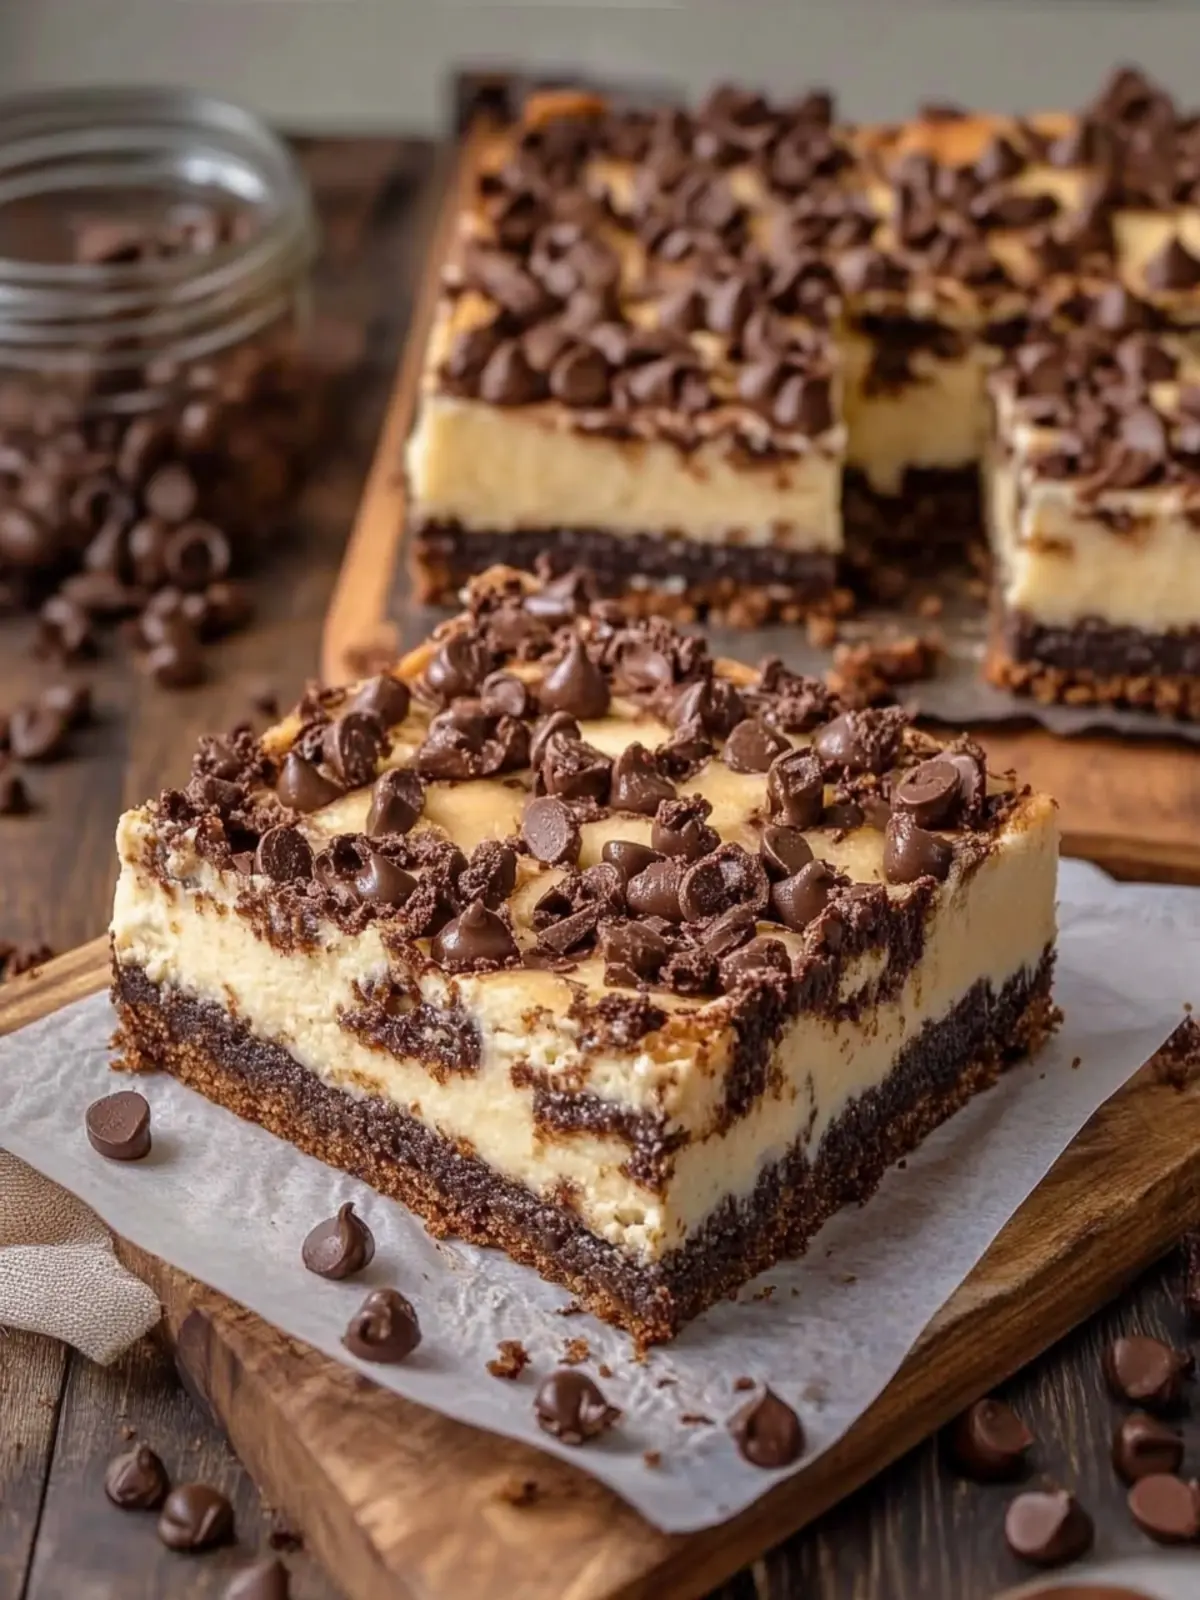
Decadent Brownie Cheesecake Bars That Wow Every Bite
Ingredients
Equipment
Method
- Preheat your oven to 350°F (175°C). Grease a 9 × 13-inch rectangular baking dish to ensure your bars come out easily and toasty golden.
- Whisk together the melted butter and granulated sugar until smooth. This creates a luscious base that’s rich and sweet.
- Add the eggs and vanilla extract, mixing well until everything is combined, and the mixture is light in color and fluffy.
- Stir in the cocoa powder, flour, and salt. Mix just until combined—no need to overwork it! The batter should be thick and chocolatey.
- Fold in the semisweet chocolate chips. These little chunks of joy will make each bite a delightful surprise!
- Spread about 3/4 of the brownie batter evenly into your prepared dish. This will be the foundation for your luscious cheesecake layer.
- Beat the cream cheese and granulated sugar together in a separate bowl until completely smooth. The creamy texture will add the perfect layer of indulgence.
- Incorporate the eggs and vanilla extract into the cream cheese mixture. Beat until creamy and blended, making it as dreamy as you can!
- Spread the cheesecake mixture evenly over the brownie layer in the dish. This will create a beautiful, rich contrast to the chocolate below.
- Drop spoonfuls of the remaining brownie batter over the cheesecake. Don't worry about making it perfect; it’ll create that delightful marbled look when baked!
- Gently swirl the brownie batter into the cheesecake using a knife. Aim for a lovely, marbled effect that looks delightful!
- Sprinkle a few extra chocolate chips over the top if desired, adding a touch of glamour before they go into the oven.
- Bake for 35–42 minutes, until the edges are set and the center has a slight jiggle. You'll see it puff up!
- Cool completely for about 1 hour at room temperature. It’s tempting, but let it chill before cutting!
- Refrigerate for at least 3 hours, preferably overnight, before serving. This helps meld the flavors together and creates the perfect texture.