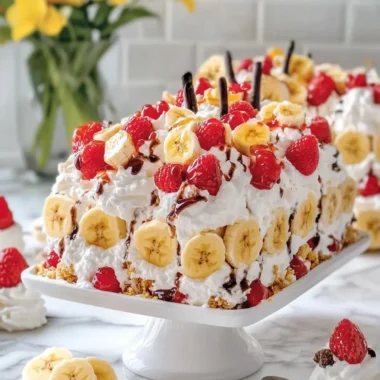
As summer slowly fades and cooler breezes begin to stir, I find myself yearning for sweet, nostalgic treats that remind me of carefree days. Picture this: a sunny afternoon spent with loved ones, laughter echoing as we dive into a refreshing dessert that appeals to the kid in all of us. That’s when this Banana Split Dessert Bars recipe enters the scene—it’s a delightful twist on classic flavor combinations that is as visually inviting as it is delicious.
Each bite is a harmonious blend of creamy goodness, fresh fruit, and a crunchy graham cracker crust, perfectly layered to create a symphony of taste and texture. Whether you’re hosting a backyard barbecue or need a make-ahead treat for your next potluck, these dessert bars are easy to whip up, requiring just a touch of refrigerator magic to set. The best part? They’re sure to impress everyone at the table without sending you into a stress spiral. Join me in creating this charming dessert that brings joy, nostalgia, and just the right amount of sweetness to any occasion!
Why love Banana Split Dessert Bars?
Irresistible Flavor: This dessert pairs the sweetness of ripe bananas with the tartness of cherries and creamy cheese for a mouthwatering explosion of taste.
Easy to Make: No extensive baking skills required! With simple steps, you’ll have a delightful treat ready to impress your guests.
Perfect for Gatherings: There’s enough to serve a crowd—perfect for parties, picnics, or just a cozy family night.
Cool & Refreshing: Ideal for warm days, this dessert brings a refreshing taste that’s reminiscent of summer fun.
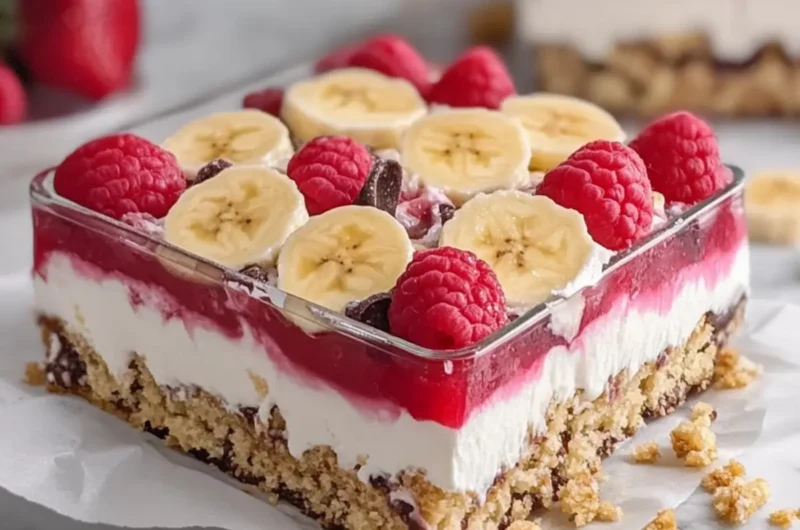
Layered Delight: Each layer adds a unique texture, from the crunchy crust to the fluffy whipped topping, making every bite an experience.
Get ready to bring classic flavors together and satisfy sweet cravings with this must-try recipe!
Ingredients for Banana Split Dessert Bars
These Banana Split Dessert Bars pack a flavorful punch with a creamy, fruity, and crunchy profile.
For the Crust
• 2½ cups graham cracker crumbs – Provides a deliciously crunchy base that holds everything together.
• ½ cup unsalted butter, melted – Binds the crumbs and adds richness to the crust.
• ¼ cup granulated sugar – Sweetens the crust just enough for balance.
For the Cream Cheese Layer
• 16 oz cream cheese, softened – Makes for a rich, creamy layer that gives this dessert its signature flavor.
• 1 cup powdered sugar – Adds sweetness and smoothness to the cream cheese mixture.
• 1 teaspoon vanilla extract – Enhances the overall flavor profile with a warm aroma.
For the Fruit Layers
• 3 medium ripe bananas, sliced – Adds natural sweetness and a pleasant texture to your bars.
• 1 can cherry pie filling (21 oz) – Provides a tart contrast to the sweet layers underneath.
• 1 cup crushed pineapple, well drained – Introduces juiciness without making the dessert soggy.
For the Whipped Topping
• 1½ cups heavy whipping cream, cold – Creates a fluffy topping that lightens the dessert.
• ½ cup powdered sugar – Sweetens the whipped cream for a delightful finish.
• 1 teaspoon vanilla extract – Brings all the flavors together in harmony.
For the Garnish
• ½ cup graham cracker crumbs – Sprinkled on top for added texture and visual appeal.
• 8–10 maraschino cherries – Adds a classic touch and vibrant color to your finished bars.
• 1 banana, sliced – Additional slices to make the dessert that much prettier.
• ¼ cup chocolate syrup (optional) – Drizzle on top for a decadent finish that everyone will love.
Now, gather these ingredients and let’s get to creating a layered dessert that will bring smiles and nostalgic memories to the table!
How to Make Banana Split Dessert Bars
- Combine the graham cracker crumbs, melted butter, and sugar in a bowl. Mix well until the crumbs are evenly moistened, creating a fragrant crust base.
- Press the mixture firmly into the bottom of a 9 × 13-inch clear glass casserole dish. Refrigerate for about 20 minutes to help it set.
- Beat the softened cream cheese and powdered sugar together until smooth and creamy. Don’t forget to add in that delicious vanilla extract for an extra layer of flavor!
- Whip 1 cup of cold heavy cream in another bowl until stiff peaks form. Gently fold this whipped cream into the creamy mixture, ensuring it stays light and airy.
- Arrange the sliced bananas evenly over the chilled crust, allowing their sweet aroma to fill the air.
- Spread the drained crushed pineapple evenly over the banana layer, adding a refreshing texture.
- Spoon the cherry pie filling evenly over the pineapple, indulging in the tartness that contrasts beautifully with the sweetness.
- Layer the cream cheese mixture gently over the fruit layers, smoothing it out for an inviting appearance.
- Beat 1½ cups of heavy cream with powdered sugar and vanilla until stiff peaks form again. This will be the perfect fluffy topping for your dessert bars.
- Spread the whipped cream evenly over the dessert, making it look irresistibly fluffy and delightful.
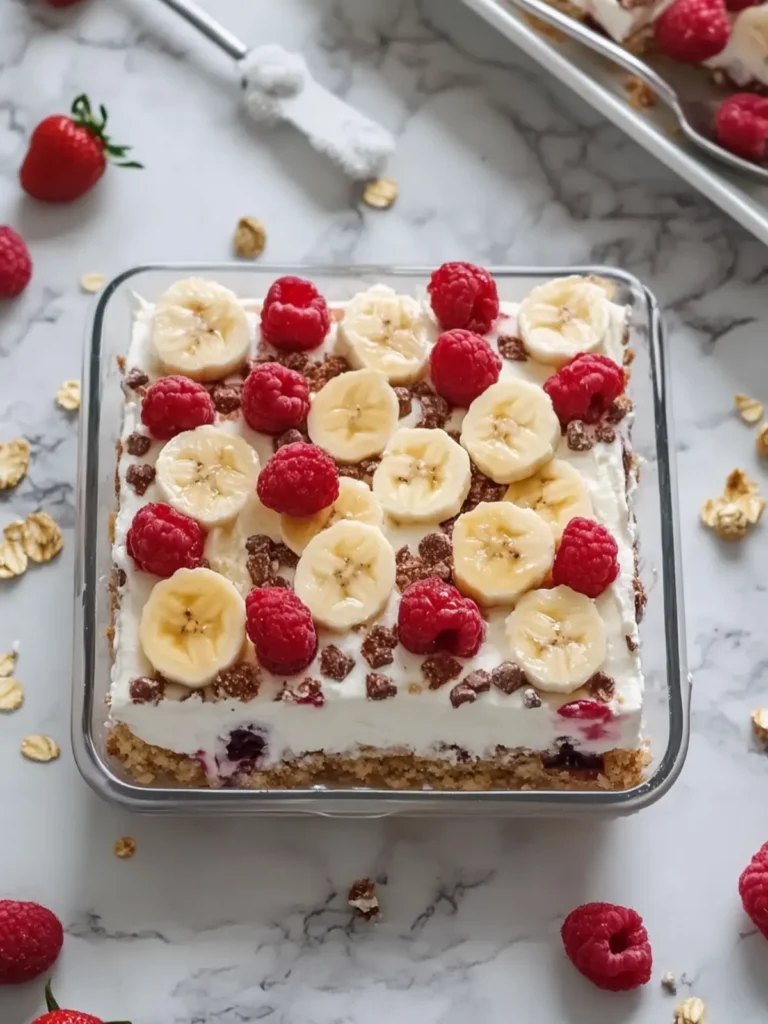
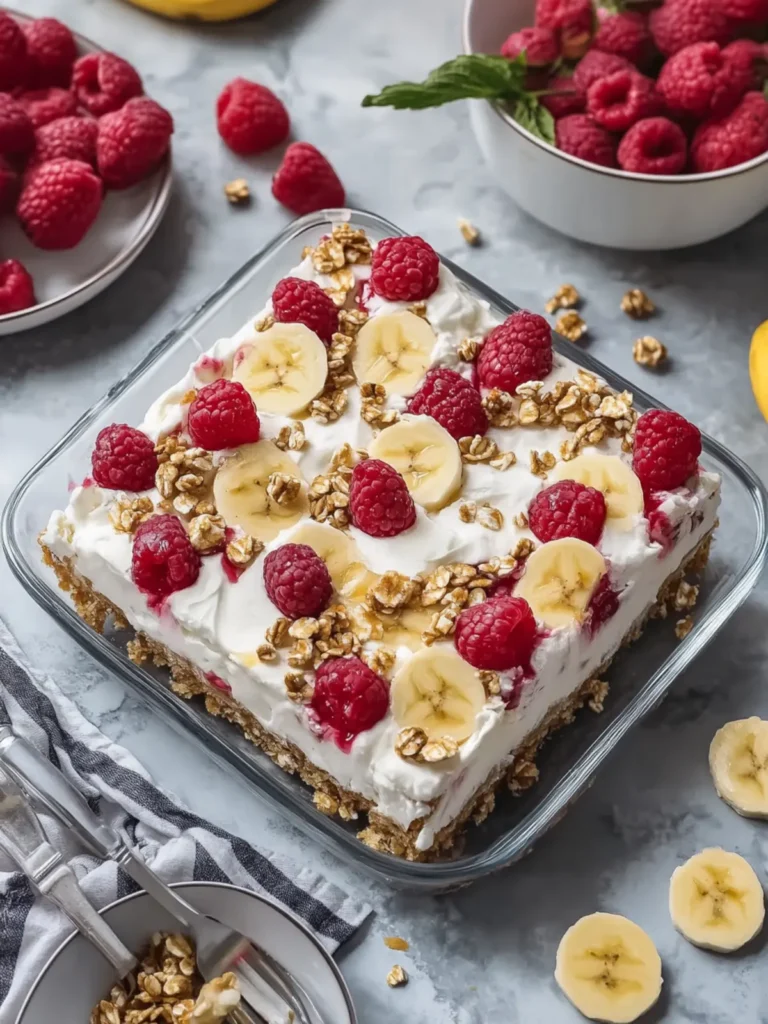
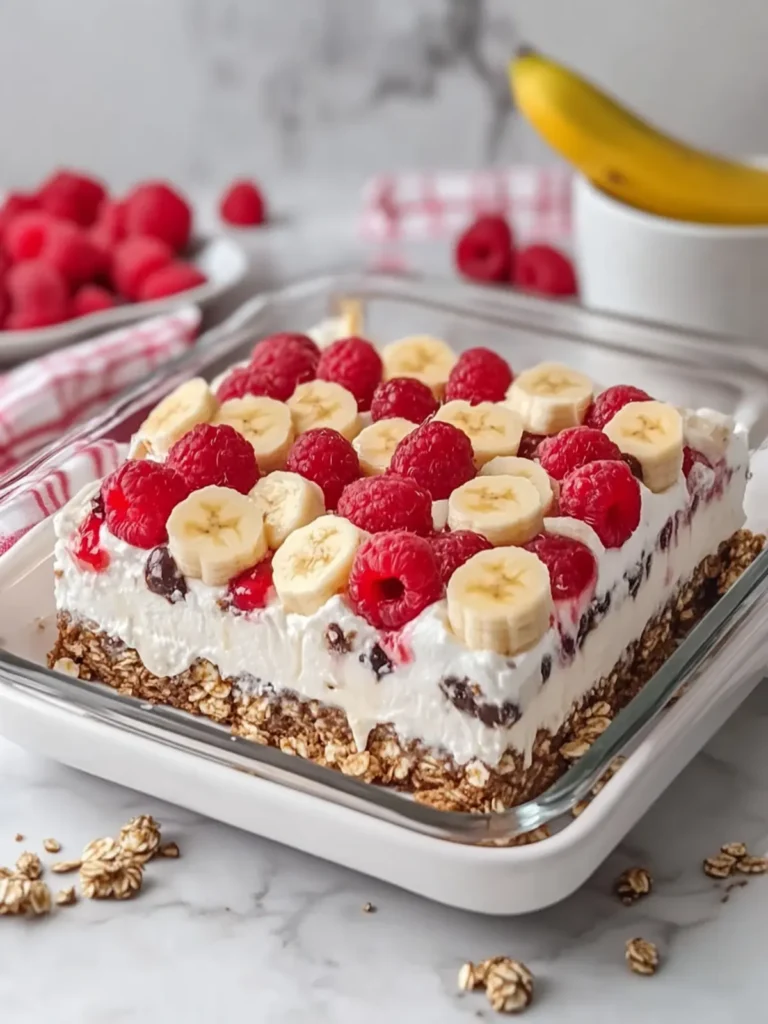
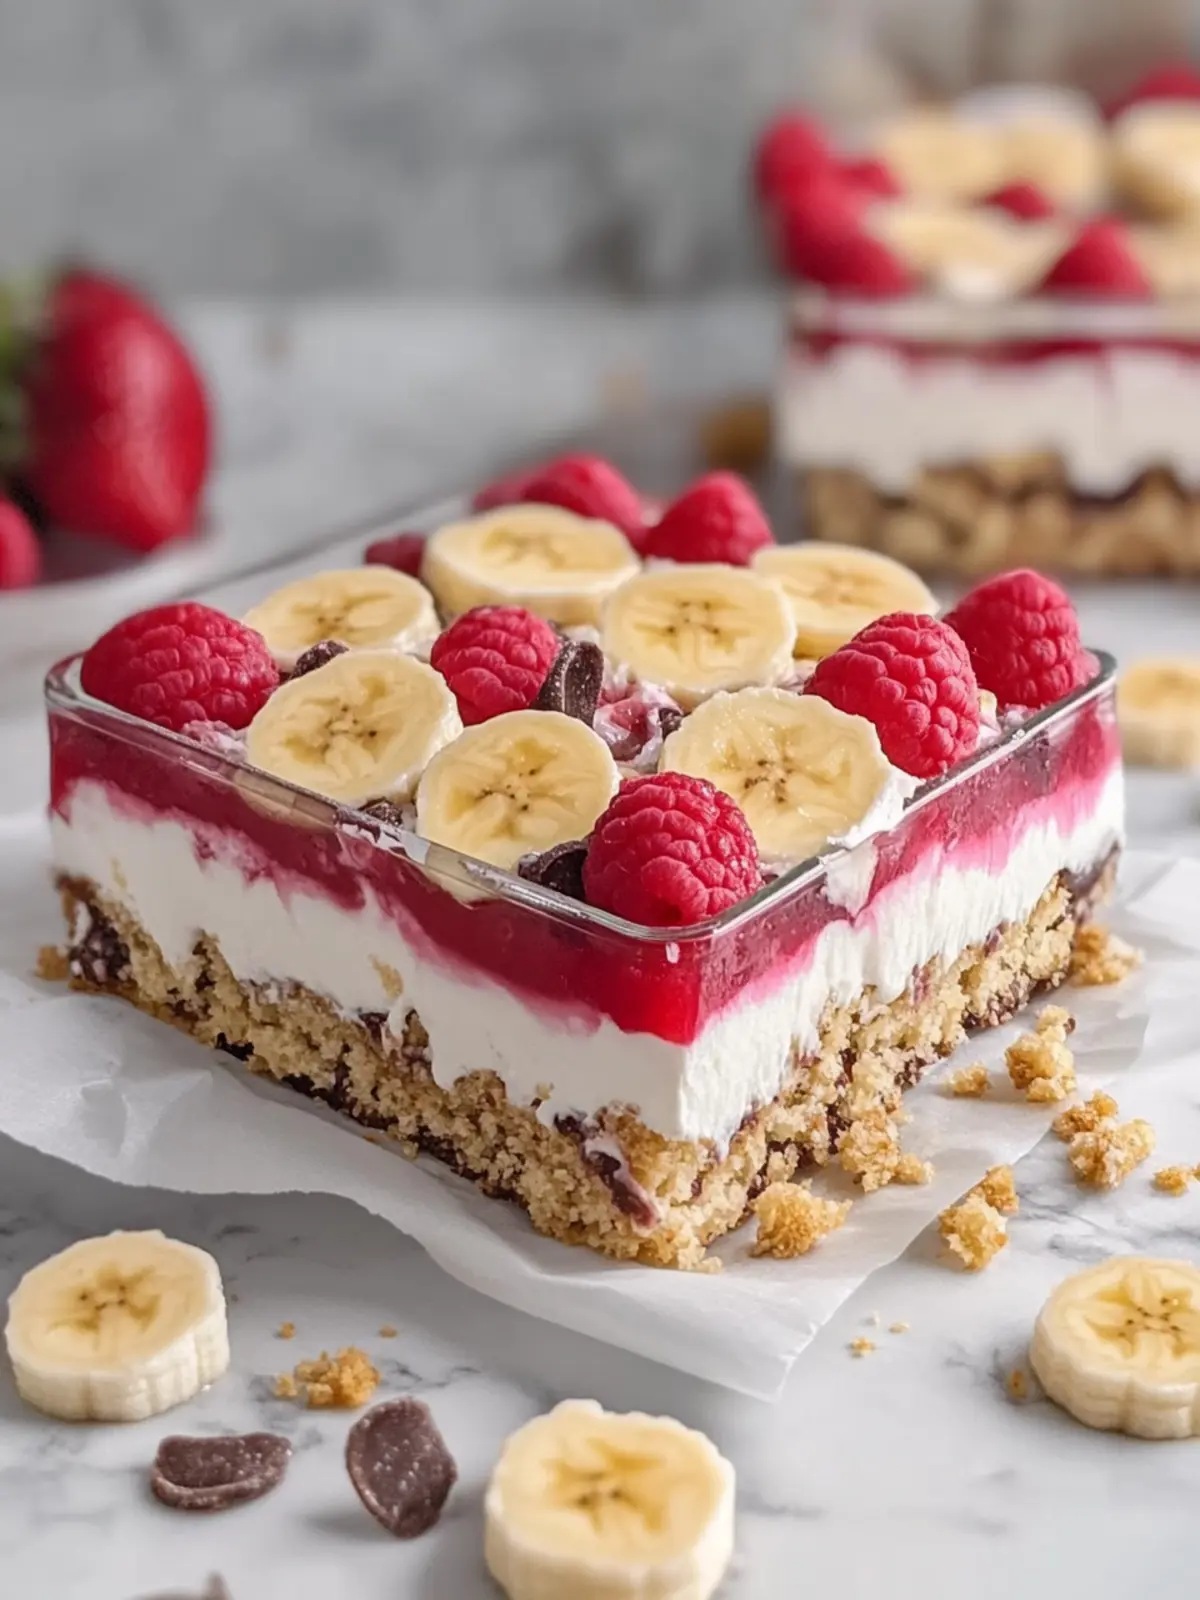
- Sprinkle graham cracker crumbs over the top for an added crunch. Decorate with banana slices and maraschino cherries for a vibrant presentation. Drizzle with chocolate syrup if you’re feeling extra indulgent!
- Cover and refrigerate for at least 6 hours, or preferably overnight, allowing the flavors to meld and the dessert to firm up.
- Slice into squares and serve chilled, savoring the joy that comes from each sweet bite.
Optional: Drizzle with extra chocolate syrup for an even more delicious finish.
Exact quantities are listed in the recipe card below.
Tips for the Best Banana Split Dessert Bars
-
Chill the Crust: Letting the crust set in the fridge for at least 20 minutes ensures it holds together well when slicing.
-
Perfectly Whipped Cream: When whipping the cream, don’t overbeat it. Aim for stiff peaks to maintain a light and airy texture in your Banana Split Dessert Bars.
-
Layering Order: Follow the layering order carefully to prevent the fruit juices from making the crust soggy; keep the bananas closest to the crust.
-
Fruits Freshness: Use ripe bananas for added sweetness and flavor. Make sure your crushed pineapple is well-drained to avoid excess moisture.
-
Make-Ahead Magic: Prepare your dessert bars the night before an event. This allows the flavors to meld beautifully and makes serving a breeze!
What to Serve with Banana Split Dessert Bars?
Imagine a beautiful summer gathering, where the sun shines brightly and your loved ones flock around, eagerly awaiting a sweet and vibrant dish to end the meal on a high note.
-
Fresh Fruit Salad: A colorful assortment of seasonal fruits adds a refreshing contrast, balancing the sweetness of the dessert perfectly. The varying textures will uplift your dining experience.
-
Chocolate Dipped Strawberries: For an elegant touch, these luscious berries bring richness and a flavorful indulgence that pairs wonderfully with the creamy dessert.
-
Vanilla Ice Cream: A scoop of creamy vanilla ice cream on the side creates an irresistible combination, melting beautifully into the layers of the bars and elevating every bite.
-
Coconut Whipped Cream: This light and airy topping enhances the tropical vibes, adding a delightful coconut flavor that complements the bananas and cherries seamlessly.
-
Sparkling Lemonade: The zesty, bubbly drink not only refreshes but also cleanses the palate between sweet bites, making it an ideal thirst-quencher for warmer days.
-
Chocolate Chip Cookies: Their chewy texture offers a fun contrast to the creaminess of the bars. Pair with a tall glass of milk for a nostalgic taste of childhood!
Let these delightful accompaniments transform your dessert into a full-fledged feast, making each gathering a memorable occasion.
Make Ahead Options
These Banana Split Dessert Bars are fantastic for meal prep and make your life a little easier on busy days! You can prepare the crust and the cream cheese layers up to 24 hours in advance. Simply combine the graham cracker crumbs, butter, and sugar for the crust, press it into your dish, and refrigerate it. For the cream cheese layer, beat the softened cream cheese with powdered sugar and fold in whipped cream, storing it in the refrigerator until you’re ready to assemble. Just remember to slice the bananas right before serving to avoid browning. When you’re ready to enjoy, layer the fruit and whipped cream, chill for at least 6 hours, and you’ll have a delicious dessert ready with minimal effort!
Storage Tips for Banana Split Dessert Bars
Fridge: Keep your dessert bars covered in the refrigerator, where they will stay fresh for up to 3 days. Use an airtight container to maintain their delightful texture.
Freezer: If you wish to store them longer, these Banana Split Dessert Bars can be frozen for up to 2 months. Wrap individual slices tightly in plastic wrap and place them in a freezer-safe bag.
Thawing: To enjoy later, simply transfer the desired slices to the fridge to thaw overnight before serving. This way, they will retain their creamy goodness.
Reheating: It’s not necessary to reheat these bars; simply serve chilled straight from the fridge or after thawing for the best experience.
Variations & Substitutions for Banana Split Dessert Bars
Feel free to get creative and tailor this dessert to your taste preferences with these fun variations!
-
Gluten-Free: Substitute graham cracker crumbs with gluten-free alternatives like almond flour or gluten-free cookies for a crowd-pleasing option.
-
Vegan: Swap out cream cheese for a vegan cream cheese alternative and use coconut cream in place of heavy cream for a flavorful, vegan delight.
-
Nutty Crunch: Add chopped walnuts or pecans to the graham cracker crust for an extra crunch and a hint of nuttiness that complements the fruity layers.
-
Chocolate Lovers: Enhance the flavor with chocolate pudding mix layered beneath the whipped cream for an indulgent twist that chocolate lovers will adore.
-
Berry Burst: Replace the cherry pie filling with fresh mixed berries like strawberries and blueberries for a vibrant and refreshing take that’s bursting with flavor.
-
Banana Bread Crust: Use crushed banana bread instead of graham cracker crumbs for a moist and delicious base that elevates the entire dessert’s profile.
-
Caramel Drizzle: Swirl in caramel sauce between the layers for a decadent and sweet contrast that adds a beautiful visual and flavor element.
-
Coconut Bliss: Top with toasted coconut flakes for a tropical flair that brings a chewy texture and a coconut flavor enhancement to this delightful treat.
Get ready to experiment and personalize your Banana Split Dessert Bars—each variation will create a new memory and joy to share!
Banana Split Dessert Bars Recipe FAQs
How do I choose ripe bananas for this recipe?
Absolutely! When picking bananas, look for fruit that has a bright yellow color with a few brown speckles—this indicates ripeness and optimal sweetness. Avoid bananas that are excessively green or overly brown, as they can either be too starchy or overly mushy.
What’s the best way to store leftover Banana Split Dessert Bars?
Keep your dessert bars covered in the refrigerator, where they will stay fresh for up to 3 days. Placing them in an airtight container is key to maintaining their delightful texture, ensuring they don’t dry out or absorb any odors from your fridge.
Can I freeze Banana Split Dessert Bars?
Yes, you can! Wrap individual slices tightly in plastic wrap, and then place them in a freezer-safe bag to prevent freezer burn. They can be stored for up to 2 months. When you’re ready to enjoy, simply transfer the slices to the fridge to thaw overnight for the best texture and flavor.
What should I do if my fruit layers make the crust soggy?
No worries! To avoid a soggy crust, make sure to layer the bananas closest to the crust and ensure your crushed pineapple is well-drained. If you notice that the crust is becoming too soft, consider chilling it longer before adding the fruit layers to give it a firmer base.
Are there any dietary considerations for making these dessert bars?
Very! If you’re serving guests with dietary restrictions, you can use gluten-free graham crackers and sugar substitutes. Additionally, if anyone has a dairy allergy, consider using a dairy-free cream cheese alternative and coconut whipping cream for a delicious non-dairy treat. Always check the labels to ensure they meet specific dietary needs.
Banana Split Dessert Bars: Your New Sweet Addiction
Ingredients
Equipment
Method
- Combine the graham cracker crumbs, melted butter, and sugar in a bowl. Mix well until the crumbs are evenly moistened, creating a fragrant crust base.
- Press the mixture firmly into the bottom of a 9 × 13-inch clear glass casserole dish. Refrigerate for about 20 minutes to help it set.
- Beat the softened cream cheese and powdered sugar together until smooth and creamy. Don’t forget to add in that delicious vanilla extract for an extra layer of flavor!
- Whip 1 cup of cold heavy cream in another bowl until stiff peaks form. Gently fold this whipped cream into the creamy mixture, ensuring it stays light and airy.
- Arrange the sliced bananas evenly over the chilled crust, allowing their sweet aroma to fill the air.
- Spread the drained crushed pineapple evenly over the banana layer, adding a refreshing texture.
- Spoon the cherry pie filling evenly over the pineapple, indulging in the tartness that contrasts beautifully with the sweetness.
- Layer the cream cheese mixture gently over the fruit layers, smoothing it out for an inviting appearance.
- Beat 1½ cups of heavy cream with powdered sugar and vanilla until stiff peaks form again. This will be the perfect fluffy topping for your dessert bars.
- Spread the whipped cream evenly over the dessert, making it look irresistibly fluffy and delightful.
- Sprinkle graham cracker crumbs over the top for an added crunch. Decorate with banana slices and maraschino cherries for a vibrant presentation. Drizzle with chocolate syrup if you’re feeling extra indulgent!
- Cover and refrigerate for at least 6 hours, or preferably overnight, allowing the flavors to meld and the dessert to firm up.
- Slice into squares and serve chilled, savoring the joy that comes from each sweet bite.