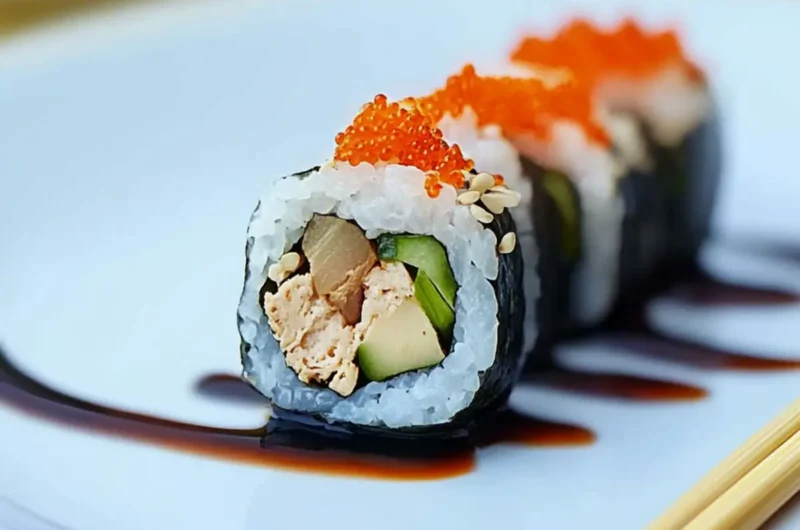
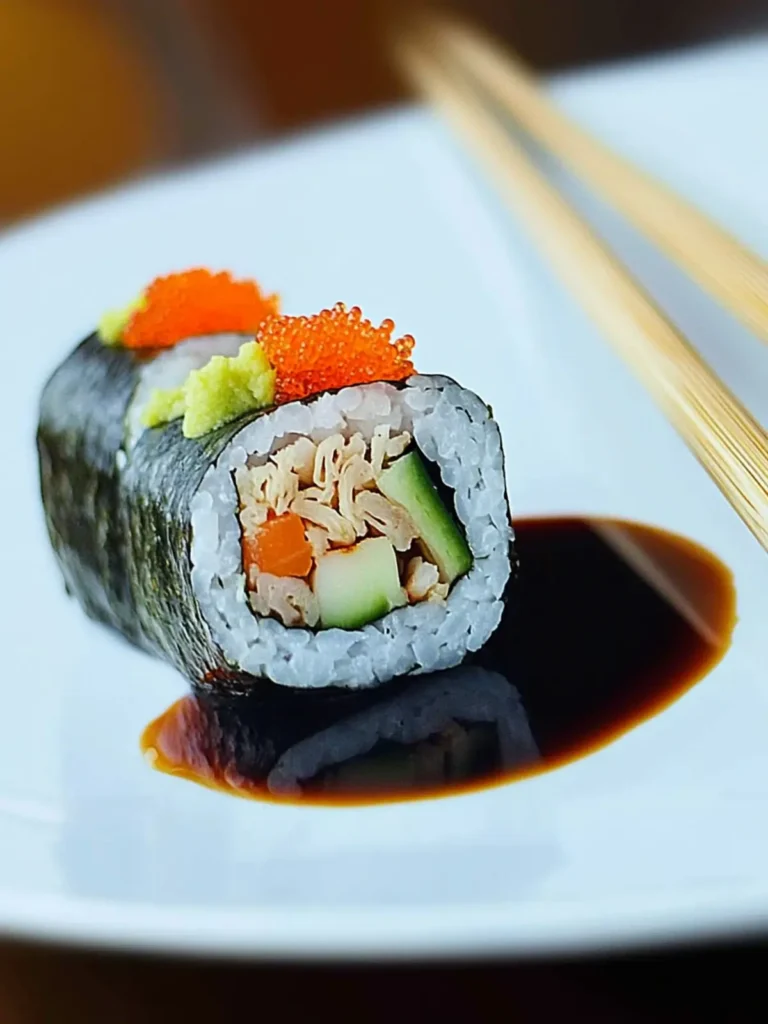
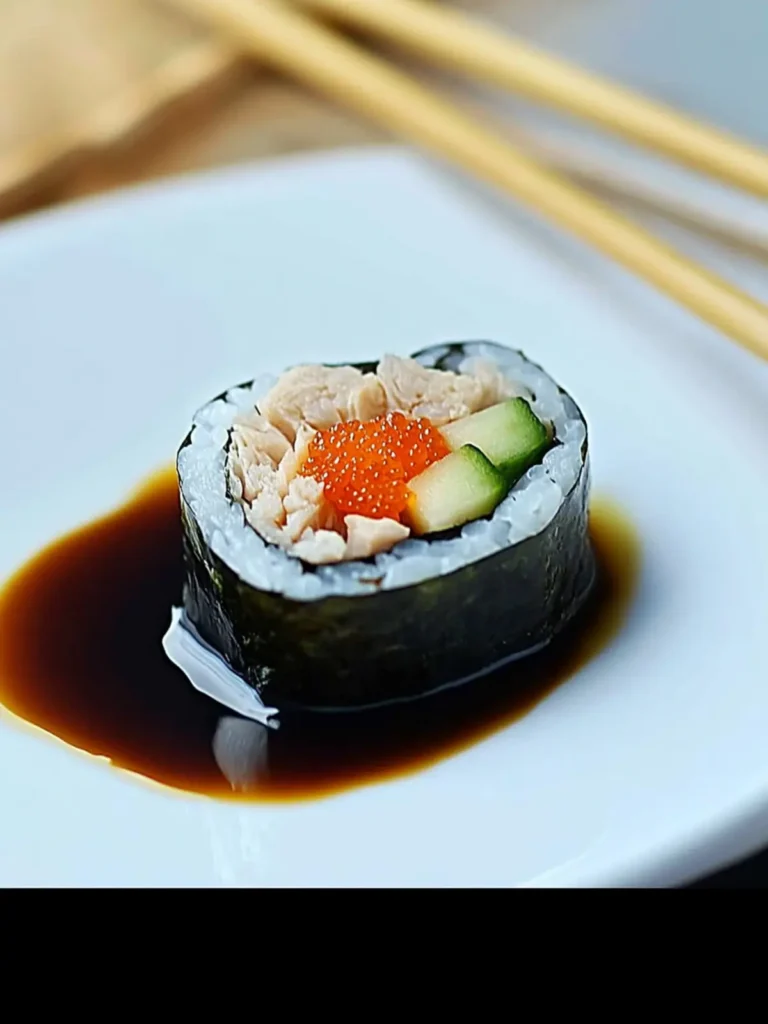
There’s something incredibly satisfying about crafting your own sushi rolls at home, especially when they’re as authentic as these delightful hosomaki. Picture the vibrant colors of fresh cucumber and sashimi-grade tuna nestled within perfectly seasoned rice, all wrapped in delicate nori. The first time I tried making sushi myself, I was surprised by how straightforward and rewarding the process was.
With just a few pantry staples—like Japanese short-grain rice and kombu—you can transform your kitchen into a sushi haven. Whether you’re planning a low-key dinner or looking to impress friends at your next gathering, this recipe offers a fun and flavorful way to bring a taste of Japan into your home. Perfectly sized for sharing or savoring solo, these rolls are sure to become a favorite. So, let’s roll up our sleeves and dive into the world of authentic makizushi!
Why is Authentic Makizushi a Must Try?
Simplicity: Making authentic makizushi at home is easier than you might think! With just a few ingredients and minimal equipment, you can create delicious sushi rolls that rival your favorite restaurant.
Flavorful: The fresh flavors of sashimi-grade tuna and crisp cucumber, combined with perfectly seasoned rice and nori, make every bite a delightful experience.
Versatility: Customize your rolls based on what you love—add avocado, crab, or pickled vegetables to suit your taste!
Impressive: Serving homemade sushi to friends and family will surely impress them, making your meal feel special and unique.
Fun Activity: Making sushi can be a fun and engaging activity for everyone, whether you’re cooking solo or enjoying quality time with loved ones. Dive into this culinary adventure!
Authentic Makizushi Ingredients
• Gather your pantry staples for authentic makizushi that will amaze your family and friends!
For the Sushi Rice
- Japanese short grain rice – Essential for that sticky texture that holds the rolls together beautifully.
- Kombu (dried kelp) – Adds a subtle umami flavor to the rice as it cooks.
- Rice vinegar – Balances the flavors of the rice, giving it that authentic sushi taste.
- Sugar – A touch of sweetness enhances the vinegar’s tang.
- Salt (kosher or sea) – Brightens the overall flavor; cut in half if using table salt.
For the Fillings
- Persian/Japanese cucumber – Adds a refreshing crunch; be sure to slice it thin!
- Sashimi-grade tuna – Vital for bringing a fresh and rich flavor to your rolls.
- Natto (fermented soybean) – Packed with protein, this unique ingredient adds depth.
For Assembly
- Nori (seaweed) – The exterior that wraps everything together, providing flavor and texture.
- Soy sauce – Perfect for dipping, enhancing the umami flavor of your sushi.
- Wasabi (optional) – A spicy kick if you’re feeling adventurous!
- Sushi ginger (optional) – Refreshes your palate between bites.
- Water – Needed for soaking rice and as a tool for keeping hands from sticking during assembly.
- Additional rice vinegar – Used in the vinegared water to prevent sticking when forming the rolls.
With these ingredients, you’re well on your way to creating authentic makizushi that’s bursting with flavor and fun!
How to Make Hosomaki
-
Rinse the rice several times with cold water until the water runs clear. This helps to extract excess starch. After rinsing, soak the rice in water for at least 30 minutes to get it fluffy.
-
Cook the rice using a rice cooker, adding the required amount of water. If cooking in a pot, use just over half a liter of water, and add the kombu to infuse flavor.
-
Combine rice vinegar, sugar, and salt in a small pan. Heat over medium-high until boiling, stirring until the sugar dissolves. Let it cool as you wait for your rice.
-
Transfer the cooked rice to a damp flat-bottom dish. Gently fold in the sushi vinegar mixture, ensuring not to mash the rice. Cover with a wet cloth and set aside to cool.
-
Prepare the cucumber by cutting off both ends, then slicing it lengthwise in half. Continue to slice each half into thin strips so you have a crunchy filling.
-
Slice the sashimi-grade tuna into ¼ – ½ inch pieces, then cut those pieces into long strips about the same thickness.
-
Season the natto with soy sauce or included seasoning, stirring until it reaches a gooey consistency. This will add a unique taste to your rolls!
-
Mix ¼ cup water and 1 tablespoon rice vinegar in a bowl. Dip your hands in this vinegared water to keep the rice from sticking to your fingers during assembly.
-
Place a half sheet of nori, shiny side down, on the bamboo sushi mat. Align the longer edge with the side nearest to you, leaving 3-4 slats of the mat visible.
-
Scoop and spread ½ cup of vinegared rice over the nori, leaving a 1-inch space at the top. Add your chosen filling in the center and roll it tightly while using the mat to shape it.
-
Cut the roll into 6 pieces using a moist knife to prevent sticking. Serve your homemade sushi with soy sauce, and enjoy!
Optional: Add extra soy sauce and wasabi for dipping to enhance the flavors.
Exact quantities are listed in the recipe card below.
What to Serve with Hosomaki?
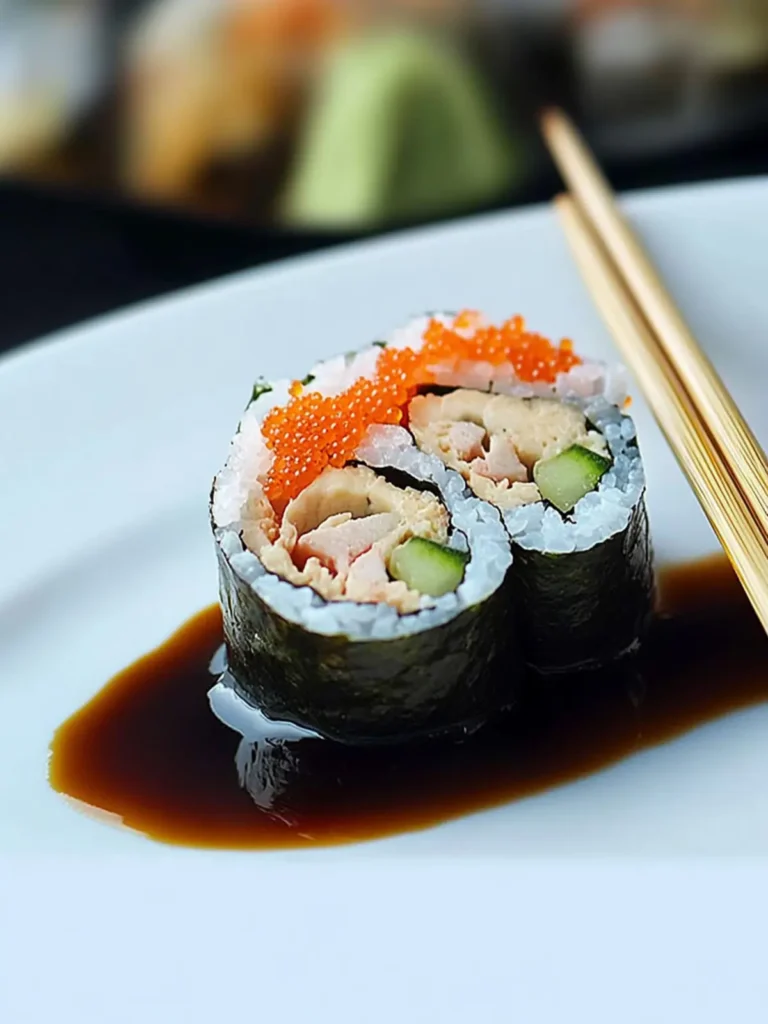
Creating a delightful sushi experience goes beyond just the rolls—let’s explore some perfect companions that enhance your meal.
- Miso Soup: This warm, soothing soup adds a comforting touch, complementing the crispness of hosomaki and balancing flavors beautifully.
- Edamame: Lightly salted and steamed, these young soybeans provide a flavorful, healthy snack that pairs well with sushi.
- Sushi Ginger: A tangy palate cleanser, sushi ginger resets your taste buds, making each bite of hosomaki feel fresh and new.
- Pickled Vegetables: Offering a delightful crunch, pickled veggies introduce a touch of acidity, enhancing the overall meal experience.
- Sake: The delicate flavors of this traditional Japanese rice wine complement hosomaki nicely, making for an authentic dining experience.
- Green Tea: Serving warm green tea not only elevates your meal but also aids digestion, making it a lovely addition to your sushi night.
- Coconut Mochi: For dessert, this chewy, sweet treat offers a delightful finale, contrasting the savory flavors of hosomaki with a soft, sweet note.
- Seaweed Salad: Packed with umami flavors, this light salad provides an enjoyable texture and freshness that’s perfect before or after sushi.
- Wasabi Peas: For those who love a spicy kick, these crunchy peas are a fun side that enhances the overall flavor adventure!
Authentic Makizushi Serving Suggestions
Delight your taste buds by exploring a world of flavors to pair with your authentic makizushi!
-
Soy Sauce: The quintessential dip to enhance umami flavors. Pour it into a small dish for easy access!
-
Wasabi: If you enjoy a spicy kick, a small dab of wasabi can elevate your sushi experience with its bold heat.
-
Sushi Ginger: Refresh your palate between bites with this sweet and tangy accompaniment that beautifully complements the flavors of the rolls.
-
Edamame: Lightly salted and steamed, these protein-rich young soybeans make for a nutritious and delightful side dish.
-
Miso Soup: A warm bowl of miso soup pairs perfectly with sushi, adding depth and a comforting element to your meal.
-
Seaweed Salad: Serve a chilled seaweed salad with a sesame dressing to provide a crunchy texture and vibrant flavor that enhances your sushi feast.
-
Tempura Vegetables: Crispy and delicious, tempura adds a satisfying crunch that contrasts nicely with the softness of the sushi rolls.
Consider your gathering or meal context and mix and match these options to create an inviting and memorable sushi night with family and friends!
Make Ahead Options
These authentic makizushi are perfect for busy home cooks looking to streamline their meal prep! You can prepare the sushi rice and season it with vinegar up to 24 hours in advance; simply store it in an airtight container in the refrigerator to maintain its moisture and flavor. Additionally, you can slice the cucumber and sashimi-grade tuna ahead of time, wrapping them separately and refrigerating them for up to 3 days. When you’re ready to roll, just bring the rice to room temperature and assemble the sushi with your fillings. This way, you’ll have a delicious meal ready in no time, making it feel just as fresh and delightful as if you made it all at once!
How to Store and Freeze Authentic Makizushi
Fridge: Store leftover hosomaki in an airtight container in the refrigerator for up to 2 days. However, best enjoyed fresh, as the rice can become hard.
Freezer: While it’s not ideal, you can freeze rolled sushi for up to 1 month. Wrap tightly in plastic wrap and then place in a freezer-safe bag. Thaw in the fridge before serving.
Reheating: If refrigerated, enjoy the sushi cold. For frozen rolls, it’s best to eat them fresh after thawing, as reheating can alter the texture significantly.
Preparation Tips: Always prepare the rice and fillings fresh for the tastiest experience. Sushi doesn’t keep well long-term, so making smaller batches might be the best approach!
Expert Tips for Authentic Makizushi
Practice Makes Perfect: The more you roll, the better your technique will become. Don’t be discouraged by your first attempts!
Rice Consistency: Make sure you rinse your rice well. This helps achieve the signature sticky texture crucial for authentic makizushi.
Nori Handling: Always keep your nori dry and store it in an airtight container to maintain crispness. Damp nori can tear easily when rolling.
Fill Smart: Avoid overfilling your rolls; too much filling can make rolling difficult and messy. A simple layer of rice and filling works wonders!
Knife Technique: When cutting your rolls, use a sharp, damp knife. This prevents sticking and ensures clean cuts for beautifully presented pieces of authentic makizushi.
Experiment: Don’t hesitate to try different fillings and flavors! Personalizing your makizushi can turn a good meal into a memorable culinary experience.
Hosomaki Recipe FAQs
How do I select the right rice for making hosomaki?
Absolutely! You want to choose high-quality Japanese short grain rice. Look for brands labeled as “sushi rice,” which will give you that ideal sticky texture when cooked. It’s crucial that the rice is fresh and has not been sitting on the shelf for too long, as older rice can lead to a less desirable consistency.
How should I store leftover hosomaki?
Very! If you have leftovers, place your hosomaki in an airtight container in the fridge. They are best enjoyed within 2 days; beyond that, the rice can become hard and lose its lovely texture. To maintain the flavors, try to consume them relatively quickly after making.
Can I freeze hosomaki? If so, how?
Yes, you certainly can, though it’s not recommended for the best quality! If you decide to freeze your hosomaki, wrap each roll tightly in plastic wrap and place them in a freezer-safe bag. This way, they can last for up to a month. When you’re ready to enjoy them, thaw in the refrigerator overnight, but refrain from reheating to preserve texture.
What if my sushi rice turns out too sticky or too dry?
Don’t worry, it happens even to the best of us! If your sushi rice is too sticky, it may be because it was overcooked or not rinsed well enough before cooking. Next time, rinse the rice under cold water until the water runs clear and be mindful of the cooking time. If it’s too dry, adding a tablespoon of water while cooking can help. Always keep an eye on the cooking process for the best results!
Is hosomaki safe for people with seafood allergies?
Definitely! For those with seafood allergies, you can easily customize your hosomaki. Instead of sashimi-grade tuna, consider using vegetables like avocado, pickled radish, or even cooked shrimp if seafood is okay. Just make sure to avoid any ingredients that may trigger allergies, keeping it safe and enjoyable for everyone!
What’s the best way to cut my hosomaki rolls?
Great question! To achieve clean cuts, use a sharp knife and moisten it with a damp cloth. This helps prevent sticking. Slice each roll into 6-8 pieces, applying gentle pressure while cutting without dragging the knife across. Clean cuts make for beautifully presented sushi that will impress your guests!
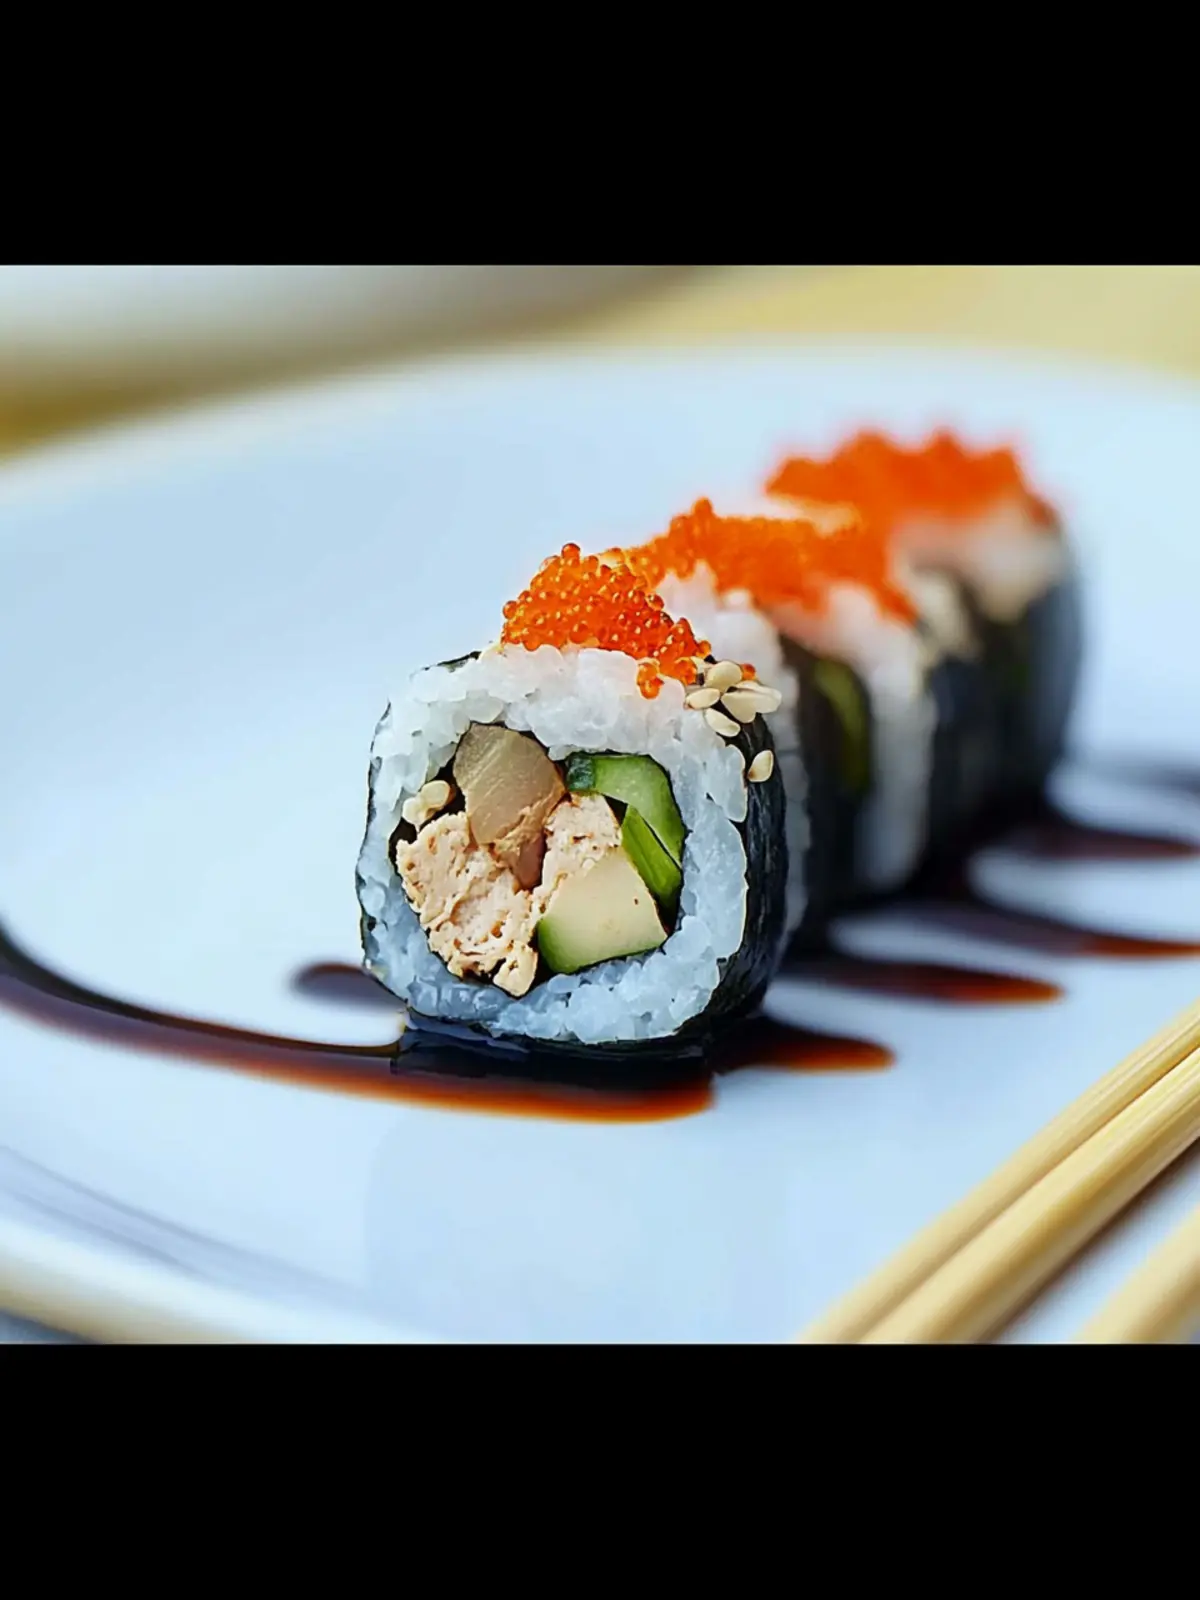
Master Authentic Makizushi: Sushi Rolls Made Easy at Home
Ingredients
Equipment
Method
- Rinse the rice several times with cold water until the water runs clear.
- Cook the rice using a rice cooker, adding the required amount of water.
- Combine rice vinegar, sugar, and salt in a small pan. Heat until boiling.
- Transfer the cooked rice to a damp flat-bottom dish and fold in the vinegar mixture.
- Prepare the cucumber and slice it thin.
- Slice the sashimi-grade tuna into long strips.
- Season the natto with soy sauce until gooey.
- Mix water and rice vinegar in a bowl for dipping hands.
- Place a half sheet of nori on the bamboo sushi mat.
- Spread rice over the nori and add your filling, then roll tightly.
- Cut the roll into 6 pieces with a moist knife.