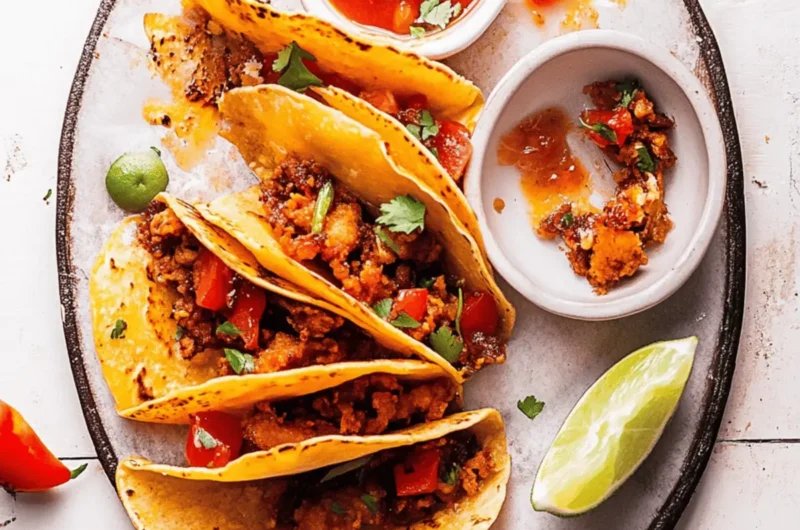
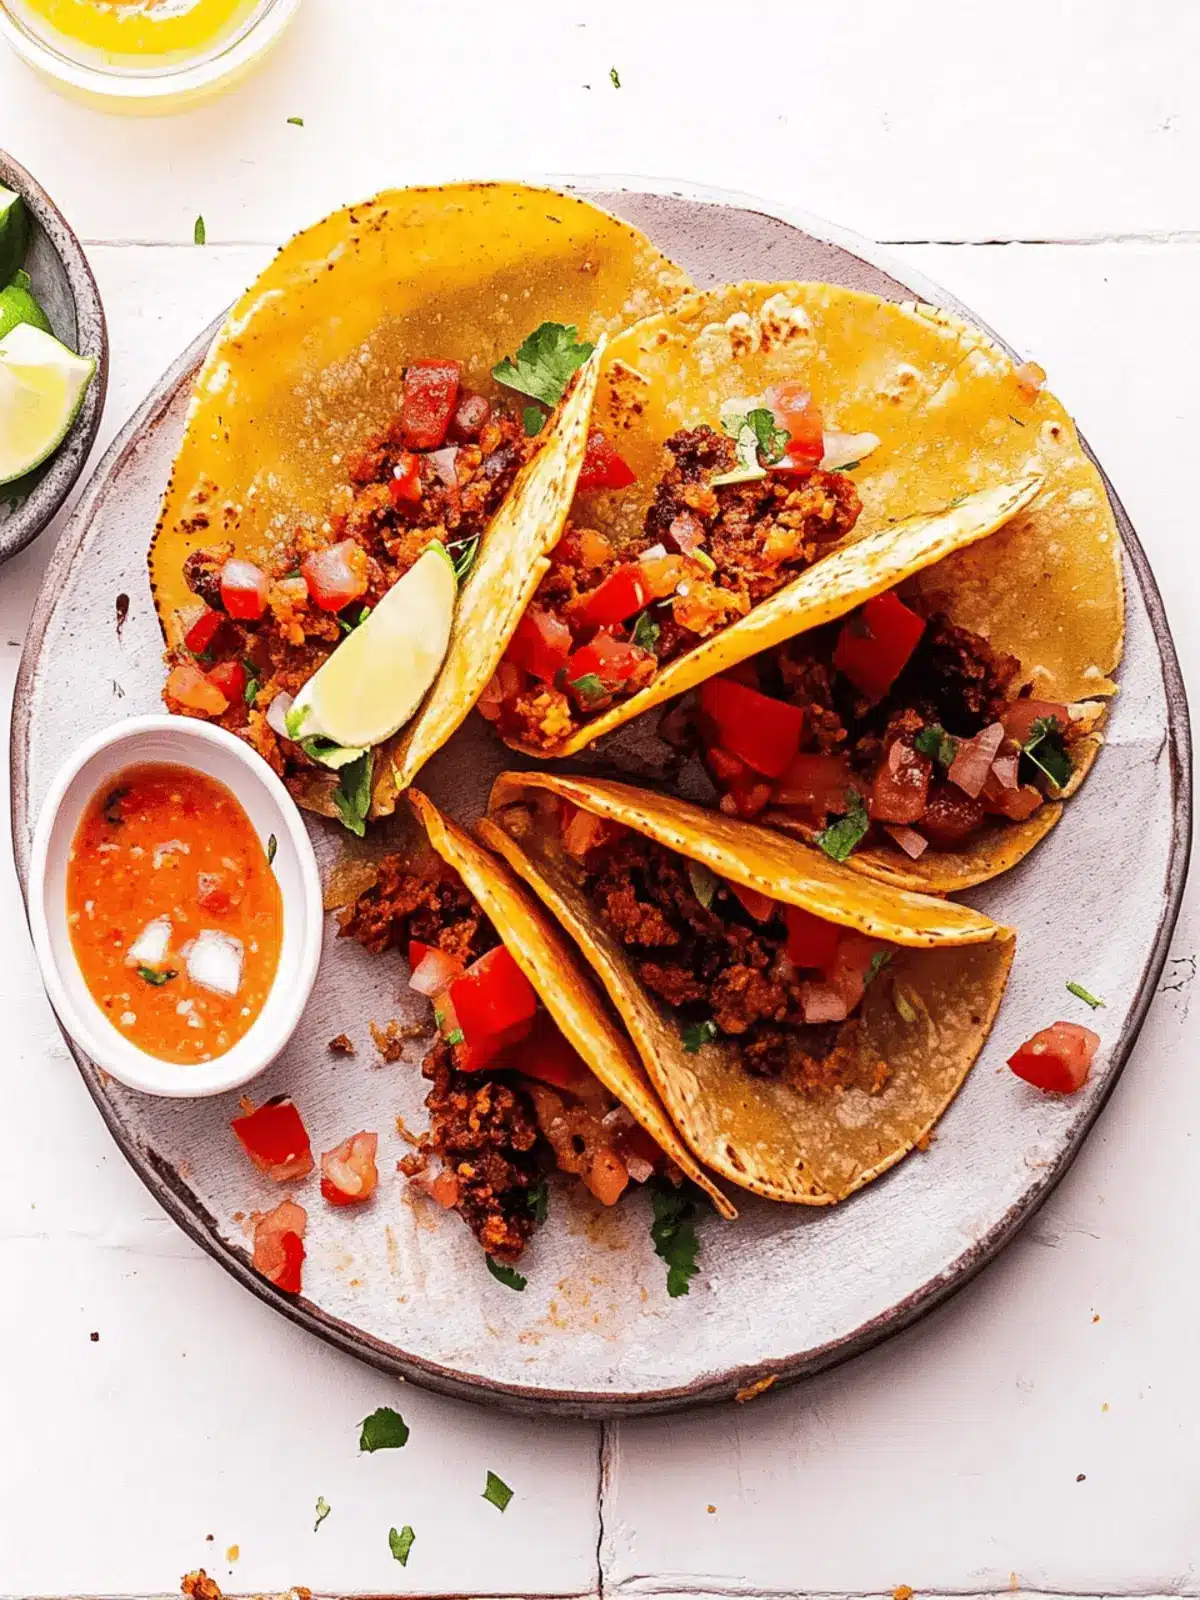
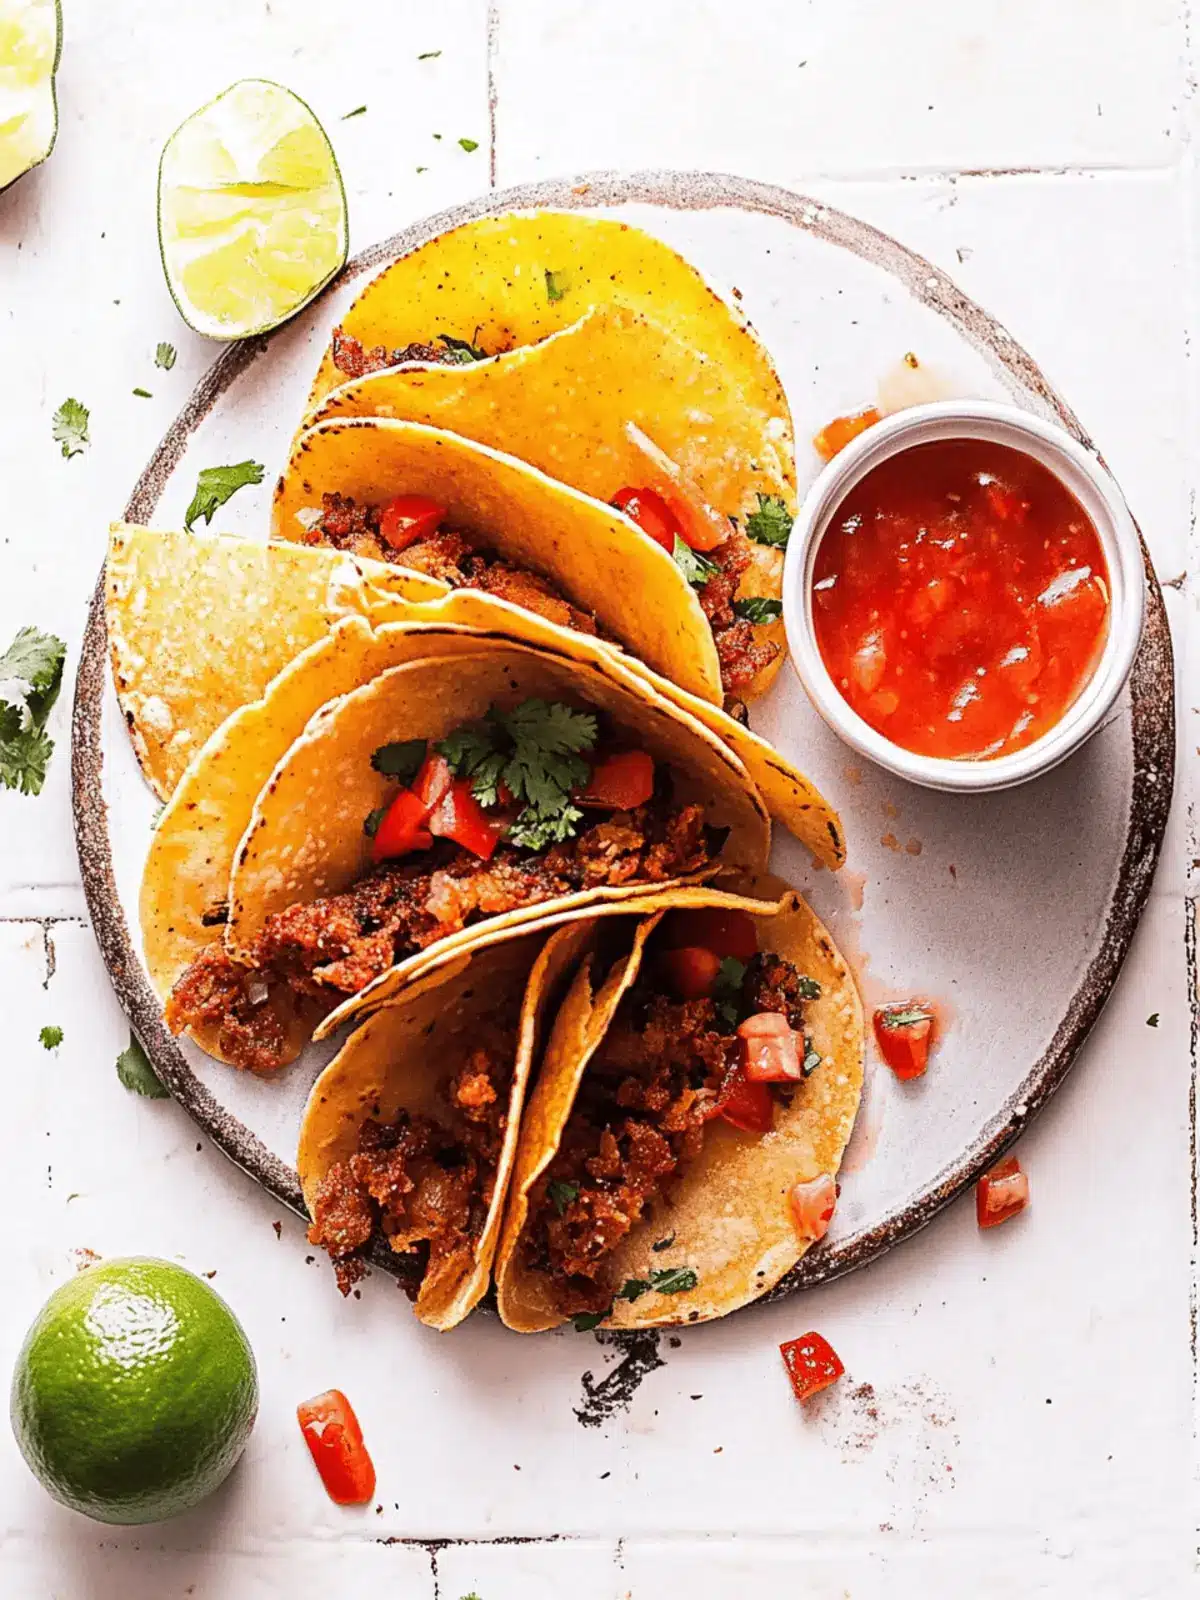
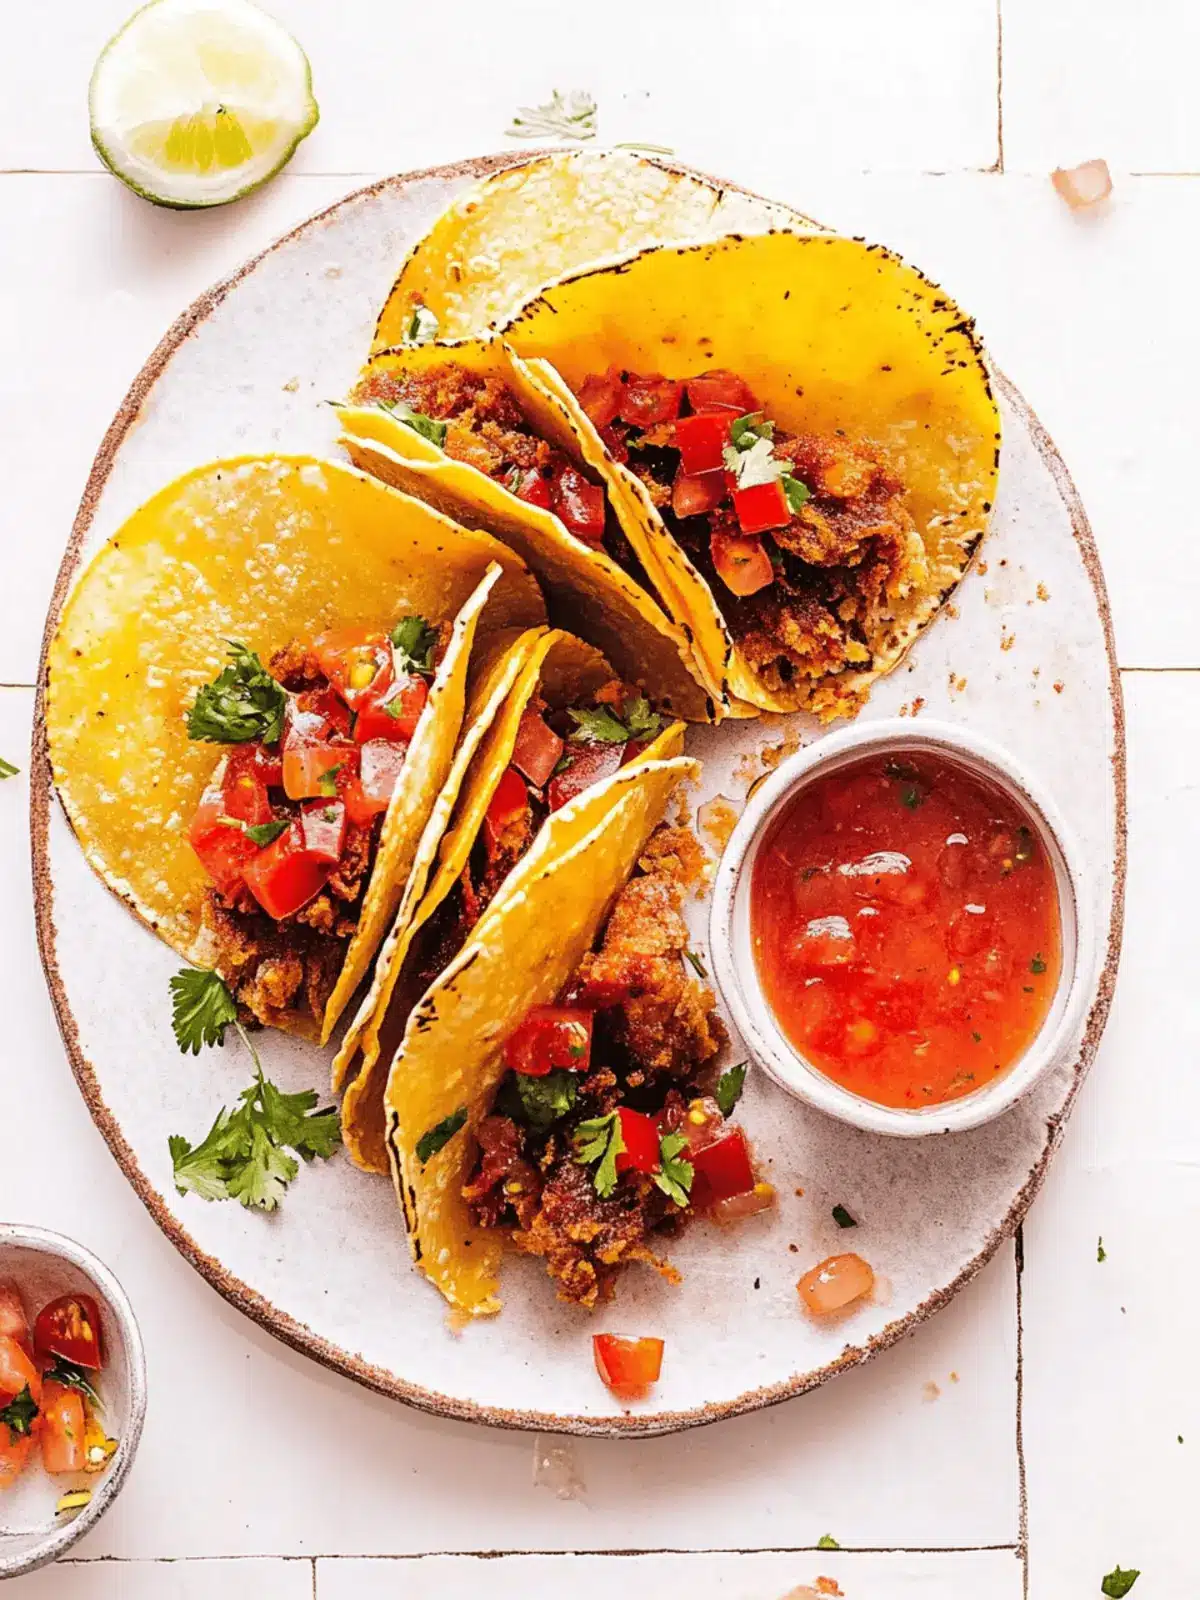
When I think about the perfect weeknight meal, crispy fried tacos always come to mind. The joy of hearing that satisfying crunch as you take your first bite is simply unmatched. These Ultimate Fried Tacos are filled with spiced ground beef that mingles beautifully with gooey melted cheese—a combination that instantly transports me to my favorite local taqueria.
Whether you’re prepping for a cozy family dinner, hosting friends for game night, or just wanting to treat yourself on a weekend, these tacos are the answer. What I love most is their versatility; you have the freedom to customize them with your choice of vibrant toppings.
This recipe is not just quick and easy; it also opens the door to endless variations that can cater to different diets, including gluten-free options using corn tortillas. Join me as we dive into making a dish that promises to please every palate, ticking all the boxes for flavor, crunch, and sheer satisfaction. Your homemade fiesta starts here!
Why are The Ultimate Fried Tacos a must-try?
Irresistible Crunch: Each bite delivers an addictive crunch that’s simply captivating.
Flavor Explosion: The harmonious blend of seasoned ground beef and melted cheese creates a taste sensation that rivals your favorite taqueria.
Quick and Easy: Whip these up in no time, making them perfect for busy weeknights or last-minute gatherings.
Total Customization: The topping options are endless, allowing you to tailor each taco to suit your cravings or dietary needs.
Meal Prep Friendly: Easily prepare the filling ahead of time for a hassle-free assembly that fits into your weekly meal planning.
Crowd-Pleasing Delight: Whether it’s a family dinner or a gathering with friends, these tacos are guaranteed to impress!
The Ultimate Fried Tacos Ingredients
For the Filling
• Ground Beef – The main protein, giving richness and flavor; can be swapped for ground turkey or a vegan alternative.
• Medium Onion – Adds aromatics and sweetness; shallots can be an excellent, milder substitute.
• Minced Garlic – Enhances flavor; fresh garlic is preferred, but powdered works in a pinch.
• Taco Seasoning – Provides a well-rounded spice; homemade mixes let you control the heat and flavor.
For the Tacos
• Small Corn Tortillas – The perfect gluten-free vessels for your filling; can use flour tortillas for a different texture.
• Oil – For frying; make sure to use enough to coat the bottom of your pan generously.
For the Cheese
• Grated Cheddar Cheese or Mexican Blend Cheese – Adds creaminess and flavor; substitute with dairy-free cheese for a vegan version.
For Toppings (Optional)
• Shredded Lettuce – For a fresh crunch that balances the richness of the tacos.
• Diced Tomatoes – Brightness and juiciness to enhance each bite.
• Sour Cream – Creamy tang to complement the spices; can substitute with yogurt for a lighter option.
• Jalapeños – Add some heat if you like it spicy!
• Salsa – For a burst of flavor; use your favorite variety to suit your taste.
With these ingredients, you’ll create The Ultimate Fried Tacos that truly elevate your taco night experience! 🍽️
How to Make The Ultimate Fried Tacos
-
Heat Oil: In a large skillet, pour enough oil to generously coat the bottom and heat over medium. Aim for a temperature where the oil shimmers, around 350°F (175°C).
-
Cook Beef Filling: Add diced onion to the skillet and sauté until it’s soft and translucent. Stir in minced garlic and cook for another minute. Then, add in the ground beef and taco seasoning, cooking until the beef is nicely browned and fully cooked.
-
Warm Tortillas: While the beef is cooking, take small corn tortillas and heat them in a separate dry skillet, or wrap them in a damp cloth and microwave for about 30 seconds until they’re soft and pliable.
-
Assemble Tacos: Spoon about 2 tablespoons of the beef mixture into each tortilla and sprinkle with cheese. Fold each tortilla carefully, ensuring the filling stays inside.
-
Fry Tacos: Place the folded tacos into the hot oil, cooking each side for 1-2 minutes until golden brown and crispy. Gently pinch the tacos shut with tongs while frying to keep the fillings secure.
-
Drain and Serve: Once fried, transfer the tacos to a plate lined with paper towels to drain excess oil. Allow them to cool slightly before carefully opening and adding your choice of toppings.
Optional: Serve with a side of guacamole for an extra creamy dip!
Exact quantities are listed in the recipe card below.
The Ultimate Fried Tacos Variations
Feel free to play around with these scrumptious ideas to personalize your taco experience!
-
Gluten-Free: Use small corn tortillas for a crunchy, gluten-free option that doesn’t compromise on flavor.
-
Vegetarian Delight: Substitute the ground beef with black beans or refried beans for a hearty, plant-based alternative. The creamy texture adds richness while keeping it delightful.
-
Cheesy Twist: Add a layer of cream cheese to the filling for extra creaminess and a touch of decadence. This little twist transforms each bite into a melty experience!
-
Heat Boost: Toss in some diced jalapeños to the beef mixture for just the right kick of heat. Adjust the quantity based on your taste for a taco adventure that’s sizzling!
-
Baked Option: For a healthier take, brush the assembled tacos with olive oil and bake them in the oven until crispy. This method allows the toppings to shine without frying.
-
Fresh Herbs: Top your tacos with a sprinkle of fresh cilantro or green onions for added brightness and flavor. The freshness can elevate the taste and create a vibrant finish!
-
Fruit Infusion: Try adding diced mango or pineapple as a topping for a sweet and tangy contrast to the savory filling. This unexpected burst of flavor adds a tropical twist!
-
Spice Blend: Experiment with different taco seasonings like chipotle or smoky paprika to introduce a new flavor profile that tantalizes your taste buds. Different seasonings can lead to delightful surprises!
How to Store and Freeze The Ultimate Fried Tacos
Room Temperature: Enjoy the tacos fresh for the best flavor and texture, but if left out, consume within 2 hours to ensure food safety.
Fridge: Store any leftover tacos in an airtight container for up to 3 days. Avoid stacking them to maintain crispiness.
Freezer: For longer storage, freeze assembled but uncooked tacos in a single layer on a baking sheet. Once frozen, transfer them to a zip-top bag for up to 2 months.
Reheating: Reheat tacos in an oven at 350°F (175°C) for about 10-15 minutes, or until crispy, ensuring the filling is heated through.
Expert Tips for The Ultimate Fried Tacos
- Perfect Oil Temperature: Ensure the oil is hot enough before frying; it should shimmer. Oil that’s too cool will make soggy tacos.
- Minimal Filling: Avoid overstuffing your tacos to prevent them from bursting open while frying. Two tablespoons of filling work best.
- Seal the Tacos: Use tongs to pinch the edges closed while frying, ensuring they stay intact and keep the fillings inside.
- Crispy Reheating: If you have leftovers, reheat in the oven at 350°F (175°C) to maintain the crunch of The Ultimate Fried Tacos.
- Customize Your Fillings: Feel free to experiment with different proteins or vegetarian options to suit your taste and dietary preferences!
Make Ahead Options
These Ultimate Fried Tacos are perfect for meal prep enthusiasts! You can prepare the beef filling and refrigerate it in an airtight container for up to 3 days, making taco night a breeze on busy evenings. Simply sauté the onion, garlic, and ground beef with taco seasoning as usual, then let it cool before storage. The small corn tortillas can also be warmed and kept wrapped in a clean kitchen towel for up to 24 hours before assembly. When you’re ready to serve, just fill the tortillas with the prepped beef mixture and cheese, and fry them until golden. With these make-ahead steps, you’ll enjoy delicious, homemade tacos with minimal effort and just as much crunch!
What to Serve with The Ultimate Fried Tacos?
Create a festive array of sides that elevate your taco night into a complete culinary celebration.
-
Creamy Guacamole: The rich and creamy texture contrasts beautifully with crispy tacos, adding a buttery flavor that complements the spiced filling.
-
Chili Lime Rice: This zesty side, with its hint of citrus, offers a refreshing palate cleanser that balances the richness of the tacos.
-
Refried Beans: Smooth and savory, these beans provide a delightful creaminess that pairs perfectly with the crispy crunch of the tacos, making for a satisfying bite.
-
Pico de Gallo: Fresh and vibrant, this chunky salsa adds a burst of flavor and texture that brightens up every delicious mouthful.
-
Mexican Street Corn (Elote): Grilled corn slathered in cheese and spices creates an irresistible complement, bringing in a sweet, smoky flavor that pairs wonderfully with tacos.
-
Crispy Potato Wedges: With their golden crunch, these seasoned potatoes provide another texture, perfect for dipping into salsa or guacamole.
-
Fresh Cilantro Lime Slaw: This crunchy slaw, with its vibrant herbs and citrus dressing, brings a refreshing bite that cuts through the richness of the fried tacos.
-
Chilled Agua Fresca: A refreshing drink, like watermelon or hibiscus-infused agua fresca, beautifully quenches your thirst while complementing the savory taco flavors.
-
Flan: For dessert, indulge in a creamy flan, which finishes the meal on a sweet note, providing luscious sweetness that contrasts with the spicy main course.
The Ultimate Fried Tacos Recipe FAQs
What kind of tortillas should I use for The Ultimate Fried Tacos?
Absolutely! I recommend using small corn tortillas for gluten-free options; they hold up well to frying and offer a delightful crunch. If you prefer, you can opt for flour tortillas, which add a different texture but are not gluten-free.
How long can I store leftover fried tacos in the fridge?
You can store leftover tacos in an airtight container in the refrigerator for up to 3 days. To keep them as crispy as possible, avoid stacking them. When ready to enjoy, simply reheat in the oven for that fresh-out-of-the-fryer taste.
Can I freeze The Ultimate Fried Tacos before frying?
Certainly! For freezer-friendly tacos, assemble them but avoid frying. Lay the tacos out in a single layer on a baking sheet and freeze until solid, about 1-2 hours. Then, transfer them to a zip-top bag and they’ll keep well for up to 2 months. When you’re ready to cook, fry them straight from frozen; just add an extra minute or two to ensure they’re heated through.
How can I ensure my fried tacos stay closed during cooking?
To keep your tacos secure while frying, I suggest using minimal filling—about 2 tablespoons each. As you fry, gently pinch the edges together with tongs, which helps seal them. If you find they’re still popping open, you can place a baking sheet on top of them while they cook to hold the shape.
Are there any dietary considerations for The Ultimate Fried Tacos?
Yes! This recipe is versatile and can be adapted for various dietary needs. For a gluten-free option, be sure to use corn tortillas. You can also make them vegetarian by swapping ground beef for plant-based alternatives or using refried beans. Always check potential allergies with your chosen toppings, like cheese or sour cream.
How can I make the beef filling more flavorful?
Very! For an extra kick in flavor, consider adding more spices like smoked paprika, cumin, or chili powder to your taco seasoning mix. You can sauté some bell peppers or jalapeños along with the onion and garlic for added texture and flavor depth. For a touch of freshness, add chopped cilantro just before serving.
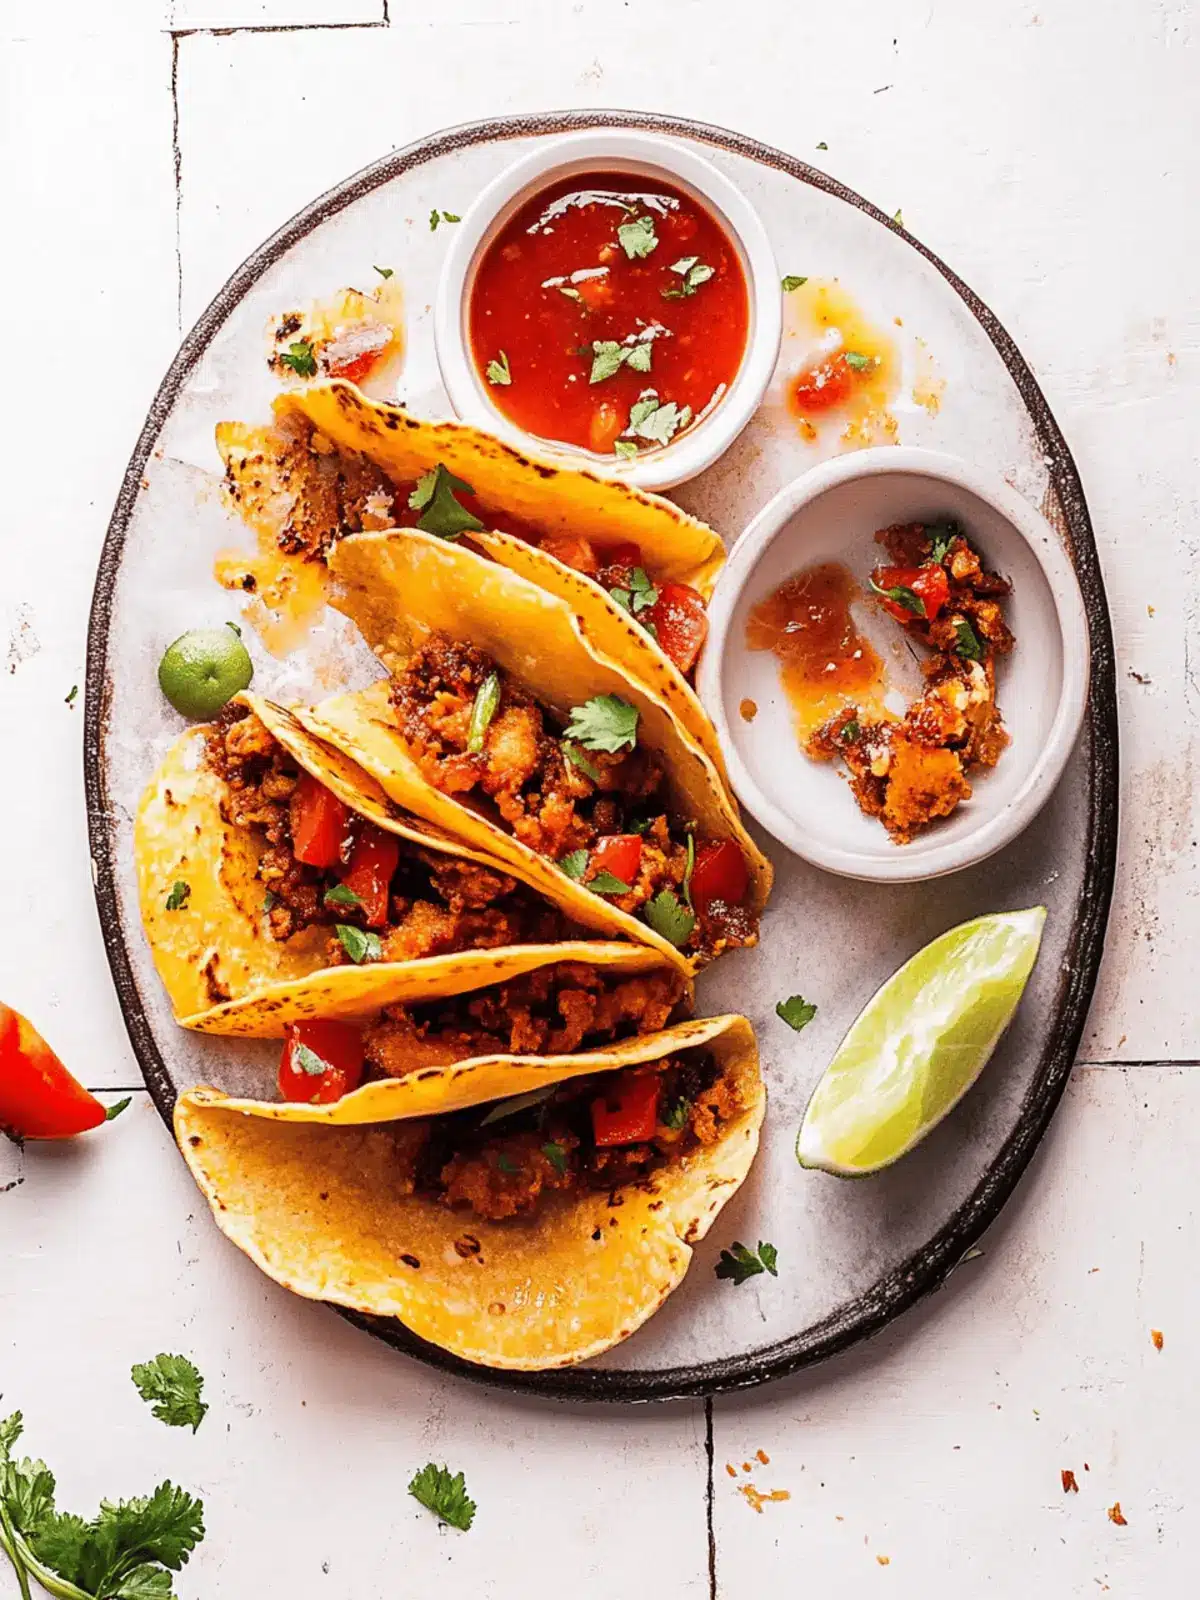
The Ultimate Fried Tacos That Will Change Taco Night Forever
Ingredients
Equipment
Method
- In a large skillet, pour enough oil to generously coat the bottom and heat over medium.
- Add diced onion to the skillet and sauté until soft. Stir in minced garlic and cook for another minute before adding ground beef and taco seasoning; cook until browned.
- While the beef cooks, heat small corn tortillas in a separate dry skillet or microwave for 30 seconds until soft.
- Spoon about 2 tablespoons of the beef mixture into each tortilla, sprinkle with cheese, then fold carefully.
- Fry the folded tacos in the hot oil until golden brown, about 1-2 minutes per side.
- Transfer to a plate lined with paper towels to drain excess oil, allow to cool slightly, then add toppings.

