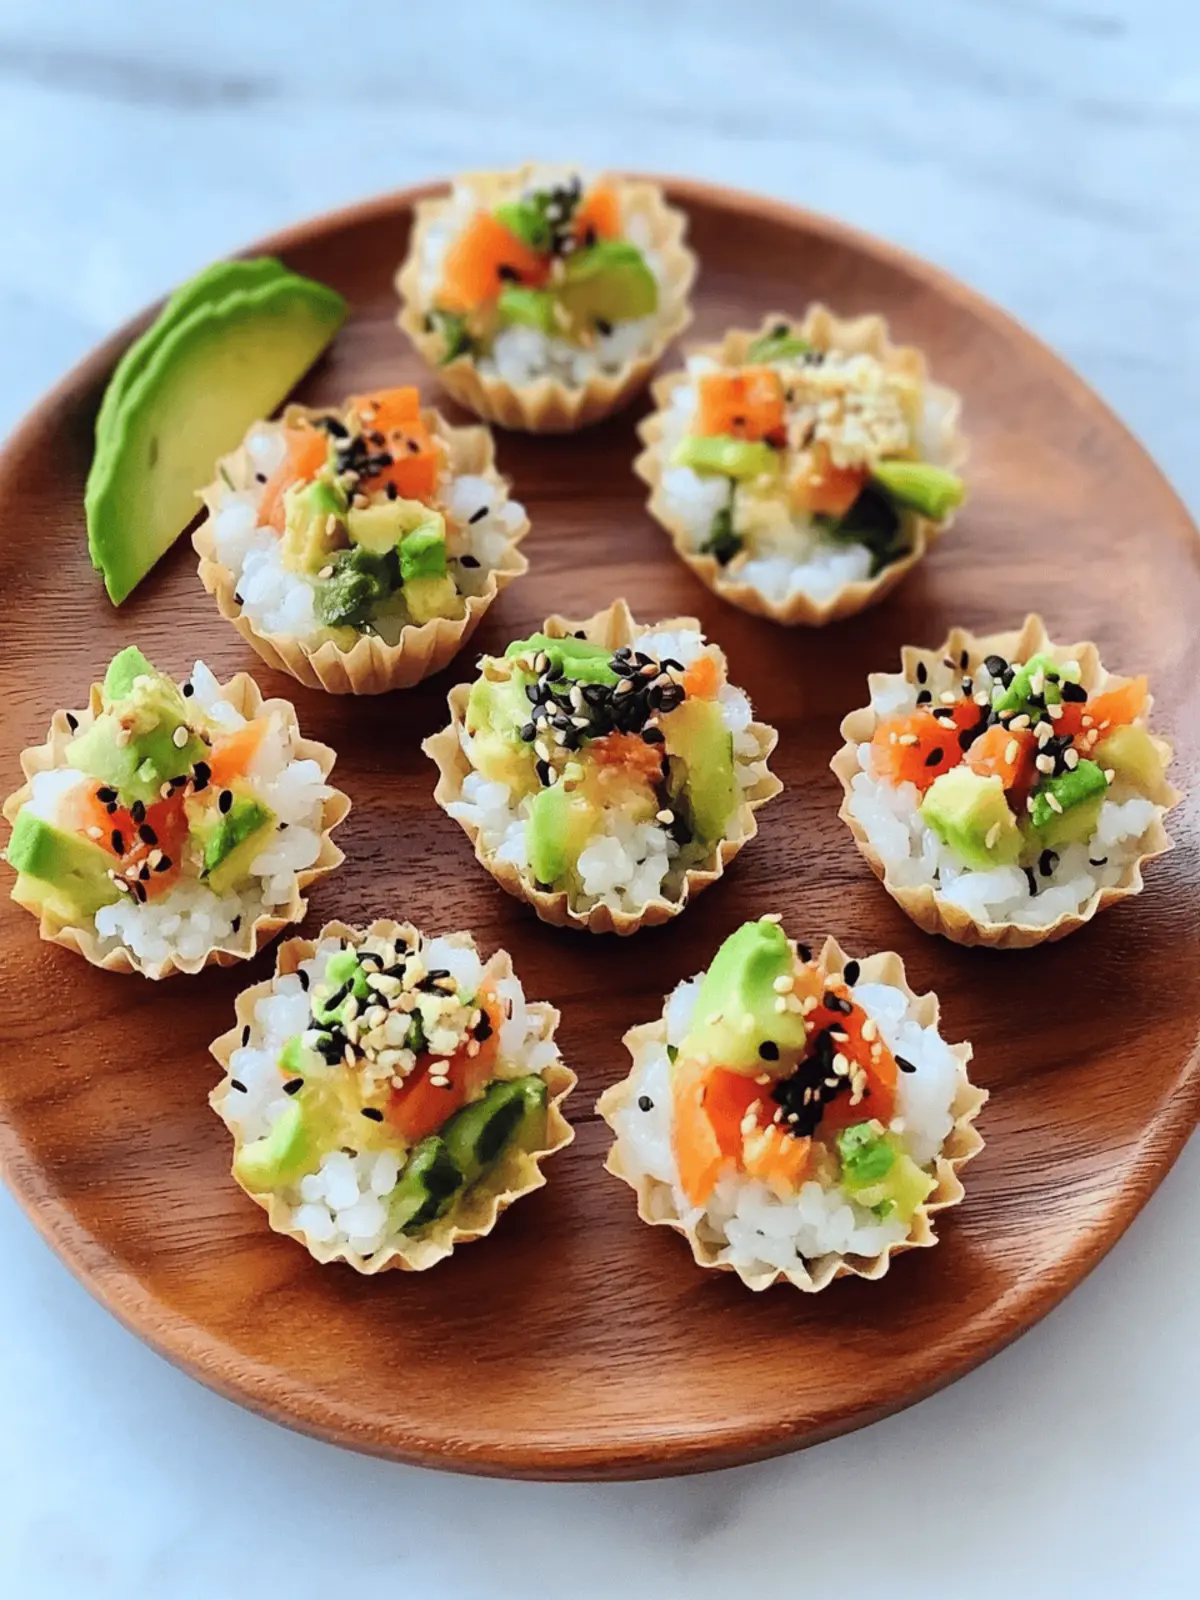
As I was bustling around the kitchen on a sunny Saturday afternoon, the idea struck me—what if I combined the best of sushi with the convenience of a bite-sized snack? Thus, these customizable no-bake sushi cups were born! Imagine the delightful crunch of fresh veggies mingling with creamy avocado, all cradled in perfectly shaped rice cups. They’re not only eye-catching but also incredibly simple to whip up, making them the ideal treat for any occasion or even an everyday meal prep.
With endless variations based on your favorite vegetables and sauces, these sushi cups promise a fresh and nourishing experience that breaks the routine of monotonous snacks. So, whether you’re planning a lively gathering or simply looking to elevate your lunch game, join me as we create a delicious burst of flavor in every bite!
Why are Sushi Cups a Must-Try?
Versatile and Customizable: You can easily adjust the fillings and sauces to suit your taste.
No-Bake Convenience: Prepare these cups without the hassle of cooking seafood or rolling sushi!
A Healthy Option: Packed with fresh veggies and nutritious ingredients, they offer a guilt-free snack.
Party-Worthy Presentation: These colorful cups look stunning on any platter, perfect for impressing guests.
Quick to Assemble: With just a few simple steps, you can whip up these delightful bites in no time!
Great for Meal Prep: Make a batch ahead of time for quick, nourishing snacks throughout the week.
Sushi Cups Ingredients
For the Rice Cups
• Sushi Rice – Provides the foundational structure for these sushi cups; rinse well to remove excess starch for fluffy rice.
• Water – Essential for cooking the rice to achieve the perfect texture.
For the Filling
• Finely Chopped Veggies – Adds fresh, crisp flavors; think carrots, cucumbers, or bell peppers for delightful crunch.
• Mukimame (Shelled Edamame) – Offers a protein boost and creamy texture; regular edamame makes a great substitute.
• Diced Avocado – Introduces creaminess and healthy fats; aim for about half of a small avocado for richness.
• Sauce of Your Choice – Enhances flavor; popular options include soy sauce or coconut aminos for a unique twist.
For the Spicy Mayo
• Mayonnaise – Forms the base of the spicy mayo; adjust to taste.
• Sriracha Sauce – Adds just the right amount of heat; feel free to tweak it to match your spice preference.
• Honey – Helps mellow the kick of the Sriracha for a well-balanced flavor.
• Sesame Oil – Introduces a nutty aroma that elevates your mayo.
For Garnish
• Black Sesame Seeds – Sprinkle on top for added crunch and an appealing look; they elevate the sushi cups both visually and texturally.
Get ready to create these delightful sushi cups that are as nourishing as they are fun!
How to Make Sushi Cups
-
Cook the Rice: In a medium pot, combine rinsed sushi rice and water. Bring it to a boil, then reduce the heat, cover, and simmer for about 20 minutes until tender. Allow it to cool slightly.
-
Form Rice Cups: Press 2 tablespoons of the cooked rice into each cup of a muffin tin. Chill the tin in the refrigerator for 20 minutes to set these adorable rice cups.
-
Prepare Veggie Filling: In a mixing bowl, combine your choice of finely chopped veggies, mukimame, diced avocado, and your chosen sauce. Mix everything gently for a colorful, crunchy filling.
-
Make Spicy Mayo: In a separate bowl, whisk together mayonnaise, Sriracha, honey, and sesame oil. Adjust the level of spiciness to your liking—taste it and make it your own!
-
Assemble Cups: Once chilled and set, remove the rice cups from the fridge. Fill each cup with the veggie mixture, drizzle your zesty spicy mayo on top, and finish with a sprinkle of black sesame seeds for a delightful touch.
Optional: Serve with additional dipping sauces on the side for a flavor-packed experience.
Exact quantities are listed in the recipe card below.
Make Ahead Options
These sushi cups are perfect for meal prep enthusiasts! You can prepare the rice cups up to 24 hours in advance; just press the cooked sushi rice into the muffin tin and refrigerate to set. Additionally, the veggie filling can be made a day ahead and stored in an airtight container in the refrigerator to maintain freshness; this keeps the vegetables crisp and colorful. When you’re ready to serve, simply assemble the cups by filling them with the prepped veggies, drizzle with spicy mayo, and add a sprinkle of sesame seeds. This time-saving method ensures you can enjoy these tasty bites with minimal effort during your busy week!
How to Store and Freeze Sushi Cups
Fridge: Keep your sushi cups in an airtight container for up to 2 days. This preserves freshness while maintaining their pleasing texture.
Prep Ahead: You can prepare the rice cups and filling separately a day in advance. Assemble them just before serving for optimal texture.
Freezer: If you want to store them longer, freeze the rice cups without filling for up to 1 month. Thaw in the fridge overnight before adding your fresh ingredients.
Reheating: These sushi cups are best enjoyed fresh; however, if you’ve made them in advance, consume them within the recommended timeframes for the best taste!
Expert Tips for Sushi Cups
- Rinse the Rice Thoroughly: Ensuring your sushi rice is well-rinsed before cooking prevents excess stickiness, leading to perfect rice cups.
- Use a Silicone Muffin Tin: This helps in easily releasing the rice cups once set, maintaining their shape beautifully.
- Keep it Fresh: These sushi cups are best enjoyed fresh! If making ahead, prepare the rice and filling separately, and assemble right before serving.
- Experiment with Fillings: Don’t hesitate to try different vegetable combinations for your sushi cups. Variety keeps the flavors exciting and nourishing!
- Adjust the Spice Level: When making spicy mayo, start with a small amount of Sriracha for a milder flavor, and gradually increase to match your taste.
Sushi Cups Variations & Substitutions
Feel free to get creative with your sushi cups and tailor them to your flavor preferences!
-
Veggie Burst: Add a medley of colorful veggies like radishes, snow peas, or zucchini for vibrant flavors.
A mix of textures elevates each bite, making your cups come alive with freshness. -
Protein Boost: Toss in cooked shrimp or imitation crab meat for an added protein kick.
Pairing seafood with your creamy avocado creates a delightful contrast that sushi lovers will appreciate. -
Dairy-Free Alternative: Substitute mayonnaise with cashew cream or smashed avocado for a lighter twist.
This swap gives you that creamy texture without any dairy, perfect for a healthier option! -
Spicy Tweak: Experiment with different hot sauces like chili garlic sauce or gochujang for varied heat levels.
Each sauce brings its unique heat profile, allowing you to customize the spice to your liking. -
Tangy Twist: Try using a tangy vinaigrette or ponzu sauce instead of soy sauce for an exciting flavor shift.
This adds a fresh zest that can brighten your sushi cups and catch everyone’s taste buds. -
Crunchy Toppings: Sprinkle some crushed nuts or fried onions on top for an unexpected crunch.
A bit of crunch enhances the texture while complementing your creamy fillings beautifully. -
Herb Infusion: Mix in fresh herbs like cilantro or mint to infuse your sushi cups with aromatic flavors.
Fresh herbs can transform your dishes and introduce a lively note that wakes up the palate. -
Sweet & Savory: Add a touch of diced mango or pineapple to the filling for a sweet surprise.
The combination of sweet fruit with savory elements makes each bite a delightful adventure!
What to Serve with Sushi Cups?
These delightful sushi cups are the perfect starting point for a vibrant and nourishing meal. Pair them with complementary flavors and textures to create an unforgettable dining experience!
- Crispy Seaweed Salad: This refreshing salad offers a delightful crunch and bright flavors, making it a perfect match for the creamy sushi cups.
- Miso Soup: Warm and soothing, a bowl of miso soup enhances the sushi experience, creating a cozy and comforting meal.
- Pickled Ginger: A traditional accompaniment, this sweet and tangy condiment cleanses the palate between bites, enhancing your flavor journey.
- Edamame: These protein-packed pods are a fun, finger-friendly snack that adds a great pop of color and nutrition to your spread.
- Cucumber Rolls: Light and crisp, these additional rolls can be filled with your favorite veggies, inviting variety and adding refreshing textures.
- Green Tea: A soothing cup of green tea complements the umami of the sushi, enhancing your meal’s overall harmony.
Pairing these options with your sushi cups will elevate your snack or feast, bringing joy and flavor to every bite!
Sushi Cups Recipe FAQs
What type of sushi rice should I use for sushi cups?
Absolutely! Look for short-grain sushi rice; it has the right amount of starch needed to hold its shape and create that signature sticky texture in your sushi cups.
How should I store leftover sushi cups?
To keep your sushi cups fresh, place them in an airtight container and store them in the refrigerator for up to 2 days. For best results, consume them promptly to maintain flavor and texture!
Can I freeze sushi cups?
Yes! To freeze, prepare the rice cups without filling and place them in a single layer on a baking sheet. Once frozen, transfer them to an airtight container or freezer bag, where they can keep for up to 1 month. Thaw in the fridge overnight, then fill and assemble when you’re ready to enjoy!
What kind of veggies work best for the filling?
The more the merrier! I recommend using firm veggies like carrots, bell peppers, and cucumbers for that satisfying crunch. Feel free to experiment with whatever you have on hand; radishes or even cooked shrimp work wonderfully, adding interesting texture and flavor!
Is there a way to make these sushi cups allergy-friendly?
Certainly! For those with soy allergies, opt for coconut aminos or a homemade sauce using olive oil and vinegar. Additionally, you can substitute mayonnaise with avocado or plain Greek yogurt for a creamy alternative. Always check ingredient labels to ensure they meet your dietary needs.
What should I do if my rice is too sticky?
If your sushi rice ends up too sticky, it could be due to insufficient rinsing. Next time, rinse it well under cold water until the water runs clear, which removes excess starch. If you have already cooked it, try adding a splash of vinegar to the rice to help separate the grains as it cools down.
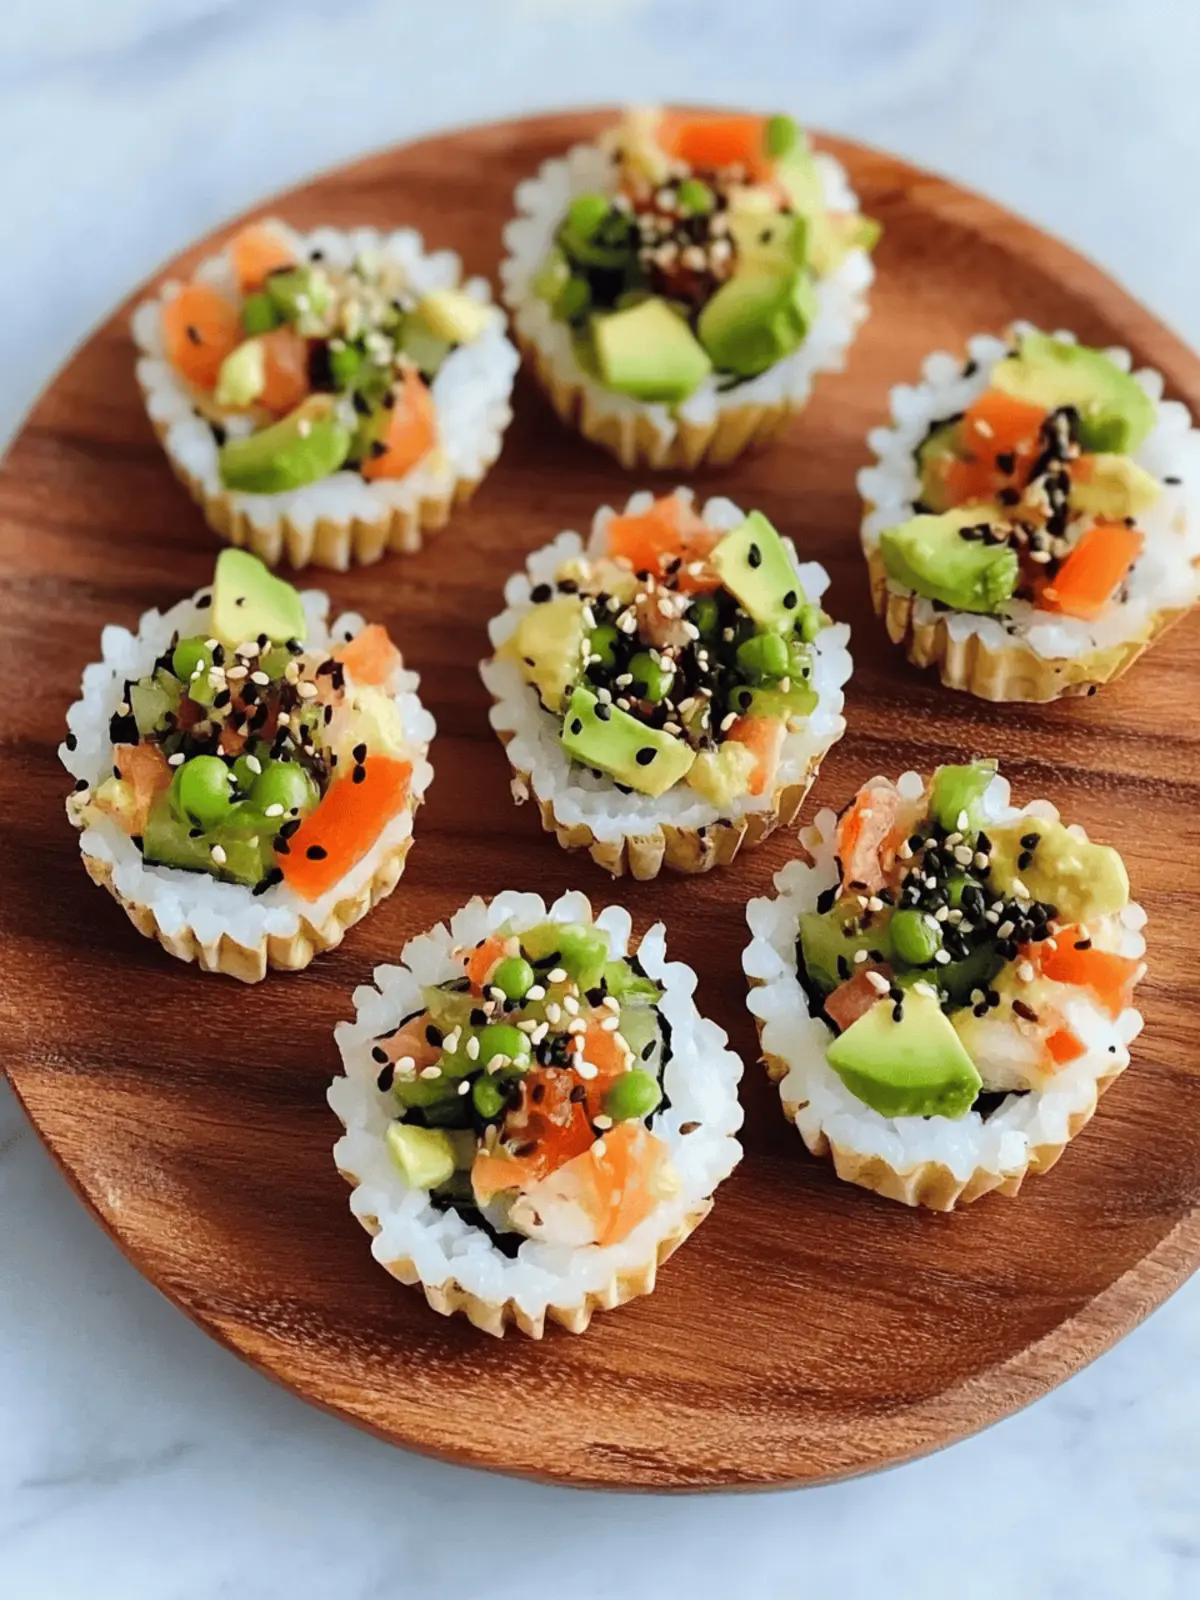
Customizable Sushi Cups for a Fresh, Fun Snack Experience
Ingredients
Equipment
Method
- In a medium pot, combine rinsed sushi rice and water. Bring it to a boil, then reduce the heat, cover, and simmer for about 20 minutes until tender. Allow it to cool slightly.
- Press 2 tablespoons of the cooked rice into each cup of a muffin tin. Chill the tin in the refrigerator for 20 minutes to set these adorable rice cups.
- In a mixing bowl, combine your choice of finely chopped veggies, mukimame, diced avocado, and your chosen sauce. Mix everything gently for a colorful, crunchy filling.
- In a separate bowl, whisk together mayonnaise, Sriracha, honey, and sesame oil. Adjust the level of spiciness to your liking.
- Once chilled and set, remove the rice cups from the fridge. Fill each cup with the veggie mixture, drizzle your zesty spicy mayo on top, and finish with a sprinkle of black sesame seeds.

![Pistachio & White Chocolate Chip Cookies in Just 27 Minutes! 9 Pistachio & White Chocolate Chip Cookies [27 Minutes]](https://www.recipesbykelly.com/wp-content/uploads/2025/09/f94dkmxxj8ucrwgkmgsl-380x380.webp)
