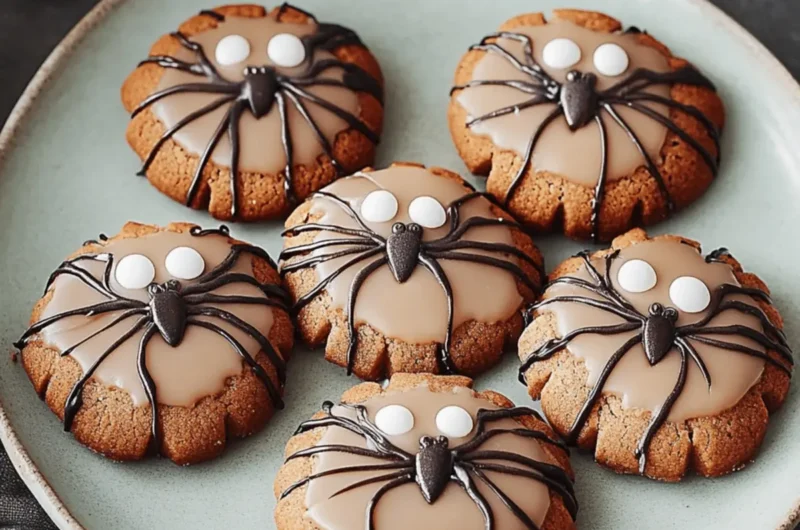
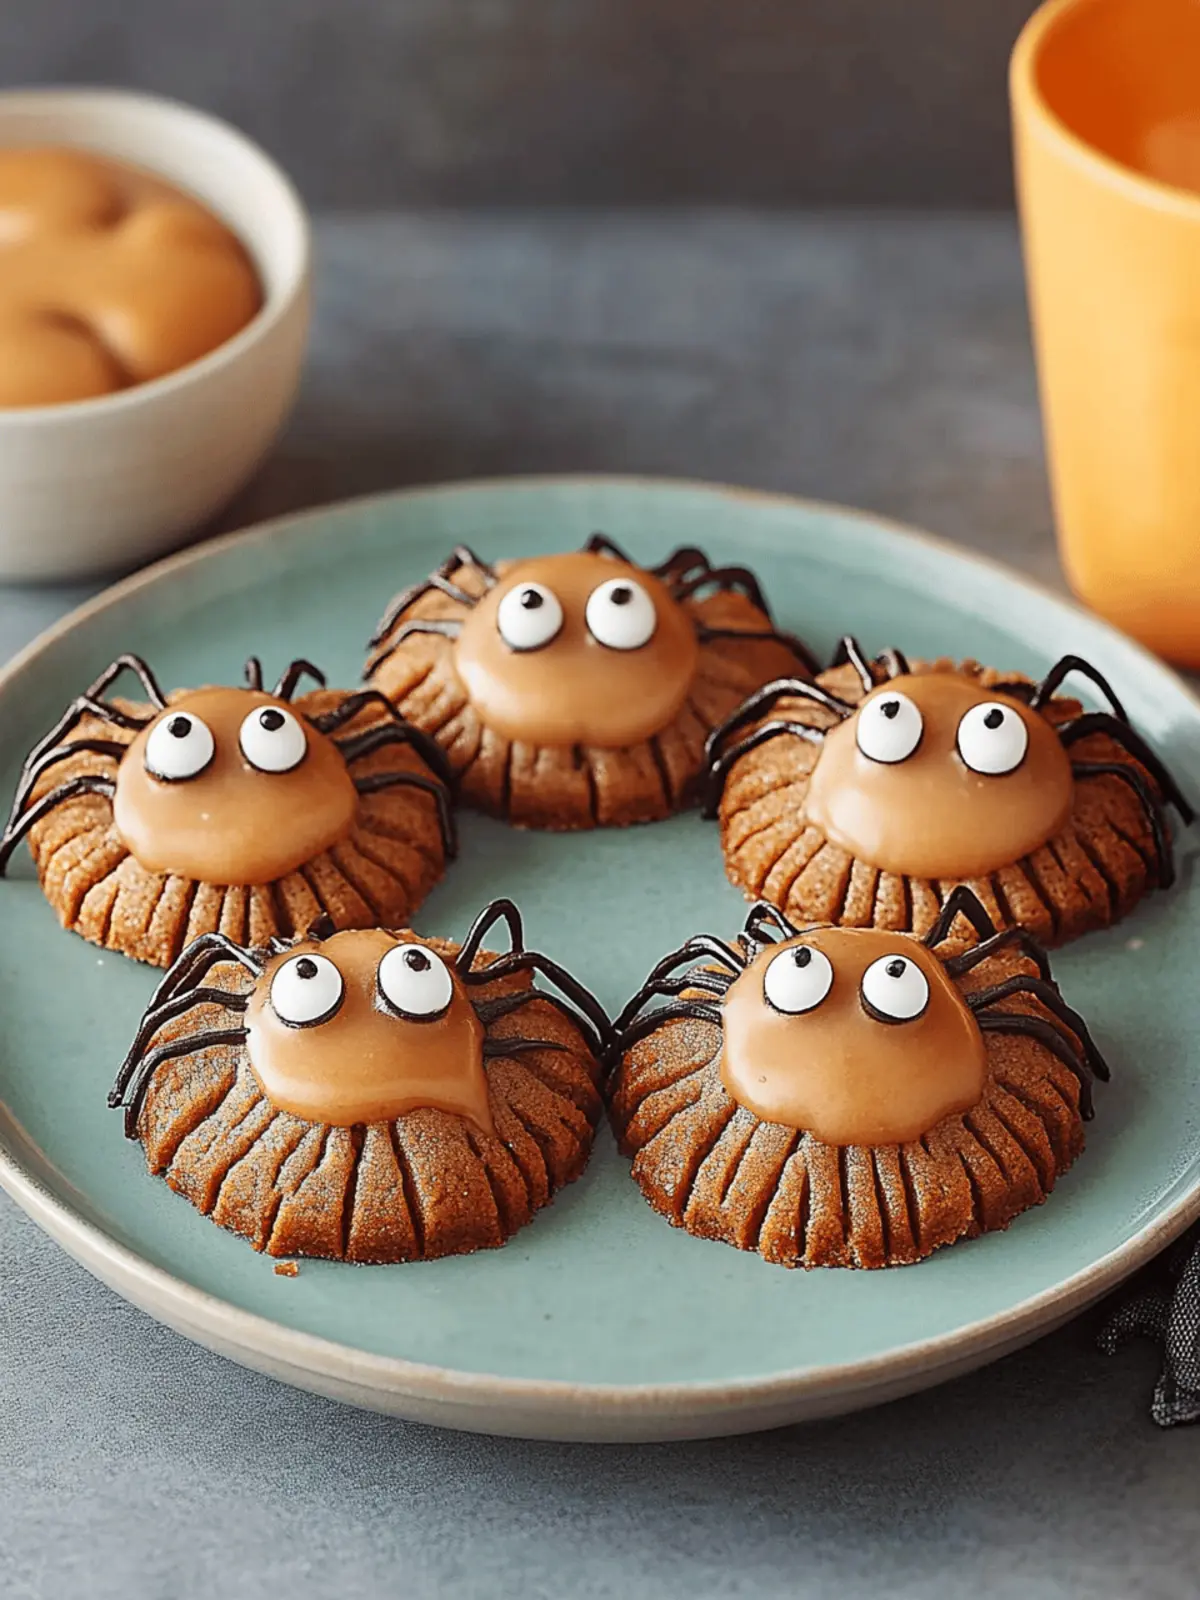
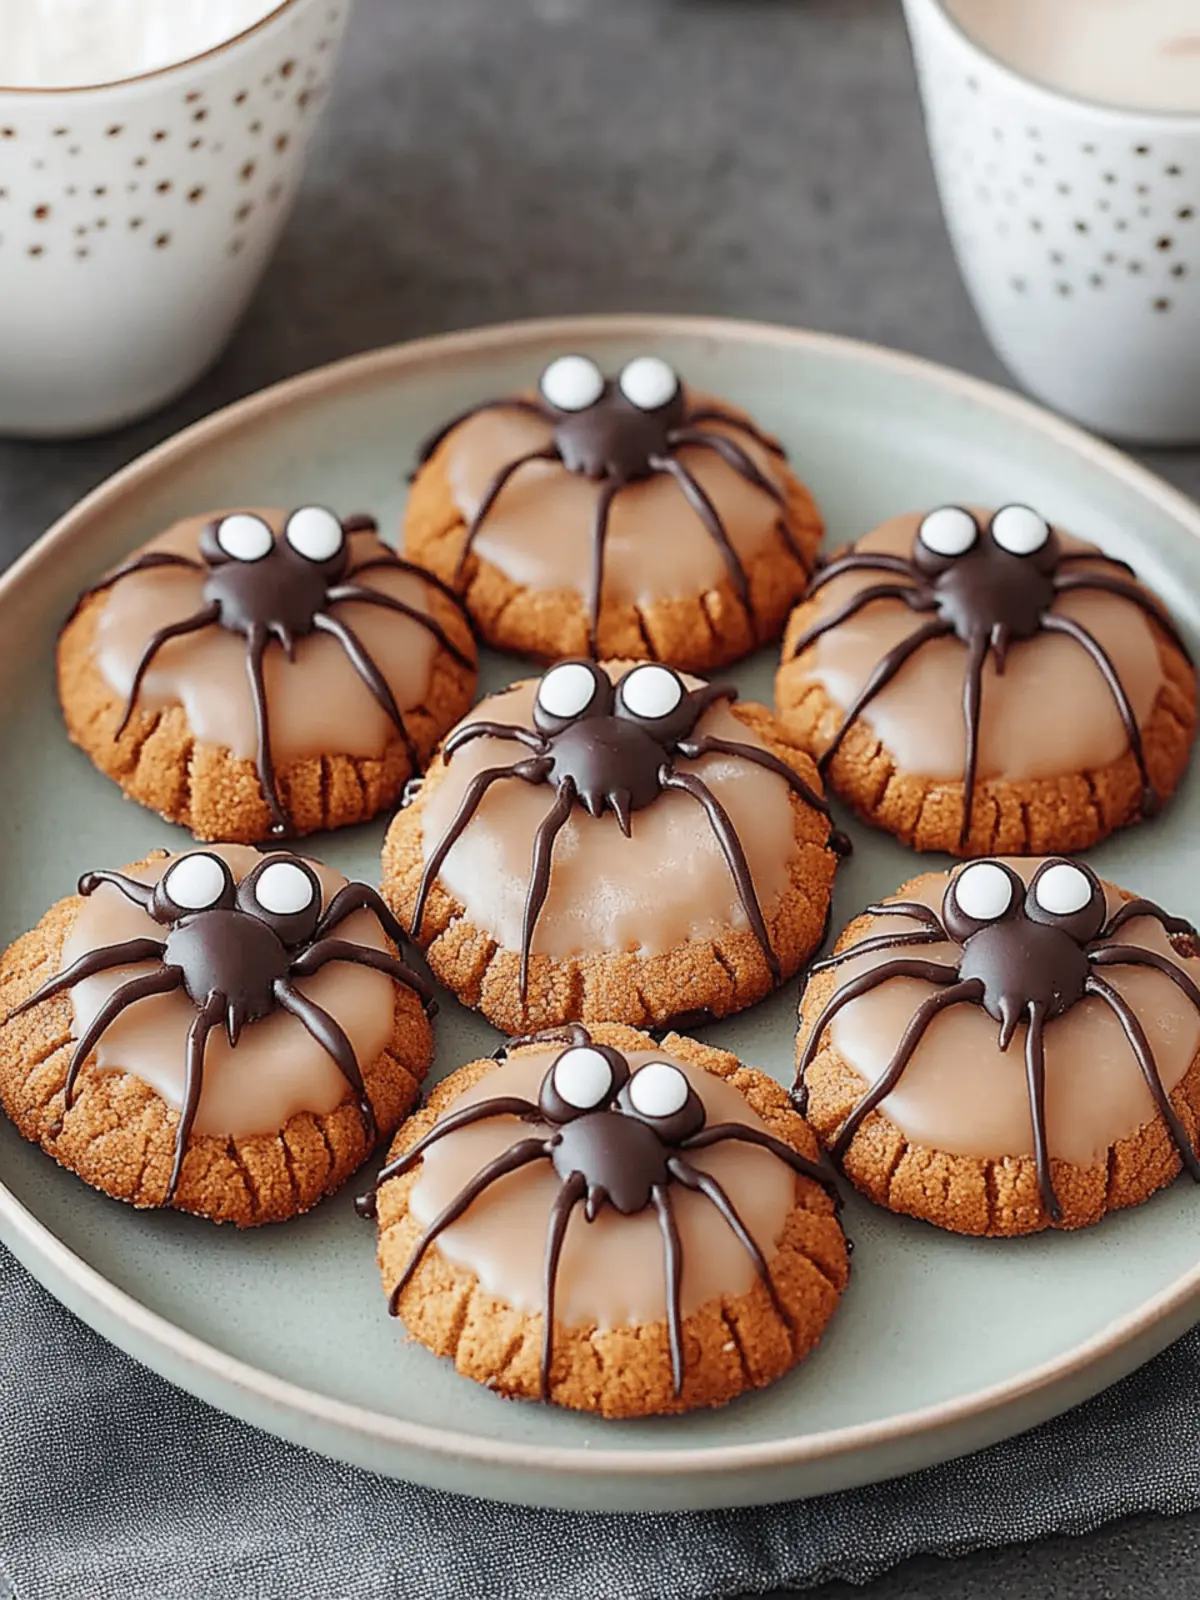
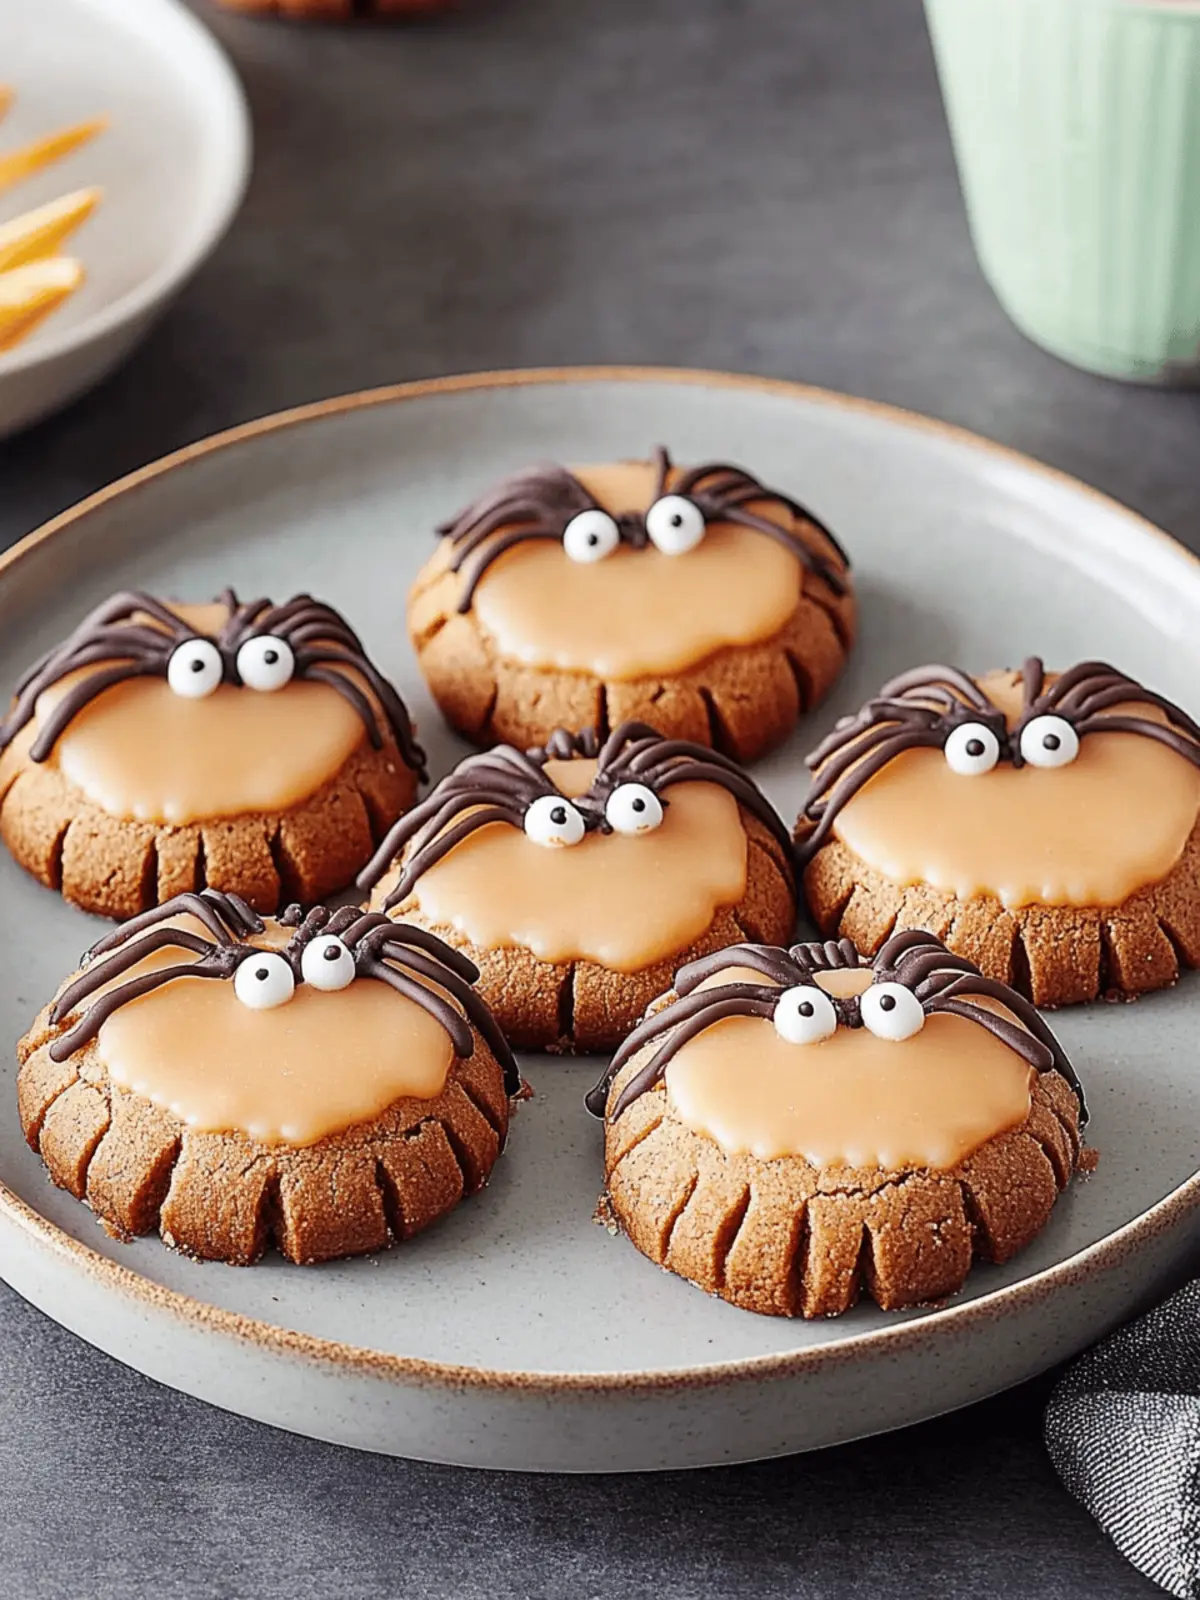
As the leaves turn vibrant shades of orange and the chill in the air signals Halloween’s approach, I find myself craving treats that celebrate the season’s whimsy. Enter my Halloween Peanut Spider Cookies—adorable little confections that not only capture the eerie spirit of the holiday but are incredibly easy to whip up! Within just 20 minutes, your kitchen can transform into a spooky bake shop, filled with the delightful aroma of creamy peanut butter and rich chocolate.
What I love most about these spider cookies is the joy they bring to both the baker and the eater. With just a handful of ingredients, including some cute candy eyes and mini peanut butter cups, you can create a batch of cookies that are sure to steal the show at any Halloween gathering. Trust me, these delightful treats are not just fun to make; they’re versatile, allowing for allergen substitutions, so everyone can partake in the festive fun. Whether you’re entertaining guests or simply satisfying your sweet tooth, these charming spider cookies will have you tangled in deliciousness!
Why Should You Make Spider Cookies This Halloween?
Whimsy and Fun: These spider cookies not only look adorable but also bring a touch of festivity to your Halloween celebrations.
Quick and Easy: In just 20 minutes, you can whip up a batch, making it perfect for last-minute parties or late-night cravings.
Endless Customization: Feel free to switch up ingredients for any dietary needs, ensuring everyone can enjoy their spooktacular treat!
Deliciously Rich Flavors: The combination of creamy peanut butter and chocolate creates a sweet indulgence that will leave everyone wanting more.
Family-Friendly Fun: Get the kids involved! Assembling these cookie spiders is a fun activity that can spark creativity and laughter in the kitchen.
These delightful treats will not only impress your guests but also make fantastic gifts for trick-or-treaters. Enjoy the spooky season with these easy, fun, and utterly delicious spider cookies!
Halloween Cookie Ingredients
• Perfect for creating spider cookies!
For the Cookie Dough
- Creamy Peanut Butter – This gives the cookies their rich, nutty flavor; you can substitute with sunbutter for a nut-free option.
- Sugar – Essential for sweetness and texture; consider coconut sugar for a lower glycemic alternative.
- Large Egg (room temperature) – Binds everything together for a chewy texture; use a flax egg to make this recipe vegan-friendly.
For the Spider Decor
- Reese’s Mini Peanut Butter Cups – These act as the spider bodies, adding a delicious surprise; feel free to use chocolate-coated candies for a twist.
- Milk Chocolate Chips – Perfect for melting and piped decorations; swap for dark chocolate chips for an extra punch of flavor.
- Shortening – Used to thin the melted chocolate for easier piping; vegetable oil is a substitute, but texture may vary.
- Candy Eyes – Add a whimsical touch to your spooky spiders; for nut-free cookies, use edible candy or chocolate.
These ingredients will come together to create not only stunning spider cookies but also a memorable Halloween experience for all!
How to Make Spider Cookies
-
Preheat your oven to 350°F. This helps create the perfect baking atmosphere for those adorable cookies.
-
Cream together the creamy peanut butter and sugar in a large bowl until the mixture is light and fluffy, about 5-7 minutes. This will ensure a luscious cookie texture.
-
Beat in the large egg until fully combined. You want to create a smooth consistency that binds everything together beautifully.
-
Shape the dough into 1-inch balls and place them two inches apart on ungreased baking sheets. Gently flatten each ball using a glass—this helps them spread evenly while baking.
-
Bake the cookies for 15-17 minutes, or until the tops are just cracked and golden. After removing them from the oven, let them cool for 3 minutes on the baking sheet before transferring to wire racks.
-
Press one mini peanut butter cup into the center of each warm cookie immediately after removing them from the oven. Allow the cookies to stand until set.
-
Melt the milk chocolate chips and shortening together in a microwave until smooth. This creates the perfect piping chocolate for your spider legs.
-
Decorate your cookies by attaching candy eyes to the mini peanut butter cups using the melted chocolate. Pipe eight legs on each spider for a delightful finish. Allow the chocolate to set completely before serving.
Optional: Drizzle extra melted chocolate over the cookies for an added touch of elegance.
Exact quantities are listed in the recipe card below.
Expert Tips for Making Spider Cookies
-
Use a Cookie Scoop: To ensure uniform cookie sizes, using a small cookie scoop makes portioning the dough a breeze.
-
Chill Peanut Butter Cups: Chill your Reese’s mini peanut butter cups in the fridge before using them. This prevents them from melting too much while baking.
-
Underbake for Softness: Slightly underbaking your cookies will yield a soft and chewy center. They’ll continue to firm up as they cool on the rack.
-
Pipe Carefully: When decorating with melted chocolate, hold your pastry bag at a slight angle to create the perfect spider legs on your cookies.
-
Customizable Ingredients: Feel free to swap ingredients for dietary needs; for example, sunflower butter can replace peanut butter for nut-free spider cookies.
What to Serve with Halloween Peanut Spider Cookies?
These charming cookies will elevate any Halloween gathering into a delightful experience filled with sweet treats and festive cheer.
- Festive Fruit Platter: A mix of seasonal fruits like oranges and apples balances sweetness with freshness, providing a colorful contrast to the cookies.
- Spooky Hot Chocolate: Rich and creamy hot chocolate brings warmth and comfort, perfect for pairing with the chocolaty spider legs.
- Pumpkin Spice Cupcakes: Irresistibly soft and filled with autumn flavors, these cupcakes make a great complement and engage the senses.
- Chocolate-Covered Pretzels: The crunchiness and salty-sweet flavor of pretzels pair wonderfully with the soft cookies, adding a delightful twist.
- Caramel Apple Slices: Refreshing apple slices drizzled with caramel offer a juicy treat that synchronizes beautifully with peanut butter sweetness.
- Witch’s Brew Mocktail: A fizzy blue lemonade with gummy worms and edible glitter creates a fun, festive drink that’s a hit with guests.
- Cinnamon Sugar Popcorn: Light and airy popcorn sprinkled with a sweet cinnamon blend makes for a playful snack option alongside the cookies.
- Halloween-Themed Candy: A bowl of assorted Halloween candies provides a sweet and whimsical touch, inviting guests to enjoy a sugar rush.
How to Store and Freeze Spider Cookies
Room Temperature: Store cooled spider cookies in an airtight container at room temperature for up to 1 week. Use wax paper between layers to prevent sticking.
Fridge: If your home tends to be warm, you can refrigerate the cookies for extra freshness, keeping them good for around 2 weeks in an airtight container.
Freezer: For longer storage, freeze the cookies in a single layer, then transfer to a freezer-safe container to prevent crushing. They’ll last up to 3 months!
Reheating: When you’re ready to enjoy, let frozen cookies thaw at room temperature for about 30 minutes, or microwave them for 10–15 seconds for a warm treat.
Make Ahead Options
These Halloween Peanut Spider Cookies are perfect for meal prep enthusiasts! You can roll the dough into 1-inch balls and refrigerate them for up to 24 hours before baking. Alternatively, freeze the dough balls for a hassle-free treat ready to bake at a moment’s notice—just keep them frozen for up to 3 months. To maintain their quality, ensure the dough is tightly wrapped in plastic wrap or stored in an airtight container. When you’re ready to enjoy these delightful treats, simply bake from frozen, adding an extra minute or two to the bake time. With these make-ahead options, you’ll save time while serving fresh, delicious spider cookies that everyone will love!
Variations & Substitutions for Spider Cookies
Feel free to let your creativity shine as you customize these delightful spider cookies to suit your taste and dietary needs!
-
Nut-Free: Substitute creamy peanut butter with sunflower seed butter for a nut-free alternative that still delivers on flavor.
-
Vegan Option: Replace the large egg with a flax egg (1 tablespoon ground flaxseed mixed with 2.5 tablespoons water) for a healthier, plant-based choice.
-
Sweetener Swap: Use coconut sugar instead of regular sugar for a lower glycemic index while retaining that delightful sweetness.
-
Chocolate Variety: Try using dark chocolate or semi-sweet chocolate chips to add a richer flavor profile that intensifies the chocolatey goodness.
-
Decorative Twist: Instead of candy eyes, use colored sprinkles or edible glitter for a fun and festive finishing touch that brings a pop of color.
-
Flavor Infusion: Add a dash of vanilla extract to the dough for an aromatic twist that perfectly complements the peanut butter and chocolate.
-
Crunchy Texture: Incorporate chopped nuts or crushed pretzels into the dough for a delightful crunch that adds a hint of salty sweetness.
-
Spicy Kick: For those craving a bit of heat, consider adding a pinch of cayenne pepper or chili powder to the dough to create a sweet and spicy flavor adventure.
Each of these variations allows you to put your own spin on these festive treats while ensuring everyone has the opportunity to indulge in the fun!
Halloween Peanut Spider Cookies Recipe FAQs
How do I choose the right peanut butter for this recipe?
Absolutely! Look for a creamy peanut butter without added sugars or oils for optimal results. If you prefer a nut-free option, I recommend using sunflower seed butter, which provides a similar consistency and flavor.
How should I store leftover spider cookies?
Very! Keep your cooled spider cookies in an airtight container at room temperature for up to 1 week. If you’re stacking them, place wax paper between layers to prevent sticking. They can also be stored in the fridge for up to 2 weeks if you live in a warmer climate.
Can I freeze spider cookies for later enjoyment?
Absolutely! To freeze the cookies, lay them out in a single layer on a baking sheet and place them in the freezer until firm. Then transfer them to a freezer-safe container. They can last up to 3 months. When you’re ready to enjoy, thaw them at room temperature for about 30 minutes or microwave for 10–15 seconds for a warm treat.
What if my cookies spread too much while baking?
No worries! If your cookies spread excessively, it could be due to the dough being too warm or a bit too much sugar. Try chilling the dough for about 30 minutes before baking, and ensure you’re measuring your ingredients accurately. It can also help to use a small cookie scoop for even portioning!
Are there any allergy considerations for this recipe?
Certainly! These spider cookies contain peanuts, so if you’re making them for someone with nut allergies, use sunflower seed butter instead of peanut butter, and ensure all other ingredients, like chocolate and candy, are nut-free. Make sure to check the labels on all your ingredients, especially the candy eyes and chocolate chips!
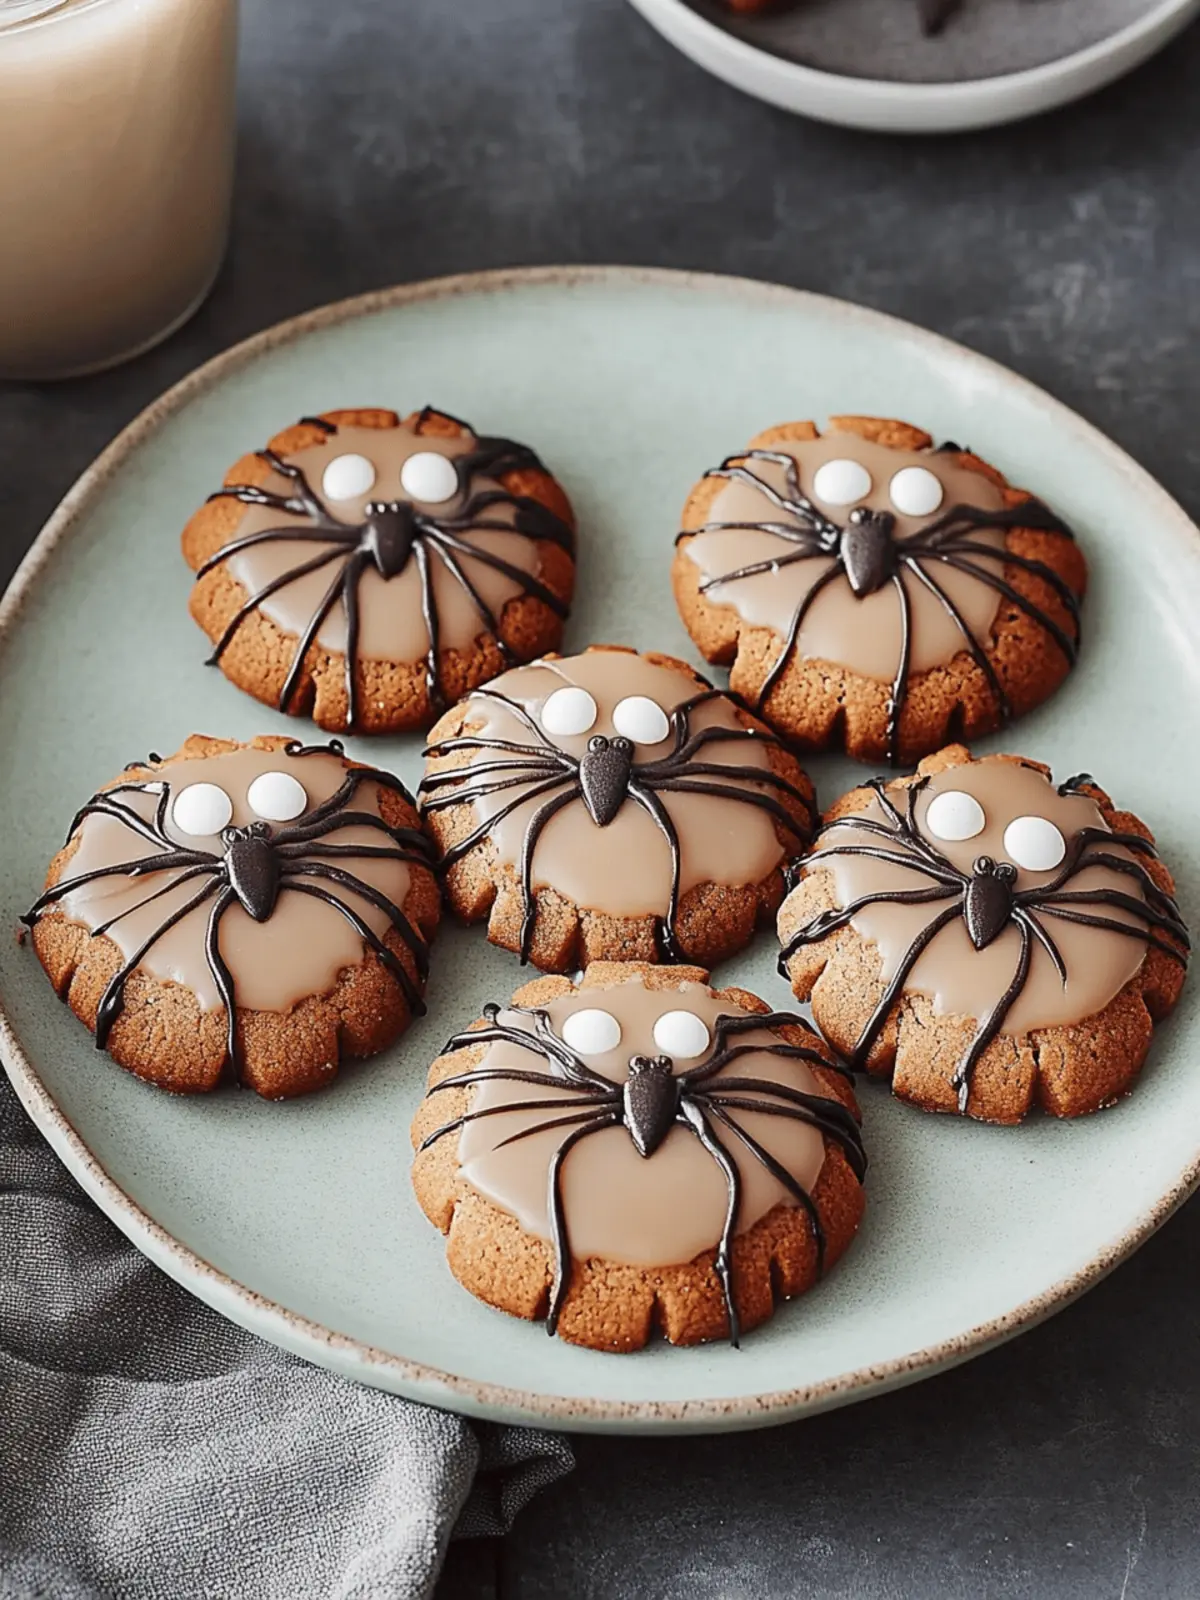
Delicious Spider Cookies That Will Wow Your Halloween Guests
Ingredients
Equipment
Method
- Preheat your oven to 350°F.
- Cream together the creamy peanut butter and sugar in a large bowl until light and fluffy, about 5-7 minutes.
- Beat in the large egg until fully combined.
- Shape the dough into 1-inch balls and place them two inches apart on ungreased baking sheets, gently flattening each.
- Bake the cookies for 15-17 minutes, until just cracked and golden. Cool on baking sheet for 3 minutes before transferring to wire racks.
- Press one mini peanut butter cup into the center of each cookie immediately after removing from oven.
- Melt the milk chocolate chips and shortening together in the microwave until smooth.
- Decorate cookies by attaching candy eyes to the mini peanut butter cups using the melted chocolate, piping eight legs on each.

