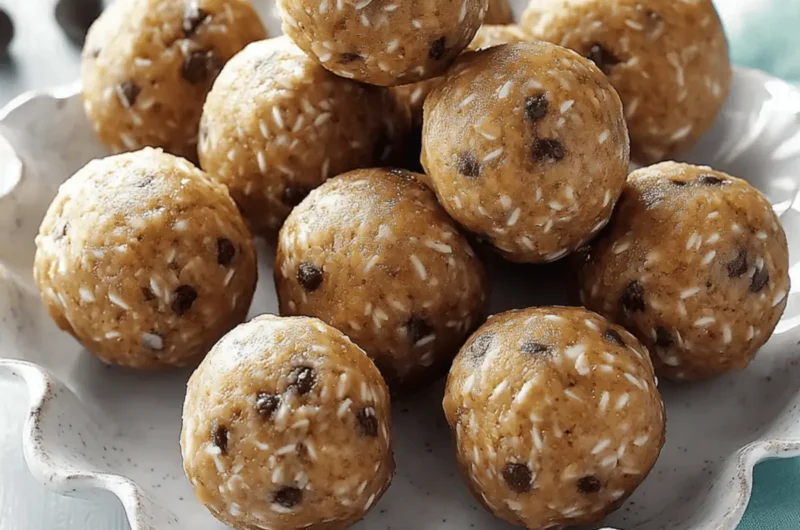
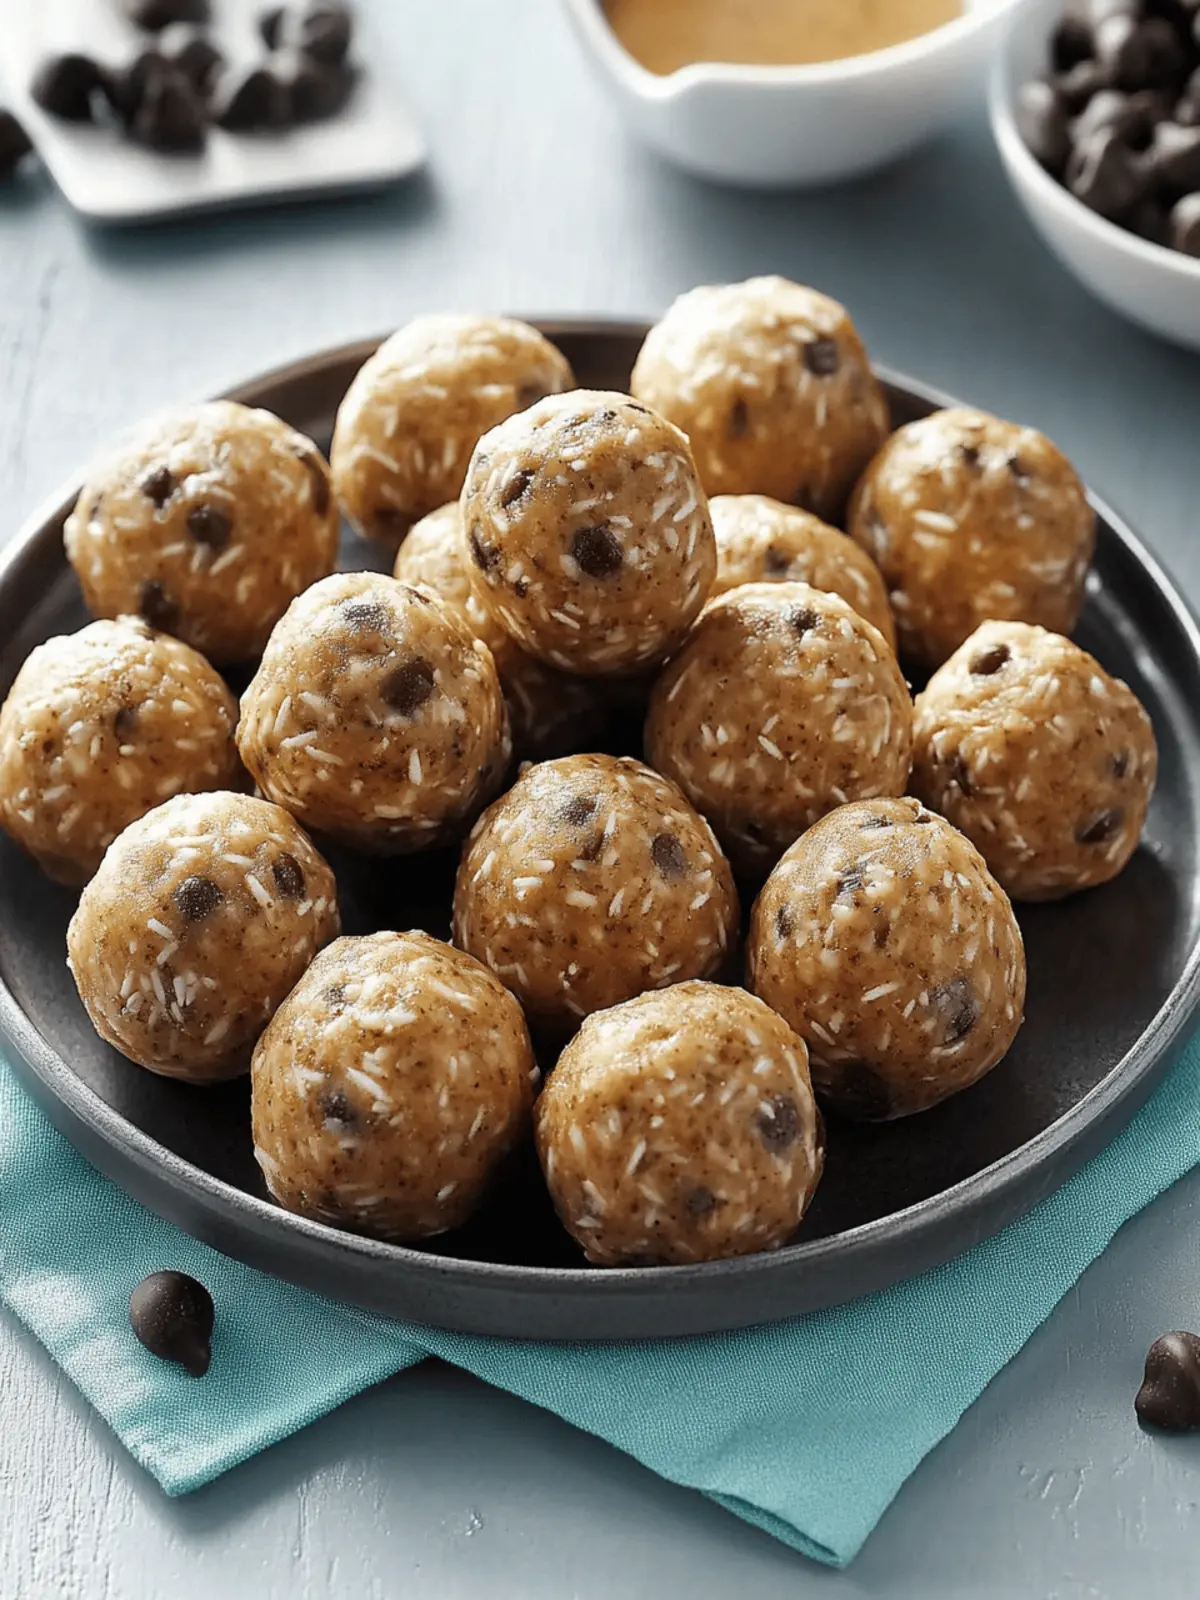
There’s nothing quite like coming home after a long day and reaching for a bite-sized treat that feels both indulgent and nutritious. These no-bake peanut butter chocolate protein balls have quickly become my go-to snack for just such moments. Blending creamy peanut butter with rich chocolate and wholesome oats, they offer a delightful chewy texture that satisfies my sweet cravings without the guilt.
After trying countless energy-boosting snacks, I found that these little wonders struck the perfect balance between flavor and convenience. They’re high in protein, gluten-free, and require no baking—just a simple mix and chill! Whether you’re looking for a pre-workout boost, an afternoon snack, or a quick dessert, these protein balls fit the bill. Plus, with endless variations, you can customize them to suit your taste or dietary needs. Let’s dive in and make this deliciously easy treat that everyone will love!
Why Are These Protein Balls a Game-Changer?
Quick and Easy: With just a few simple steps, you can whip up a batch of these delicious bites in no time!
Nutritious Boost: Packed with wholesome ingredients, they’re a guilt-free way to fuel your body.
Endless Variations: Customize with your favorite nut butters or add-ins for a personalized touch!
Crowd-Pleasing Flavor: The irresistible combo of peanut butter and chocolate makes them a hit with everyone.
Perfect for Any Occasion: Whether pre-workout or a sweet treat, they fit any snacking need seamlessly!
No-Bake Convenience: No oven required, these protein balls come together easily in your fridge!
Protein Balls Ingredients
• Dive into these deliciously wholesome creations!
For the Base
- Quick-Cooking Oats – Provides structure and chewiness; substitute with old-fashioned oats for a heartier bite.
- Chia Seeds – Adds fiber and omega-3 fatty acids; ground flaxseeds can be used as a similar alternative.
- Honey or Maple Syrup – Acts as a natural sweetener and binder; agave syrup makes for a great vegan option.
- Creamy Peanut Butter – Infuses creaminess and rich flavor; try almond or cashew butter for a delightful variation.
For the Protein Boost
- Vanilla or Chocolate Protein Powder – Enhances protein content; feel free to use your favorite flavor or omit for a lighter treat.
For the Sweet Surprise
- Miniature Semisweet Chocolate Chips – Adds a chocolatey burst of sweetness; dark chocolate chips can be a healthier swap.
Embrace the joy of making these protein balls that not only satisfy your sweet tooth but are also a great way to fuel your day!
How to Make Peanut Butter Chocolate Protein Balls
- Combine Ingredients: In a large bowl, mix together quick-cooking oats, chia seeds, honey or maple syrup, creamy peanut butter, protein powder, and miniature chocolate chips until well combined.
- Chill the Mixture: Refrigerate the mixture for about 1 hour, allowing it to firm up enough to scoop into balls.
- Shape the Balls: Once chilled, use your hands to shape the mixture into 1-1/2 inch balls, ensuring they hold together nicely.
- Store Properly: Place the protein balls in an airtight container and store them in the refrigerator for optimal freshness.
Optional: Drizzle with melted dark chocolate for an extra sweet touch!
Exact quantities are listed in the recipe card below.
Expert Tips for Protein Balls
-
Avoid Crumble: If your mixture feels too crumbly, add a little more nut butter or a splash of milk to bind it together perfectly.
-
Use Quick Oats: For the best texture, stick with quick-cooking oats; old-fashioned oats can make your protein balls chewier than intended.
-
Mix Gently: Be cautious not to overmix. Stir just until everything is combined to keep your protein balls moist and delicious.
-
Customize for Flavor: Don’t hesitate to experiment! Swap peanut butter for almond or add different protein powder flavors to keep your protein balls exciting.
-
Storage Matters: Keep them in an airtight container in the fridge for up to a week for maximum freshness and flavor. Enjoy on-the-go!
What to Serve with Peanut Butter Chocolate Protein Balls?
Imagine enjoying a sweet treat that not only satisfies your cravings but pairs beautifully with complementary flavors and textures.
- Creamy Greek Yogurt: A dollop of rich yogurt adds a tangy contrast, enhancing the protein power and providing a satisfying creaminess.
- Fresh Berries: Juicy strawberries or blueberries bring a pop of freshness, balancing the rich, nutty sweetness of the protein balls.
- Nutty Trail Mix: A handful of crunchy nuts and seeds adds delightful texture and heartiness, making every bite a wholesome experience.
- Chilled Almond Milk: This refreshing, nutty beverage creates a delightful harmony while providing a fabulous dairy-free option to enjoy.
- Sliced Apples with Cinnamon: The natural crunch and sweetness of apples paired with a sprinkle of cinnamon create an irresistible flavor combination.
- Decadent Dark Chocolate Drizzle: Elevate these protein balls by drizzling melted dark chocolate on top for an elegant touch of indulgence.
- Homemade Granola: Crisp clusters of oats and nuts make a delightful pairing that elevates your snack experience to a wholesome treat.
- Matcha Smoothie: A vibrant green smoothie offers not only a nutrient boost but also a dreamy aesthetic and flavor contrast to your energy snack.
- Coconut Flakes: Toasted coconut adds an aromatic sweet and tropical twist that complements the peanut butter and chocolate beautifully.
Mix and match these suggestions to create a delightful array of snacks that will keep you energized and satisfied throughout your day!
How to Store and Freeze Protein Balls
Fridge: Keep your protein balls in an airtight container in the refrigerator for up to 1 week for peak freshness and flavor.
Freezer: For longer storage, freeze the protein balls in a single layer on a baking sheet, then transfer to a freezer-safe container or bag for up to 3 months.
Thawing: When ready to enjoy, simply remove from the freezer and let them thaw at room temperature for about 10-15 minutes before indulging.
Serving Tip: If stored in the fridge, they can be eaten straight away, making them a convenient and healthy snack whenever cravings strike!
Protein Balls Variations
There’s always room for creativity in the kitchen, so let’s explore fun ways to personalize your protein balls!
-
Nut Butter Swap: Replace peanut butter with almond or sunflower seed butter for unique flavor profiles. Each nut butter brings its special touch to the mix.
-
Vegan-Friendly: Use agave syrup instead of honey and choose plant-based protein powder for a delicious vegan snack everyone can enjoy.
-
Flavor Boost: Incorporate flavored protein powder, like vanilla or chocolate, to enhance the taste. This simple switch can elevate your protein balls to a whole new level.
-
Mix in Crunch: Add chopped nuts or seeds for an enjoyable crunch that complements the chewy texture. Walnuts or pumpkin seeds work beautifully here.
-
Fruitful Addition: Toss in dried fruits like cranberries or apricots for a sweet surprise and added nutrients. They’ll not only taste great but also deliver an extra chewy layer.
-
Chocolate Delight: Swap semisweet chocolate chips with dark or even white chocolate chips for a twist that makes it feel like a dessert.
-
Spice it Up: Introduce spices like cinnamon or cayenne for a warm kick. A subtle hint of spice can transform the entire flavor profile!
-
Protein Boost: Boost the protein even more by adding a tablespoon of hemp seeds or ground flaxseeds; it’s an easy way to amp up the health benefits.
Get ready to make these protein balls your own, bringing joy and flavor into each delightful bite!
Make Ahead Options
These Peanut Butter Chocolate Protein Balls are perfect for meal prep lovers! You can mix the ingredients and refrigerate the mixture up to 24 hours in advance, allowing the flavors to meld beautifully. Once chilled, shape the mixture into balls and store them in an airtight container. For optimal freshness and taste, enjoy them within up to 1 week if kept in the refrigerator, or freeze for up to 3 months. To serve, simply take them out of the fridge or freezer and allow a few minutes for thawing if frozen. This efficient prep method ensures you always have a nutritious snack ready to boost your day!
Peanut Butter Chocolate Protein Balls Recipe FAQs
What kind of oats should I use for these protein balls?
I recommend using quick-cooking oats for the best texture, as they help to create a delightful chewiness. If you prefer a heartier bite, feel free to substitute with old-fashioned oats. Just keep in mind that the texture may be slightly chewier.
How long can I store the protein balls?
These protein balls will stay fresh in an airtight container in the refrigerator for up to one week. For the ultimate freshness, I’d advise enjoying them within this timeframe.
Can I freeze the protein balls for later use?
Absolutely! To freeze, first place the protein balls in a single layer on a baking sheet and put them in the freezer for about an hour. Once they are firm, transfer them to a freezer-safe container or bag. They can be stored in the freezer for up to three months. When ready to enjoy, let them thaw at room temperature for about 10-15 minutes.
What if my mixture is too crumbly?
If you find your mixture is crumbly, don’t worry! Simply add a little more creamy peanut butter or a splash of milk to help bind all the ingredients together. Mix gently, and you should see it come together nicely.
Are there any dietary considerations I should be aware of?
These protein balls are naturally gluten-free as long as you use certified gluten-free oats. However, make sure to check that all other ingredients, especially the protein powder and chocolate chips, are also gluten-free. If anyone has nut allergies, consider substituting peanut butter with sunflower seed butter, which will still provide a delicious flavor.
Can I use a different type of sweetener?
Certainly! While honey or maple syrup are fantastic for binding and sweetness, you can also use agave syrup as a vegan alternative. Feel free to experiment with other natural sweeteners, but ensure they have similar moisture content to achieve the right consistency.

Peanut Butter Protein Balls That Fuel Your Day!
Ingredients
Equipment
Method
- In a large bowl, mix together quick-cooking oats, chia seeds, honey or maple syrup, creamy peanut butter, protein powder, and miniature chocolate chips until well combined.
- Refrigerate the mixture for about 1 hour, allowing it to firm up enough to scoop into balls.
- Once chilled, use your hands to shape the mixture into 1-1/2 inch balls, ensuring they hold together nicely.
- Place the protein balls in an airtight container and store them in the refrigerator for optimal freshness.

