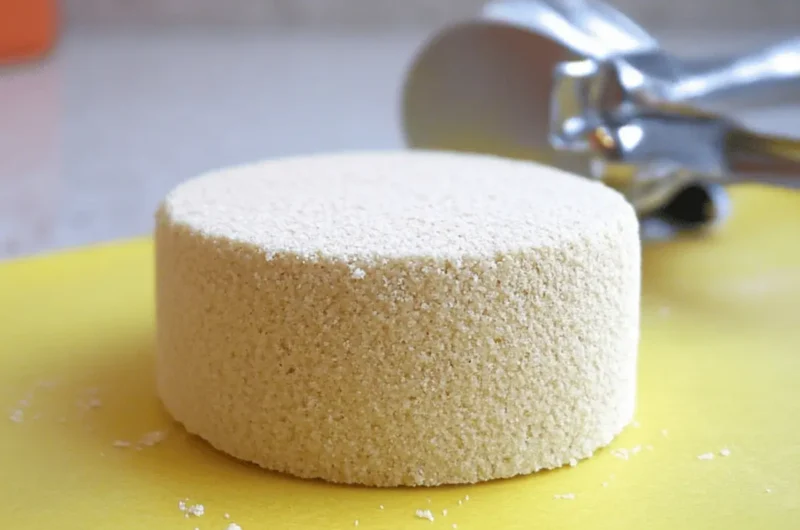
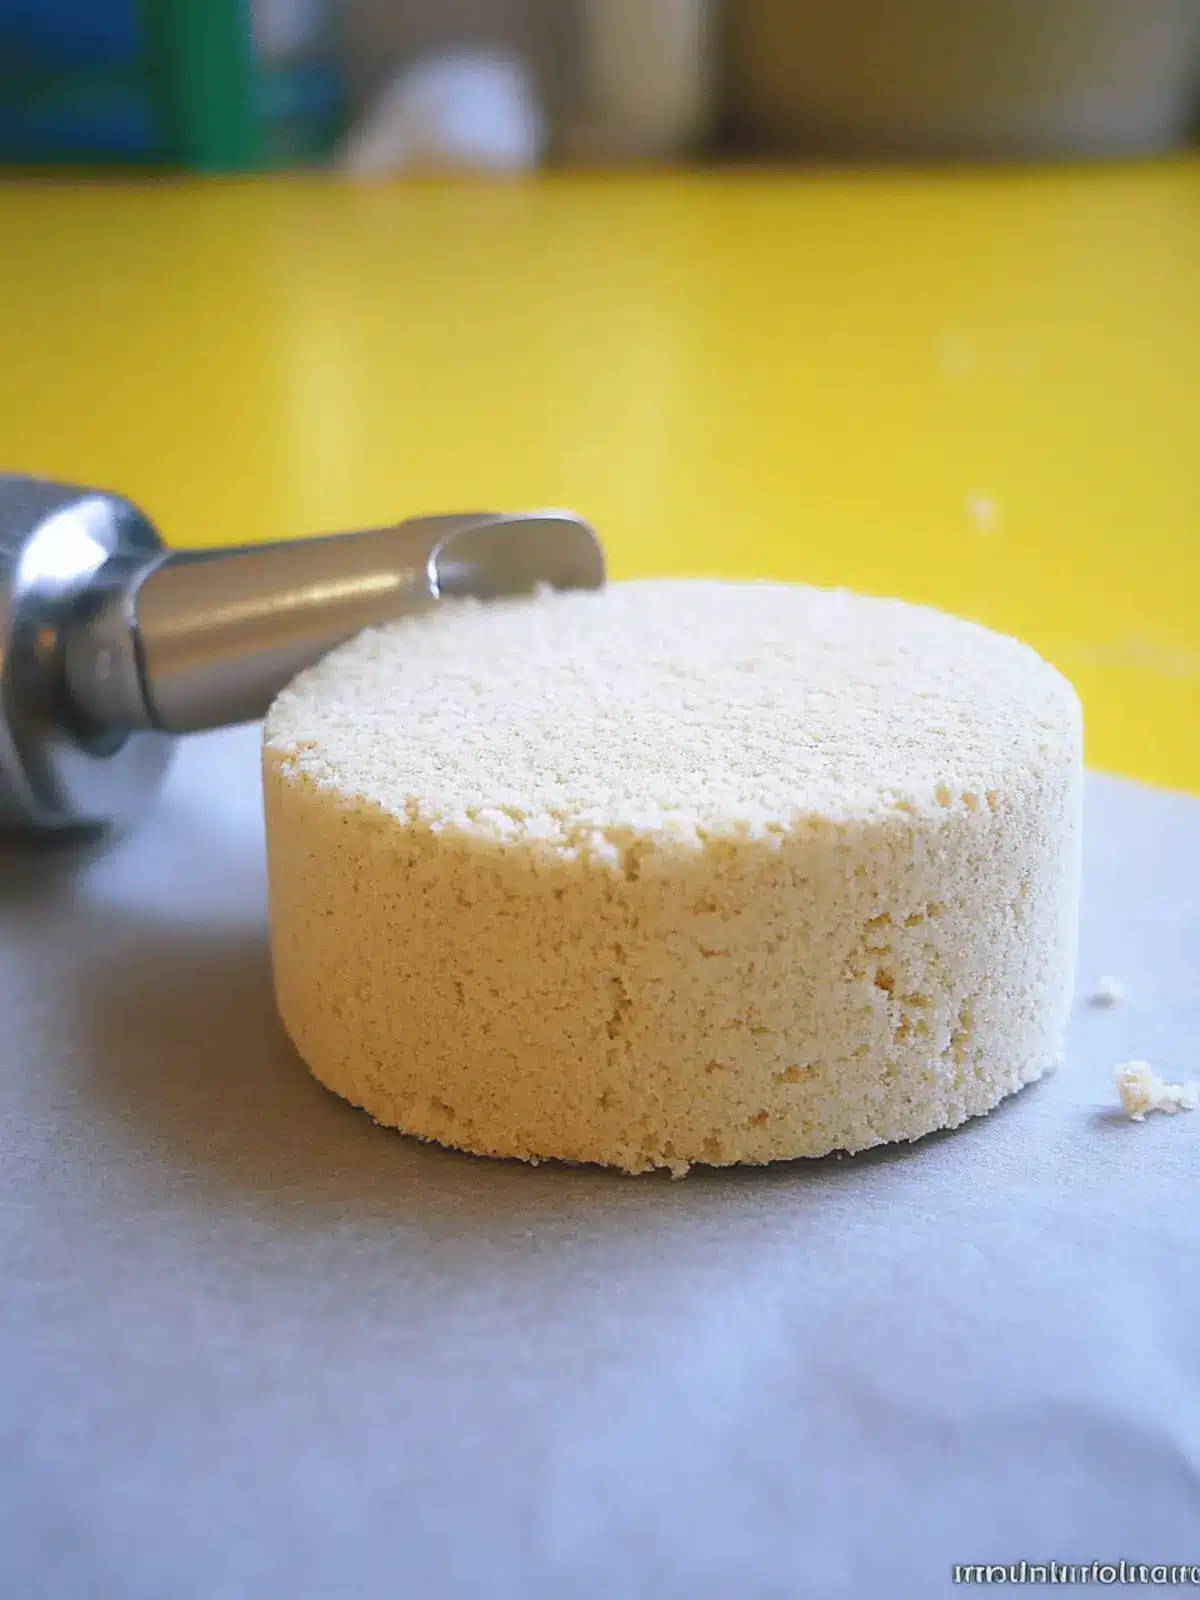
There’s a certain joy that fills the kitchen when I embark on creating Polvoron, a delightful Filipino treat that’s as nostalgic as it is simple. Picture the warm, nutty aroma of toasted flour wafting through the air, inviting loved ones to gather round. This charming dessert, with its signature crumble and semi-sweet profile, is perfect for any occasion—be it a festive gathering or a casual afternoon pick-me-up.
What’s even more exciting is the versatility of this recipe; you can easily switch up the flavors by playing with ingredients, transforming these little bundles of joy into chocolatey delights or nutty surprises. With just a few basics like all-purpose flour, powdered milk, and butter, you’re moments away from creating a treat that melts in your mouth and brings smiles to every face. So, let’s dive into this Polvoron recipe and embrace the sweetness of homemade goodness together!
Why Will You Adore This Polvoron Recipe?
Simplicity at Its Finest: With just a handful of ingredients, this recipe makes delectable Polvoron accessible to everyone, from seasoned chefs to home cooks.
Versatile Flavors: Customize your treats effortlessly—think coconut, chocolate, or nutty twists!
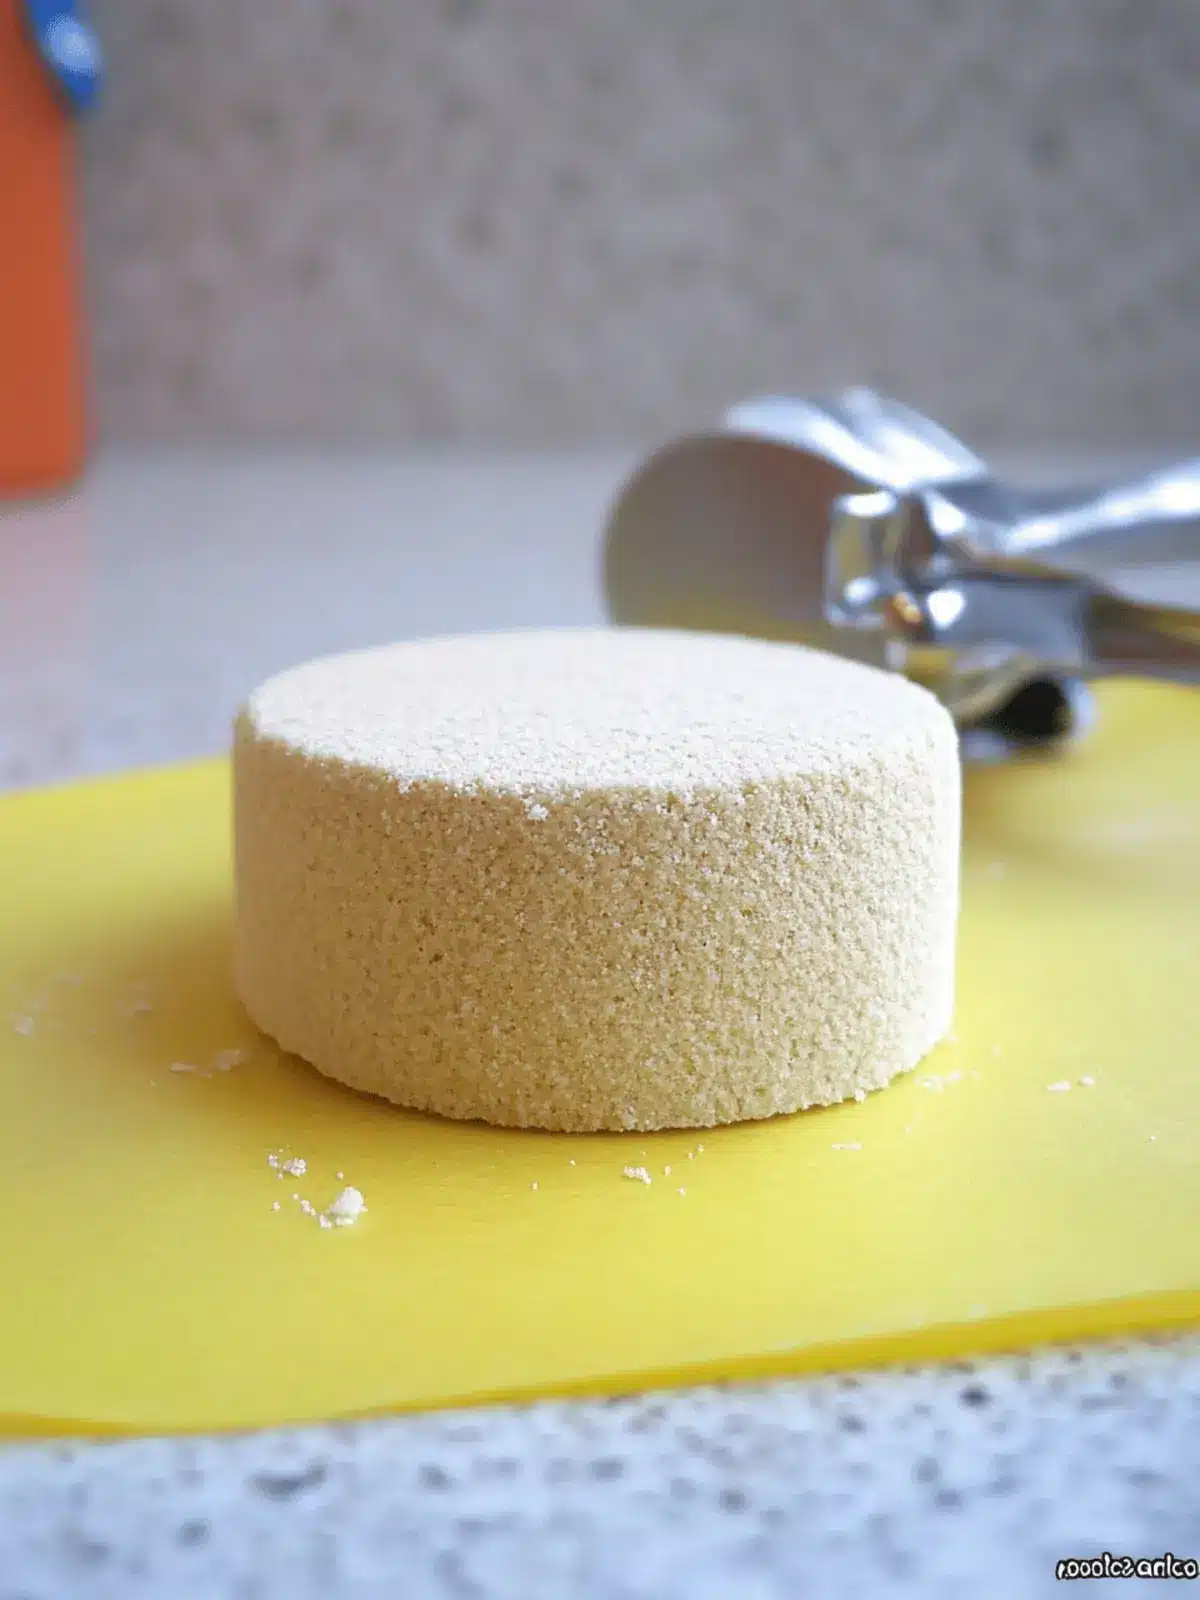
Irresistible Texture: Each bite offers a delightful crumble that melts in your mouth, reminiscent of a comforting shortbread.
Perfect for Gifting: Beautifully wrapped, these treats make sweet homemade gifts for friends and family.
Nostalgic Aroma: The heavenly scent of toasted flour brings a warmth that invites everyone into your kitchen—an experience to cherish!
Polvoron Recipe Ingredients
For the Batter
- All-Purpose Flour – Toast until light brown for enhanced flavor and that signature nutty aroma.
- Powdered Milk – Adds creaminess and binds everything beautifully; using evaporated milk can alter texture a bit.
- Granulated Sugar – Sweetens your treats; adjust to your liking, but note that less sugar may change the final texture.
- Pinipig (Crushed Roasted Rice Puffs) – Offers a delightful crunch and authentic flavor; feel free to skip it if you can’t find it.
- Softened Butter – Ensures richness and moisture; unsalted butter is best for optimal taste.
For the Wrapping
- Wax Paper or Cellophane – Use to wrap your Polvoron tightly, making them perfect for gifting or storing.
This Polvoron recipe promises to fill your home with sweetness, and the ingredients are simple enough to gather in no time!
How to Make Polvoron
-
Toast the Flour: Heat a pan or wok over medium heat and add 4 cups of all-purpose flour. Stir continuously for about 10-15 minutes until it turns light brown and fragrant.
-
Cool Flour: Transfer the toasted flour to a mixing bowl and let it cool for 20 minutes. This helps to develop its flavor further.
-
Combine Dry Ingredients: Whisk in 2 cups of powdered milk, then mix with 1½ cups of granulated sugar and ¾ cup of crushed pinipig until everything is well incorporated.
-
Add Butter: Incorporate 1⅛ cups of softened butter into the mixture. Use your hands if necessary to mix thoroughly until it resembles a dough.
-
Rest Mixture: Allow the mixture to sit for 10 minutes. This step enhances the binding and makes it easier to mold.
-
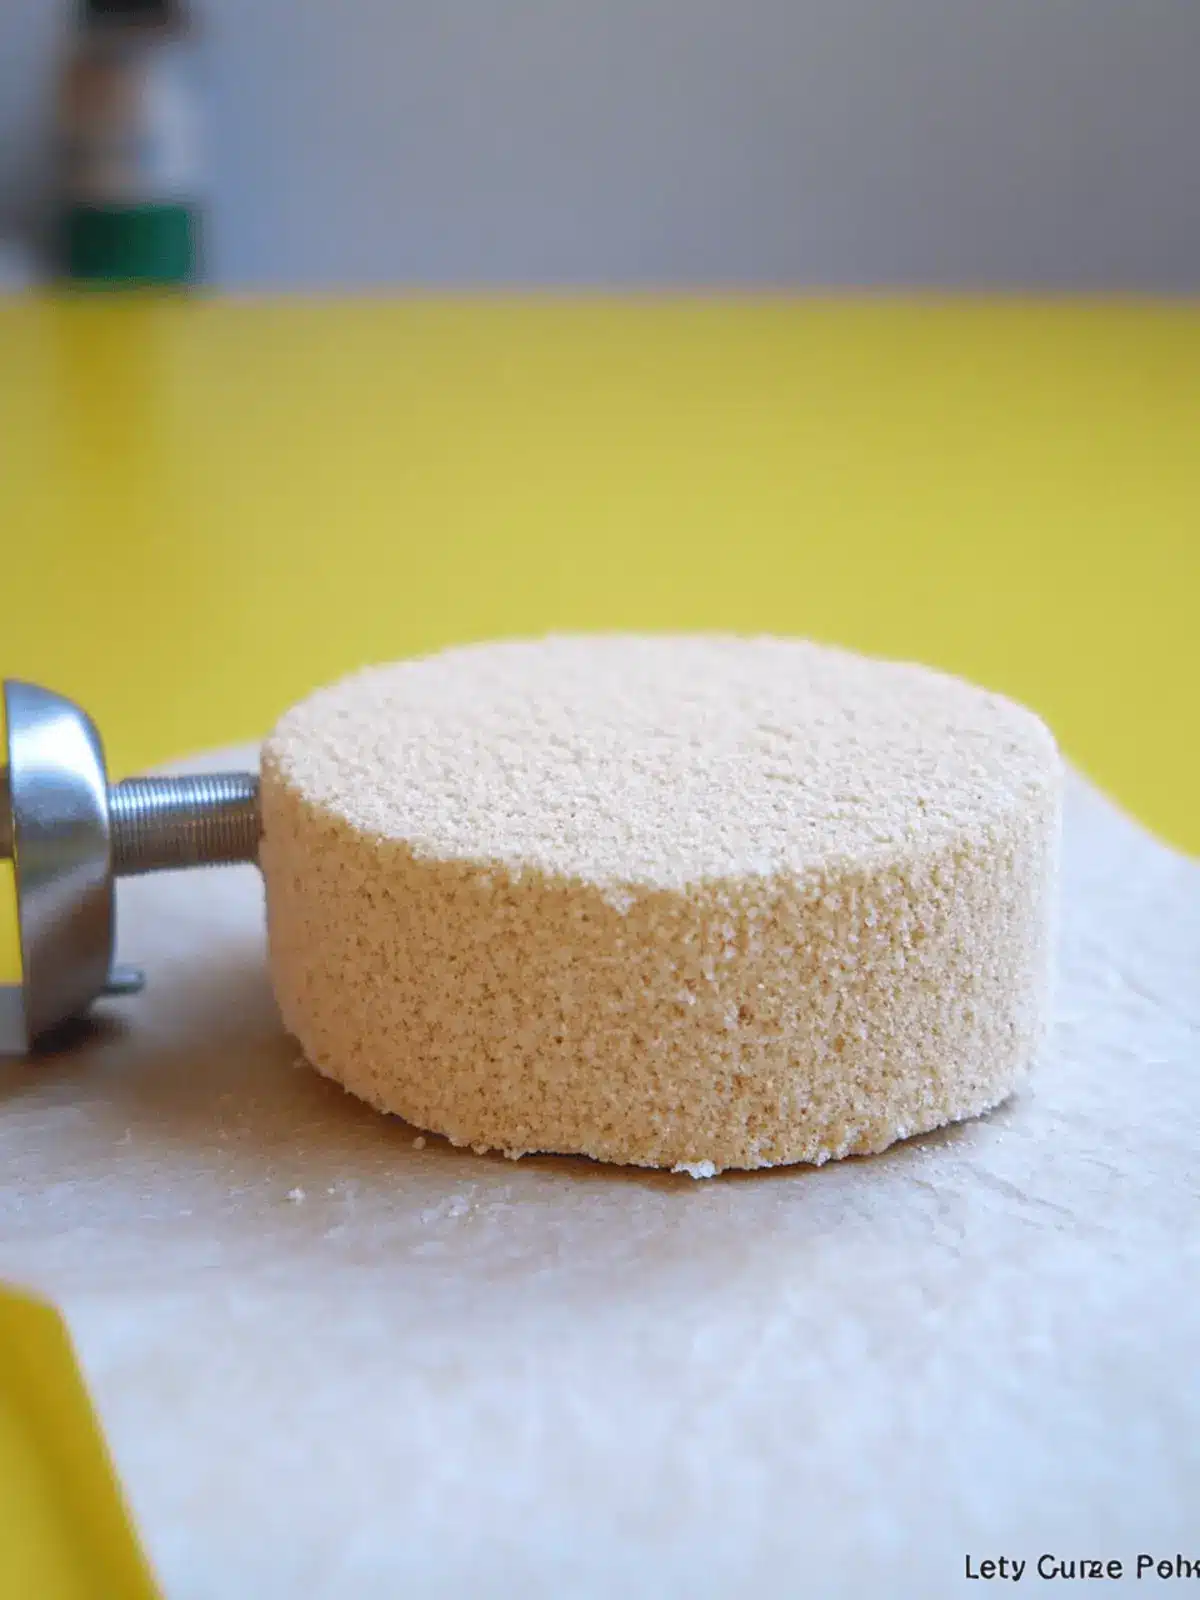
Mold and Wrap: Use a polvoron molder to scoop the mixture onto wax paper or cellophane. Wrap tightly to shape your delightful treats.
Optional: Dust with powdered sugar before wrapping for an extra sweet touch.
Exact quantities are listed in the recipe card below.
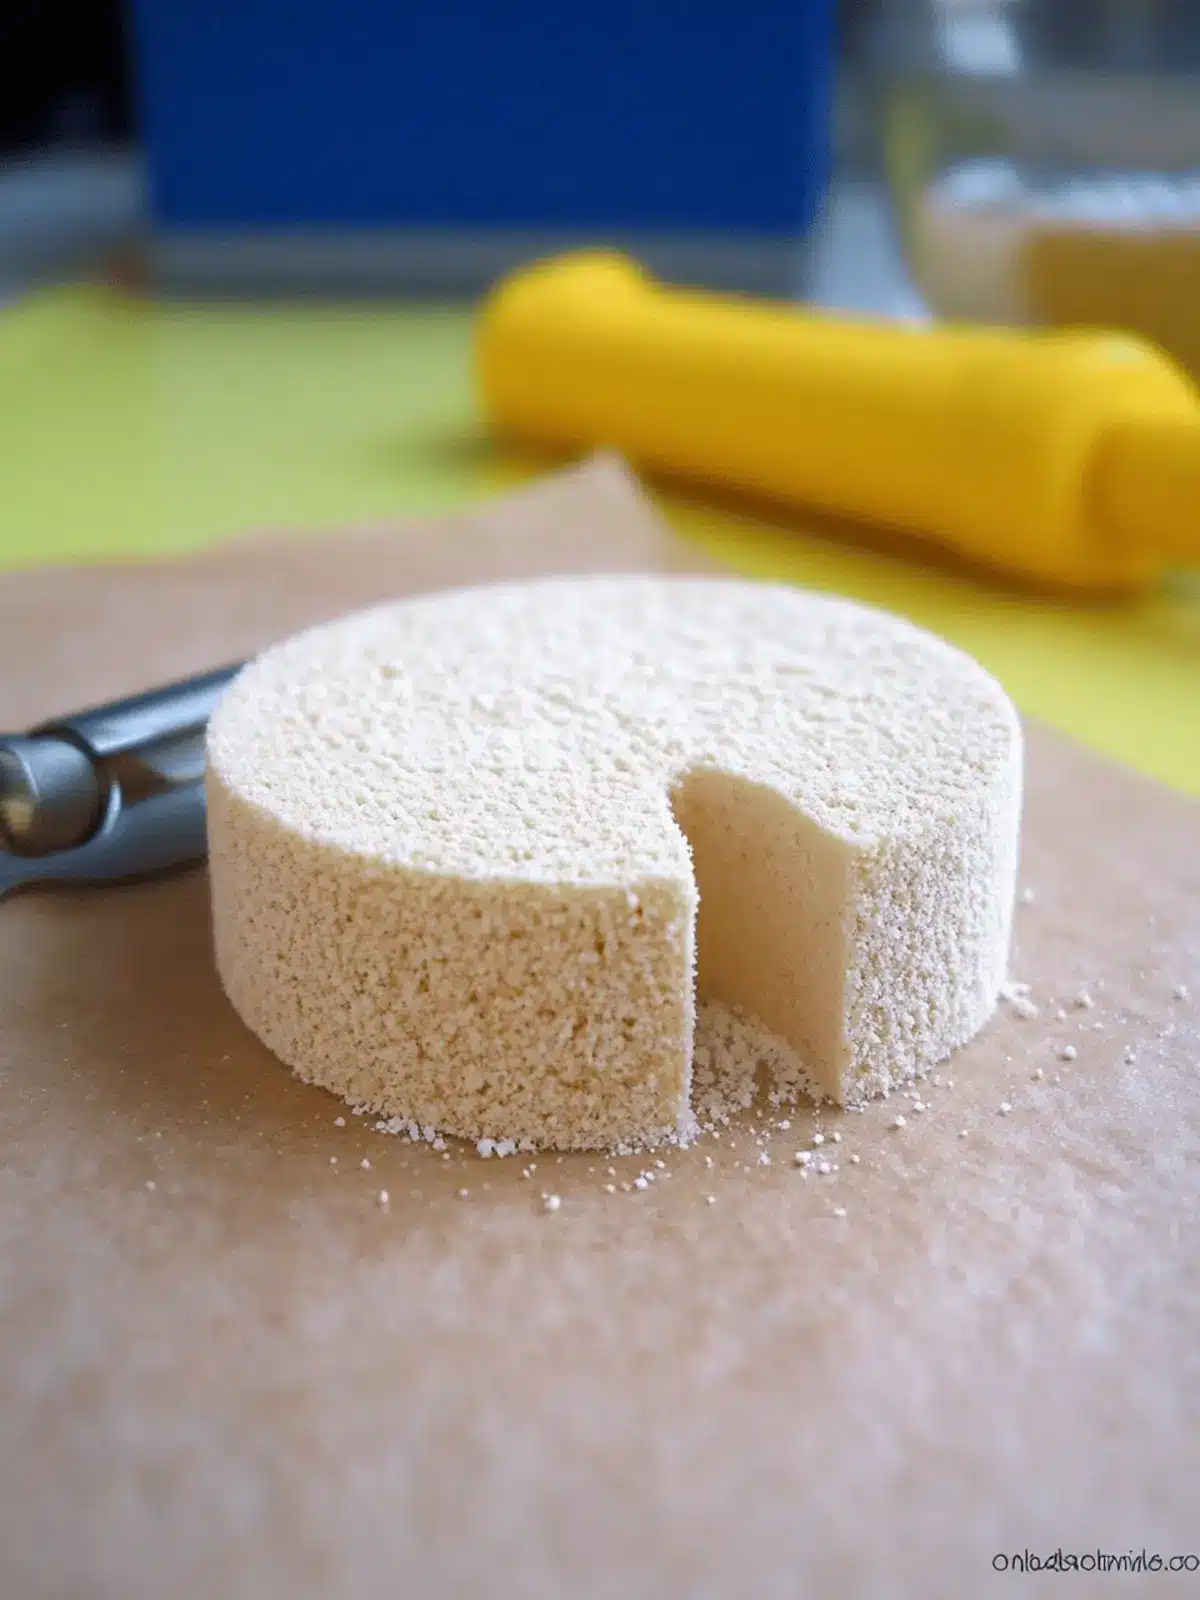
Polvoron Variations
Unleash your creativity in the kitchen and delight your taste buds by exploring these exciting variations!
-
Chocolate Polvoron: Add ½ cup cocoa powder to the dry ingredients for a rich and chocolatey twist. Every bite will bring a smile to chocolate lovers’ faces.
-
Coffee Flavored: Stir in 1 tablespoon of coffee grounds for a wonderful aromatic experience. This variation is perfect for those cozy mornings or afternoon breaks with a cup of joe.
-
Nutty Polvoron: Substitute crushed pinipig with ¾ cup of finely chopped almonds, cashews, or walnuts. The crunch of nuts adds delightful texture and nutty flavor, perfect for a satisfying snack.
-
Coconut Flakes: Fold in 1 cup of shredded coconut into the mixture for a tropical delight. This addition brings a sweet, chewy element that transports you straight to a sunny beach.
-
Matcha Madness: Incorporate 2 tablespoons of matcha powder into the dry mix for a vibrant green hue and unique flavor twist. This is a fabulous way to enjoy the health benefits of matcha!
-
Peanut Butter Delight: Mix in ½ cup of creamy peanut butter with the butter for a decadent flavor that’s hard to resist. Try pairing these with chocolate for a sweet-salty combo!
-
Spiced Polvoron: Sprinkle in 1 teaspoon of cinnamon or nutmeg for a warm, cozy flavor. This cozy twist is perfect for holiday gatherings and will fill your kitchen with delightful aromas.
-
Mango Flavored: Add ½ cup of dried mango bits to the dry ingredients for a fruity twist. The subtle sweetness of mango complements the crumbly texture beautifully, making each bite a delightful surprise!
How to Store and Freeze Polvoron
Room Temperature: Store polvoron in an airtight container at room temperature for up to 3 days to maintain its delightful crumbly texture.
Fridge: Keep polvoron in the fridge for up to 1 week; ensure it’s wrapped tightly to prevent it from absorbing moisture or odors.
Freezer: For longer storage, freeze polvoron in an airtight container for up to 3 months. Thaw in the fridge overnight before enjoying.
Reheating: If desired, place polvoron in a warm oven for a few minutes to regain its soft crumble before serving. Enjoy the sweetness of your homemade polvoron!
Make Ahead Options
These Polvoron are perfect for busy home cooks looking to save time! You can prepare the mixture up to 24 hours in advance. Simply follow the toast and mix instructions, then store the dough in an airtight container in the refrigerator to maintain its delightful crumble. This will help prevent browning and keep the flavors intact. When you’re ready to serve, scoop the mixture into molds, wrap them up, and let them sit for an additional 10 minutes to set properly. With this make-ahead option, you’ll enjoy the same sweet, crumbly goodness, all while freeing up precious time during your busy week!
Expert Tips for Polvoron Recipe
- Toasting Flour: Stir constantly while toasting flour to prevent burning. Burnt flour can negatively impact your Polvoron recipe’s flavor.
- Cooling Time: Allow the toasted flour to cool for the full 20 minutes. This step ensures the butter doesn’t melt excessively, helping maintain the perfect texture.
- Incorporating Ingredients: Mix thoroughly by hand for a well-blended mixture. Insufficient mixing can lead to uneven texture in your Polvoron.
- Resting Mixture: Don’t skip the resting time! This helps with binding, making it easier to mold and ensuring a delightful crumbly finish.
- Proper Molding: Use a polvoron molder or small plastic molds for consistency. Irregular shapes may affect the final presentation of your Polvoron.
What to Serve with Polvoron?
Polvoron is not just a treat on its own; it pairs beautifully with a variety of flavors and beverages that enhance its delightful crumbly sweetness.
-
Coffee: A warm cup of coffee complements the sweet, nutty flavor of polvoron and creates a cozy atmosphere. The rich aroma of freshly brewed coffee butters up this tender dessert.
-
Milk Tea: The creamy, soothing texture of milk tea balances the semi-sweetness of polvoron, making it a delightful afternoon snack or dessert.
-
Fresh Fruits: Serve alongside fresh tropical fruits like mangoes or bananas for a burst of freshness that brightens each bite. The natural sweetness of the fruits enhances the overall experience.
-
Chocolate Sauce: A drizzle of warm chocolate sauce adds an indulgent touch that complements the crumbly texture and elevates the dessert to another level of richness.
-
Coconut Flakes: Sprinkle toasted coconut flakes over polvoron for an extra tropical twist. The nutty flavor of coconut marries perfectly with the existing ingredients.
-
Ice Cream: Serve polvoron with a scoop of vanilla or coconut ice cream for a heavenly dessert combination. The warmth of the polvoron melts the cold ice cream, creating a delightful contrast.
-
Sweetened Condensed Milk: A side of sweetened condensed milk provides a luscious dipping experience, making each bite of polvoron even more decadent and satisfying.
-
Fruit Sorbet: Pair with refreshing fruit sorbet to cleanse the palate between bites. The light and fruity taste is a perfect counterbalance to the richness of polvoron.
-
Herbal Tea: A calming herbal tea, such as chamomile or peppermint, offers a refreshing note, enhancing the sensory experience while enjoying this delightful dessert.
-
Dark Chocolate: Dark chocolate pairs beautifully with polvoron for those who love a richer, more intense flavor profile. It’s perfect for indulging in something extra special!
Classic Filipino Polvoron Recipe FAQs
How do I select the right ingredients for making Polvoron?
Absolutely! For the best results, choose all-purpose flour that’s freshly opened and free of any dark spots. Ensure your powdered milk is smooth without any clumps. The butter should be unsalted and softened to room temperature; this makes it easier to incorporate into the mixture. As for sugar, granulated works perfectly, but you might want to avoid any options with odd flavors or colors. A good rule of thumb is to check expiration dates on all ingredients before starting!
How should I store Polvoron to keep it fresh?
Very! Store your Polvoron in an airtight container at room temperature for up to 3 days. If you’d like to enjoy them longer, they can be placed in the refrigerator for up to 1 week—just wrap them tightly! This prevents moisture from making them soggy. To enjoy them later, placing them in an airtight container in the freezer can hold for up to 3 months. Just remember to thaw in the fridge overnight when you’re ready!
Can I freeze Polvoron, and if so, how?
Absolutely! Freezing Polvoron is quite simple. Begin by wrapping each piece individually in wax paper or cellophane to protect against freezer burn. Then, place them in an airtight container or a heavy-duty freezer bag. Label it with the date, and they will last up to 3 months in the freezer. When you want to enjoy them, just move the desired amount to the fridge to thaw overnight. If you prefer, you can warm them gently in the oven for a few minutes to regain their delightful crumble.
What if my Polvoron mixture is too crumbly and doesn’t hold together?
Very! If your Polvoron mixture is not binding, it might need more moisture or time to rest. First, check if you’ve added the right amount of butter. Sometimes adding a little more (1-2 tablespoons) can help. Also, ensure you gave the mixture a good 10-minute rest; this is crucial for optimal binding. If it remained too crumbled, try mixing more vigorously or squeezing the mixture tightly while molding. It should form into a dough-like consistency without falling apart.
Are there any dietary considerations I should keep in mind with Polvoron?
Definitely! For those with allergies, be aware that this recipe contains dairy and gluten. You could substitute the powdered milk with a dairy-free powder if lactose is a concern. For a gluten-free option, special gluten-free flour can be used, but bear in mind this might change texture slightly. If you’re adding ingredients for variation, like nuts, ensure no one has allergies to those specific items. Always best to check with friends and family before sharing your treats!
How can I enhance the flavor of my Polvoron?
Absolutely! There are many delightful ways to customize your Polvoron. You can add cocoa powder for a chocolate twist or sprinkle in instant coffee grounds for a unique flavor. Mixing in tiny bits of nuts or shredded coconut can create delightful textures, too! Just remember to maintain the balance of dry and wet ingredients, especially if you’re introducing new components. Experimenting is where the fun lies—try it all and find your perfect blend!
Ultimate Polvoron Recipe: Sweet, Crumbly Bliss Awaits You
Ingredients
Equipment
Method
- Heat a pan or wok over medium heat and add 4 cups of all-purpose flour. Stir continuously for about 10-15 minutes until it turns light brown and fragrant.
- Transfer the toasted flour to a mixing bowl and let it cool for 20 minutes.
- Whisk in 2 cups of powdered milk, then mix with 1½ cups of granulated sugar and ¾ cup of crushed pinipig until well incorporated.
- Incorporate 1⅛ cups of softened butter into the mixture, mixing thoroughly until it resembles dough.
- Allow the mixture to sit for 10 minutes.
- Use a polvoron molder to scoop the mixture onto wax paper or cellophane. Wrap tightly.
- Dust with powdered sugar before wrapping for an extra sweet touch.

