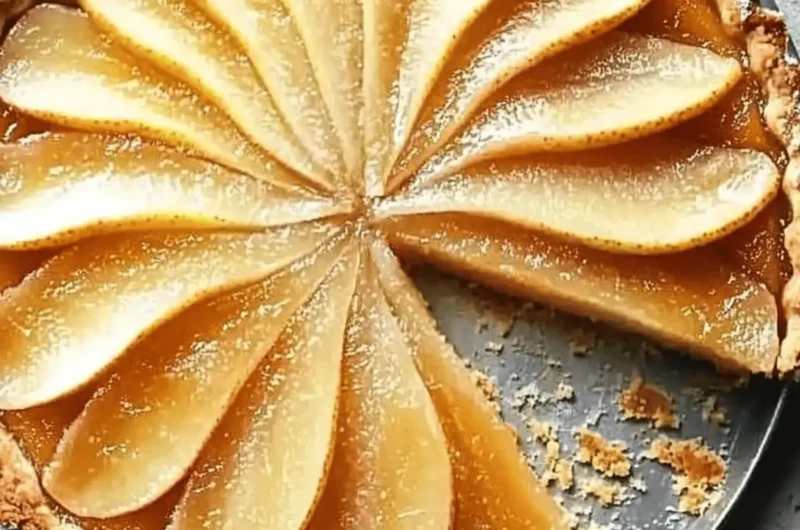
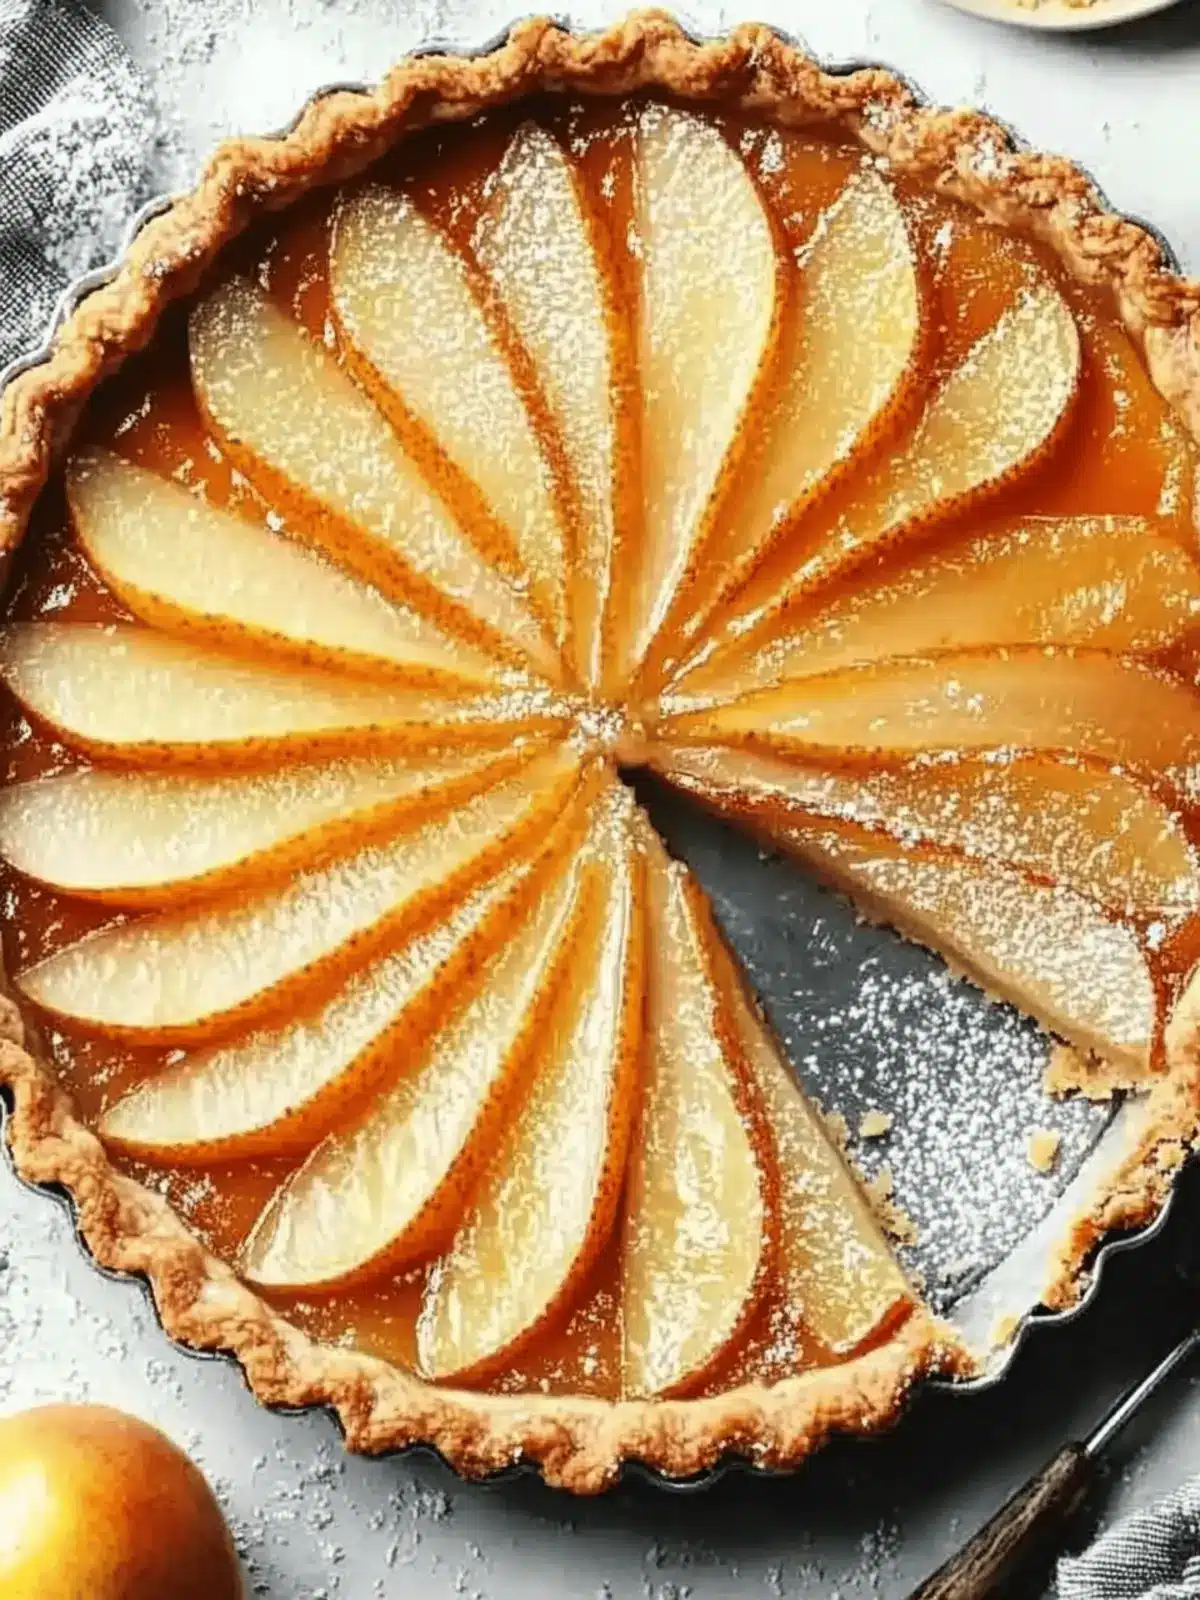
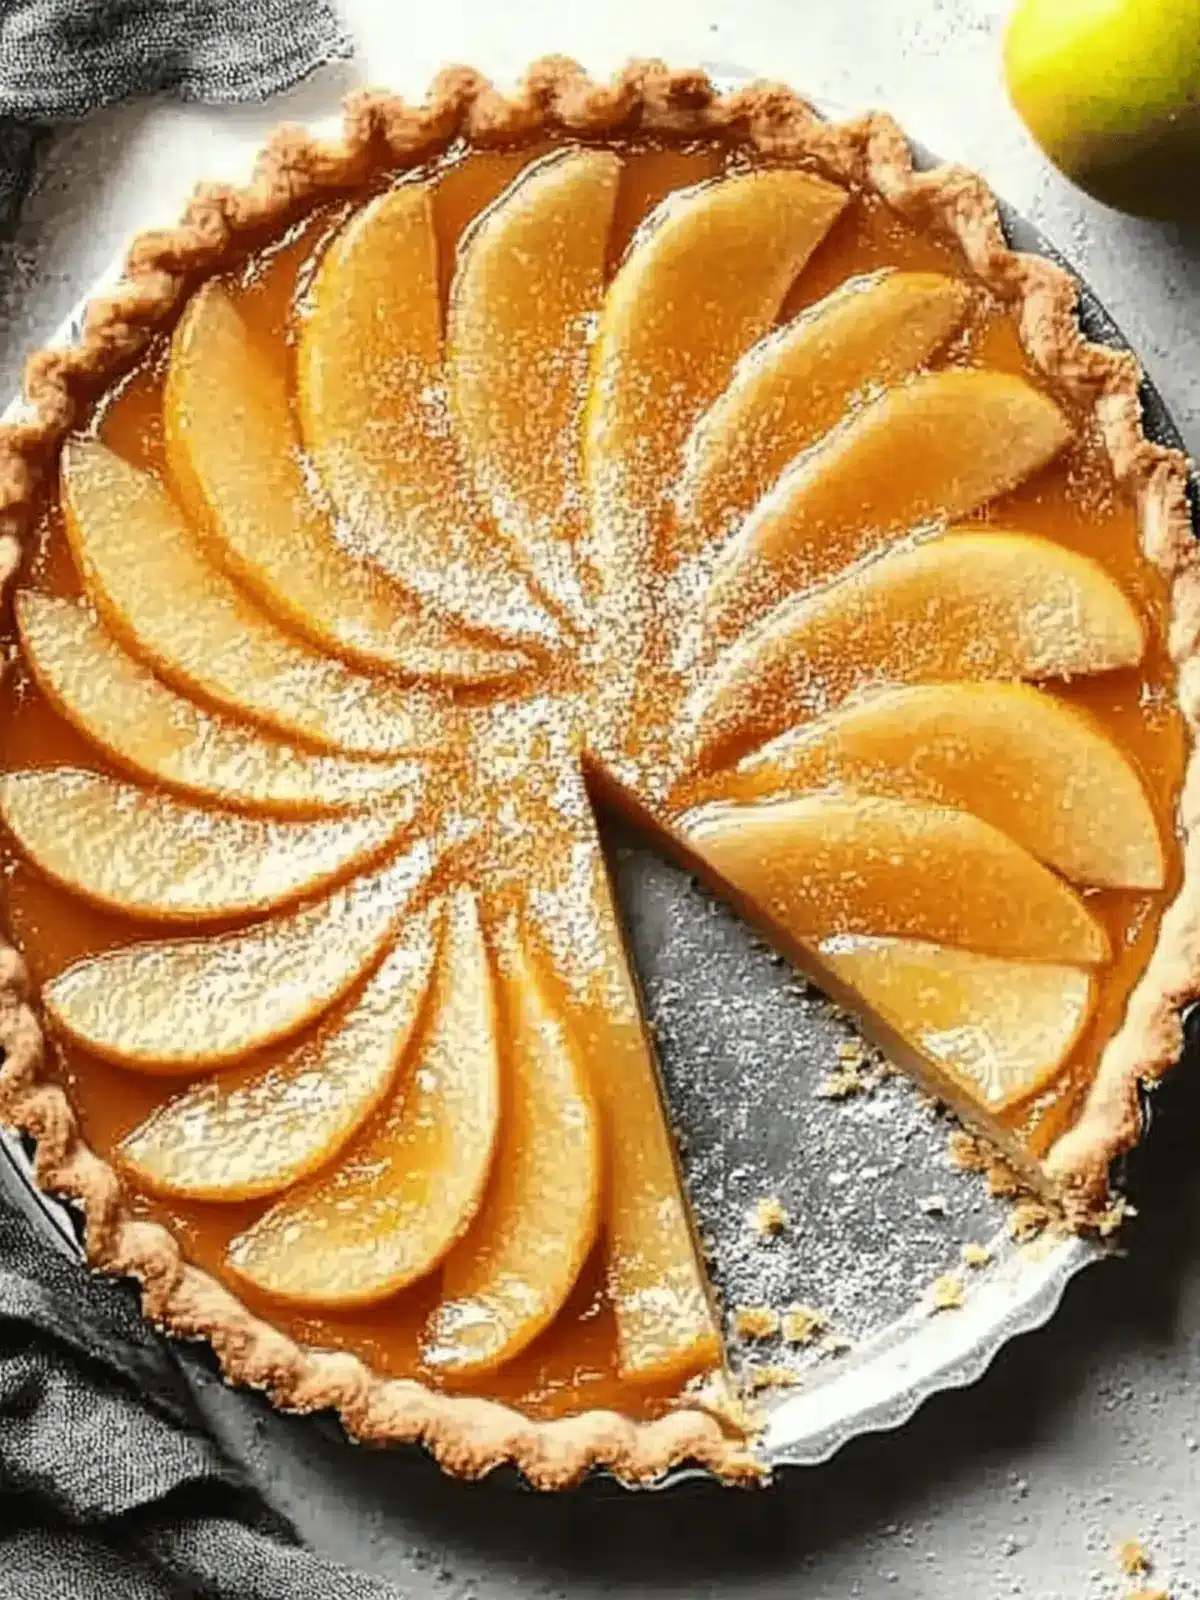
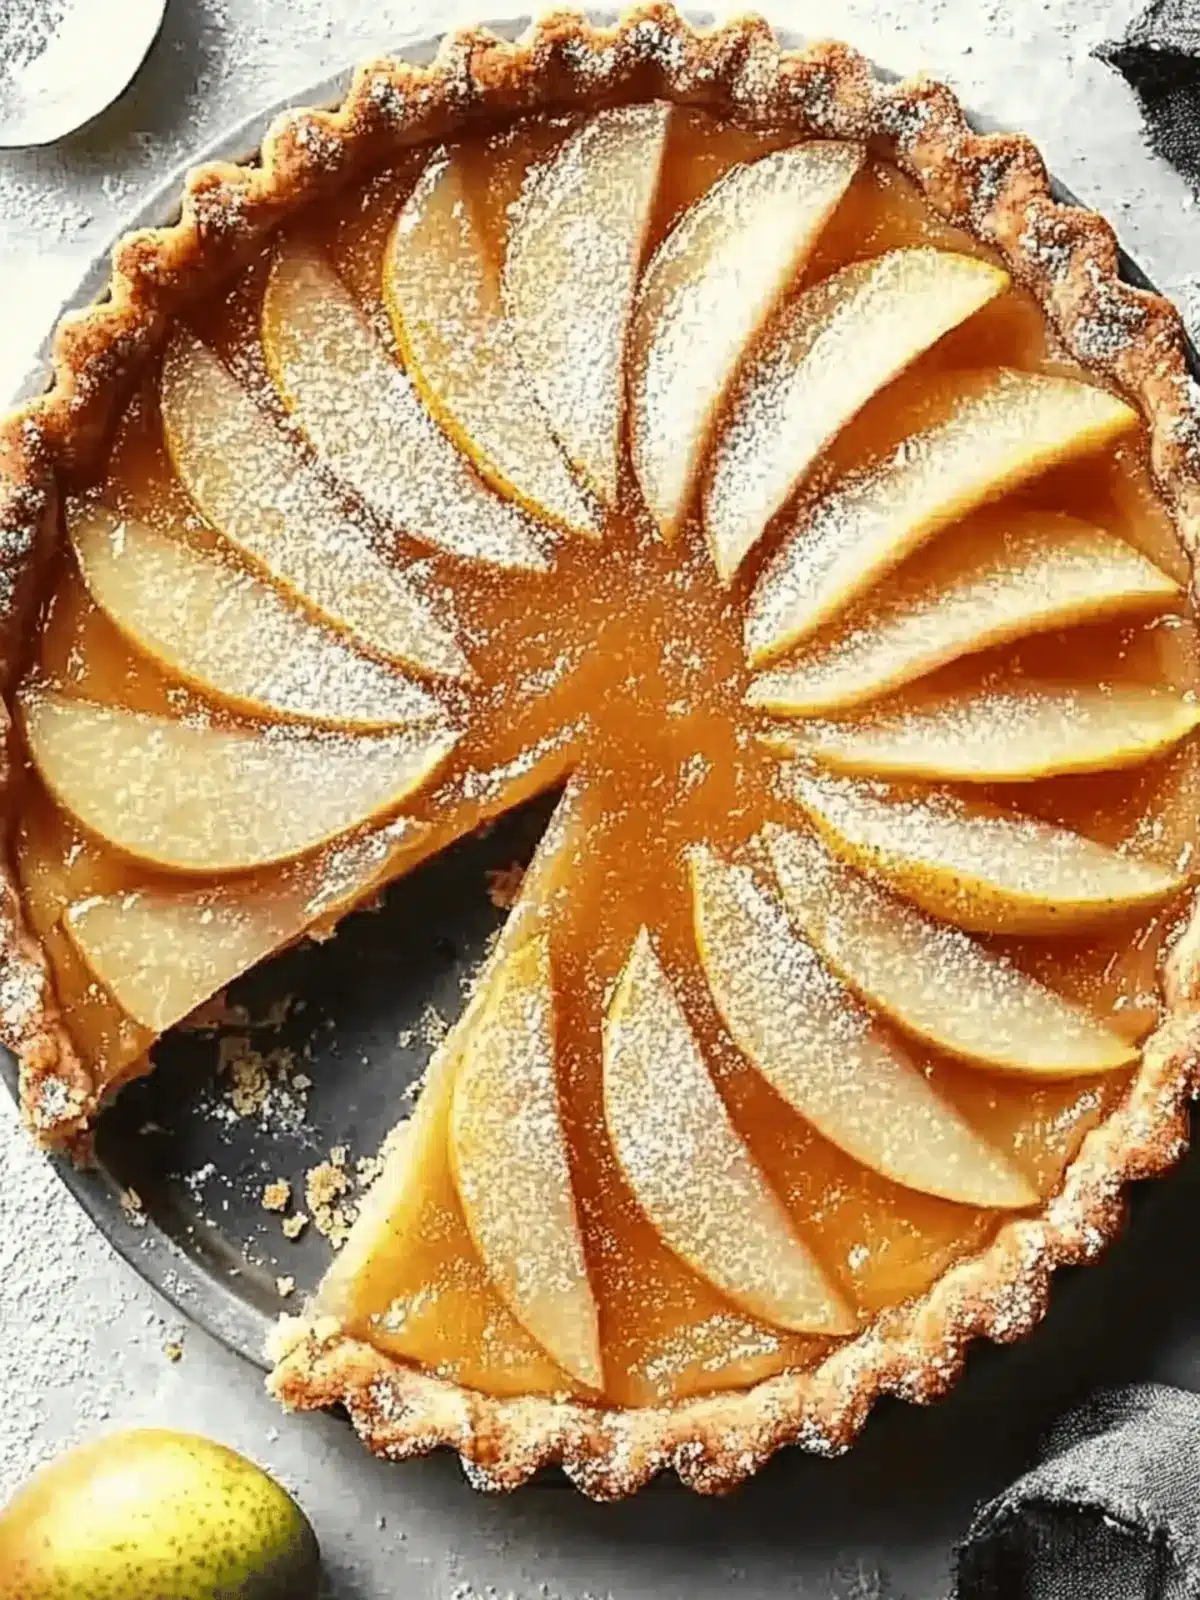
As the crispness of autumn settles in, my kitchen transforms into a warm haven filled with enticing aromas. Recently, while searching for the perfect dessert to celebrate this beautiful season, I stumbled upon an absolute gem: the Easy Reduced-Sugar Pear Tart. With its buttery, nutty crust and creamy cream cheese filling, this tart is not just a feast for the eyes but a delightful treat for the taste buds.
Every bite presents a wonderful balance of textures and flavors—the crunchy crust captivates, while the tender, reduced-sugar pear slices provide a natural sweetness that is simply irresistible. What truly sold me on this recipe was the ease of preparation; it requires just a handful of simple ingredients and a few uncomplicated steps. Whether you’re hosting a gathering or indulging in a cozy night at home, this versatile dessert fits every occasion beautifully.
Join me in creating this crowd-pleaser that’s not only healthy but also visually stunning. You’ll want to serve it chilled, allowing all those flavors to meld perfectly, making it a dessert you’ll return to time and again. Ready to get started? Let’s bake!
Why is this Pear Tart a Must-Try?
Simplicity: This recipe comes together effortlessly, making it perfect for both seasoned cooks and beginners.
Reduced-Sugar Delight: Enjoy the natural sweetness of pears without the guilt, making it ideal for health-conscious dessert lovers.
Crowd-Pleasing Flavor: The creamy cream cheese layer harmonizes beautifully with the tender pear topping, ensuring everyone will ask for seconds!
Variations Galore: Customize it with different nuts or spices, creating a tart that caters to your personal taste preferences.
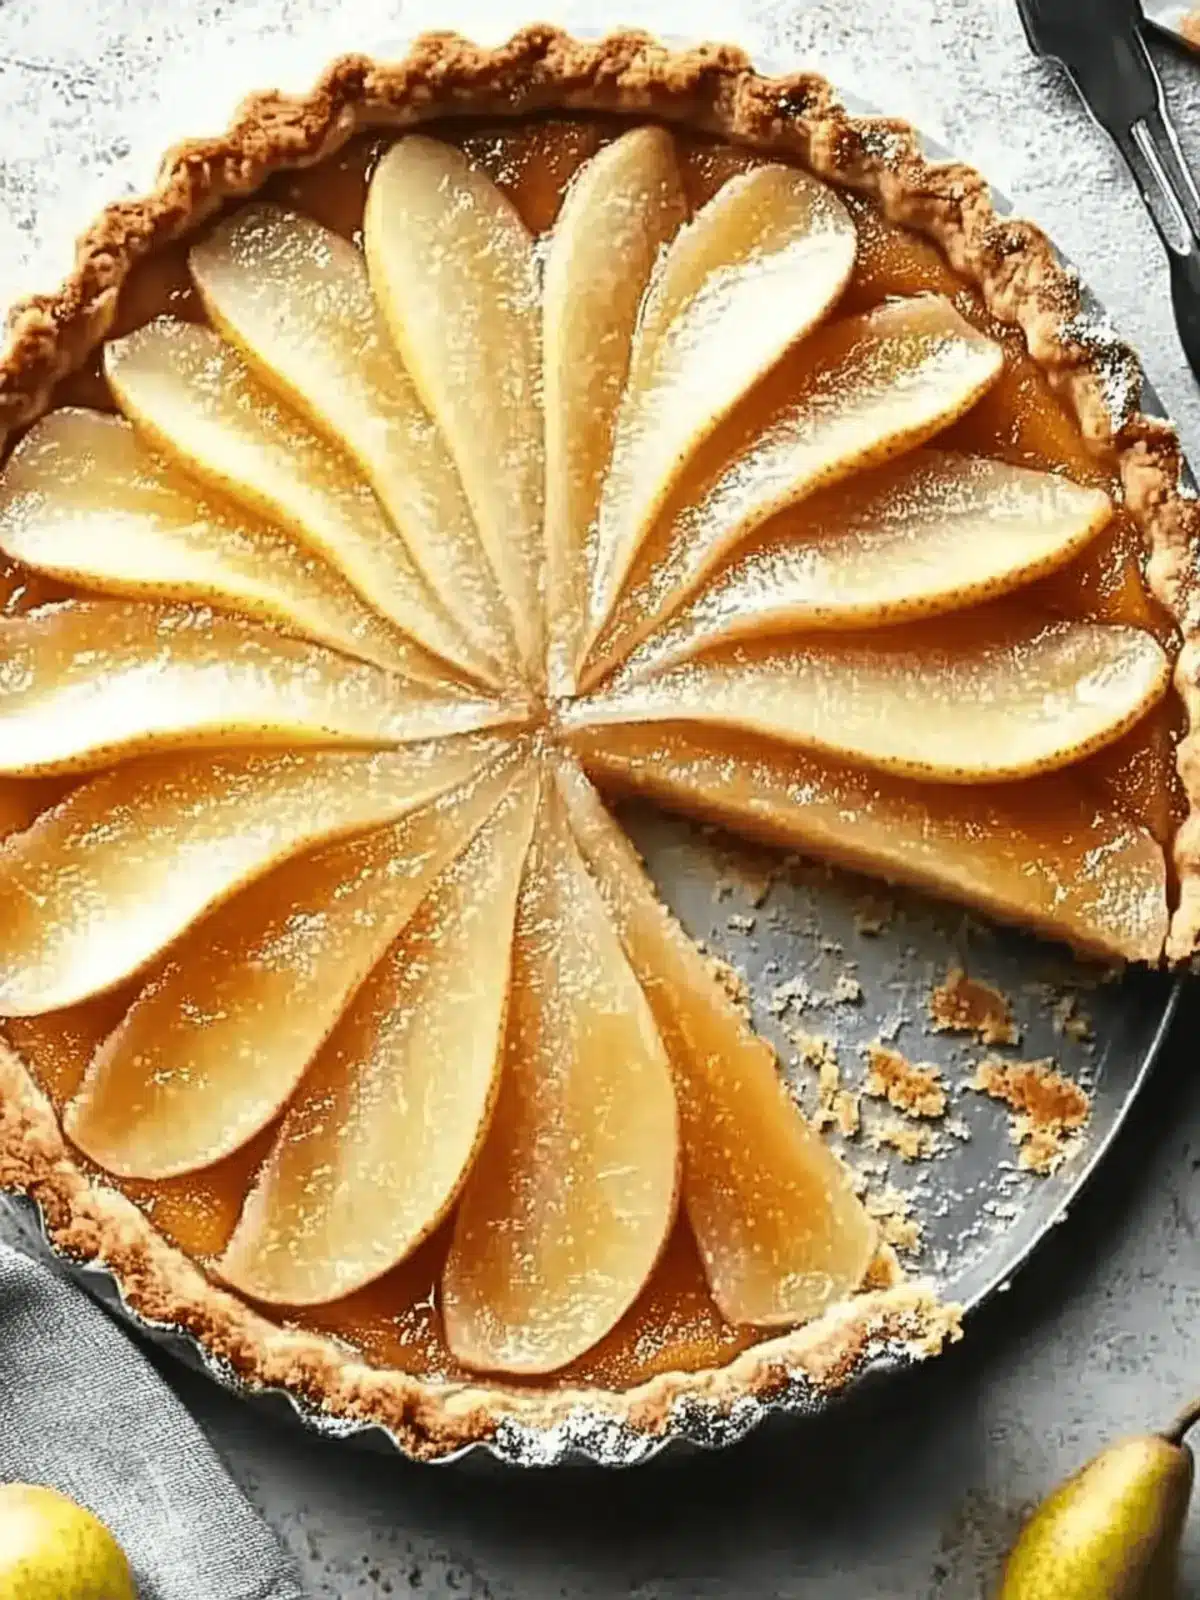
Elegant Presentation: Its stunning appearance means this tart is sure to impress at any gathering, making it a showstopper on your dessert table!
Dive into this delightful recipe that merges health and taste while offering the ultimate homemade experience.
Pear Tart Ingredients
• Discover the essential components for a delightful Pear Tart!
For the Crust
- Butter – Provides richness and moisture; use softened for better blending.
- Sugar – Adds sweetness; consider a sugar alternative for a lighter version.
- Ground Cinnamon – Enhances flavor with warm notes; nutmeg can add extra depth.
- All-Purpose Flour – Forms the crust’s structure; gluten-free flour is a great substitute.
- Finely Chopped Walnuts – Adds nutty flavor and texture; swap with pecans or omit for nut-free options.
For the Filling
- Reduced-Fat Cream Cheese – Offers creamy tanginess; regular cream cheese can be used for a richer texture.
- Egg – Binds the filling together for a smooth consistency.
- Vanilla Extract – Adds depth of flavor; almond extract is a wonderful alternative.
For the Topping
- Reduced-Sugar Sliced Pears – The star of the tart; fresh, ripe pears work beautifully if they’re soft and sweet.
- Ground Cinnamon (for topping) – Delivers a warm finishing touch over the pears.
With these simple ingredients, you’re on your way to creating a glorious Pear Tart that will have your family and friends singing your praises!
How to Make Pear Tart
-
Preheat the oven to 425°F. This step is crucial for achieving that perfect flaky crust, so don’t skip it!
-
Combine softened butter, sugar, and ground cinnamon in a mixing bowl until the mixture is crumbly. This will create a sweet base for your crust.
-
Add all-purpose flour and finely chopped walnuts to the bowl; mix well until you can press the mixture firmly into the bottom and sides of a 9-inch fluted tart pan. This should feel like a soft dough.
-
Beat the reduced-fat cream cheese with 1/4 cup of sugar in another bowl until smooth; then mix in the egg and vanilla extract until fully combined. This will give your filling a creamy consistency.
-
Spread the cream cheese mixture into the prepared crust evenly. Make sure to cover every edge for a delicious bite every time!
-
Arrange sliced pears over the cream cheese filling in a beautiful pattern. Sprinkle with the remaining sugar mixed with cinnamon for an extra touch of sweetness.
-
Bake for 10 minutes at 425°F, then reduce the temperature to 350°F. Continue baking for another 15-20 minutes or until the filling is set, and the edges are golden.
-
Cool the tart on a wire rack for one hour, then refrigerate for at least two hours before serving. This chilling time is essential for enabling the flavors to meld together perfectly.
Optional: Serve with a dollop of whipped cream or a scoop of vanilla ice cream for a delightful treat!
Exact quantities are listed in the recipe card below.
Pear Tart Variations
Customize your pear tart experience with these delightful twists that can elevate your baking adventure!
-
Nut-Free: Omit walnuts completely or use seeds such as pumpkin or sunflower for a similar crunch without the nuts.
-
Sugar-Free: Substitute sugar with your favorite sugar alternative like erythritol or stevia to make this tart diabetic-friendly and still delicious.
-
Fruity Addition: Mix in a handful of berries—like blueberries or raspberries—between the cream cheese and pears for a burst of color and flavor. The tart will gain a fresh zest that will brighten every bite.
-
Spice It Up: For an exotic twist, add ground cardamom or ginger to the filling. This will provide an unexpected warmth that perfectly complements the pears.
-
Chocolate Drizzle: After chilling, drizzle dark chocolate or a chocolate sauce over the top for a decadent touch. Chocolate and pears are a match made in dessert heaven!
-
Citrus Zing: Add zest from a lemon or orange to the cream cheese filling. This brightens the whole tart and adds a lovely contrast to the sweetness of the pears.
-
Almond Flour Crust: Swap all-purpose flour with almond flour for a gluten-free option that adds a subtle nutty flavor and unique texture to the crust.
-
Savory Blend: Try a dash of thyme or rosemary in the crust for an intriguing savory touch that balances the sweetness of the pears; this creates a fantastic way to surprise your guests!
What to Serve with Pear Tart?
Looking to create a memorable meal around this delicious dessert?
- Whipped Cream: A dollop of freshly whipped cream adds a light and airy contrast, enhancing the creamy texture of the tart.
- Vanilla Ice Cream: The smooth, creamy vanilla ice cream melts beautifully over the warm tart, providing an indulgent balance of flavor.
- Caramel Sauce: A drizzle of homemade or store-bought caramel adds a rich sweetness that complements the pears perfectly.
- Nutty Granola: Sprinkling nutty granola on top introduces a delightful crunch and a wholesome, earthy flavor to every bite.
- Fresh Berries: A side of fresh berries, like raspberries or blueberries, brings a pop of tartness that brightens the overall flavor of the dessert.
- Decaf Coffee: Pairing the tart with a warm cup of decaf coffee offers a cozy finish, making it perfect for a leisurely evening.
- Herbal Tea: A fragrant herbal tea can cleanse the palate and accentuate the sweet, fruity notes of the pear tart.
- Sparkling Water: For a refreshing drink option, sparkling water with a slice of lemon lightens the meal without overpowering the dessert.
- Cheese Platter: A light cheese platter with soft cheeses can provide a savory contrast, balancing the sweetness of the dessert beautifully.
- Dark Chocolate Shavings: A sprinkle of dark chocolate shavings on top adds richness and an elegant touch, appealing to chocolate lovers.
Make Ahead Options
This Pear Tart is perfect for busy home cooks wanting to save time! You can prepare the crust and filling up to 24 hours in advance. To do this, simply make the crust and press it into your tart pan, then store it tightly wrapped in the refrigerator. The cream cheese filling can also be made ahead; just keep it covered in the fridge. When you’re ready to serve, spread the filling into the chilled crust, arrange the sliced pears on top, and bake as directed. This way, you’ll achieve all the delightful flavors with minimal effort, making your dessert experience just as delicious, even on the busiest nights!
Expert Tips for Pear Tart
-
Chill Before Slicing: Ensure the pear tart is fully chilled before slicing to maintain its shape and texture. This makes serving easier and neater!
-
Press Crust Evenly: Use a glass or metal measuring cup to press the crust firmly into the pan, ensuring an even base that crisps beautifully during baking.
-
Monitor Baking Time: Watch closely while baking to prevent overcooking; the filling should be set but still creamy. Adjust timings if your oven runs hot.
-
Use Ripe Pears: Select fresh, ripe pears for the topping; they should be soft and sweet to enhance the tart’s flavor profile.
-
Customize Your Nuts: Feel free to replace walnuts with pecans or omit nuts entirely for a nut-free version, allowing everyone to enjoy this delicious pear tart!
Storage Tips for Pear Tart
- Fridge: Store the pear tart covered in the refrigerator for up to 4 days to maintain its freshness. This helps keep the creamy filling and crust intact.
- Freezer: If you wish to save your pear tart for later, wrap it tightly in plastic wrap or aluminum foil and freeze for up to 2 months. Thaw in the fridge before serving.
- Reheating: To enjoy warm slices, reheat individual portions in the microwave for about 15-20 seconds. For a crispier crust, use the oven at 350°F for 10-15 minutes.
- Serving Tip: Allow the tart to chill for at least two hours before serving for optimal flavor and texture, letting all those delightful tastes blend together perfectly!
Easy Reduced-Sugar Pear Tart Recipe FAQs
What type of pears are best for this pear tart?
Absolutely! Look for fresh, ripe pears that are soft and sweet. Varieties like Bartlett or Bosc work wonderfully due to their natural sweetness and tender texture. Avoid overripe pears with dark spots all over, as they can become mushy and won’t hold their shape during baking.
How should I store my pear tart?
To keep your pear tart fresh, cover it and store it in the refrigerator for up to 4 days. This keeps the creamy filling and crust intact. Be sure to let it cool completely before refrigerating to prevent moisture buildup.
Can I freeze pear tart?
Yes! To freeze your pear tart, wrap it tightly in plastic wrap or aluminum foil and place it in an airtight container or freezer bag. It will keep well for up to 2 months. To serve, thaw it in the refrigerator overnight and enjoy it the next day!
What if my cream cheese mixture is lumpy?
No worries! If your cream cheese mixture appears lumpy, it might be due to the cream cheese being too cold. Let it sit at room temperature for about 30 minutes before mixing, and ensure you beat it thoroughly until smooth. A hand mixer can make this step easier!
Is this recipe suitable for people with nut allergies?
Very! You can easily make the pear tart nut-free by omitting the finely chopped walnuts from the crust. For a similar texture, you can substitute with crushed graham crackers or oats. Just ensure any alternative ingredients used are safe for nut allergies.
How do I know when the tart is fully baked?
The filling should be set and the edges golden, which typically takes about 15-20 minutes at 350°F after the initial baking period. A gentle shake of the tart pan will show the center slightly jiggles but isn’t liquid—this is the perfect sign it’s done!
Delicious Reduced-Sugar Pear Tart That Everyone Will Love
Ingredients
Equipment
Method
- Preheat the oven to 425°F.
- Combine softened butter, sugar, and ground cinnamon in a mixing bowl until crumbly.
- Add all-purpose flour and finely chopped walnuts; mix until it forms a soft dough.
- Beat reduced-fat cream cheese with 1/4 cup sugar until smooth; mix in the egg and vanilla extract.
- Spread the cream cheese mixture into the prepared crust evenly.
- Arrange sliced pears over the cream cheese filling; sprinkle with cinnamon.
- Bake for 10 minutes at 425°F, then reduce to 350°F and bake for another 15-20 minutes.
- Cool on a wire rack for one hour, then refrigerate for at least two hours before serving.

