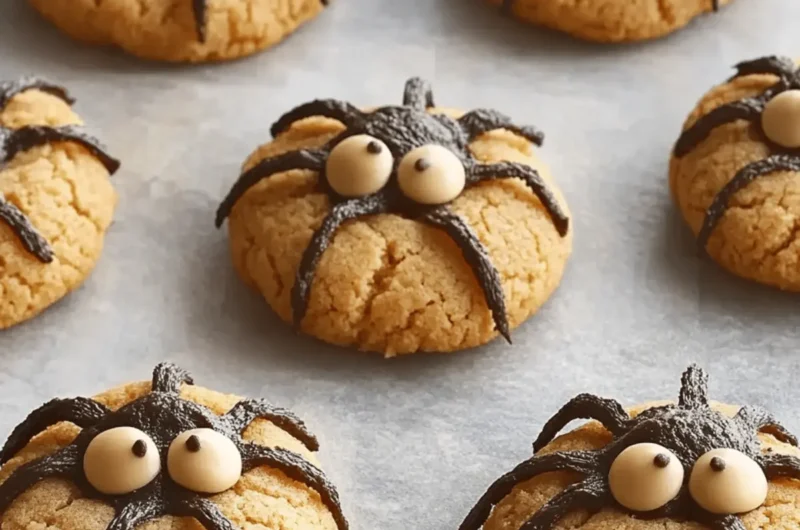
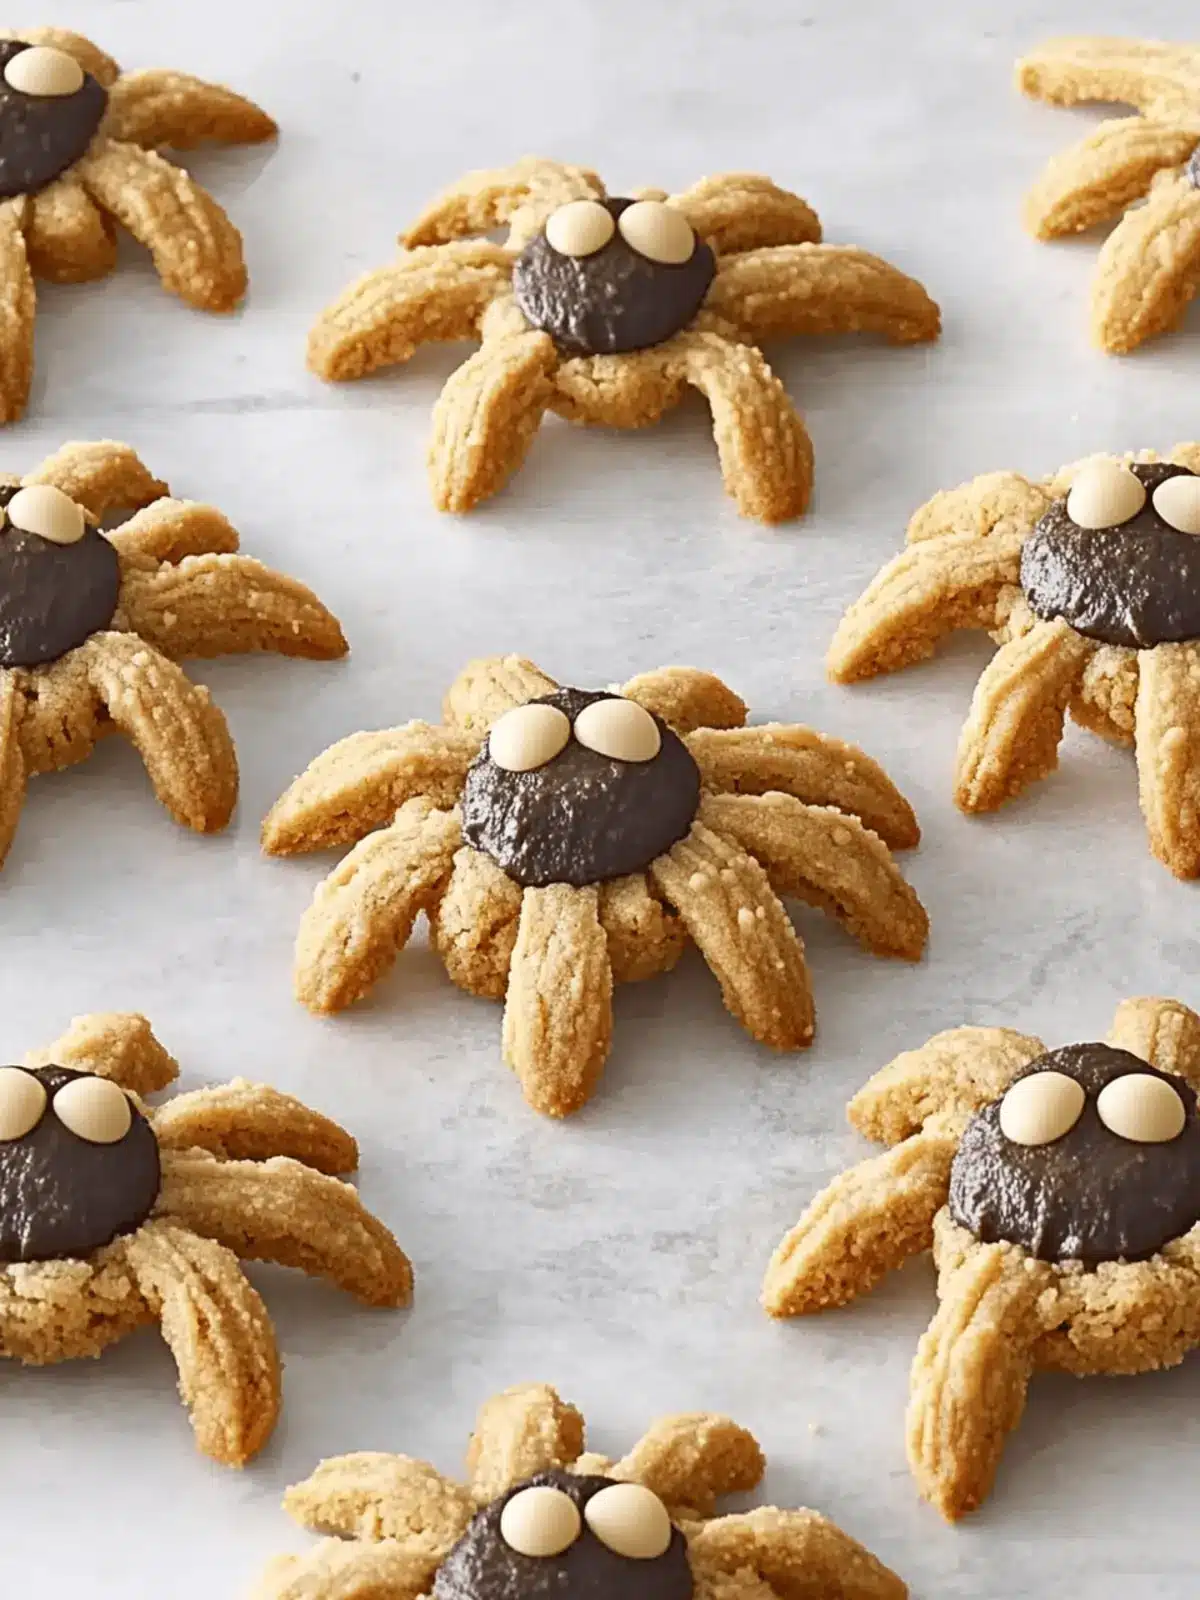
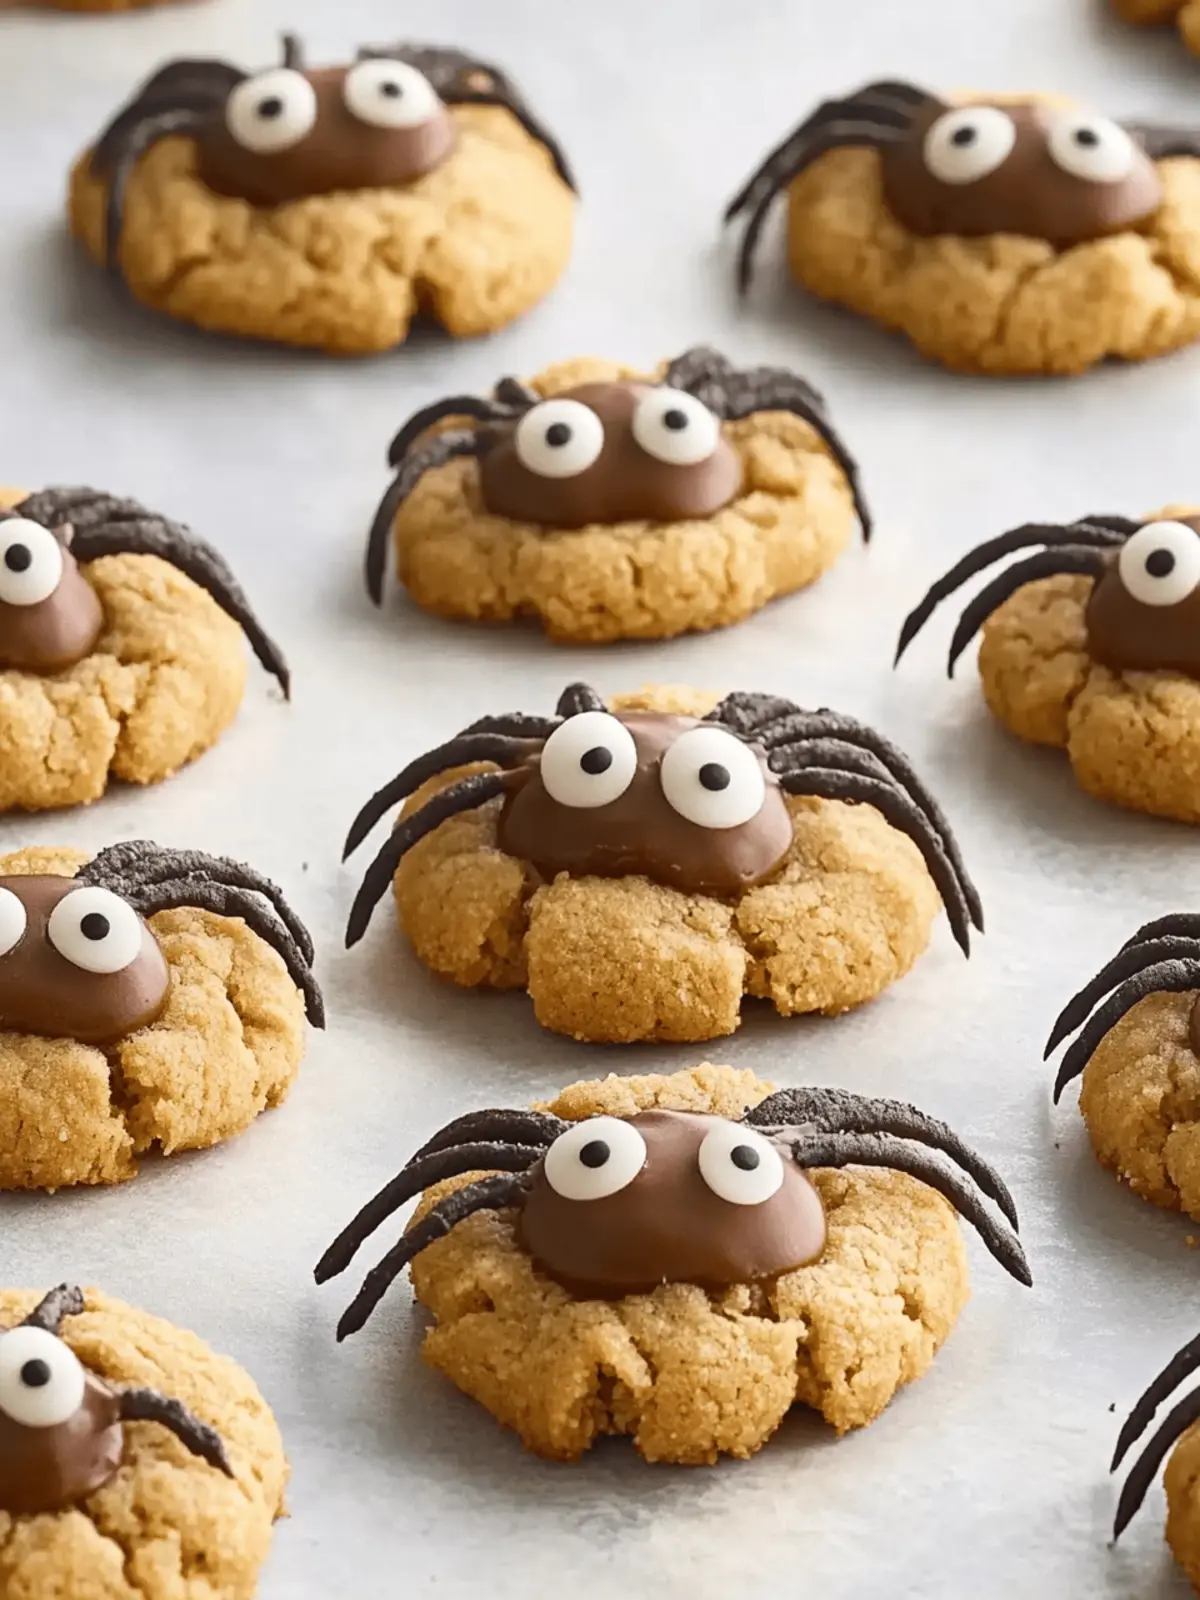
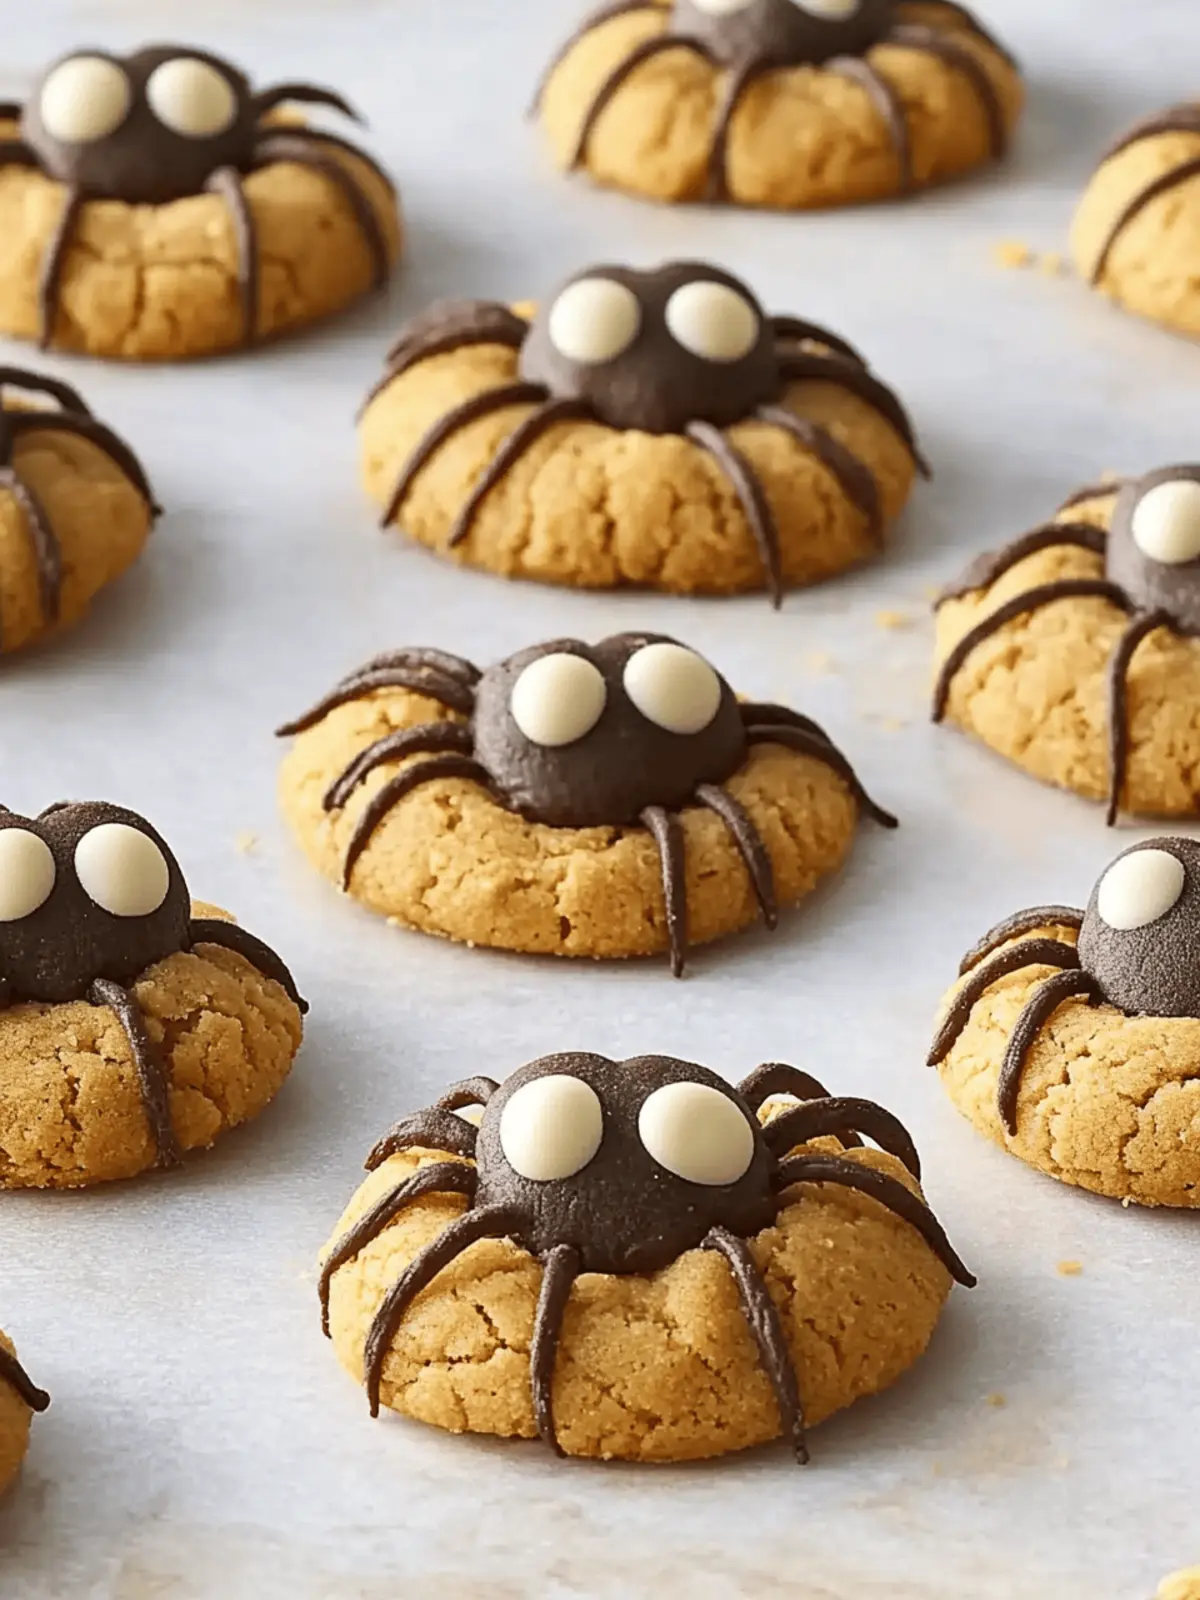
As the leaves start to turn and the air gets a crisp edge, I find myself craving cozy treats that are as fun to make as they are delicious to eat. Enter my Peanut Butter Spider Cookies! This playful twist on a classic cookie not only satisfies that sweet tooth but also brings a festive spirit to the kitchen.
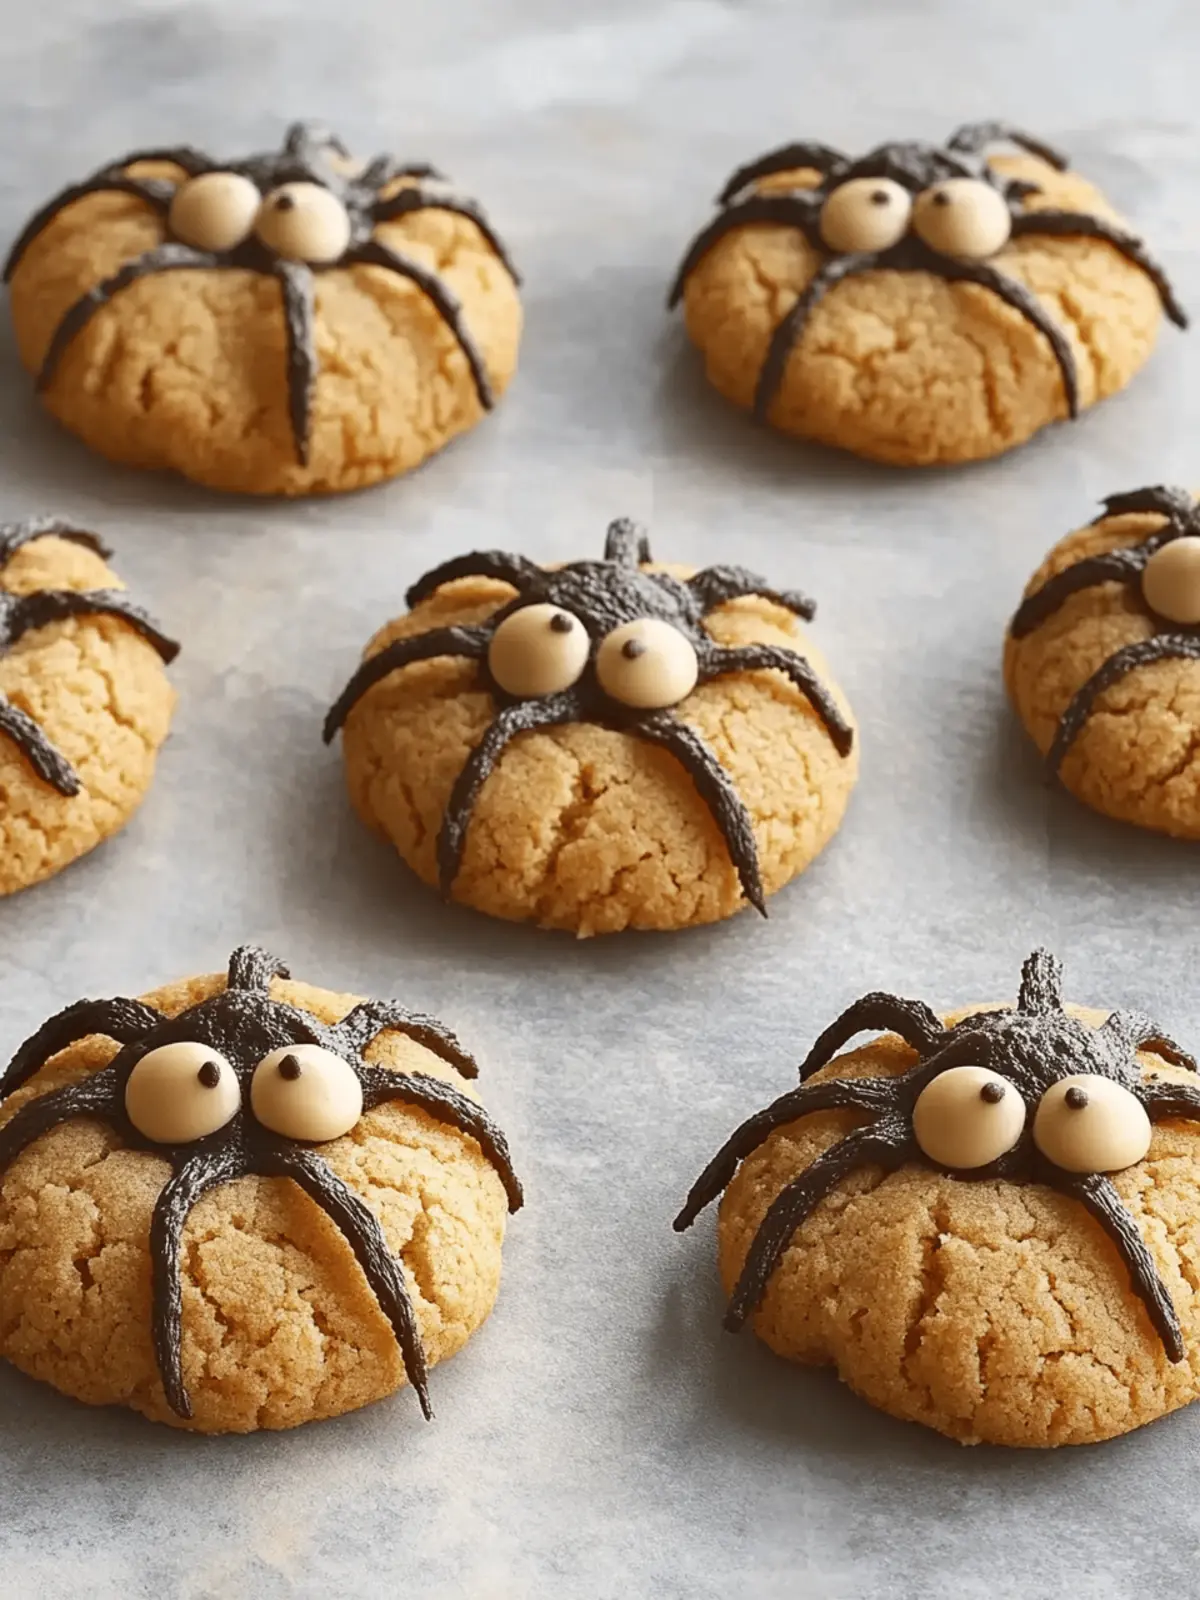
Imagine the joy on your loved ones’ faces when they see these whimsical cookies with their chocolate truffle bodies and candy eyeballs—it’s like Halloween and comfort food collided in the best way. With a delightful mix of creamy peanut butter and a crinkle of sugar on the outside, these cookies are both simple to prepare and perfect for sharing. Whether you’re hosting a spooky gathering or just treating yourself after a long day, this cookie recipe is sure to become a seasonal favorite. Let’s dive into the fun of baking these deliciously adorable delights together!
Why are Peanut Butter Spider Cookies so fun?
Delightful presentation: These cookies turn ordinary baking into a whimsical experience, perfect for any Halloween gathering.
Easy to whip up: With simplified steps and familiar ingredients, you’ll find joy in the baking process without any stress.
Shared smiles: Everyone loves a good cookie, and these unique treats are bound to lift spirits and trigger laughter at your next gathering.
Kid-friendly activity: Get the whole family involved in decorating with candy eyeballs—making memories in the kitchen has never been so tasty!
Classic flavor: The rich peanut butter base paired with chocolate truffles offers a delicious blend that’s hard to resist, bringing comfort to every bite!
Peanut Butter Spider Cookies Ingredients
Get ready to bake these delightful spooky treats with this simple ingredient list!
For the Cookie Dough
- Vegetable shortening – helps create a tender texture that’s perfect for cookies.
- Peanut butter – adds that rich, nutty flavor that makes these peanut butter spider cookies a hit!
- Packed brown sugar – contributes moisture and a slight chewiness to the cookies.
- White sugar – balances sweetness and creates a lovely golden color during baking.
- Large egg (beaten) – binds the ingredients together for a perfect cookie dough consistency.
- Milk – adds moisture and smoothness to the dough.
- Vanilla extract – enhances the overall flavor profile, making every bite divine.
- All-purpose flour – provides the structure that holds the cookies together.
- Baking soda – helps the cookies rise slightly, giving them a perfect texture.
- Salt – elevates the sweetness and brings all the flavors together.
For the Coating
- White sugar (for rolling) – creates a delightful sugary crust that adds a crunchy texture.
For the Decoration
- Chocolate truffles (like Lindt Lindor®) – chilly and sweet, they’re the perfect “body” for your spider cookies!
- Decorative candy eyeballs – add a whimsical touch that makes these cookies fun and inviting.
- Prepared chocolate frosting – used to pipe in those cute spider legs that bring your cookie critters to life!
With these ingredients in hand, you’re all set to create some adorable Peanut Butter Spider Cookies that will make everyone smile! Happy baking!
How to Make Peanut Butter Spider Cookies
-
Preheat your oven to 375°F (190°C). Line your baking sheets with parchment paper, ensuring that you have everything ready for a seamless baking experience.
-
Beat together the vegetable shortening, peanut butter, brown sugar, and ½ cup white sugar in a large bowl using an electric mixer. Mix until smooth, then add the beaten egg, milk, and vanilla extract, blending until just combined.
-
Combine the flour, baking soda, and salt in a small bowl. Gradually add this mixture to the peanut butter mixture in the large bowl, stirring until a dough forms and all ingredients are fully incorporated.
-
Shape the dough into 48 uniform balls to create delightful little cookies. This allows them to bake evenly and beautifully.
-
Roll the dough balls in ¼ cup white sugar placed in a wide, shallow bowl. Arrange them about 2 inches apart on your prepared baking sheets, ensuring they have room to spread while baking.
-
Bake in the preheated oven for 10 to 12 minutes, or until golden brown. Remove cookies and quickly press a dimple into each cookie’s center using the blunt end of a wooden spoon. Let them cool on the baking sheets for 10 minutes before transferring to a wire rack to cool completely.
-
Prepare the chocolate truffles by cutting each in half and placing one half atop each cookie, rounded side facing upward. This creates the perfect body for your cookie spiders!
-
Pipe the frosting: Spoon chocolate frosting into a piping bag with a small round tip, or use a resealable plastic bag with a corner snipped. Stick two candy eyeballs onto each chocolate truffle with a dab of frosting. Pipe four thin lines from the base of the candy to resemble spider legs on each side of the cookie.
-
Let harden at room temperature for about 30 minutes, allowing the frosting to set. Once ready, store cookies in an airtight container to keep them fresh for later enjoyment!
Optional: Add a sprinkle of crushed graham crackers for extra crunch!
Exact quantities are listed in the recipe card below.
Make Ahead Options
These Peanut Butter Spider Cookies are a fantastic choice for meal prep enthusiasts! You can prepare the cookie dough up to 24 hours in advance by shaping it into balls, rolling them in sugar, and storing them on a parchment-lined baking sheet in the refrigerator. This keeps the dough fresh and helps maintain its texture. When you’re ready to bake, simply preheat the oven and place the chilled dough directly into the oven—no need to thaw! Additionally, you can also decorate the cookies (with truffles and candy eyeballs) up to 3 days ahead of time and store them in an airtight container at room temperature. Just add a final touch of frosting before serving to keep it looking fresh and delicious!
Peanut Butter Spider Cookies Variations
Feel free to add your own twist to these adorable cookies; the possibilities are endless!
-
Nut-Free: Substitute sunflower seed butter for peanut butter to create a school-friendly treat loved by all.
-
Chocolate Lovers: Add ½ cup of mini chocolate chips into the dough for extra chocolatey goodness with every bite.
-
Spiced Up: Mix in a pinch of cinnamon or nutmeg for a warm, cozy flavor that enhances the classic peanut butter profile. Just imagine that inviting aroma wafting through your kitchen; it’s pure comfort!
-
Whole Wheat: Swap out half of the all-purpose flour for whole wheat flour for a more wholesome cookie without sacrificing flavor.
-
Gluten-Free: Use a gluten-free all-purpose flour blend to accommodate gluten sensitivities while still enjoying the fun!
-
Sweet Swaps: Experiment with maple syrup or agave nectar instead of sugar for a different kind of sweetness that adds a unique flavor profile.
-
Dairy-Free: Replace regular frosting with a dairy-free alternative, and use a dairy-free chocolate for the truffles to make this treat accessible to everyone.
-
Fruity Twist: Incorporate dried fruits like raisins or chopped dried cranberries into the dough for added texture and flavor surprises in each bite.
Mix and match these variations to craft your ultimate Peanut Butter Spider Cookies, and enjoy the festive fun!
Expert Tips for Peanut Butter Spider Cookies
-
Perfect Texture: Ensure your shortening is at room temperature for a smoother mix—cold shortening can lead to dense cookies.
-
Even Baking: Shape your dough balls consistently; uniform size ensures that all cookies bake evenly and have the same delightful texture.
-
Check for Doneness: Keep an eye on your cookies during the last few minutes in the oven—err on the side of slightly underbaked for chewy centers.
-
Cool Properly: Allow cookies to cool fully on a wire rack to maintain their shape and prevent sogginess—this step is crucial for your Peanut Butter Spider Cookies!
-
Creative Decorations: Get creative with the frosting! Use different colors or styles to personalize your spider cookies for more festive flair.
What to Serve with Peanut Butter Spider Cookies?
Looking to complete your spooky baking adventure with delicious pairings? These delightful treats deserve some equally charming companions!
- Glass of Milk: A classic choice, milk beautifully complements the rich peanut butter flavor, making each bite even more enjoyable.
- Warm Apple Cider: The spiced sweetness of cider adds a cozy touch, perfect for sipping while you savor those spider cookies.
- Pumpkin Pie: Introduce a fall favorite into the mix; the flavors of pumpkin and warm spices go hand-in-hand with these cookies.
- Chocolate Ice Cream: The creaminess brings balance to the chewy cookies while the chocolate harmonizes with the peanut butter base.
- Fruity Salad: A refreshing fruit salad provides a contrast to the cookies’ sweetness, delivering brightness and a touch of tartness.
- Caramel Sauce: Drizzle some across a plate before placing your cookie; it enhances the peanut butter while adding a decadent flair.
- Ginger Ale: The bubbly, spiced notes can be a fun drink choice that livens up any gathering while enhancing the cookie experience.
- Mini Cupcakes: Offer a variety of flavors, and enjoy a mini dessert buffet that highlights your spider cookies as the star attraction!
Let your imagination run wild with these pairings while you embrace the fun of Halloween treats!
How to Store and Freeze Peanut Butter Spider Cookies
Room Temperature: Store the cookies in an airtight container at room temperature for up to 3 days to maintain their softness and flavor.
Fridge: For longer freshness, you can refrigerate the peanut butter spider cookies in an airtight container for up to a week. Just allow them to come to room temperature before enjoying!
Freezer: Freeze the baked cookies in a single layer on a parchment-lined baking sheet for 1-2 hours, then transfer them to a freezer-safe bag or container. They’ll keep well for up to 3 months.
Reheating: To enjoy frozen cookies, simply thaw them in the fridge overnight or at room temperature for a few hours. For a warm treat, pop them in the microwave for about 10-15 seconds!
Peanut Butter Spider Cookies Recipe FAQs
What kind of peanut butter should I use for Peanut Butter Spider Cookies?
I recommend using creamy peanut butter for these cookies as it blends smoothly into the dough. Chunky peanut butter can also be used, but keep in mind it will give your cookies a more textured look and slightly different mouthfeel.
How should I store Peanut Butter Spider Cookies?
Store these delightful cookies in an airtight container at room temperature for up to 3 days to keep them soft and fresh. If you want to prolong their shelf life, you can refrigerate them in an airtight container for up to a week—just make sure to let them come to room temperature before enjoying!
Can I freeze Peanut Butter Spider Cookies?
Absolutely! To freeze, first arrange the baked cookies in a single layer on a parchment-lined baking sheet and freeze for 1-2 hours until firm. Then, transfer them to a freezer-safe bag or container. These treats will maintain their deliciousness for up to 3 months! When you’re ready to enjoy them, simply thaw overnight in the fridge or at room temperature for a few hours. For a warm treat, you can microwave them for about 10-15 seconds.
What can I do if my cookies spread too much while baking?
If your cookies spread excessively, it may be due to too much fat in the dough or not chilling the dough before baking. To prevent this, make sure your shortening is at room temperature instead of melted and consider chilling the dough for about 30 minutes before shaping it into balls. This helps maintain their shape during baking.
Is there a way to decorate these cookies for a dietary restriction?
Of course! If you’re accommodating allergies, you can substitute nut-free butter or sunflower seed butter for the peanut butter. Additionally, you can use dairy-free chocolate truffles and frosting to make these cookies suitable for a vegan or dairy-free diet. The fun part is getting creative with the decorations—swap candy eyeballs for gluten-free or allergen-free options as needed!
How do I know when these cookies are done baking?
Watch for that golden-brown color! The cookies typically take about 10-12 minutes to bake, but keep an eye on them during the last couple of minutes. For a softer, chewy center, it’s better to remove them slightly underbaked, as they will continue to cook on the baking sheet as they cool.
Irresistible Peanut Butter Spider Cookies for Spooky Fun
Ingredients
Equipment
Method
- Preheat your oven to 375°F (190°C). Line your baking sheets with parchment paper, ensuring that you have everything ready for a seamless baking experience.
- Beat together the vegetable shortening, peanut butter, brown sugar, and ½ cup white sugar in a large bowl using an electric mixer. Mix until smooth, then add the beaten egg, milk, and vanilla extract, blending until just combined.
- Combine the flour, baking soda, and salt in a small bowl. Gradually add this mixture to the peanut butter mixture in the large bowl, stirring until a dough forms and all ingredients are fully incorporated.
- Shape the dough into 48 uniform balls to create delightful little cookies. This allows them to bake evenly and beautifully.
- Roll the dough balls in ¼ cup white sugar placed in a wide, shallow bowl. Arrange them about 2 inches apart on your prepared baking sheets, ensuring they have room to spread while baking.
- Bake in the preheated oven for 10 to 12 minutes, or until golden brown. Remove cookies and quickly press a dimple into each cookie's center using the blunt end of a wooden spoon. Let them cool on the baking sheets for 10 minutes before transferring to a wire rack to cool completely.
- Prepare the chocolate truffles by cutting each in half and placing one half atop each cookie, rounded side facing upward.
- Pipe the frosting: Spoon chocolate frosting into a piping bag with a small round tip, or use a resealable plastic bag with a corner snipped. Stick two candy eyeballs onto each chocolate truffle with a dab of frosting. Pipe four thin lines from the base of the candy to resemble spider legs on each side of the cookie.
- Let harden at room temperature for about 30 minutes, allowing the frosting to set. Once ready, store cookies in an airtight container to keep them fresh for later enjoyment!

