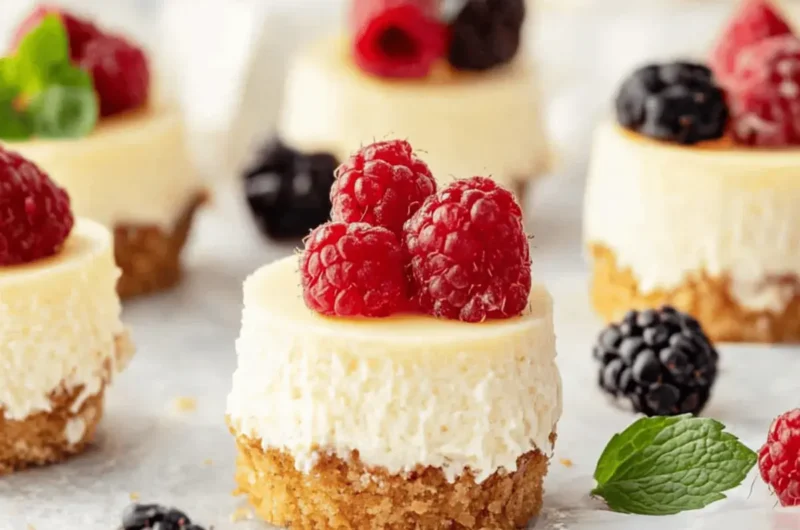
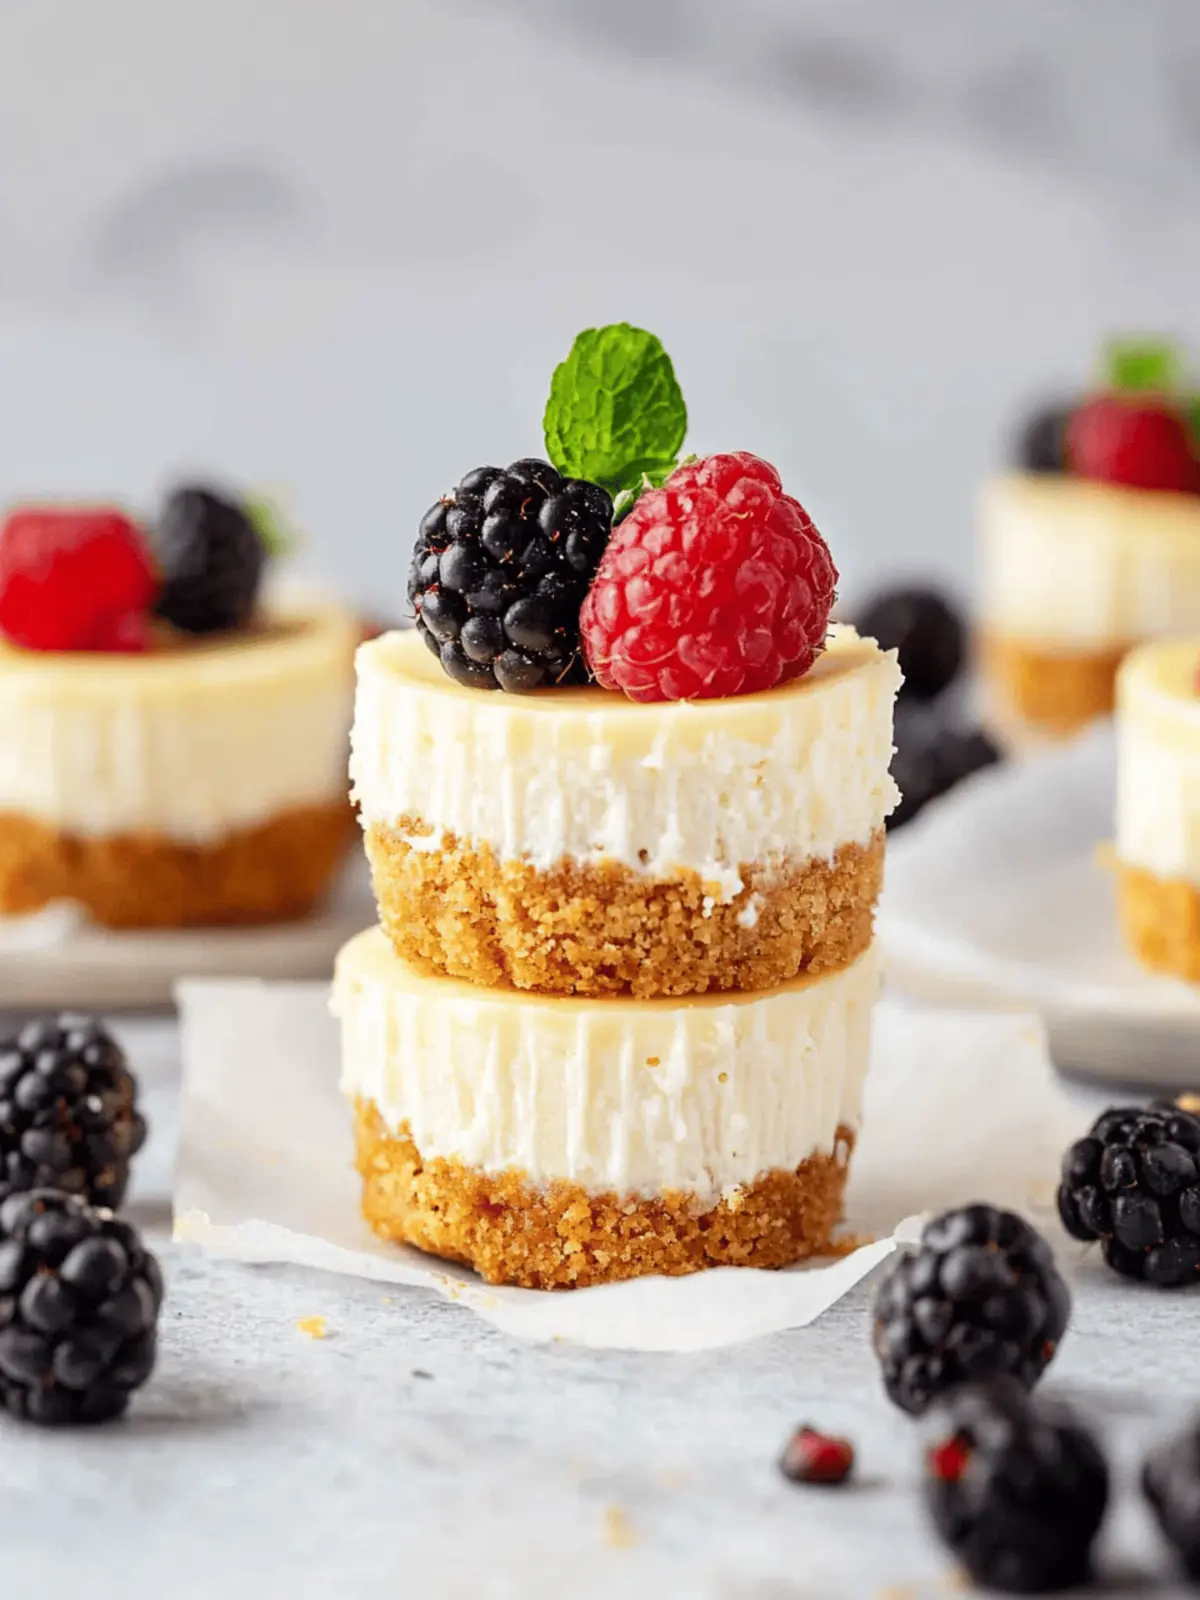
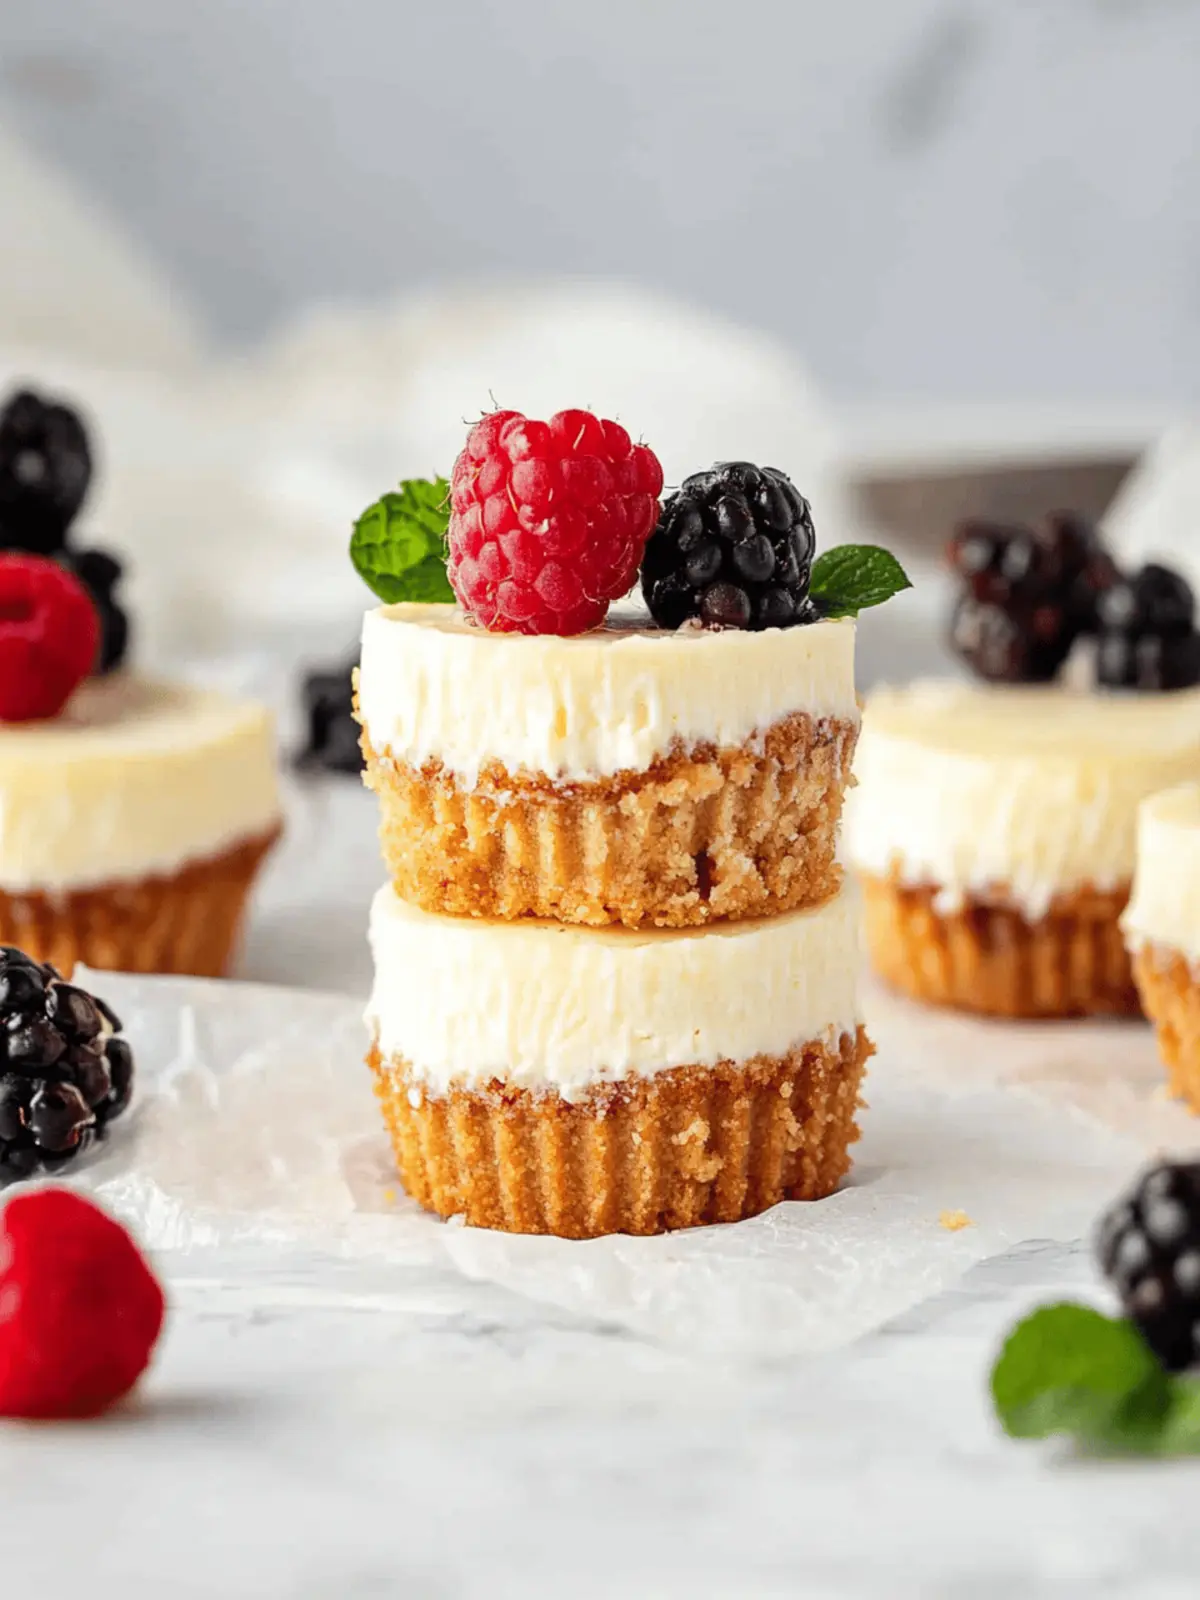
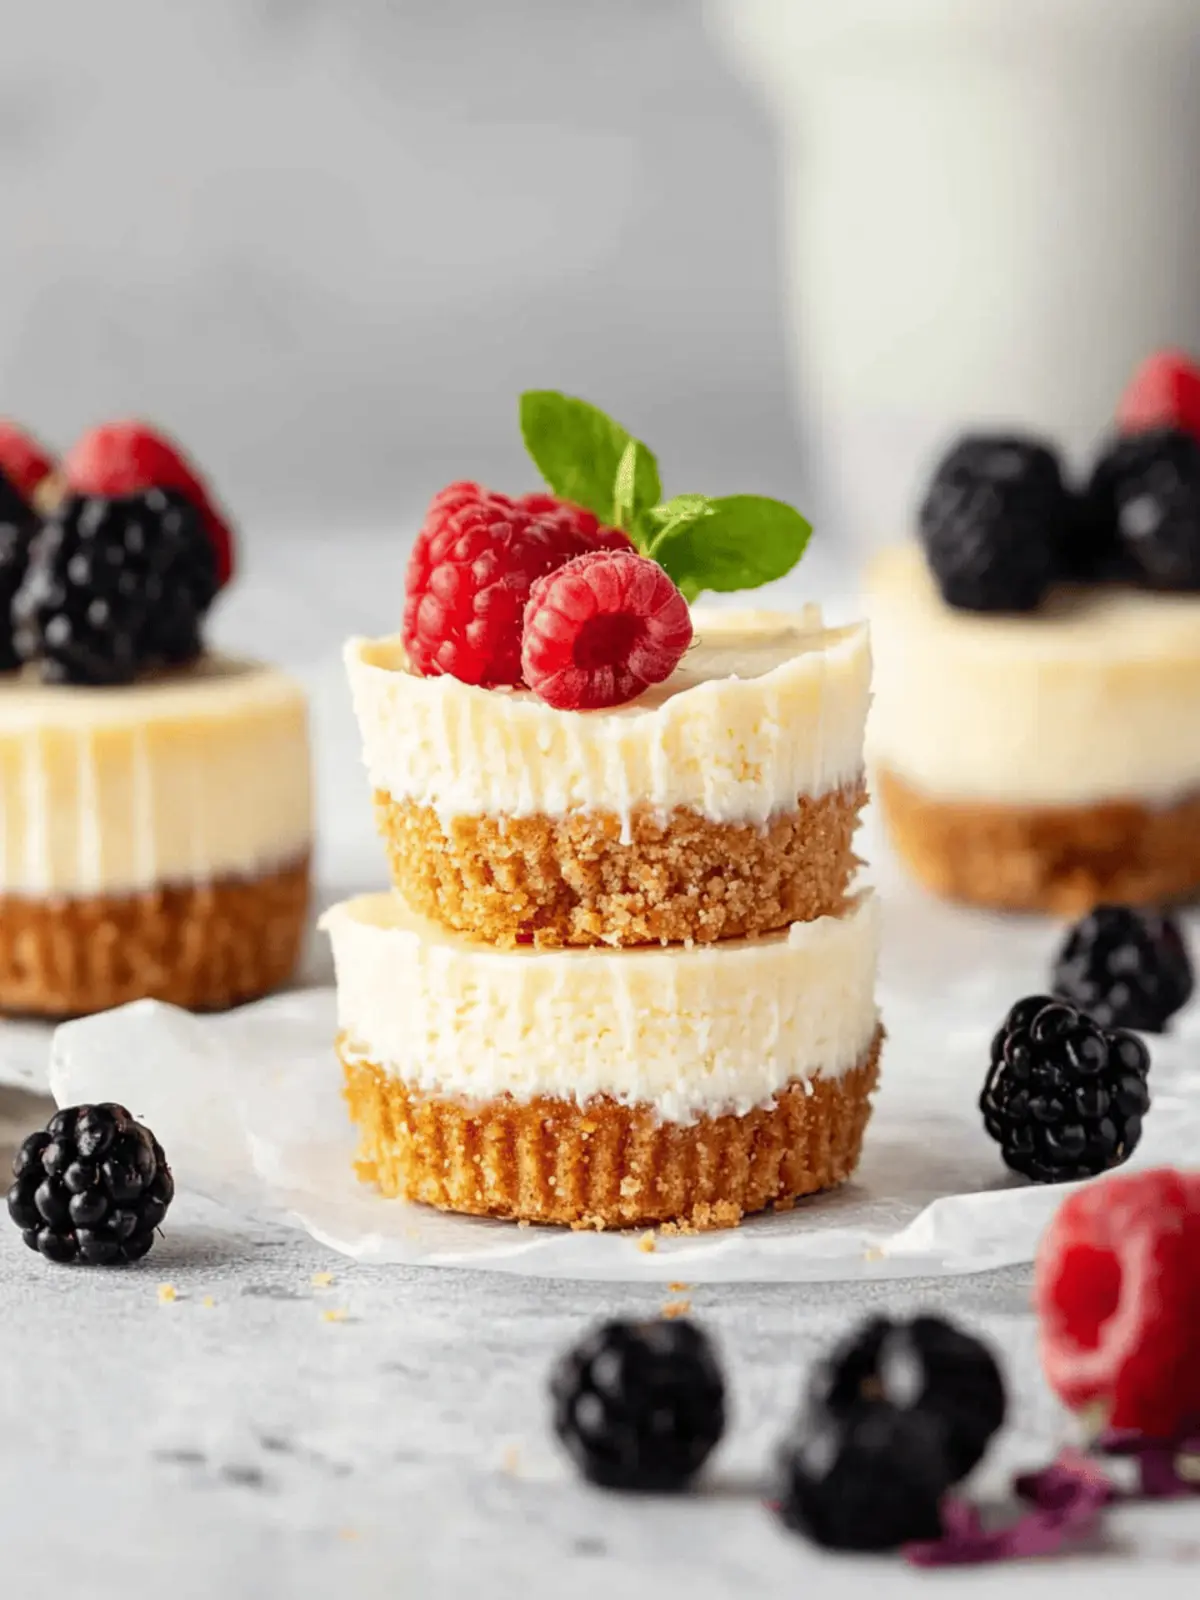
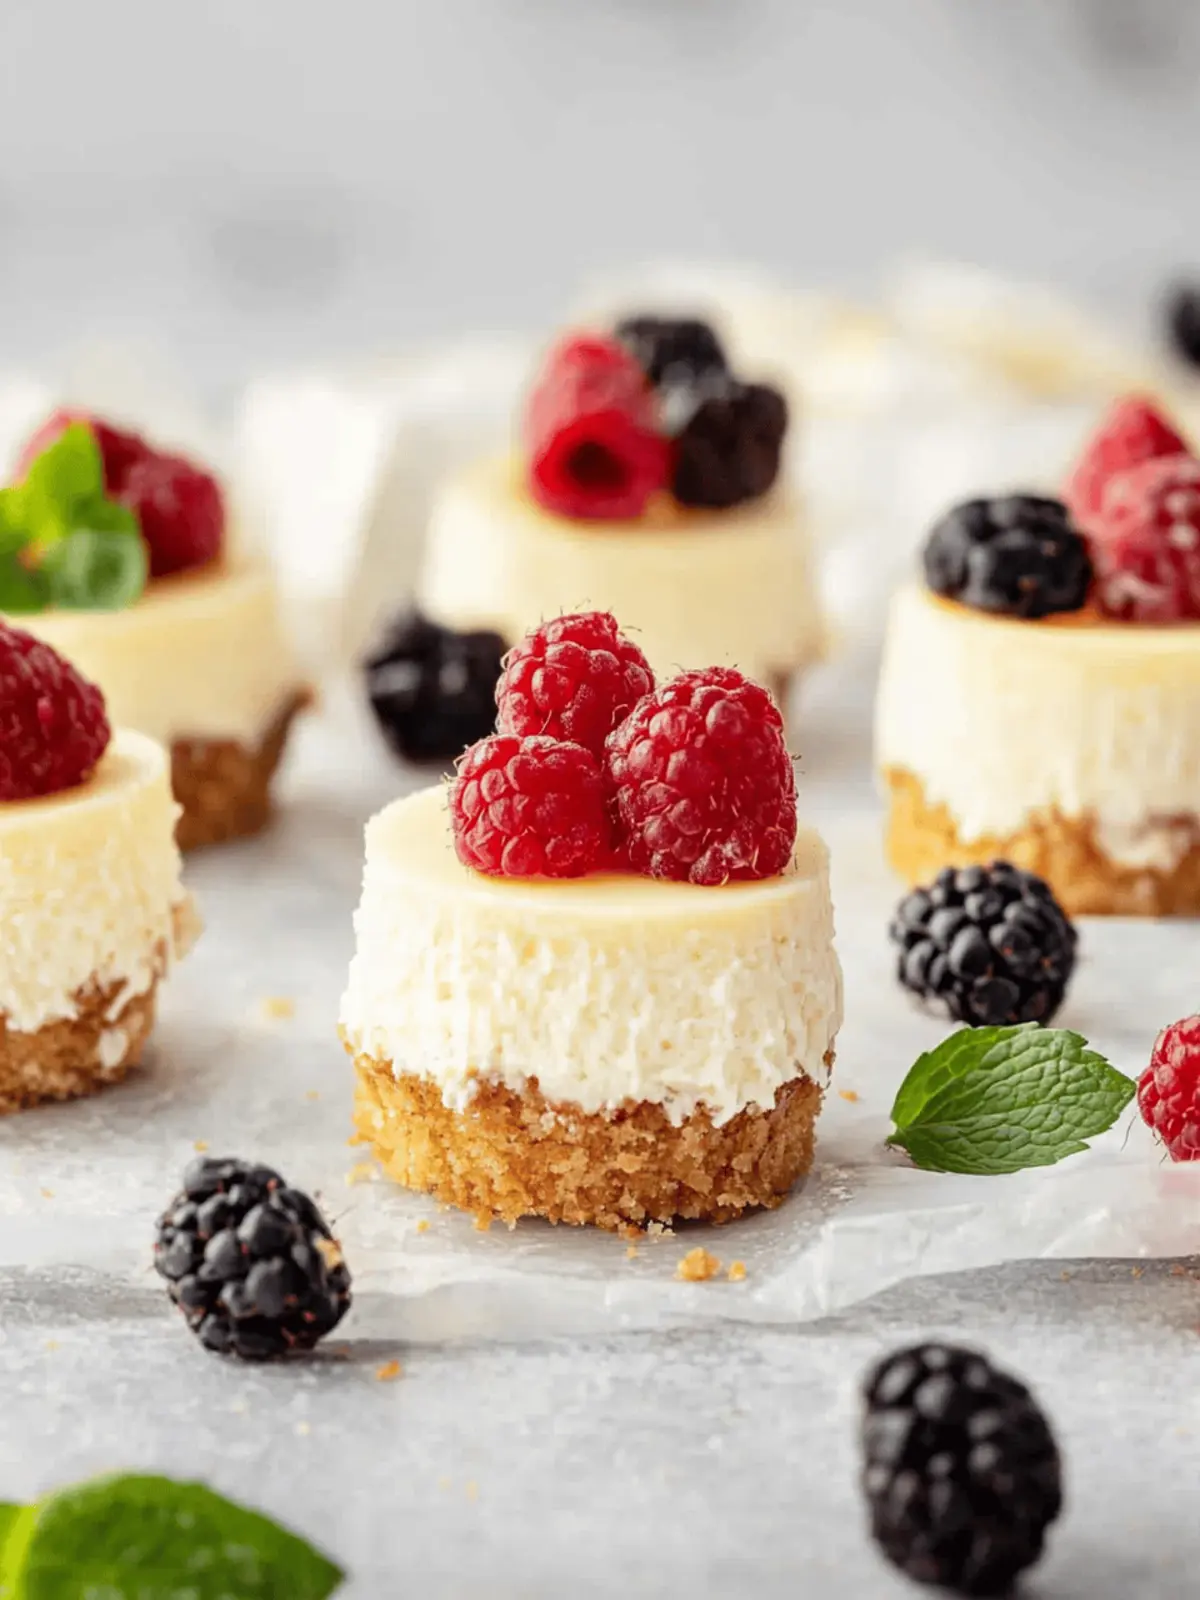
There’s nothing like the satisfying crunch of a homemade graham cracker crust meeting the luscious, creamy filling of a cheesecake—especially when you know it’s a healthier option. Picture this: a warm summer afternoon spent with family or friends, where you’re delighting everyone with these High-Protein Mini Cheesecakes that pack a solid punch of flavor while still being kind to your waistline. Made with fat-free Greek yogurt and light cream cheese, these little beauties are loaded with protein and offer a delightful balance of taste and health.
Just think of them as the guilt-free alternative you didn’t know you needed! With the perfect blend of texture—creamy on the inside and crumbly on the outside—these cheesecakes are a hit at dinner parties, kid-friendly snacks, or even as an indulgent treat after a long day. So grab your apron, and let’s whip up a batch of these heavenly mini cheesecakes that will surely impress your taste buds and keep you feeling fabulous!
Why are these Mini Protein Cheesecakes a must-try?
Healthy Indulgence: Enjoy a guilt-free treat that satisfies cheesecake cravings without the extra calories!
Protein-Packed: Each mini cheesecake delivers over 9 grams of protein, perfect for a post-workout snack or a nutritious dessert.
Simplicity: With easy-to-follow instructions and minimal prep time, you’ll have these delightful treats ready in no time.
Variability: Customize your desserts by adding your favorite toppings, like fresh berries or drizzles, to suit any occasion.
Crowd-Pleaser: Wow family and friends at gatherings and parties—no one will believe they’re healthy!
Dive into these Mini Protein Cheesecakes that combine deliciousness and nutrition, making every bite a celebration.
Mini Protein Cheesecakes Ingredients
• Get ready to whip up a healthy dessert masterpiece!
For the Crust
- Graham Cracker Crumbs – Provides the base for the crust; opt for gluten-free if necessary.
- Salted Butter – Acts as a binding agent; make sure it’s melted to mix well.
For the Filling
- Cream Cheese – The main filling component that adds creaminess; can be regular or low-fat.
- Plain 0% Greek Yogurt – Boosts protein while keeping it light; substitute with any plain yogurt if needed.
- Granulated Sugar – Sweetens the filling; feel free to adjust or use a sugar substitute based on preference.
- Egg – Adds structure and richness; essential for the cheesecake’s creamy texture.
- Egg Yolk – Enhances the creaminess; adds an extra layer of indulgence.
- Vanilla Extract – Infuses flavor depth; a must for that classic cheesecake taste.
- Lemon Juice & Zest – Brightens flavors; optional but recommended for a refreshing twist.
- Arrowroot Starch or Cornstarch – Thickens the filling for a smooth texture; ensures it sets perfectly.
Unleash your creativity with these Mini Protein Cheesecakes and enjoy a healthy dessert that’s just as delightful as the traditional ones!
How to Make Mini Protein Cheesecakes
-
Preheat your oven to 350°F (175°C) and line a cupcake tin with 12 liners. This ensures an easy release later, plus, you’ll keep those cheesecakes perfectly portioned!
-
Prepare the crust: In a food processor, pulse the graham crackers until crumbly. Combine with melted butter and mix well. Pack about 1.5 tablespoons of the mixture into each liner, pressing it down firmly for a nice base.
-
Bake the crust for 5-6 minutes until lightly golden. Let it cool for 5-10 minutes. This step solidifies the crust, making it the perfect crunchy counterpart to that creamy filling!
-
Create the filling: Beat the cream cheese until smooth and creamy. Then, add Greek yogurt, eggs, sugar, vanilla, lemon juice, zest, and starch. Mix until just combined, ensuring the filling remains smooth and luscious!
-
Fill the lined cupcake tins with the cheesecake batter, distributing it evenly among the liners. Bake for 17-20 minutes until set—look for it not to jiggle in the center, a telltale sign they’re ready!
-
Cool for 30 minutes at room temperature, then refrigerate for at least 3 hours before serving. This chilling time helps them firm up beautifully, enhancing that perfect cheesecake texture.
-
Top off the cooled cheesecakes with fresh berries and mint leaves just before serving for that stunning touch and burst of freshness!
Optional: Drizzle with honey for extra sweetness.
Exact quantities are listed in the recipe card below.
How to Store and Freeze Mini Protein Cheesecakes
Fridge: Store your mini protein cheesecakes in an airtight container for up to 5 days; this keeps them fresh and delicious for a healthy treat anytime.
Freezer: To freeze, wrap individual cheesecakes tightly in plastic wrap and then place them in a freezer-safe container. They can be frozen for up to 3 months, perfect for meal prep!
Thawing: When ready to enjoy, simply transfer them to the fridge to thaw overnight. This preserves their creamy texture and flavor.
Reheating: Enjoy them cold or let them sit at room temperature for about 15 minutes prior to indulging for the best experience.
What to Serve with Mini Protein Cheesecakes?
Elevate your dessert experience by pairing these delightful mini protein cheesecakes with complementary flavors and textures.
-
Fresh Berries: Their tartness pops against the creamy filling, adding a refreshing, vibrant element that makes each bite a burst of deliciousness.
-
Mint Sprigs: A simple yet effective garnish that brightens your dessert while enhancing the overall flavor profile with a hint of coolness.
-
Greek Yogurt Dip: Offering extra creaminess, a dollop of flavored Greek yogurt can transform these cheesecakes into a luscious treat that feels indulgent yet healthy.
-
Chocolate Drizzle: A rich chocolate sauce adds an irresistible touch of sweetness and decadence, making the cheesecakes truly feel like a special occasion dessert.
-
Nutty Granola: Crushed granola sprinkled on top introduces a satisfying crunch, creating a delightful contrast to the smooth cheesecakes while lending some extra fiber.
-
Honey Drizzle: A light drizzle of honey enhances sweetness while complementing the other flavors, adding a natural touch that pairs beautifully with the cheesecakes.
-
Decaf Coffee or Herbal Tea: After a rich dessert, a warm cup of coffee or tea can cleanse the palate, allowing you to enjoy the flavors fully and extend your dessert experience.
Enjoy crafting the perfect plate that enhances the joy of your Mini Protein Cheesecakes!
Mini Protein Cheesecake Variations
Feel free to play around with these mini protein cheesecakes and make them your own with tantalizing twists!
-
Dairy-Free: Swap cream cheese and yogurt for cashew cream or coconut yogurt for a dairy-free delight. Your taste buds won’t miss the dairy one bit!
-
Nut Butter Delight: Add 2 tablespoons of your favorite nut butter into the filling for an extra layer of flavor and richness. Peanut or almond butter creates a deliciously nutty cheesecake!
-
Choco-Mint Bliss: Blend in a few drops of peppermint extract and fold in mini chocolate chips for a refreshing minty chocolate treat. Perfect for festive gatherings!
-
Berry Burst: Fold in a cup of pureed berries, such as strawberries or blueberries, into the filling for a fruity explosion. These mini cheesecakes will feel like summer in every bite!
-
Coconut Cream: Use coconut cream in place of cream cheese for a tropical twist. This gives a luscious flavor that evokes a beachy paradise!
-
Matcha Magic: Add 1-2 teaspoons of matcha powder for an earthy flavor that also packs in antioxidants. Matcha and cheesecake make quite the stunning duo!
-
Spicy Kick: Mix in a pinch of cayenne pepper or ground cinnamon for unexpected heat in your cheesecakes. It balances beautifully with sweetness!
-
Sugar-Free Version: Replace sugar with your favorite sugar substitute, like Stevia or erythritol, to enjoy a guilt-free beauty without compromising taste.
Transform your Mini Protein Cheesecakes into unique treats that everyone will love! Happy baking!
Expert Tips for Mini Protein Cheesecakes
-
Room Temperature Ingredients: Use ingredients like cream cheese and eggs at room temperature for a creamier, smoother filling that blends well.
-
Mix Wisely: Avoid overmixing the filling to maintain the dreamily creamy texture. Mix just until everything is combined; less is more!
-
Perfect Bake Time: Keep an eye on your baking time to prevent overbaking, which can lead to a spongy texture. The cheesecakes should be set but not jiggly in the center.
-
Chill Time Matters: Don’t skip the chilling step—allow your Mini Protein Cheesecakes to chill in the fridge for at least three hours to achieve that lovely firmness.
-
Flavor Boosters: Experiment with different extracts or add-ins, like chocolate chips or fruit purees, to make each batch uniquely delicious!
-
Storage Savvy: Store any leftovers in an airtight container in the fridge for up to 5 days, or freeze for up to 3 months, so you can enjoy them later!
Make Ahead Options
These Mini Protein Cheesecakes are a fantastic choice for meal prep, allowing you to treat your family to a delicious dessert without the last-minute hustle! You can prepare the crust up to 24 hours in advance by baking it and storing it in an airtight container at room temperature. Additionally, the cheesecake filling can be made and stored in the refrigerator for up to 3 days before pouring it into the crusts. To maintain that creamy texture, simply mix the filling again before pouring it in. When ready to serve, bake as directed, cool, and refrigerate for at least 3 hours before topping with fresh berries for a delightful finish!
Mini Protein Cheesecakes Recipe FAQs
How do I choose the right graham crackers for the crust?
Absolutely! When selecting graham crackers, look for those that are whole-grain for added nutrients. If you need a gluten-free option, many brands now offer gluten-free graham crackers that still provide that wonderful flavor and texture. Just make sure they are finely crushed; this ensures that your crust holds together well.
How should I store leftover mini protein cheesecakes?
To keep your mini protein cheesecakes fresh, store them in an airtight container in the refrigerator for up to 5 days. This will maintain their taste and texture. I often make a batch ahead of time and enjoy them throughout the week—they’re such a convenient and healthy treat!
Can I freeze mini protein cheesecakes for later?
Certainly! To freeze, first, allow the cheesecakes to cool completely. Wrap each individual cheesecake tightly in plastic wrap and then place them in a freezer-safe container. They can be frozen for up to 3 months. When you’re ready to enjoy one, just place it in the fridge to thaw overnight for the best results.
What should I do if the cheesecakes jiggle in the center when I take them out of the oven?
Very good question! If your mini protein cheesecakes are still jiggly in the center when you take them out, they likely need more time in the oven. Return them to the oven and bake in 2-3 minute increments until they are set. Just be cautious not to overbake them, as that can lead to a dry texture. The goal is for them to be firm but not overly firm.
Are these mini protein cheesecakes suitable for those with allergies?
Yes! These mini protein cheesecakes can be made suitable for various dietary needs. For those with dairy allergies, you can substitute the cream cheese and Greek yogurt with dairy-free alternatives, such as cashew cream or coconut yogurt. If you’re concerned about eggs, try using a flax egg or a commercial egg substitute for a similar binding effect.
Can I adjust the sweetness level of the mini protein cheesecakes?
Absolutely! Depending on your taste preferences or dietary considerations, you can easily adjust the granulated sugar in the filling. I recommend starting with a smaller amount and tasting the mixture before baking. You might also try using a sugar substitute like stevia or monk fruit for a healthier alternative—just keep in mind that sweetness levels may vary with different substitutes!
Delicious Mini Protein Cheesecakes for Guilt-Free Indulgence
Ingredients
Equipment
Method
- Preheat your oven to 350°F (175°C) and line a cupcake tin with 12 liners.
- In a food processor, pulse the graham crackers until crumbly. Combine with melted butter and mix well. Pack about 1.5 tablespoons of the mixture into each liner.
- Bake the crust for 5-6 minutes until lightly golden. Let it cool for 5-10 minutes.
- Beat the cream cheese until smooth. Add Greek yogurt, eggs, sugar, vanilla, lemon juice, zest, and starch. Mix until just combined.
- Fill the lined tins with the cheesecake batter. Bake for 17-20 minutes until set.
- Cool for 30 minutes at room temperature, then refrigerate for at least 3 hours before serving.
- Top with fresh berries and mint leaves just before serving.

