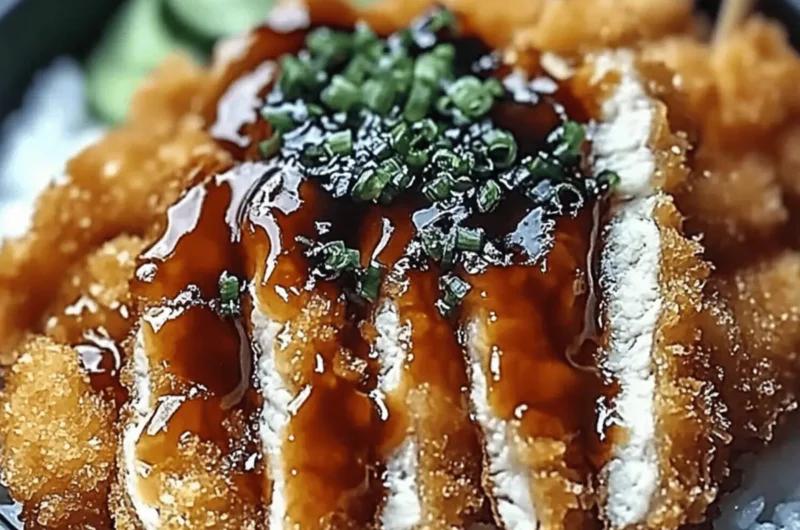
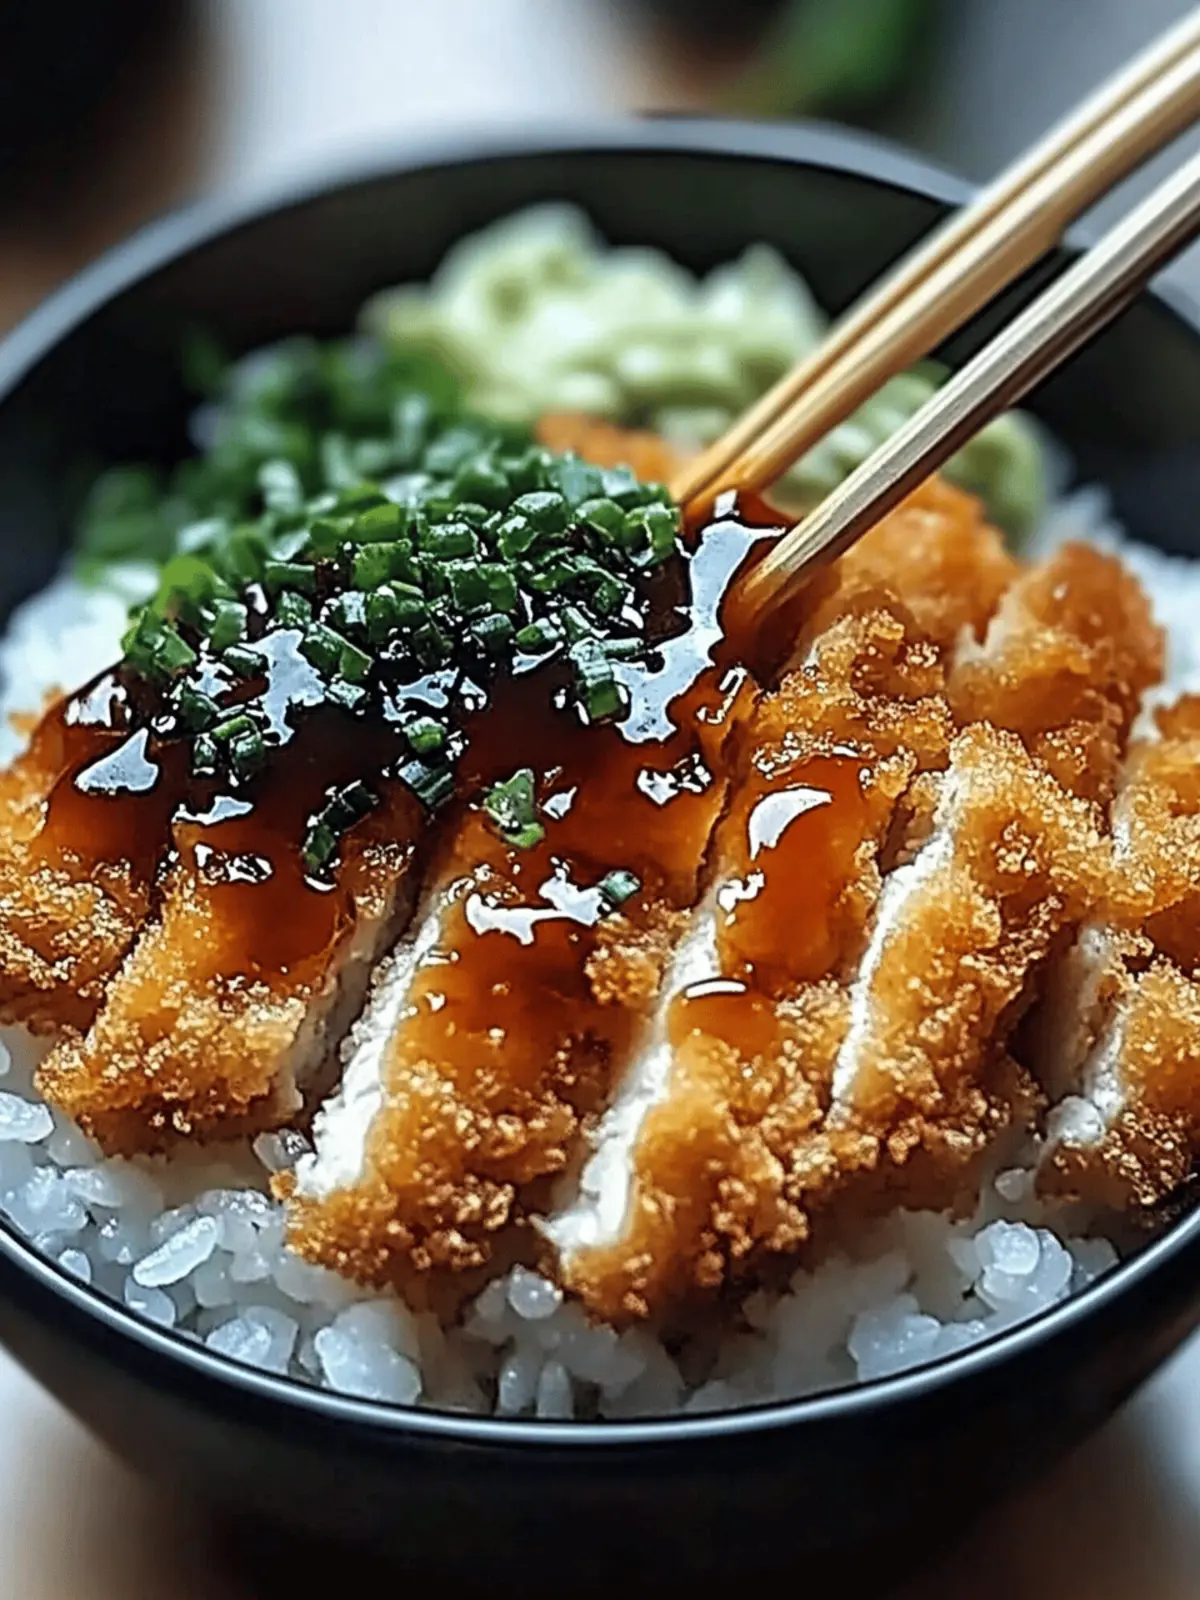
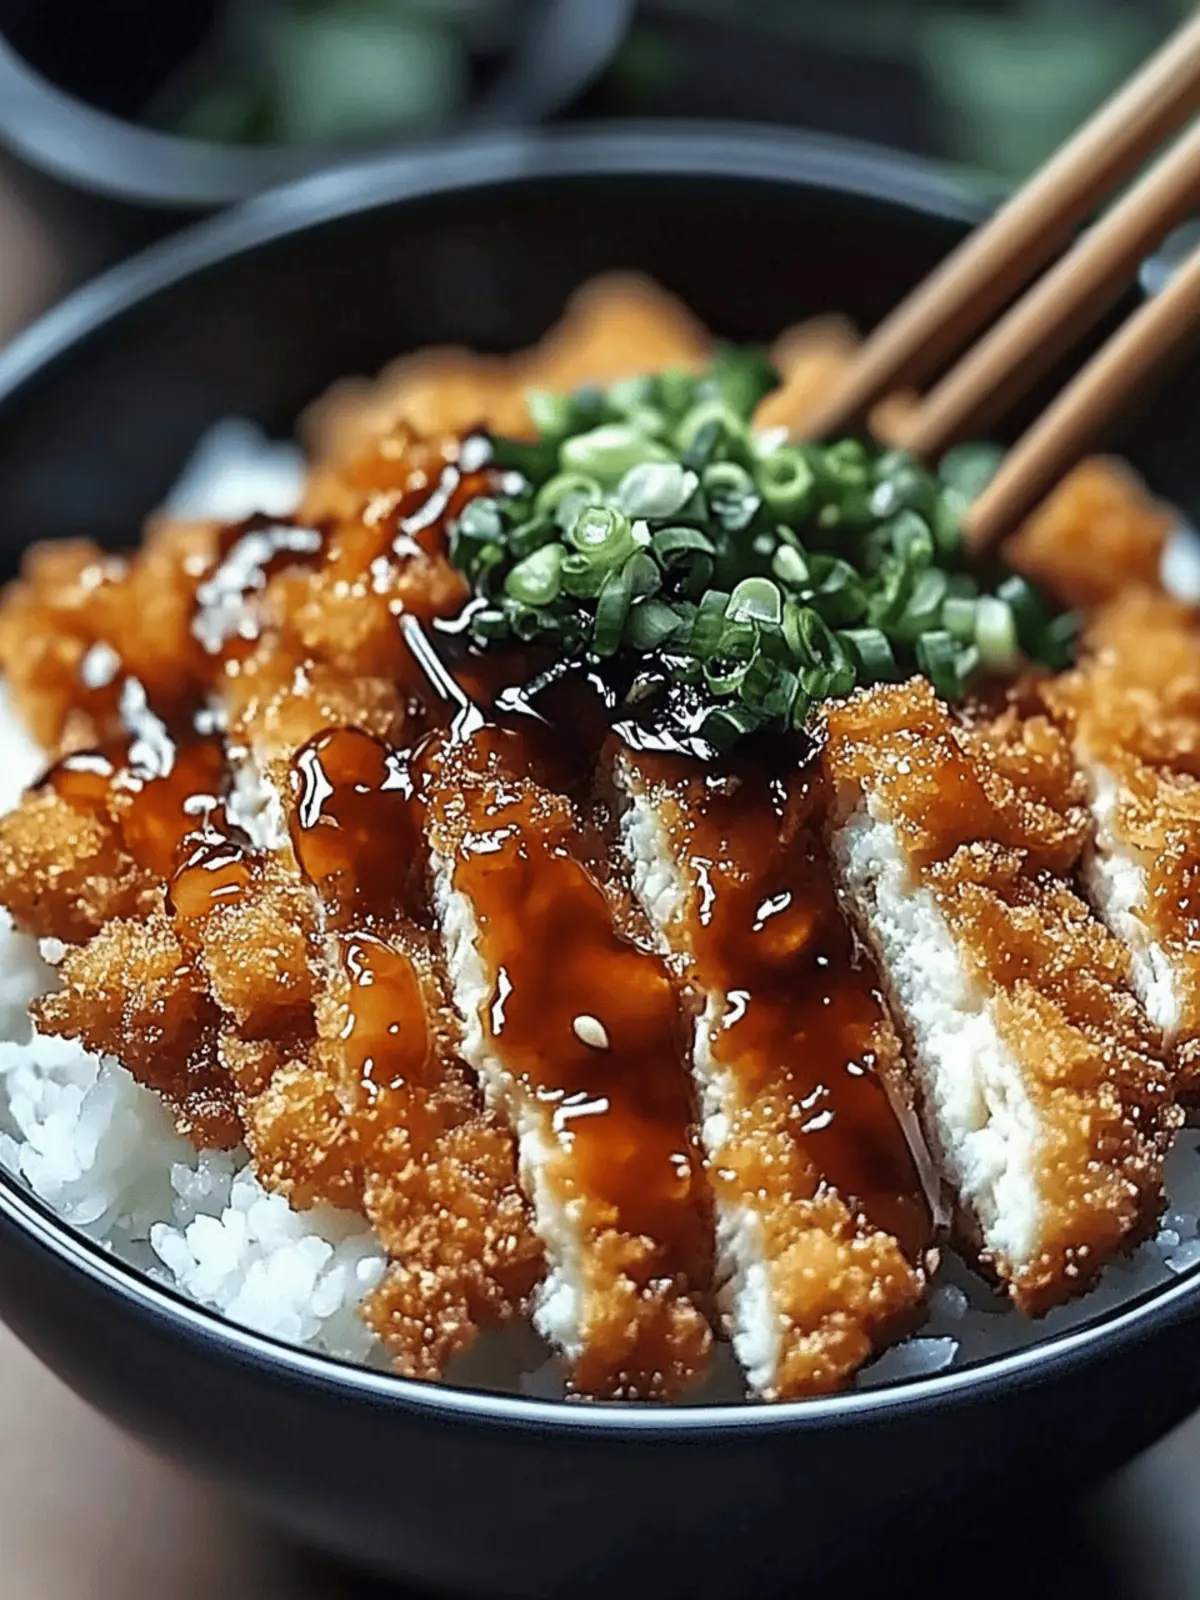
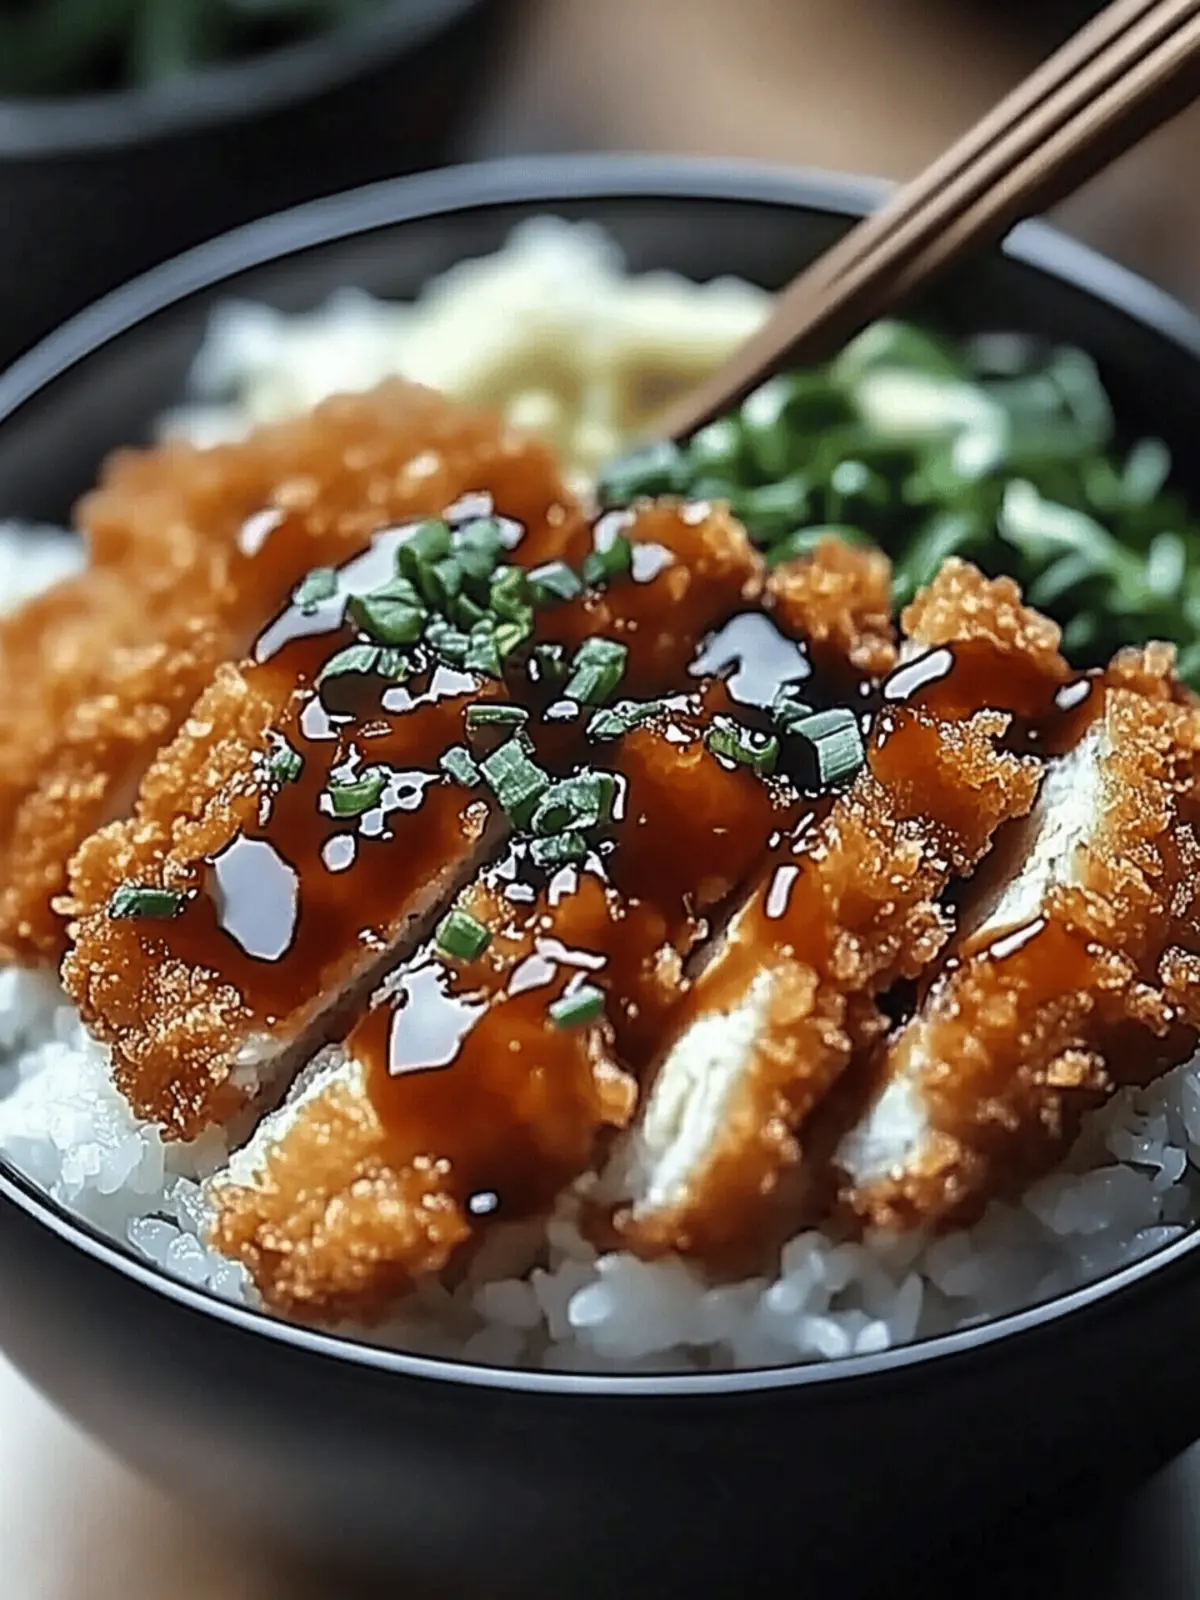
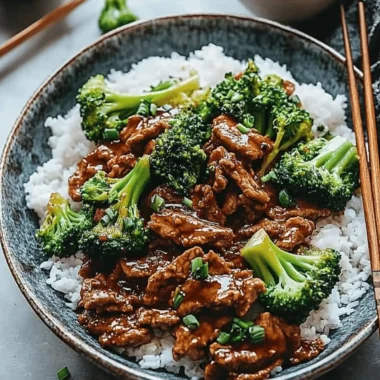
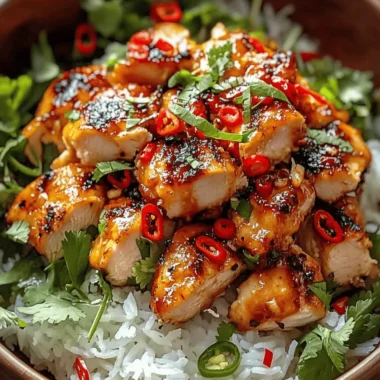
Picture this: the tantalizing aroma of sizzling cutlets fills your kitchen, sending everyone in your house rushing to the table. That’s the magic of Japanese Katsu Bowls, a dish that transforms crispy, golden-brown breaded cutlets into the star of a comforting meal. Whether you prefer succulent chicken or tender pork, this recipe caters to all tastes while offering the satisfaction of authentic Japanese cuisine from your own kitchen.
After a hectic day, there’s nothing quite like indulging in creamy, fluffy rice topped with a savory sauce and crispy cutlets. With each bite, you’ll experience a delightful contrast of textures: the crunch of the katsu harmonizing with the tender rice underneath. This dish is not only a feast for the senses, but it’s also incredibly versatile, allowing you to customize ingredients to fit your dietary needs.
Ready to whisk your family away on a culinary adventure? Let’s dive into my delicious guide to making authentic Katsu at home, where every step promises to elevate your weeknight dinner into something truly special!
Japanese Katsu Bowls: Why You’ll Crave This Recipe
Comforting flavors come together in this unforgettable dish that warms the heart and soul.
Crispy cutlets are perfectly paired with fluffy rice, creating a satisfying meal that delights the senses.
Quick cooking time means you can serve up a delicious homemade dinner on busy weeknights.
Customizable ingredients allow you to swap out proteins and adjust flavors based on your preferences, making it a crowd-pleaser.
Authentic taste brings the rich culinary heritage of Japan into your home, making every bite a cherished experience.
Easy to make even for novice cooks, this recipe promises impressive results without the fuss!
Japanese Katsu Bowls Ingredients
For the Katsu
- Boneless Chicken Breasts or Pork Loin – Your main protein choice; feel free to use either for a delightful twist on flavors.
- Salt and Pepper – Essential for seasoning; these humble spices amplify the overall taste of your katsu.
- All-Purpose Flour – Forms the first layer of the breading; substitute with gluten-free flour to accommodate dietary needs.
- Large Eggs – Works as a binding agent in the breading process; for a vegan option, try ground flaxseed mixed with water.
- Panko Breadcrumbs – Ensures a crunchy texture; if you can’t find panko, regular breadcrumbs can work in a pinch.
- Vegetable Oil – Necessary for frying; any neutral oil like canola can be used instead.
For the Rice
- Japanese Short-Grain Rice – The traditional base of the dish; sushi rice is an excellent alternative for authenticity.
- Water – Important for cooking the rice; ensure the right ratio to achieve fluffy grains.
- Rice Vinegar – Adds a tangy flavor to the seasoned rice; white vinegar can also do the trick.
- Sugar – Balances the acidity of the vinegar; adjust the quantity based on your sweetness preference.
- Salt – Elevates the flavor of the rice and complements the dish beautifully.
For the Sauce
- Tonkatsu Sauce – The quintessential condiment for serving; store-bought is quick, but homemade is an option too.
- Soy Sauce – Adds an umami depth to the sauce; essential for enhancing the flavors.
- Worcestershire Sauce – Introduces a tangy complexity to the sauce blend.
- Ketchup – Provides a sweet note; it mellows out the savory components of the sauce.
For Garnishing
- Shredded Cabbage – Adds freshness and a crunchy element to your bowl.
- Green Onions – Great for garnishing; they contribute a mild onion flavor that brightens the dish.
- Sesame Seeds – Optional, but they bring a lovely texture and nutty flavor; sprinkle them generously!
- Pickled Ginger – An optional addition that introduces a sharp, tangy contrast to balance the richness of the katsu.
With these ingredients, you’re on your way to creating the most delightful Japanese Katsu Bowls right in your kitchen! Don’t forget, every bite of this dish will transport you to the flavors of authentic Japanese cuisine.
How to Make Japanese Katsu Bowls
- Prepare the Rice: Start by rinsing 2 cups of Japanese short-grain rice under cold water until the water runs clear, removing excess starch. Next, soak the rice in 2½ cups of water for 30 minutes to ensure fluffy grains. Bring it to a boil, then reduce heat and simmer for 15 minutes without lifting the lid. Afterward, let it rest off the heat for 10 minutes, then gently mix in rice vinegar, sugar, and salt.
- Prepare the Katsu: Pound your boneless chicken breasts or pork loin to an even thickness for uniform cooking. Season with a sprinkle of salt and pepper to elevate the flavor. Set up a breading station with three shallow dishes for flour, beaten eggs, and panko. Dredge the cutlets in flour, dip into the egg, and press into the panko for that signature crunch.
- Fry the Katsu: Heat about ½ inch of vegetable oil in a large skillet over medium heat. Carefully add the breaded cutlets, cooking for 4-5 minutes on each side until they are golden brown and the internal temperature reaches 165°F. Once cooked, drain them on paper towels and slice into strips.
- Make the Sauce: Combine tonkatsu sauce, soy sauce, Worcestershire sauce, and ketchup in a bowl, stirring until well blended. This delicious sauce will be the perfect accompaniment to your katsu.
- Assemble the Bowl: Begin with a generous scoop of the seasoned rice as your base. Arrange the crispy katsu slices on top, drizzle with the sauce, and finish with a sprinkle of shredded cabbage, green onions, and sesame seeds.
Optional: Add pickled ginger for an extra zing that contrasts beautifully with the rich flavors.
Exact quantities are listed in the recipe card below.
Japanese Katsu Bowls: Customization Options
Ready to make this dish your own? Experimenting with flavors and textures can lead to delightful surprises and inspire your culinary creativity.
- Vegetarian Swap: Use sliced eggplant or tofu instead of meat for a satisfying and delicious vegetarian twist. These alternatives soak up flavors beautifully!
- Gluten-Free Option: Replace regular flour with gluten-free all-purpose flour and panko to make the dish gluten-free while still delivering the crispiness you crave.
- Asian Fusion: Try adding a spicy mayo drizzle on top for a zesty kick, or opt for ponzu sauce to bring a citrusy freshness.
- Texture Boost: Top your katsu with a soft-boiled egg to add creaminess, or toss in some avocado slices for a rich, buttery texture.
- Cabbage Crunch: Mix in shredded carrots or radishes with the cabbage for a colorful medley and varied crunch in every bite.
- Herb Infusion: Sprinkle fresh herbs like cilantro or Thai basil on your bowl for a fragrant twist that elevates the dish’s flavor profile.
- Heat Level: For those who love a kick, serve with pickled jalapeños or sprinkle chili flakes over the katsu to awaken your taste buds.
- Rice Variation: Swap Japanese rice for quinoa or cauliflower rice for a healthier option that’s equally delicious while offering a unique texture.
Expert Tips for Japanese Katsu Bowls
- Fry at the Right Temp: Ensure the oil is hot enough before frying. Test it with a breadcrumb; it should sizzle immediately. Perfect temperature means crispy katsu!
- Avoid Sogginess: Don’t overcrowd the pan while frying. This helps maintain the oil’s temperature, allowing the cutlets to crisp up nicely.
- Consistency is Key: Pound the cutlets to an even thickness to ensure even cooking. This prevents parts of the katsu from being overcooked while others remain underdone.
- Don’t Skip the Rest: Allow the rice to sit covered for 10 minutes after cooking. This step ensures fluffy grains that soak in the flavorful seasonings beautifully.
- Season Wisely: Don’t forget to season the oil with salt and pepper for added flavor during the breading process. A pinch can elevate your Japanese Katsu Bowls to new heights!
What to Serve with Japanese Katsu Bowls?
To elevate your dining experience, let’s explore some brilliant pairings that harmonize perfectly with your katsu creations.
- Creamy Coleslaw: This cool, crunchy slaw adds a refreshing contrast to your katsu, balancing the richness of the fried cutlets and enhancing the overall meal.
- Miso Soup: A warm bowl of miso soup provides just the right savory touch, complementing the umami flavors of the katsu and soothing your palate with every sip.
- Steamed Edamame: Lightly salted and served warm, these tender green soybeans are a delightful snack that brings a pop of color and nutrition to your table.
- Pickled Vegetables: Tangy, crisp pickled vegetables cut through the richness of the katsu, while also adding a delightful crunch and serving as a perfect palate cleanser.
- Sushi-Style Cucumber Salad: This cool, tangy salad introduces a crunchy element to your meal and is a great contrast to the warm, crispy katsu, enhancing the overall texture.
- Japanese Rice Wine (Sake): Enjoy a chilled glass of sake alongside your katsu bowls. Its subtle flavors elevate your dining experience and offer a traditional touch.
- Fruit Sorbet: For a light dessert, serve a refreshing fruit sorbet. The sweetness and coolness contrast beautifully with the savory katsu, making it a delightful end to your meal.
Make Ahead Options
Japanese Katsu Bowls are perfect for meal prep enthusiasts! You can prepare the components up to 24 hours in advance, making your busy weeknights a breeze. Start by cooking the rice; once cooled, store it in an airtight container in the refrigerator. The katsu can be breaded and kept in the fridge for a few hours, ensuring the crispy coating stays intact, or you can cook it ahead and reheat in the oven for maximum crunch. The sauce can also be made in advance and stored for up to 3 days in the fridge. When you’re ready to serve, simply reheat the components and assemble your bowl for a delightful, homemade meal just as delicious as freshly made!
Storage Tips for Japanese Katsu Bowls
Fridge: Store leftover katsu in an airtight container for up to 3 days. Keep the sauce separate to maintain crispiness.
Freezer: To freeze, wrap the katsu tightly in plastic wrap and then in aluminum foil. It can be stored for up to 2 months; just thaw and reheat for best results.
Reheating: For optimal crunch, reheat katsu in the oven at 350°F (175°C) for about 10-15 minutes. Avoid microwaving, as it may make the cutlets soggy.
Rice Storage: Keep leftover rice in the fridge in an airtight container for up to 4 days. Reheat with a splash of water to restore moisture before serving with your katsu.
Japanese Katsu Bowls Recipe FAQs
How do I choose the right cut of meat for my katsu?
Absolutely! For katsu, boneless chicken breasts or pork loin are the best choices. Look for cuts that are well-marbled for pork, as this will give you a juicier result. For chicken, try to choose breasts that are about the same thickness; you can pound them to ensure even cooking.
What is the best way to store leftovers?
Very! You can store leftover katsu in an airtight container in the refrigerator for up to 3 days. Keep the sauce in a separate container to maintain the crisp texture of the katsu when reheating. For short-term storage, this method will keep your meal fresh and tasty!
Can I freeze katsu for later meals?
Certainly! To freeze your katsu, wrap each piece tightly in plastic wrap, then place them in a freezer bag or airtight container. You can keep katsu in the freezer for up to 2 months. When you’re ready to enjoy, simply thaw it in the refrigerator overnight, then reheat in the oven for the best crispiness!
What should I do if my katsu isn’t crispy?
Don’t worry! If your katsu isn’t crispy, it might be due to the oil temperature not being hot enough at the beginning of frying. Always test the oil with a breadcrumb—if it sizzles immediately, you’re good to go. Also, be careful not to overcrowd the pan; this can lower the oil temperature and remain a culprit too. Try frying in smaller batches for the perfect crunch.
Are there any dietary considerations I should be aware of?
Absolutely! If you’re preparing this dish for anyone with gluten intolerance, you can substitute all-purpose flour with gluten-free flour and use gluten-free panko. For those following a vegan diet, replace the meat with eggplant or tofu and use ground flaxseed mixed with water as a binding agent instead of eggs. With these swaps, you’ll ensure everyone can enjoy these delicious Japanese Katsu Bowls!
How long can I keep rice in the fridge?
Yes! Cooked Japanese short-grain rice can be stored in an airtight container in the refrigerator for up to 4 days. When you’re ready to eat, just reheat it with a little splash of water to restore moisture before serving alongside your crispy katsu!
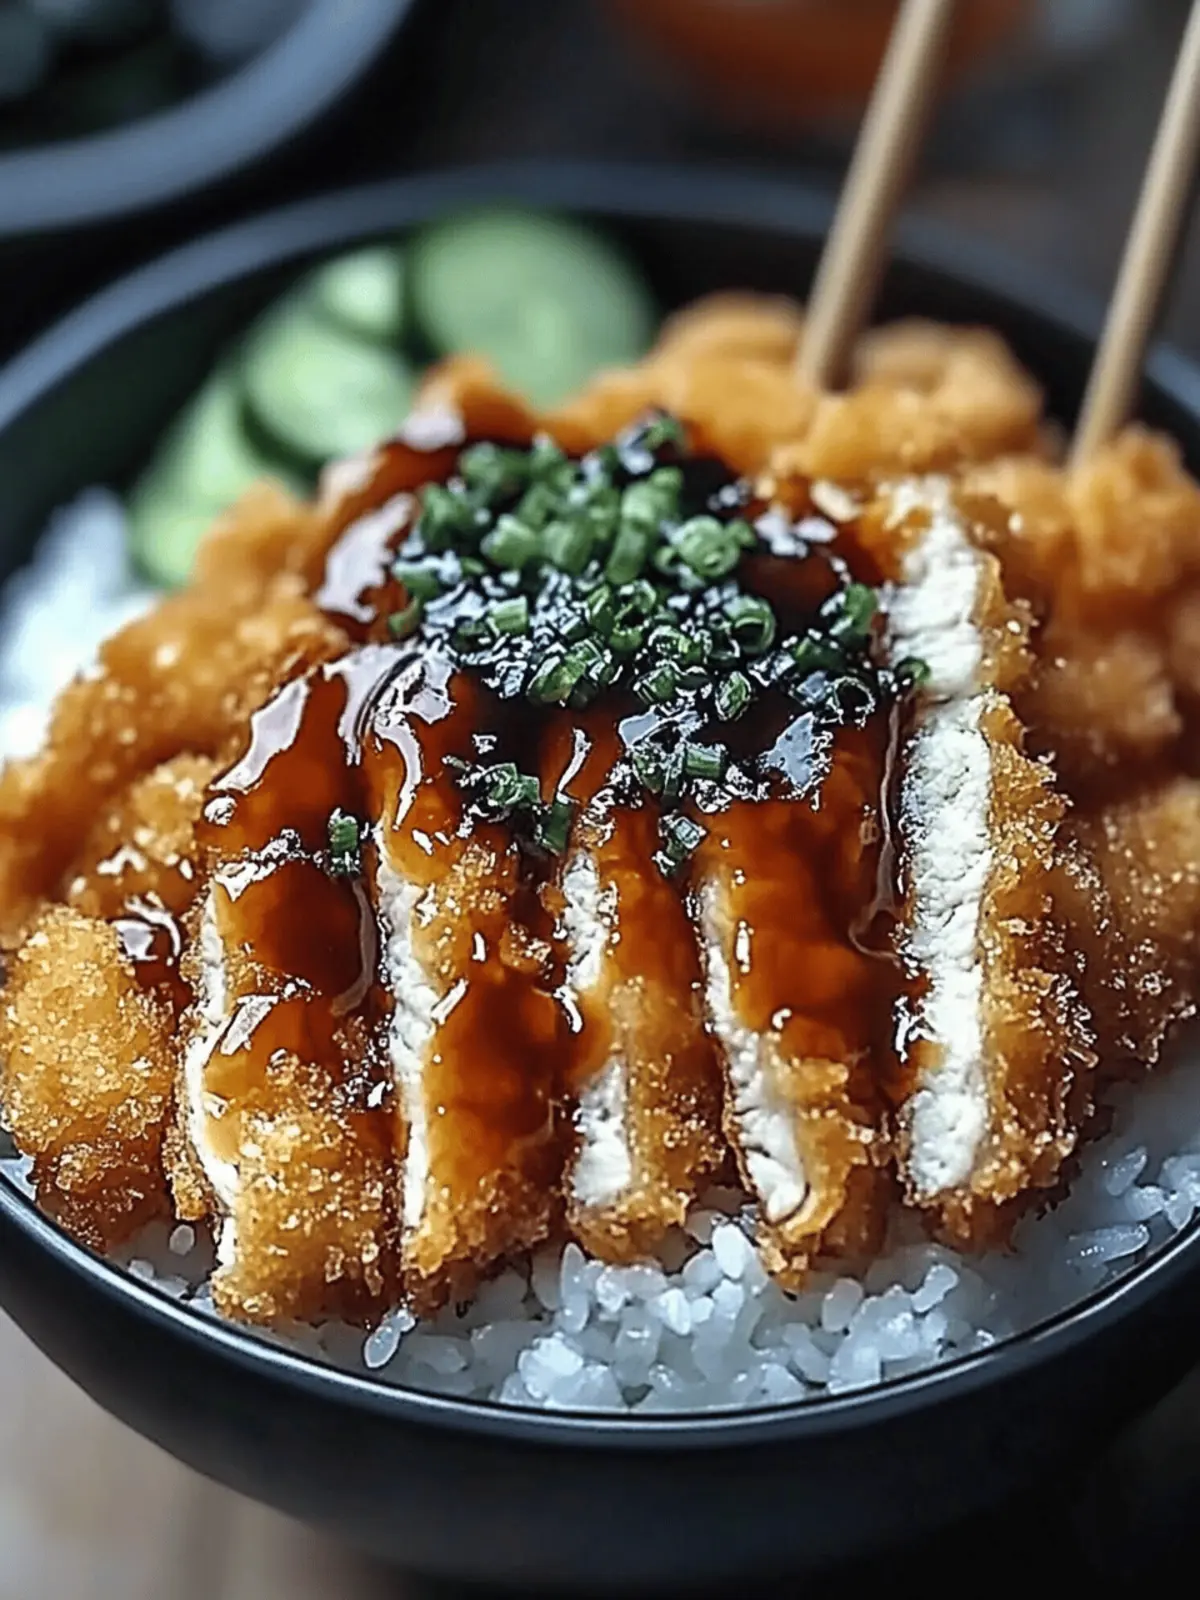
Japanese Katsu Bowls: Easy Steps for Authentic Flavor at Home
Ingredients
Equipment
Method
- Rinse the rice under cold water until clear, soak in water for 30 minutes, boil, then simmer for 15 minutes without lifting the lid. Rest for 10 minutes and mix in vinegar, sugar, and salt.
- Pound the meat to even thickness, season, and set up the breading station with flour, eggs, and panko.
- Heat oil in a skillet, fry breaded cutlets for 4-5 minutes per side until golden brown; drain and slice.
- Mix tonkatsu sauce, soy sauce, Worcestershire sauce, and ketchup in a bowl.
- Assemble bowls with rice, katsu, sauce, and garnishes.

