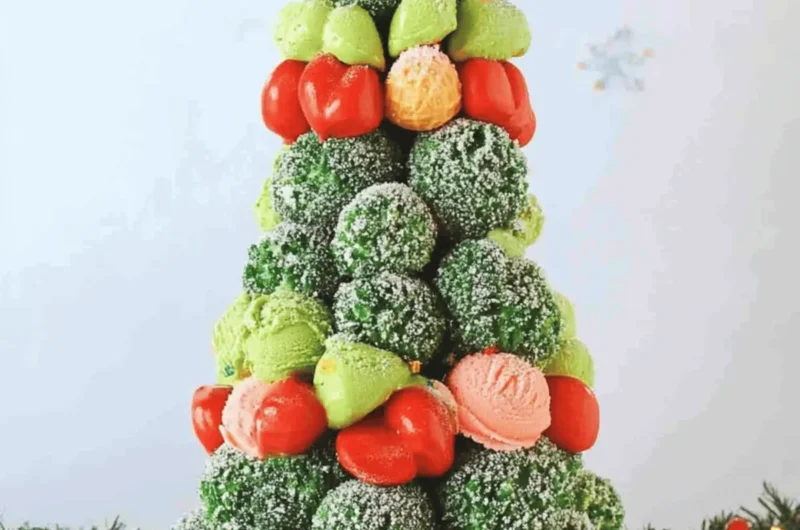
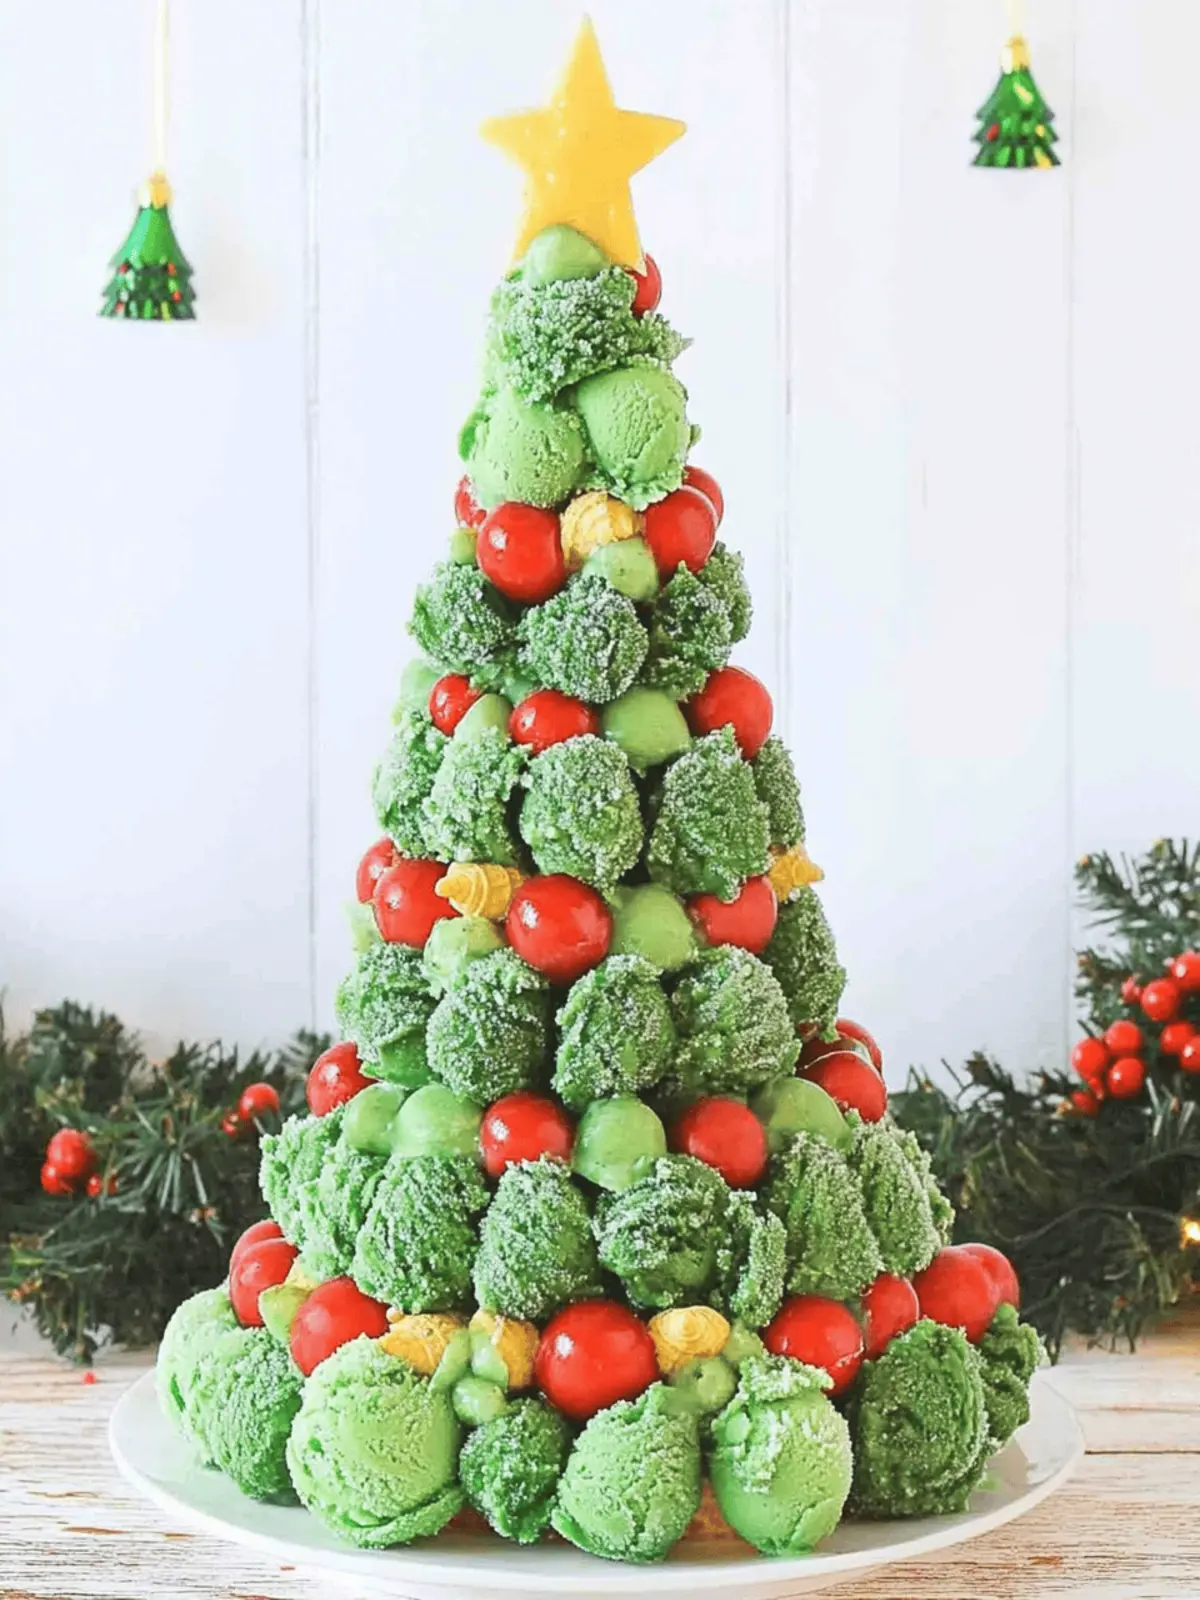
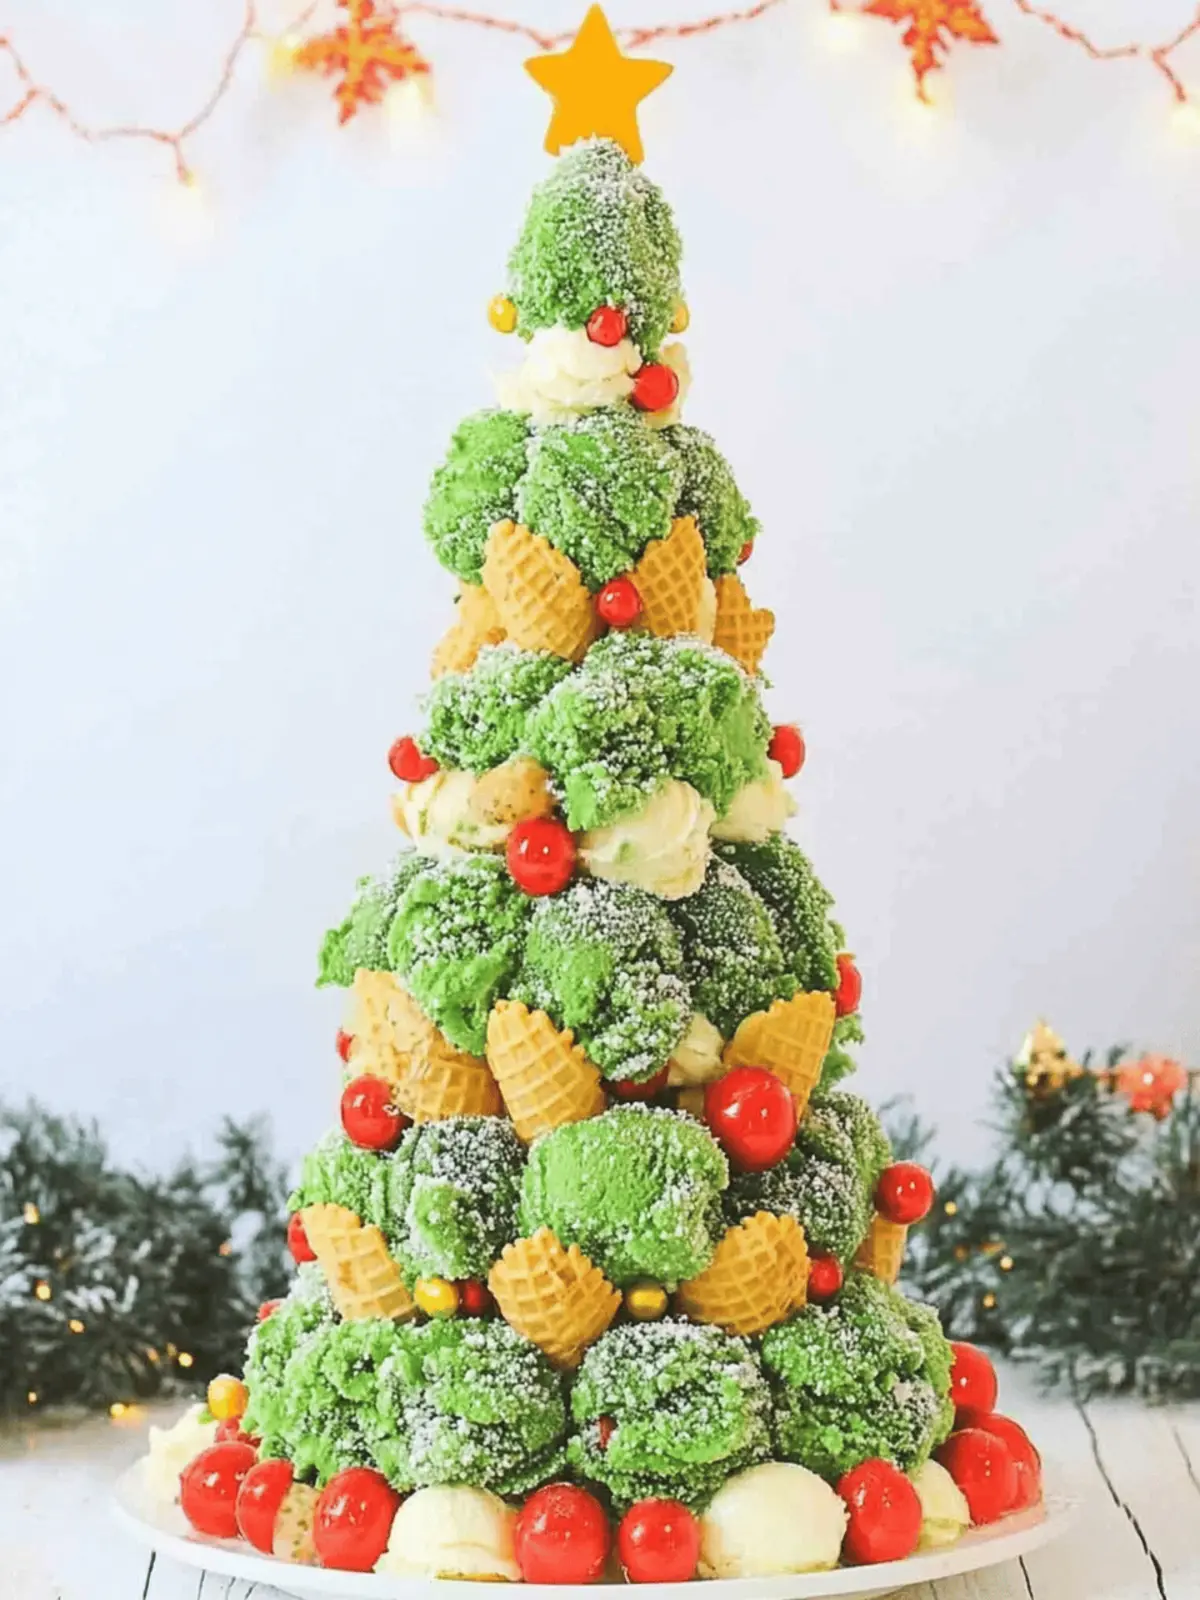
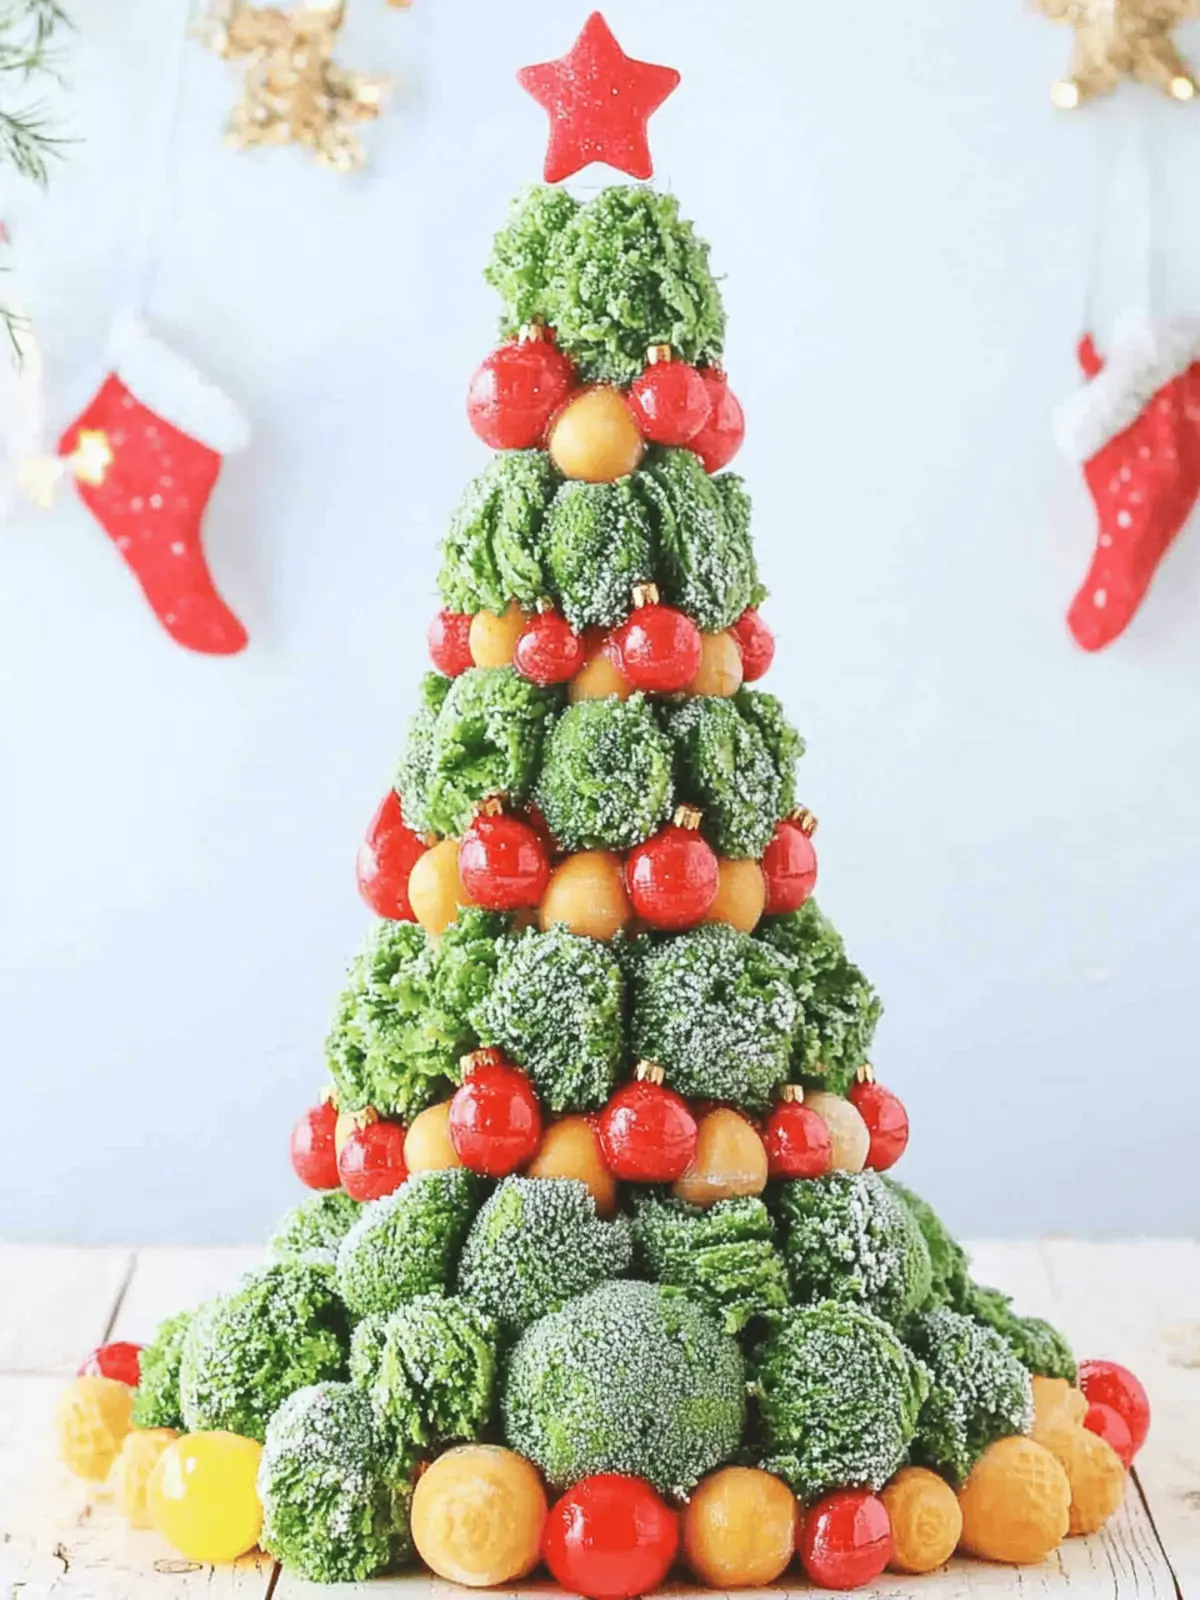
As the holiday season approaches, a whirlwind of creativity fills the air, especially in the kitchen! I can’t help but smile every time I think about the joy that these Ice Cream Cone Christmas Trees bring. They’re not just treats; they’re edible masterpieces, crafted with a bit of frosting and a sprinkle of imagination. Perfect for family get-togethers or cozy nights at home, they offer a delightful way to celebrate the magic of Christmas.
Picture this: children giggling with excitement as they transform simple sugar cones into cheerful holiday trees, decked out in colorful candies. Each bite combines the satisfying crunch of the cone and the creamy sweetness of frosting, making them an enjoyable treat for everyone, from kids to adults. What I love most about this no-bake dessert is its endless versatility—it’s not just a snack, but a canvas for your holiday creativity. Let’s dive into creating these festive cones that are sure to spark smiles and sweet memories!
Why love Ice Cream Cone Christmas Trees?
Fun, festive activity: This recipe transforms simple ingredients into a delightful holiday craft for the whole family.
No-bake ease: With no baking required, these festive trees can be created in a snap—perfect for busy schedules.
Creative freedom: Let your imagination soar! Decorate these cones with your favorite candies or fillings for a personal touch.
Kid-friendly charm: Kids will adore crafting their own edible creations, making snack time fun and interactive.
Holiday spirit: Brighten up your festive gatherings with these cheerful treats that guarantee smiles and festive cheer.
Ice Cream Cone Christmas Trees Ingredients
For the Trees
• Sugar Cones – These provide the structure for your trees; opt for smaller cones for easier decorating.
• Frosting – Use your favorite flavor as glue for the decorations; it adds both flavor and a festive touch!
For the Decorations
• Decorative Candies – Choose colorful options like M&Ms, sprinkles, or gummies to bring your trees to life.
• Additional Fillings (Optional) – Surprise fillings like mini marshmallows or chocolate chips can add an exciting twist inside the trees.
Decorating these Ice Cream Cone Christmas Trees will not only satisfy your sweet tooth but also allow endless creativity!
How to Make Ice Cream Cone Christmas Trees
- Gather ingredients: Start by assembling all your goodies—sugar cones, frosting, and a variety of decorative candies. This will streamline your crafting session and make the process enjoyable.
- Coat the cone: Using a generous amount of frosting, coat the sugar cone thoroughly. This creates your “tree” base, so don’t be shy with the frosting—it helps hold all the decorations!
- Decorate creatively: Now for the fun part! Generously embellish your frosted cone with colorful candies, pressing them in gently. Mix textures and colors for a vibrant appearance.
- Set and admire: Allow the decorated cones to sit for a short time, about 10 minutes, to let the frosting set and candies adhere firmly. This step ensures a neat presentation!
- Enjoy fresh: These delightful trees are best savored on the same day of crafting. The fresh crunch and sweetness are key to the treat’s enjoyment!
Optional: For a festive touch, add edible glitter to your decorations for an extra sparkle.
Exact quantities are listed in the recipe card below.
What to Serve with Ice Cream Cone Christmas Trees?
Creating a festive dessert is just the beginning of your holiday feast—let’s build a full spread of delightful treats!
- Hot Cocoa Bar: A warm cup of hot cocoa provides a cozy drink pairing that complements the sweet crunch of your trees.
- Fruit Platter: Fresh fruit adds a burst of bright colors and juicy freshness, balancing the sweetness with a refreshing contrast.
- Gingerbread Cookies: The spicy, aromatic flavors of gingerbread offer a delightful holiday twist that pairs beautifully with the sweetness of the trees.
- Mini Cupcakes: Light and fluffy, these little bites of joy are perfect for a festive dessert table, providing different flavors to enjoy alongside the trees.
- Candy Canes: Their crunchy texture and minty flavor offer a crisp, refreshing contrast that’s perfect for holiday festivities.
- Sparkling Water or Cider: A bubbly beverage adds a festive touch, enhancing the celebration vibe and refreshing the palate between sweet treats.
- Santa’s Milk: A glass of cold milk adds a nostalgic touch, ensuring that the whole family engages in the holiday spirit while enjoying their crafty creations.
- Chocolate Fondue: Dip pieces of fruit, cookies, or marshmallows into velvety chocolate for a fun, interactive dessert experience that pairs perfectly with your vibrant cone trees.
Storage Tips for Ice Cream Cone Christmas Trees
Room Temperature: Ideal for a few hours; keep in a cool, dry place away from direct sunlight to maintain their freshness and festive appearance.
Fridge: If you need to store them longer, place in a sealed container in the fridge for up to 3 days. However, note that they may lose some crunch.
Freezer: Freezing is not recommended, as it can cause the sugar cones to become soggy and lose their delightful texture.
Reheating: These treats are best enjoyed fresh, so plan to craft them close to the time of serving for the ultimate experience of your Ice Cream Cone Christmas Trees!
Ice Cream Cone Christmas Trees Variations
Explore delightful twists to personalize your Ice Cream Cone Christmas Trees, transforming every bite into a new adventure!
- Nut-Free: Substitute nutty toppings with seeds like pumpkin or sunflower for a safe and crunchy option.
- Fondant Fun: Use rolled fondant to create mini decorations like stars or ornaments for a more polished look.
- Chocolate-Dipped: Dip the tops of your cones in melted chocolate before decorating for an extra layer of flavor and fun!
- Fruit-Filled: For a fruity surprise, fill the inside of the cones with diced strawberries or other favorite fruits.
- Spice It Up: Add a sprinkle of cinnamon or nutmeg to the frosting for a warm holiday flavor that surprises the palate.
- Dairy-Free Delight: Opt for dairy-free frosting and cones to create a treat everyone can enjoy, without the dairy.
- Cookie Crumbles: Crush your favorite cookies into dust and use them as a decorative sprinkle on the frosting for extra crunch.
- Sour Candy Accents: Incorporate sour candies for a sweet-and-sour contrast that will add a fun twist to your festive trees.
There’s no limit to the creativity you can unleash with these variations; let your imagination run wild this holiday season!
Make Ahead Options
These Ice Cream Cone Christmas Trees are a fantastic option for busy holiday schedules! You can prep the sugar cones and frosting up to 24 hours in advance. Simply frost the cones, then cover them tightly with plastic wrap and refrigerate to maintain their freshness and prevent drying out. The decorative candies can be kept in a separate airtight container at room temperature until you’re ready to assemble. When it’s time for serving, just add your colorful candies to the frosted cones, and your festive treats will be just as delightful and visually appealing! This way, you can enjoy more time with loved ones while ensuring everyone enjoys these sweet holiday creations!
Expert Tips for Ice Cream Cone Christmas Trees
- Stay Quick: Work quickly with frosting to ensure it remains sticky. This is especially important for attaching candies and decor effectively.
- Candy Variety: Choose a mix of candies in different shapes and sizes. This not only adds visual appeal but also different textures to enjoy in every bite.
- Child Safety: Remind kids to eat their creations the same day to prevent them from hardening. This way, they can fully enjoy the Ice Cream Cone Christmas Trees!
- Experiment: Try adding fillings like colored frosting or mini candies inside the cones for a delightful surprise when biting in!
- Present Nicely: Let the decorated trees set for at least 10 minutes before serving. This results in a neat presentation that looks, and tastes, wonderful!
- Storage Note: If you must store for a few hours, keep them in a cool, dry place to maintain freshness.
Ice Cream Cone Christmas Trees Recipe FAQs
How do I choose the right sugar cones?
Absolutely! When selecting sugar cones, look for ones that are intact and not cracked. Ideally, they should have a firm texture without any dark spots or signs of damage. Smaller cones are often easier for kids to decorate and less top-heavy.
What’s the best way to store Ice Cream Cone Christmas Trees?
To keep your festive treats fresh, store them in a cool, dry place at room temperature for a few hours. If you need to keep them for a longer period, you can place them in a sealed container in the fridge for up to 3 days, but be aware that they may lose their delightful crunch.
Can I freeze Ice Cream Cone Christmas Trees?
I don’t recommend freezing these treats. Freezing can make the sugar cones soggy and ruin that satisfying crunch that makes them so delightful to bite into. The best approach is to enjoy them fresh on the same day you make them.
What if the frosting isn’t sticky enough?
Very! If you find the frosting isn’t sticking well, try using a thicker layer of frosting on the cone. You can also slightly warm the frosting to make it more spreadable. Additionally, working quickly will help keep the frosting tacky for better candy adherence.
Are there any allergy considerations for this recipe?
Of course! Be sure to check the ingredient labels when choosing candies and frosting, as many contain common allergens like nuts, gluten, or dairy. If you’re making these for kids or guests with allergies, consider using allergy-friendly alternatives, such as fruit snacks or dairy-free chocolates.
Can I use different kinds of frostings?
Absolutely! Get creative by trying flavored frostings such as chocolate, vanilla, or peppermint to suit your taste. Each one adds a unique spin to your Ice Cream Cone Christmas Trees, and your family will love exploring different flavors together.
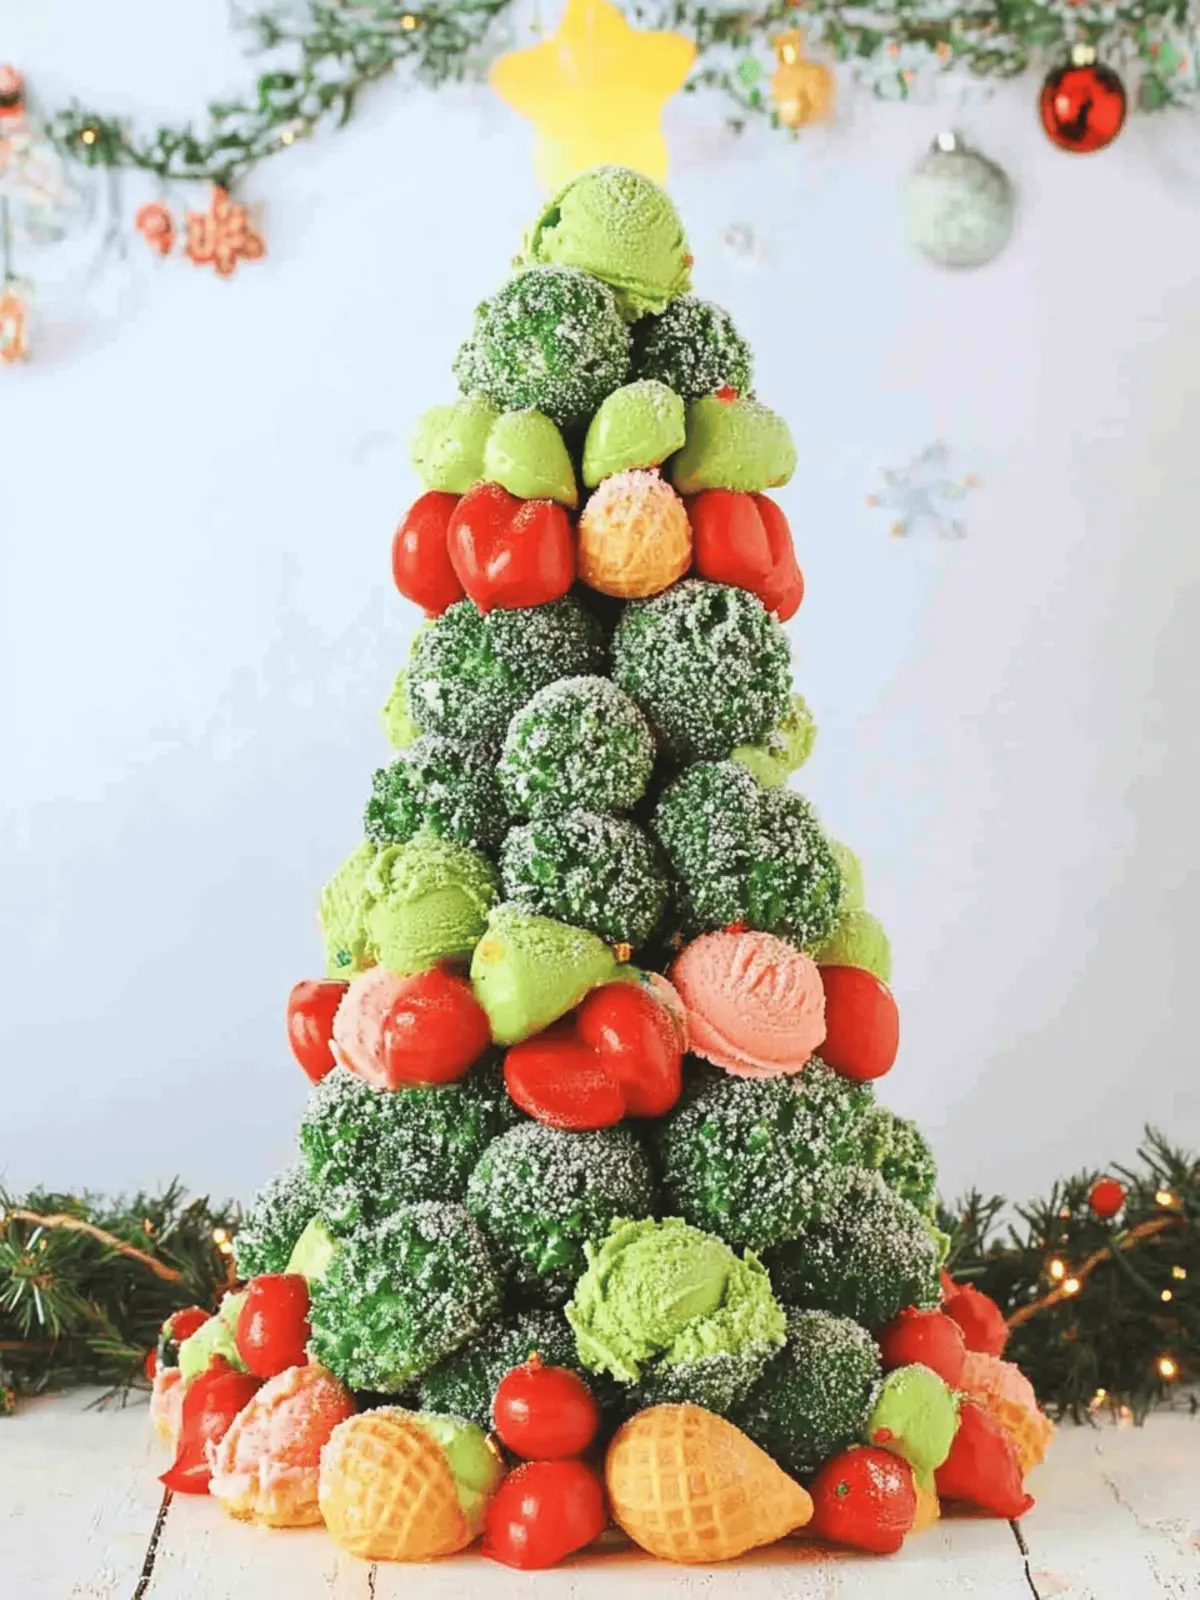
Delicious Ice Cream Cone Christmas Trees for Holiday Fun
Ingredients
Equipment
Method
- Gather ingredients: Start by assembling all your goodies—sugar cones, frosting, and a variety of decorative candies.
- Coat the cone: Use a generous amount of frosting to coat the sugar cone thoroughly to create your 'tree' base.
- Decorate creatively: Embellish your frosted cone with colorful candies, mixing textures and colors for vibrancy.
- Set and admire: Allow the decorated cones to sit for about 10 minutes to let the frosting set.
- Enjoy fresh: These trees are best enjoyed the same day of crafting for maximum freshness.

