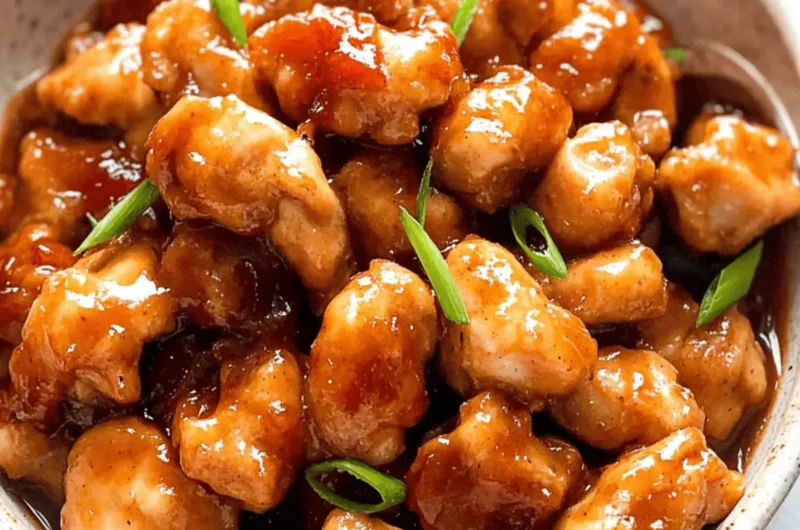
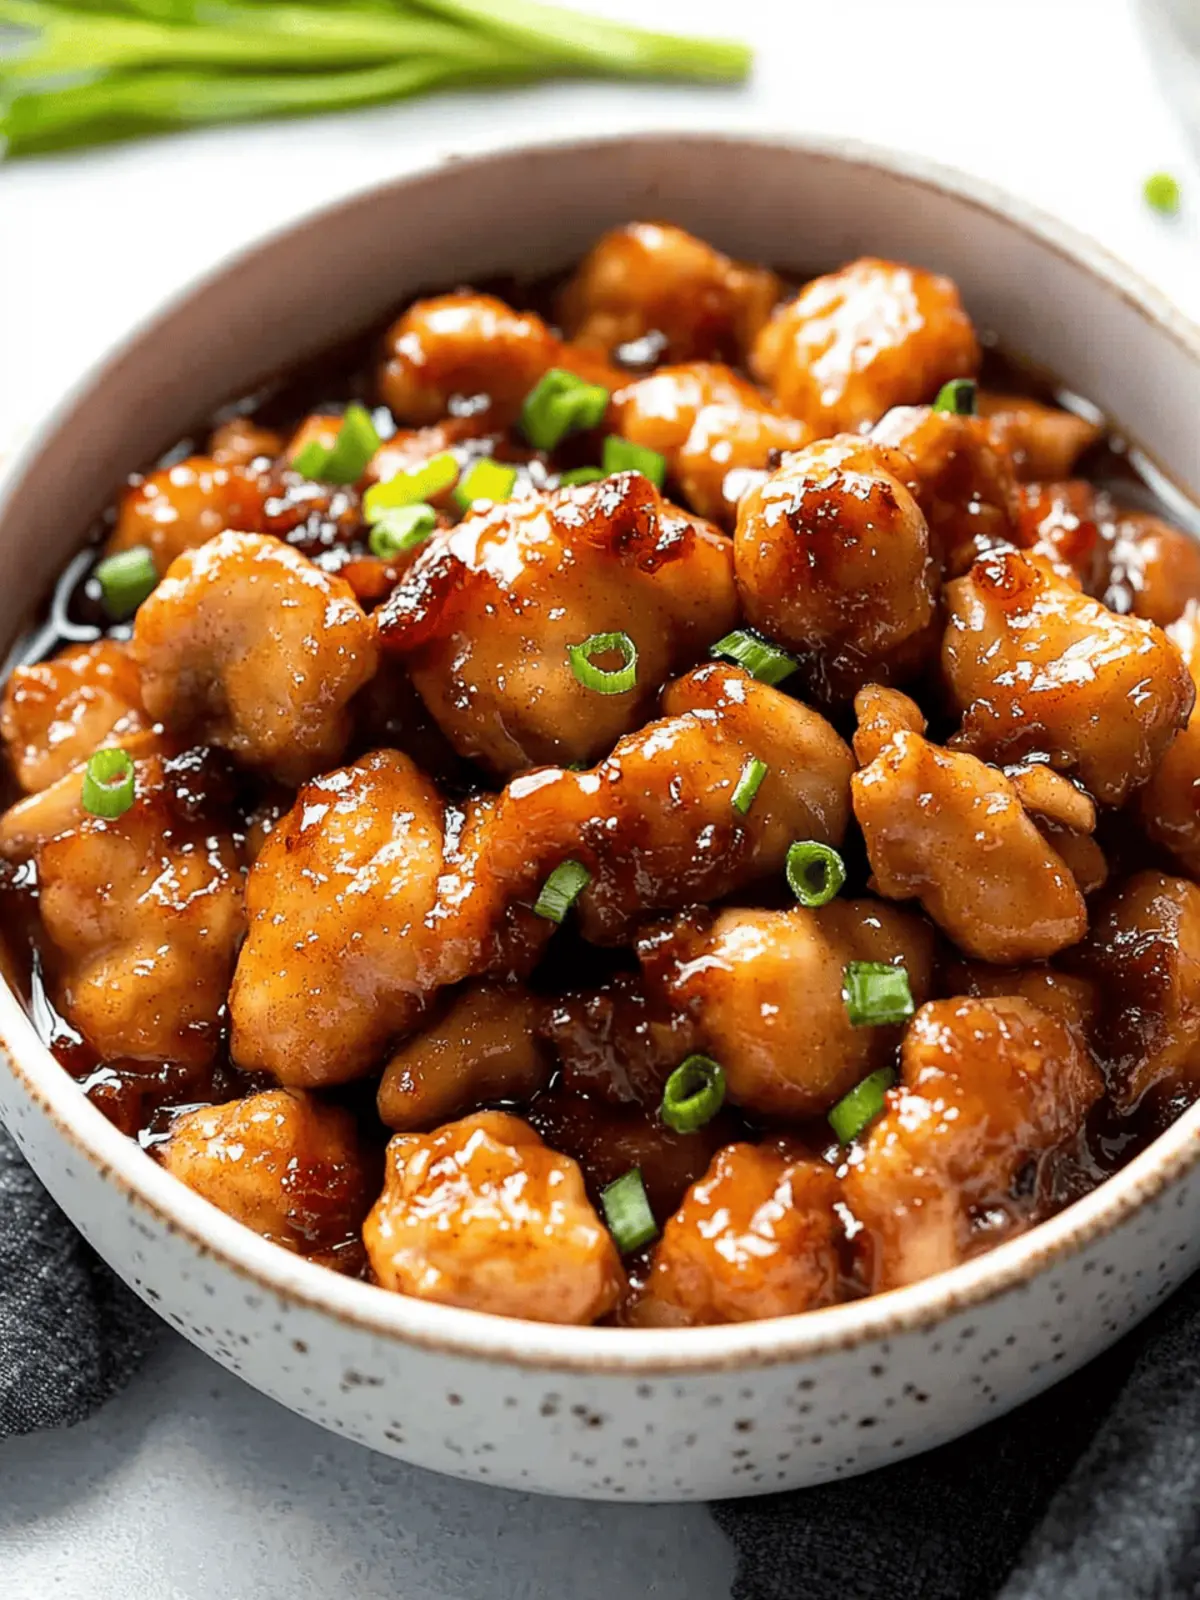
When it comes to whipping up a quick yet sensational dinner, there’s nothing quite like the irresistible allure of Honey Butter Chicken. Picture this: succulent, crispy chunks of chicken glistening in a sweet and savory honey sauce that makes every bite feel like a warm hug. I discovered this delightful recipe during a frantic weeknight rush—racing against the clock but yearning for a home-cooked meal. What began as a search for something simple quickly turned into a go-to favorite that even my most discerning dinner guests rave about.
The beauty of this dish lies not just in its mouthwatering flavor but in its ease. Ready in just 30 minutes and using shallow frying, it delivers that delightful crunch you crave without the heaviness of deep-frying. Whether you’re relishing it over fluffy rice or beside creamy mashed potatoes, you’ll find this Honey Butter Chicken is as versatile as it is delicious—making it the perfect solution to break the monotony of fast food. Join me as we dive into this scrumptious recipe that promises to elevate your weeknight dinner game!
Why is Honey Butter Chicken your new favorite?
Flavor Explosion: Each bite offers a delightful blend of sweet and savory, making it a crowd-pleaser for everyone at the table.
Quick and Easy: With just 30 minutes to prepare, you can ditch the fast food and enjoy a home-cooked meal without the hassle.
Crispy Texture: Shallow frying ensures a perfectly crispy exterior, giving you that gourmet feel without the excess grease of deep frying.
Versatile Dish: Pair it with rice, mashed potatoes, or roasted veggies for a meal that fits any occasion.
Customizable: Easily adapt this recipe for gluten-free or dairy-free diets, ensuring everyone can savor this delicious chicken.
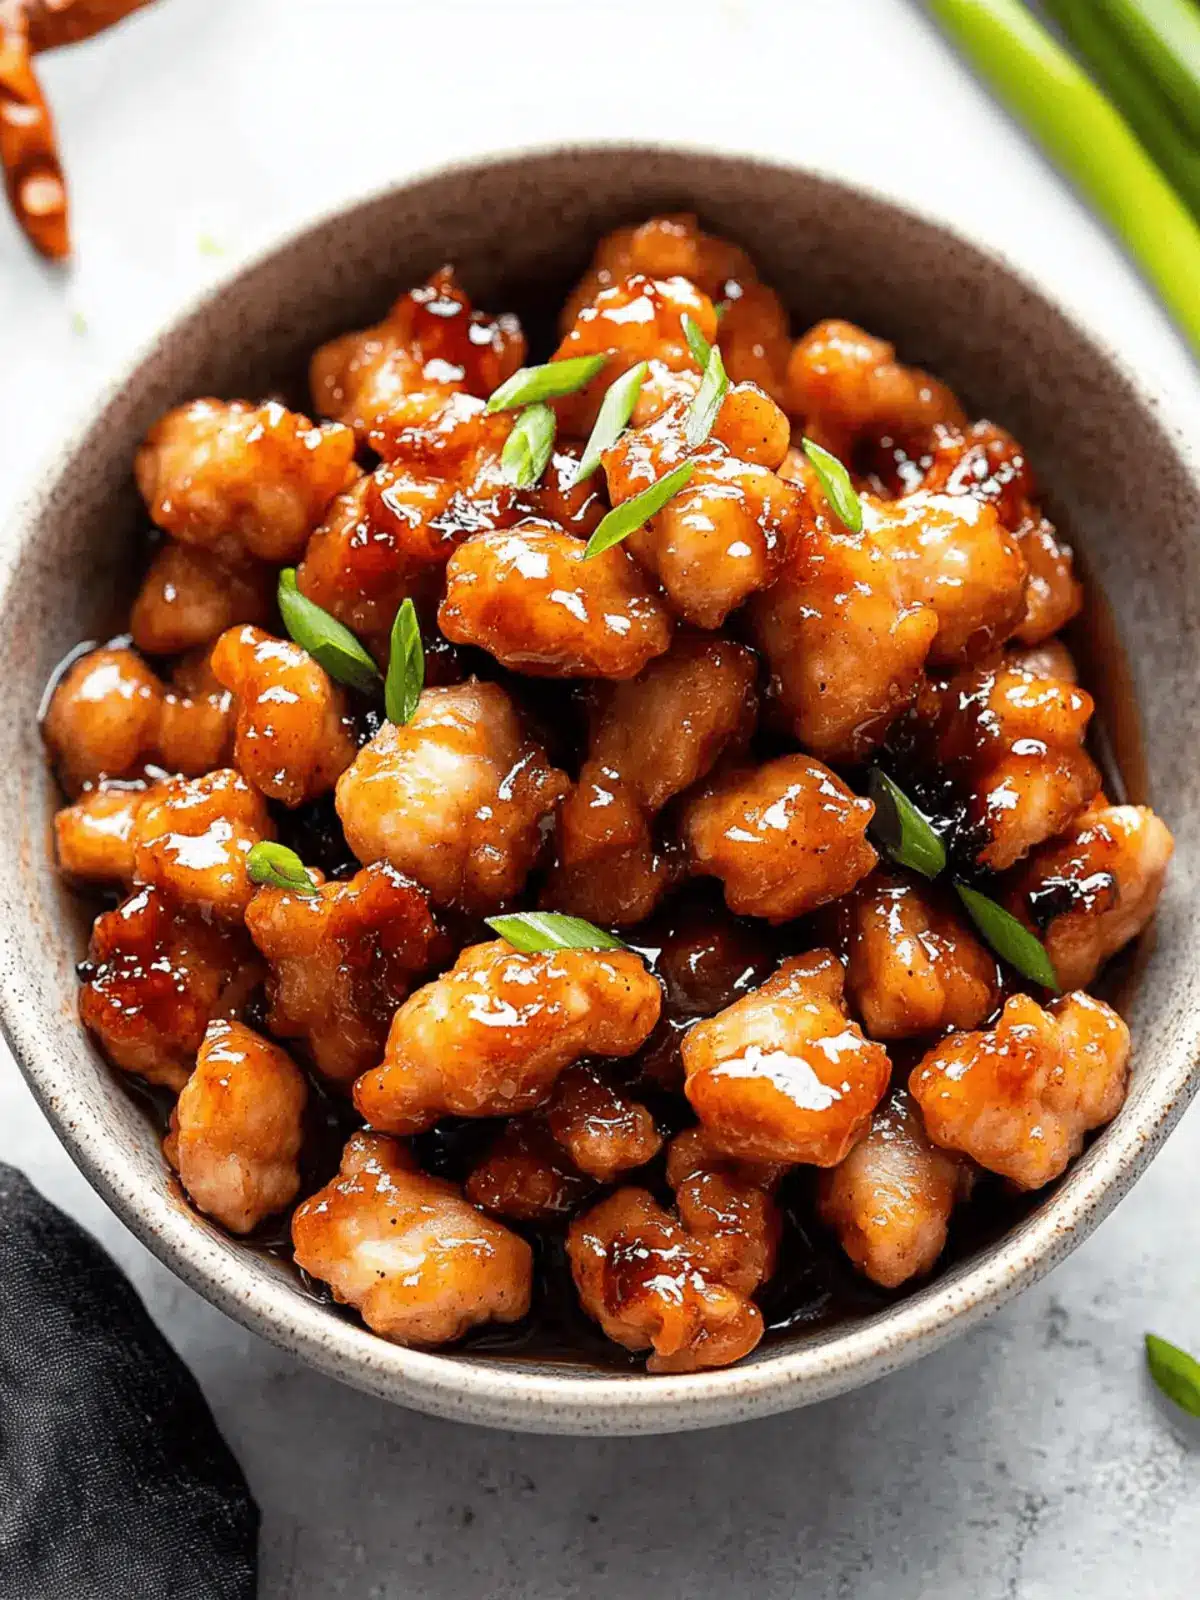
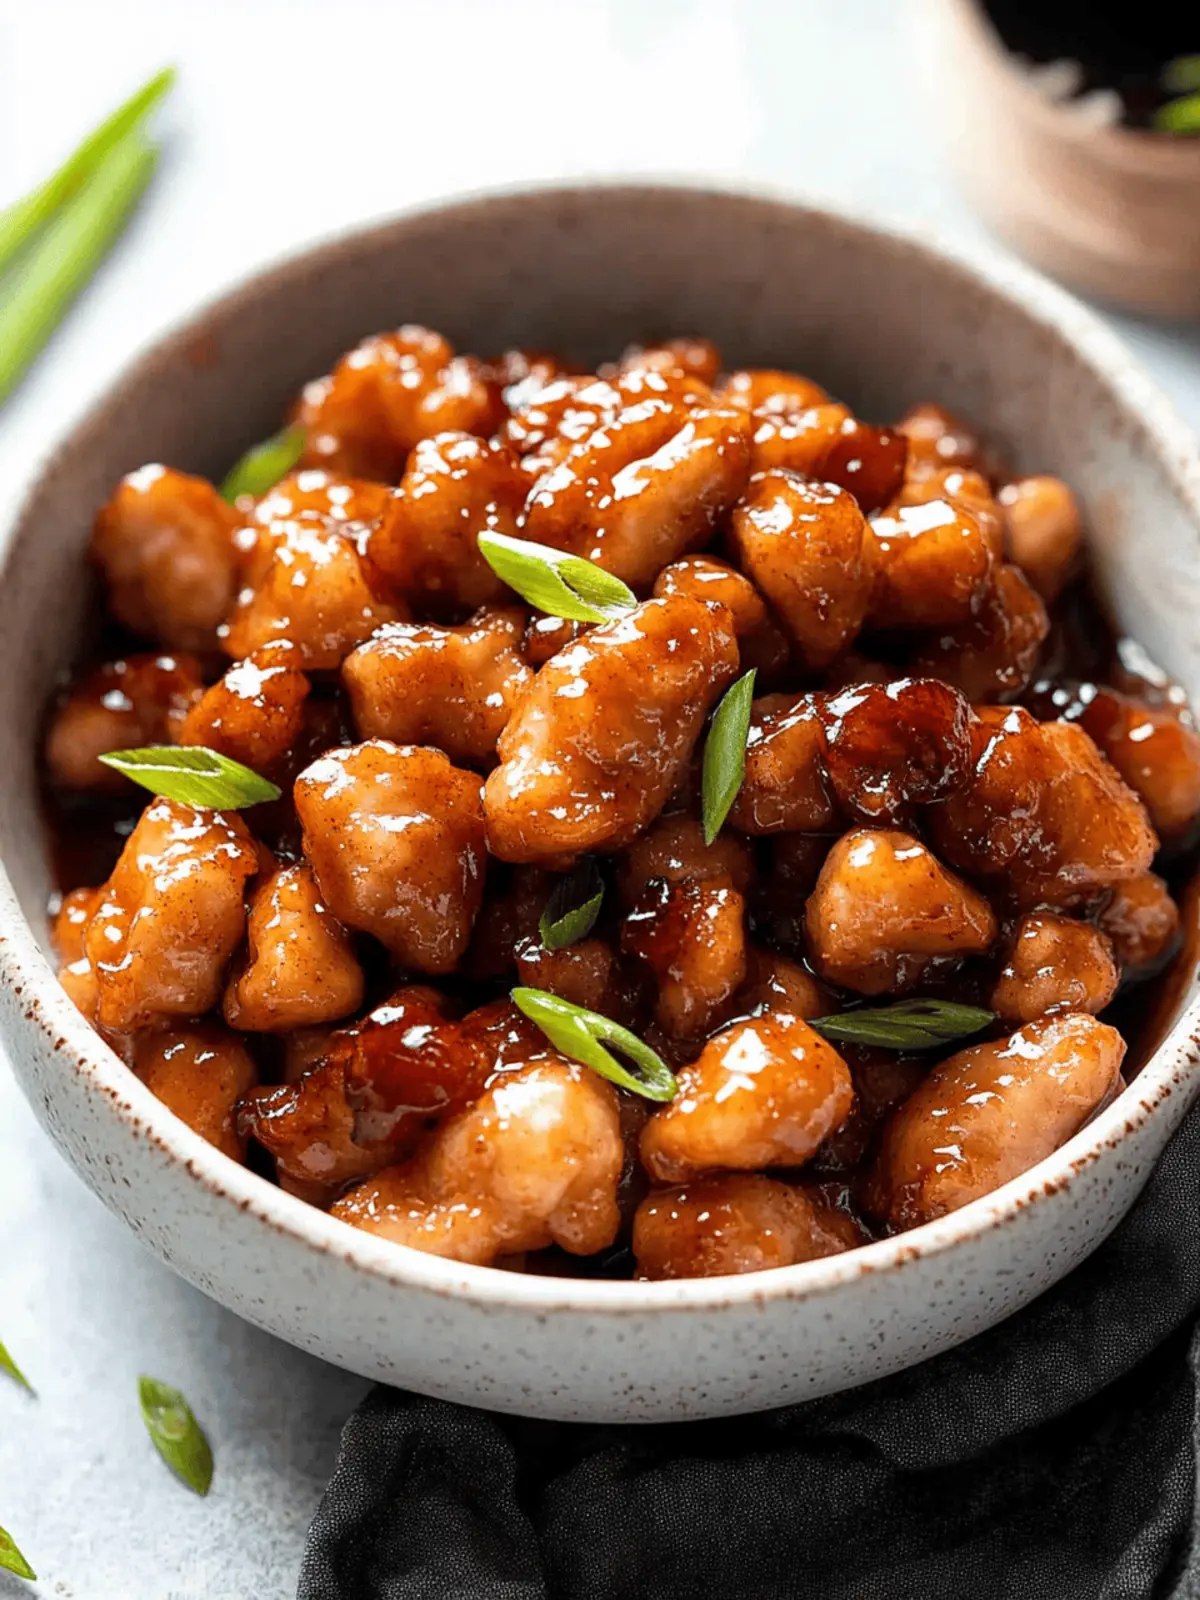
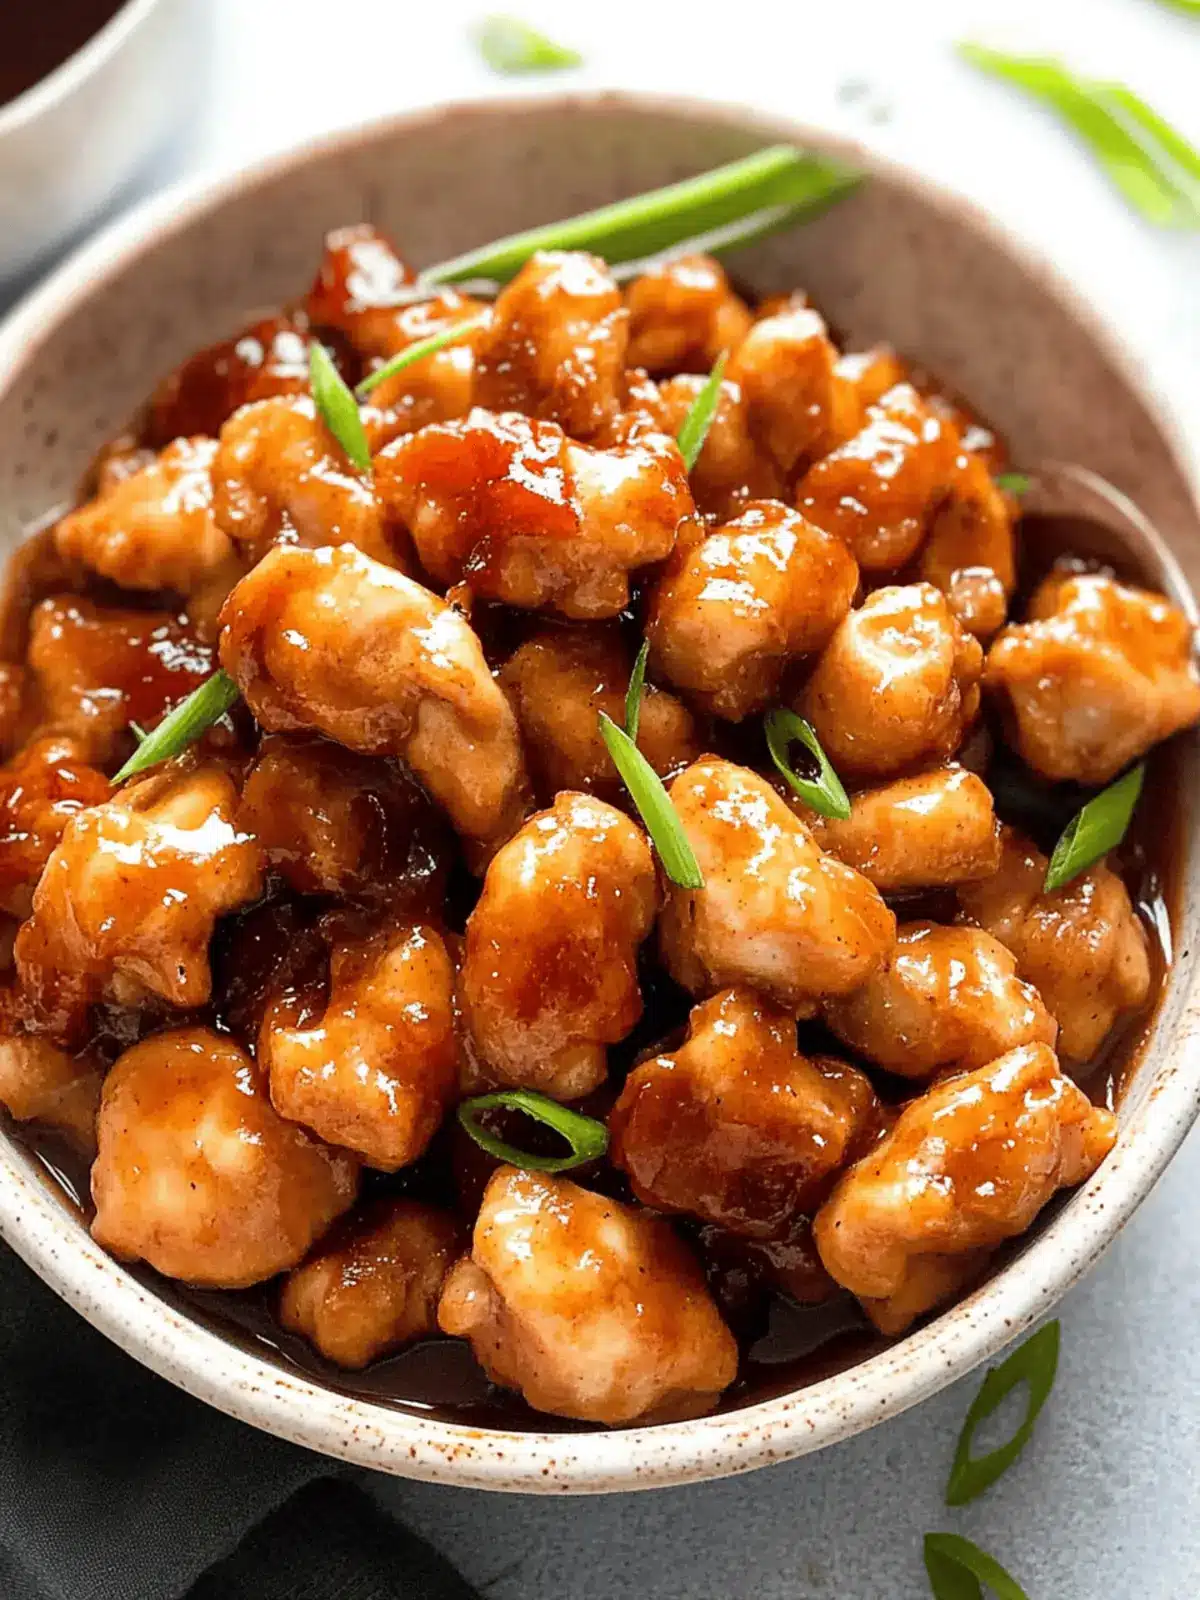
Impressive Presentation: The gorgeous glaze and golden-brown chicken make it look restaurant-worthy, so you can impress your guests!
Honey Butter Chicken Ingredients
It’s time to gather what you need to make this delicious Honey Butter Chicken!
For the Chicken
- Boneless Chicken Thighs – Perfectly moist and flavorful; you can also use chicken breasts or tenders for a leaner option.
- Flour – Essential for a crispy coating; feel free to swap it for gluten-free flour to suit dietary needs.
- Kosher Salt – Enhances the chicken’s natural flavor; adjust with regular salt if that’s what you have on hand.
- Black Pepper – Adds a touch of warmth; customize the amount to suit your taste.
- Garlic Powder – Infuses delicious flavor; select your favorite brand for the best taste.
- Olive Oil – Ideal for shallow frying; substitute with canola or vegetable oil if needed.
For the Sauce
- Unsalted Butter – The key to that sweet glaze; margarine or vegan butter can be used for a dairy-free option.
- Honey – Provides the sweetness that makes this Honey Butter Chicken shine; choose a brand you love for the best flavor.
- Minced Garlic – Fresh garlic elevates the dish; avoid frozen for maximum flavor.
- Light Soy Sauce – Adds depth and umami to the sauce; you can use tamari for a gluten-free alternative.
Now that you have all the ingredients ready, you’re just a few steps away from enjoying this delightful chicken!
How to Make Honey Butter Chicken
-
Prepare the Coating: In a large bowl, mix together flour, kosher salt, black pepper, and garlic powder. This flavorful blend will help create that delicious crispy coating.
-
Coat the Chicken: Take your boneless chicken thighs and coat them generously in the flour mixture. Make sure every piece is well-covered for a tasty crunch.
-
Heat the Oil: In a large pan, heat olive oil over medium-high until shimmering. Place the chicken pieces carefully in the oil, then cook until they’re crispy and golden brown, about 5-7 minutes per side.
-
Set Aside the Chicken: Once the chicken is perfectly cooked, use tongs to remove it from the pan and set it aside on a plate. This helps retain its crispy texture.
-
Make the Sauce: In the same pan, reduce the heat to medium, and melt butter. Once melted, add honey, light soy sauce, and minced garlic. Stir until the mixture begins to bubble, about 2 minutes.
-
Combine Chicken with Sauce: Add the fried chicken back into the pan, stirring gently to coat each piece in the rich, sweet sauce for about 1 minute.
-
Serve it Up: Dish out your Honey Butter Chicken hot, ensuring everyone can enjoy the crispy, sweet goodness right away.
Optional: Drizzle extra honey over the top for an even sweeter finish!
Exact quantities are listed in the recipe card below.
Honey Butter Chicken Variations
Make this recipe uniquely yours by trying out these delicious twists!
-
Lean Chicken: Swap chicken thighs for chicken breasts or tenders for a lighter option while still keeping it flavorful.
-
Gluten-Free Crunch: Use gluten-free flour to achieve the same crispy coating without the gluten, perfect for those with sensitivities!
-
Dairy-Free Delight: Substitute unsalted butter with vegan butter or margarine, ensuring you can enjoy this dish while staying dairy-free.
-
Flavor Boost: Add a teaspoon of smoked paprika to the flour mixture for a subtle smoky flavor that elevates every bite.
-
Crispy Cornflakes: For an extra crunchy texture, use crushed cornflakes instead of flour to coat the chicken, giving it a fun twist!
-
Spicy Kick: Mix in a pinch of cayenne pepper or your favorite hot sauce when preparing the honey sauce for a heat that lingers.
-
Sweet & Savory Mix: Consider adding a splash of orange juice to the honey sauce for a refreshing citrus note that balances beautifully with the sweetness.
-
Herbed Goodness: Toss in some fresh chopped herbs like rosemary or thyme into the sauce for a fragrant, gourmet finish that impresses.
Feel free to experiment and let your culinary creativity shine!
Expert Tips for Honey Butter Chicken
-
Cook Undisturbed: Allow the chicken to cook undisturbed for at least 5 minutes per side. This helps develop a proper crust and enhances the crispy texture.
-
Adjust Sweetness: Customize the amount of honey in the sauce to fit your sweetness preference. Don’t hesitate to experiment for the perfect balance!
-
Check for Doneness: Make sure the chicken reaches an internal temperature of 165°F (75°C) to ensure it’s safely cooked through.
-
Use Fresh Garlic: For maximum flavor, always use freshly minced garlic rather than frozen. Fresh adds depth and aroma to the Honey Butter Chicken sauce.
-
Keep It Hot: Serve the Honey Butter Chicken immediately after coating it in the sauce. This keeps the chicken crispy and enhances the overall dining experience.
-
Store Properly: If you have leftovers, store them in an airtight container in the fridge for up to 3 days. Reheat gently to maintain the chicken’s crispy texture.
What to Serve with Honey Butter Chicken?
Elevate your dinner experience by pairing this delectable chicken with sides that enhance its sweet and savory flavors.
-
Fluffy Rice: Perfectly absorbs the delicious honey sauce, balancing flavors and adding a comforting texture to your meal.
-
Creamy Mashed Potatoes: The buttery smoothness complements the crispy chicken, creating a heavenly contrast that’s irresistible.
-
Roasted Vegetables: Seasonal veggies roasted to caramelized perfection provide a fresh, earthy contrast, enhancing the overall dish with vibrant colors and nutrients.
-
Garlic Noodles: Their slight chewiness and hint of garlic tie beautifully with the honey butter sauce—an ode to comforting Asian flavors.
-
Coleslaw: A crunchy slaw offers a refreshing bite that cuts through the richness of the chicken, delivering an unexpected twist to your plate.
-
Sweet Corn Bread: Its subtle sweetness pairs harmoniously with the honey glaze, providing a delightful element of surprise and texture.
If you’re in the mood for something sweet afterward, consider finishing off your meal with vanilla ice cream drizzled with additional honey to tie all those flavors together!
Make Ahead Options
These Honey Butter Chicken bites are perfect for meal prep enthusiasts! You can coat the chicken in the flour mixture up to 24 hours in advance; just store it in an airtight container in the refrigerator to maintain its crispiness. Additionally, the sauce can be prepared up to 3 days ahead—simply combine the butter, honey, soy sauce, and minced garlic in a container and refrigerate. When you’re ready to serve, just pan-fry the coated chicken until crispy, reheat the sauce over medium heat until bubbly, then toss the chicken in for that delightful glaze. This preparation allows for a quick and satisfying weeknight dinner, keeping the flavor just as delicious!
Storage Tips for Honey Butter Chicken
- Fridge: Store leftovers in an airtight container for up to 3 days. This helps maintain the chicken’s flavor and moisture for your future meals.
- Freezer: For longer storage, freeze the cooked Honey Butter Chicken in a freezer-safe container for up to 2 months. Thaw in the fridge before reheating.
- Reheating: Reheat gently in the microwave or oven, just until warmed through, to keep the chicken crispy. Avoid high heat that can make it tough.
- Avoiding Sogginess: For best texture, reheat in the oven instead of a microwave when possible. This will help retain the crispy outer layer.
Honey Butter Chicken Recipe FAQs
How do I select the best chicken for my Honey Butter Chicken?
Absolutely! For optimal flavor and moisture, I recommend using boneless chicken thighs. They stay juicy and tender, but you can also use chicken breasts or tenderloins for a leaner option. Look for chicken that has a bright pink color without any dark spots, indicating freshness.
What is the best way to store leftovers from my Honey Butter Chicken?
Great question! Store any leftovers in an airtight container in the fridge for up to 3 days. This helps preserve the chicken’s flavor and moisture. When you’re ready to eat, gently reheat it in the microwave or oven until warmed through. I usually cover the chicken with a damp paper towel in the microwave to prevent it from drying out.
Can I freeze Honey Butter Chicken for later?
Yes, you can! To freeze, place the cooked Honey Butter Chicken in a freezer-safe container, ensuring it’s tightly sealed. You can store it for up to 3 months. When you’re ready to enjoy it again, thaw overnight in the fridge, then reheat gently to retain the crispy texture.
What should I do if the chicken isn’t crispy after frying?
The more the merrier! To achieve the best crispiness, allow the chicken to cook undisturbed for at least 5-7 minutes per side. If it still isn’t crispy, the oil might not have been hot enough when you started cooking. Ensure the oil is shimmering before adding the chicken, so you get that superb crunch!
Are there any dietary considerations I should keep in mind?
Very much so! If you or someone you’re serving has gluten sensitivities, ensure to use gluten-free flour and light soy sauce, like tamari. For a dairy-free version, swap out the unsalted butter for margarine or vegan butter. Always double-check ingredient labels for allergens!
How should I adjust the sauce if I want it more or less sweet?
Absolutely! You can easily customize the sweetness of the sauce by adjusting the amount of honey. Start with ¼ cup and add more, a tablespoon at a time, until you reach your ideal sweetness. Remember, balancing that sweetness with a pinch of salt or soy sauce can also enhance the overall flavor profile!
Sweet and Crispy Honey Butter Chicken in Just 30 Minutes
Ingredients
Equipment
Method
- In a large bowl, mix together flour, kosher salt, black pepper, and garlic powder.
- Coat the boneless chicken thighs generously in the flour mixture.
- Heat olive oil over medium-high in a large pan until shimmering.
- Carefully place the chicken pieces in the oil and cook until crispy and golden brown, about 5-7 minutes per side.
- Remove the chicken from the pan and set it aside on a plate.
- In the same pan, reduce heat to medium, melt butter, then add honey, light soy sauce, and minced garlic. Stir until bubbling, about 2 minutes.
- Add the fried chicken back into the pan, gently coating each piece in the sauce for about 1 minute.
- Serve hot, and optionally drizzle extra honey on top.

