When the leaves start to change and Halloween looms closer, my kitchen transforms into a spooky lab of culinary creativity. One delightful discovery during my family’s Halloween prep was these Homemade Marshmallow Rice Krispies Halloween Brains. Picture this: rich marshmallows melting into a gooey concoction, and puffed rice cereal coming together in a frightfully fun way. In just about 20 minutes, you can craft these eerie yet utterly delicious treats. They strike the perfect balance between a whimsical scare and sweet indulgence that kids—and adults—can’t resist.
The best part? No baking is required, and the results are nothing short of show-stopping. With a touch of red food coloring for that eerie touch and plenty of room for creative variations, these creepy brains will steal the spotlight at any Halloween gathering. So grab your brain mold and let’s dive into this simple recipe that promises to bring a little thrill to your holiday festivities!
Why love these Homemade Marshmallow Rice Krispies Halloween Brains?
Quick & Easy: Whip these up in under 20 minutes—perfect for last-minute Halloween parties!
Family-Friendly Fun: Kids love getting involved, from mixing to molding, making it a delightful family activity.
Creepy Creativity: The brain shape and vibrant colors become a conversation starter that’s sure to impress guests.
Versatile Treats: Customize with various food coloring or toppings for unique spooky effects!
No-Bake Convenience: Enjoy a delicious treat without the heat of the oven, keeping your kitchen cool.
These treats are a delightful addition for any Halloween gathering, combining fun and flavor in every spooky bite!
Homemade Marshmallow Rice Krispies Halloween Brains Ingredients
For the Brains
- Plain Marshmallows – Provide the essential stickiness and sweetness; avoid flavored varieties for the best results.
- Puffed Rice Cereal (Rice Krispies) – Adds a satisfying crunch and structure; feel free to use any brand you enjoy.
- Unsalted Butter – Enhances the flavor while helping to melt the marshmallows to the perfect gooey consistency.
- Salt – Balances the sweetness and brings all the flavors together.
- Red Food Coloring – Creates the terrifyingly fun blood-stained look of your Halloween brains; add it slowly to prevent bitterness.
Optional Toppings
- Edible Glitter – Sprinkle some for a spooky, shimmering effect that’s sure to delight.
- Red Sugar – Adds an extra layer of “gore” to your treat; it’s perfect for Halloween!
How to Make Homemade Marshmallow Rice Krispies Halloween Brains
-
Prepare Double Boiler: Fill a small pot with 1/2 cup of water and bring it to a boil. Place a heatproof bowl on top, ensuring it doesn’t touch the water, to create a gentle melting environment.
-
Melt Ingredients: Add the unsalted butter and plain marshmallows into the bowl. Whisk continuously for about 2-4 minutes until the mixture is completely smooth and glossy.
-
Color Mixture: Remove the bowl from heat. Whisk in a pinch of salt and slowly add a few drops of red food coloring, blending until you achieve a vibrant red hue.
-
Mix Cereal: In a large mixing bowl, combine the puffed rice cereal with the marshmallow mixture. Stir gently until every piece is well-coated and combined.
-
Shape Treats: Lightly oil your hands to prevent sticking, and carefully shape the mixture into brain forms. Use a butter knife to create any desired dents or ridges for added realism.
-
Detailing: For the finishing touch, dip a toothpick into red food coloring and draw veins on the brains, enhancing their spooky appearance.
-
Storing: Keep your creepy creations in an airtight container at room temperature for up to one week to maintain their perfect texture.
Optional: Dust with edible glitter for an enchanting sparkle!
Exact quantities are listed in the recipe card below.
Make Ahead Options
These Homemade Marshmallow Rice Krispies Halloween Brains are perfect for busy home cooks looking to save time during the Halloween season! You can prepare the marshmallow and cereal mixture up to 24 hours in advance. Simply melt the unsalted butter and plain marshmallows as instructed, then mix in the cereal. Allow the mixture to cool slightly before shaping it into brain forms; store the shaped brains in an airtight container with parchment paper layers to prevent sticking. When you’re ready to serve, simply remove them from the container, add your detailing with red food coloring, and enjoy your spooky treats, which will be just as delicious as if made fresh!
How to Store and Freeze Homemade Marshmallow Rice Krispies Halloween Brains
-
Room Temperature: Keep your spooky treats in an airtight container at room temperature for up to one week to retain their chewy texture and freshness.
-
Fridge: If you prefer colder snacks, you can store them in the fridge; they will last for about 10 days. Just ensure they’re in an airtight container to prevent them from becoming stale.
-
Freezer: For longer storage, you can freeze the rice krispies brains for up to three months. Wrap each brain individually in plastic wrap and place them in a freezer-safe container.
-
Reheating: If frozen, simply thaw them in the fridge overnight before serving. Enjoy your Homemade Marshmallow Rice Krispies Halloween Brains at room temperature for the best flavor!
What to Serve with Homemade Marshmallow Rice Krispies Halloween Brains?
Bring your Halloween festivities to life with these delightful pairings that will surely please both kids and adults alike.
-
Chocolate Pudding Cups: These smooth, rich treats offer a fun contrast in texture and are easy to whip up for any spooky event.
-
Spooky Fruit Skewers: Fresh fruits shaped like ghosts or monsters add a healthy, vibrant touch that balances the sweetness of the brains. They’re colorful and add a refreshing bite!
-
Candy Corn Bowls: A classic Halloween candy that adds a pop of color and a nostalgic touch. Its sweetness works well alongside the chewy marshmallow treats.
-
Gooey Brownies: Dense and chocolatey, brownies provide a fudgy richness that complements the airy texture of the Rice Krispies brains, making for an indulgent dessert spread.
-
Apple Cider: Serve chilled or hot for a delightful autumn vibe. The warm notes of cinnamon and apple enhance the spooky atmosphere and provide a cozy drink option.
-
Pumpkin Spice Cookies: These treats bring in the flavors of the season, adding an aromatic, spiced contrast that pairs beautifully with the sweetness of the spooky desserts.
Enjoy these tantalizing combinations that elevate your Halloween gathering, turning it into a feast of fun and flavor!
Expert Tips for Homemade Marshmallow Rice Krispies Halloween Brains
-
Perfect Melt: Don’t rush the melting process; slowly melt the marshmallows and butter over low heat to achieve a wonderfully gooey consistency.
-
Time Management: Work quickly once the cereal mixture is combined, as it firms up rapidly and can become hard to mold.
-
Avoid Stickiness: Lightly coat your hands with cooking spray to prevent the mixture from sticking while shaping the creepy brains.
-
Color Caution: Add red food coloring gradually to prevent bitterness. Test a small amount first for vibrancy and adjust as needed.
-
Storage Secrets: Store your marshmallow Rice Krispies Halloween brains in an airtight container with layers of parchment paper to prevent sticking and maintain freshness.
Homemade Marshmallow Rice Krispies Halloween Brains Variations
Feel free to unleash your creativity and customize this eerie treat to fit your spooky vision!
- Mini Marshmallows: Swap regular marshmallows for mini ones for added texture and a fun visual twist. The smaller size will also melt quicker, so keep an eye on them!
- Color Swap: Use green or purple food coloring instead of red for a wickedly different vibe. Imagine the delight on kids’ faces when they see these vibrant hues!
- Gore Galore: Sprinkle red sugar or edible glitter to enhance the horrifying look of your creations. This adds an extra layer of fun, making them even more irresistible for little monsters.
- Nutty Crunch: Stir in some crushed nuts or granola for a delightful crunch. The contrast between the chewy marshmallow and crispy nuts will elevate your sweet treat.
- Coconut Flakes: Add shredded coconut into the mixture for a tropical twist. The coconut will also give your brains a more “fleshy” texture that adds to the creepy aesthetic!
- Spicy Surprise: For those who like it hot, incorporate a pinch of cayenne pepper into the melted marshmallow mixture. Pairing sweetness and heat creates an unexpected yet intriguing flavor combination.
- Fruit Flavor: Mix in powdered freeze-dried fruit for both flavor and color. Raspberry or strawberry would work beautifully, allowing you to play with taste while maintaining a spooky appearance!
- Pie Spice: Add a sprinkle of pumpkin pie spice for a seasonal twist. This comforting flavor will bring warmth to your Halloween festivities, creating a delightful fusion of fall and fright!
Homemade Marshmallow Rice Krispies Halloween Brains Recipe FAQs
How do I select the right marshmallows for this recipe?
Choose plain marshmallows for the best results; they provide the ideal stickiness and sweetness needed for your creepy treats. Avoid any flavored marshmallows as they can alter the taste and texture of your Halloween brains.
What is the best way to store my Homemade Marshmallow Rice Krispies Halloween Brains?
Store your spooky treats in an airtight container at room temperature for up to one week. To maintain their soft and chewy texture, make sure they’re not exposed to air. If you’d like them to last longer, consider storing in the refrigerator, where they can last about 10 days.
Can I freeze the Homemade Marshmallow Rice Krispies Halloween Brains?
Absolutely! You can freeze these delicious treats for up to three months. Wrap each brain individually in plastic wrap, then place them in a freezer-safe container. When you’re ready to enjoy them, simply thaw them in the fridge overnight and serve at room temperature.
What should I do if my marshmallow mixture is too stiff?
If your marshmallow mixture hardens too quickly, it may be because you didn’t work quickly enough after combining the cereal. To remedy this, you can briefly place the bowl back over low heat (using the double boiler) while stirring gently. This will help soften the mixture again, allowing you to mold the brains with ease.
Are there any dietary considerations to keep in mind?
Yes! Check the labels of your marshmallows and puffed rice cereal if you’re accommodating dietary restrictions, such as gluten or allergies. Most brands are gluten-free, but it’s always wise to confirm. Should your loved ones have allergies to common ingredients, consider using alternative products to make sure everyone can enjoy the spooky fun!
How can I customize the colors for my Halloween brains?
For a truly unique treat, feel free to swap out the red food coloring for green or purple. Just remember to add small drops gradually to reach your desired shade without bitterness. And if you’re feeling extra festive, sprinkle the finished brains with edible glitter or colored sugar for added flair!
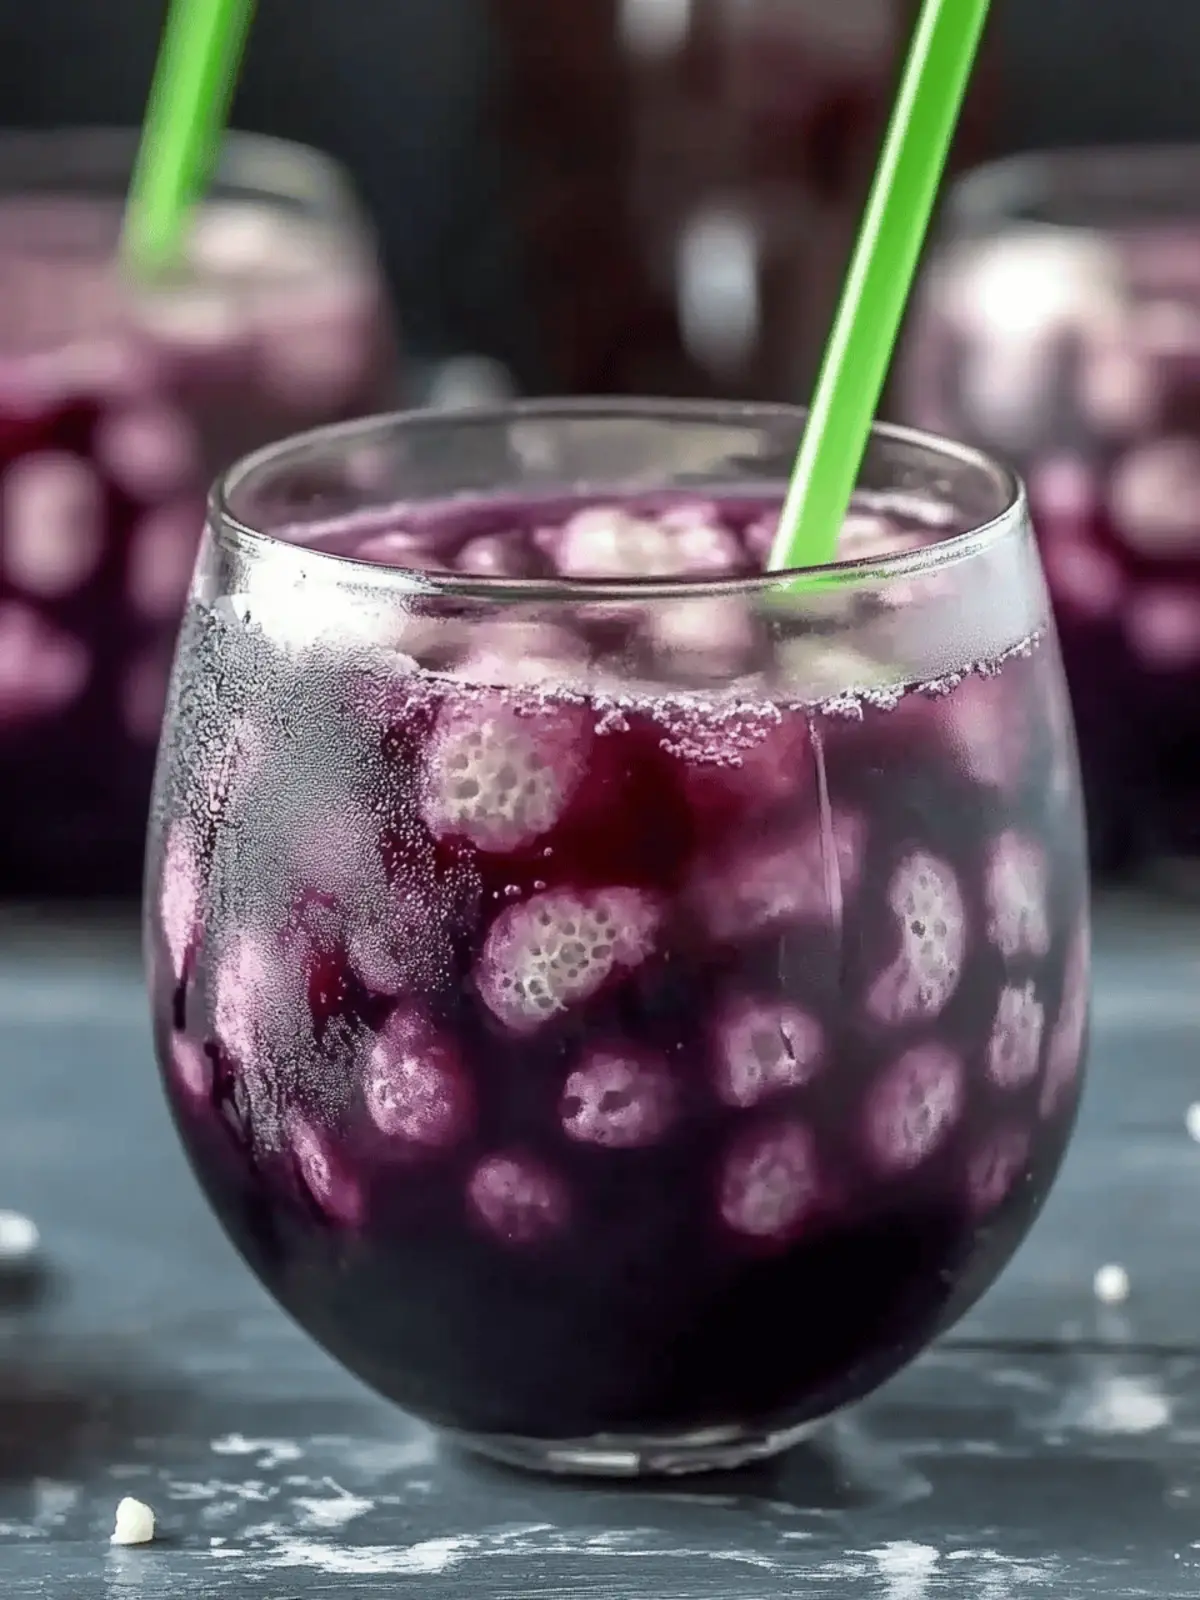
Homemade Marshmallow Rice Krispies Halloween Brains to Delight
Ingredients
Equipment
Method
- Fill a small pot with 1/2 cup of water and bring it to a boil. Place a heatproof bowl on top, ensuring it doesn’t touch the water, to create a gentle melting environment.
- Add the unsalted butter and plain marshmallows into the bowl. Whisk continuously for about 2-4 minutes until the mixture is completely smooth and glossy.
- Remove the bowl from heat. Whisk in a pinch of salt and slowly add a few drops of red food coloring, blending until you achieve a vibrant red hue.
- In a large mixing bowl, combine the puffed rice cereal with the marshmallow mixture. Stir gently until every piece is well-coated and combined.
- Lightly oil your hands to prevent sticking, and carefully shape the mixture into brain forms. Use a butter knife to create any desired dents or ridges for added realism.
- For the finishing touch, dip a toothpick into red food coloring and draw veins on the brains, enhancing their spooky appearance.
- Keep your creepy creations in an airtight container at room temperature for up to one week to maintain their perfect texture.

