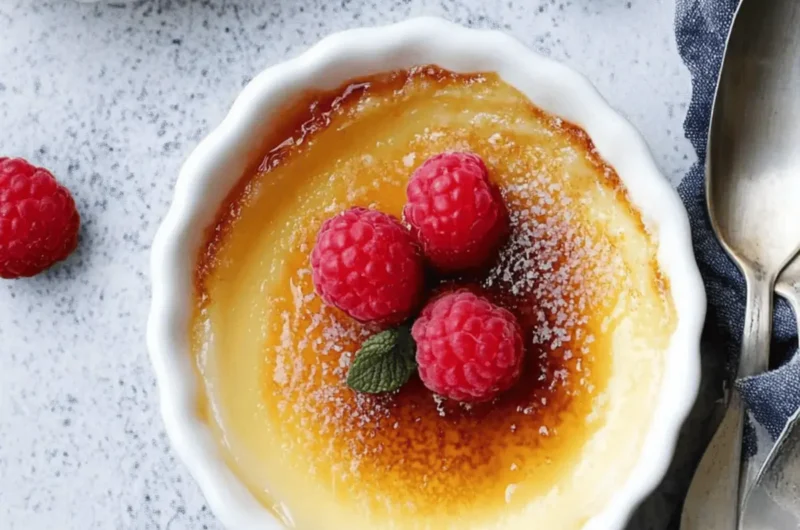
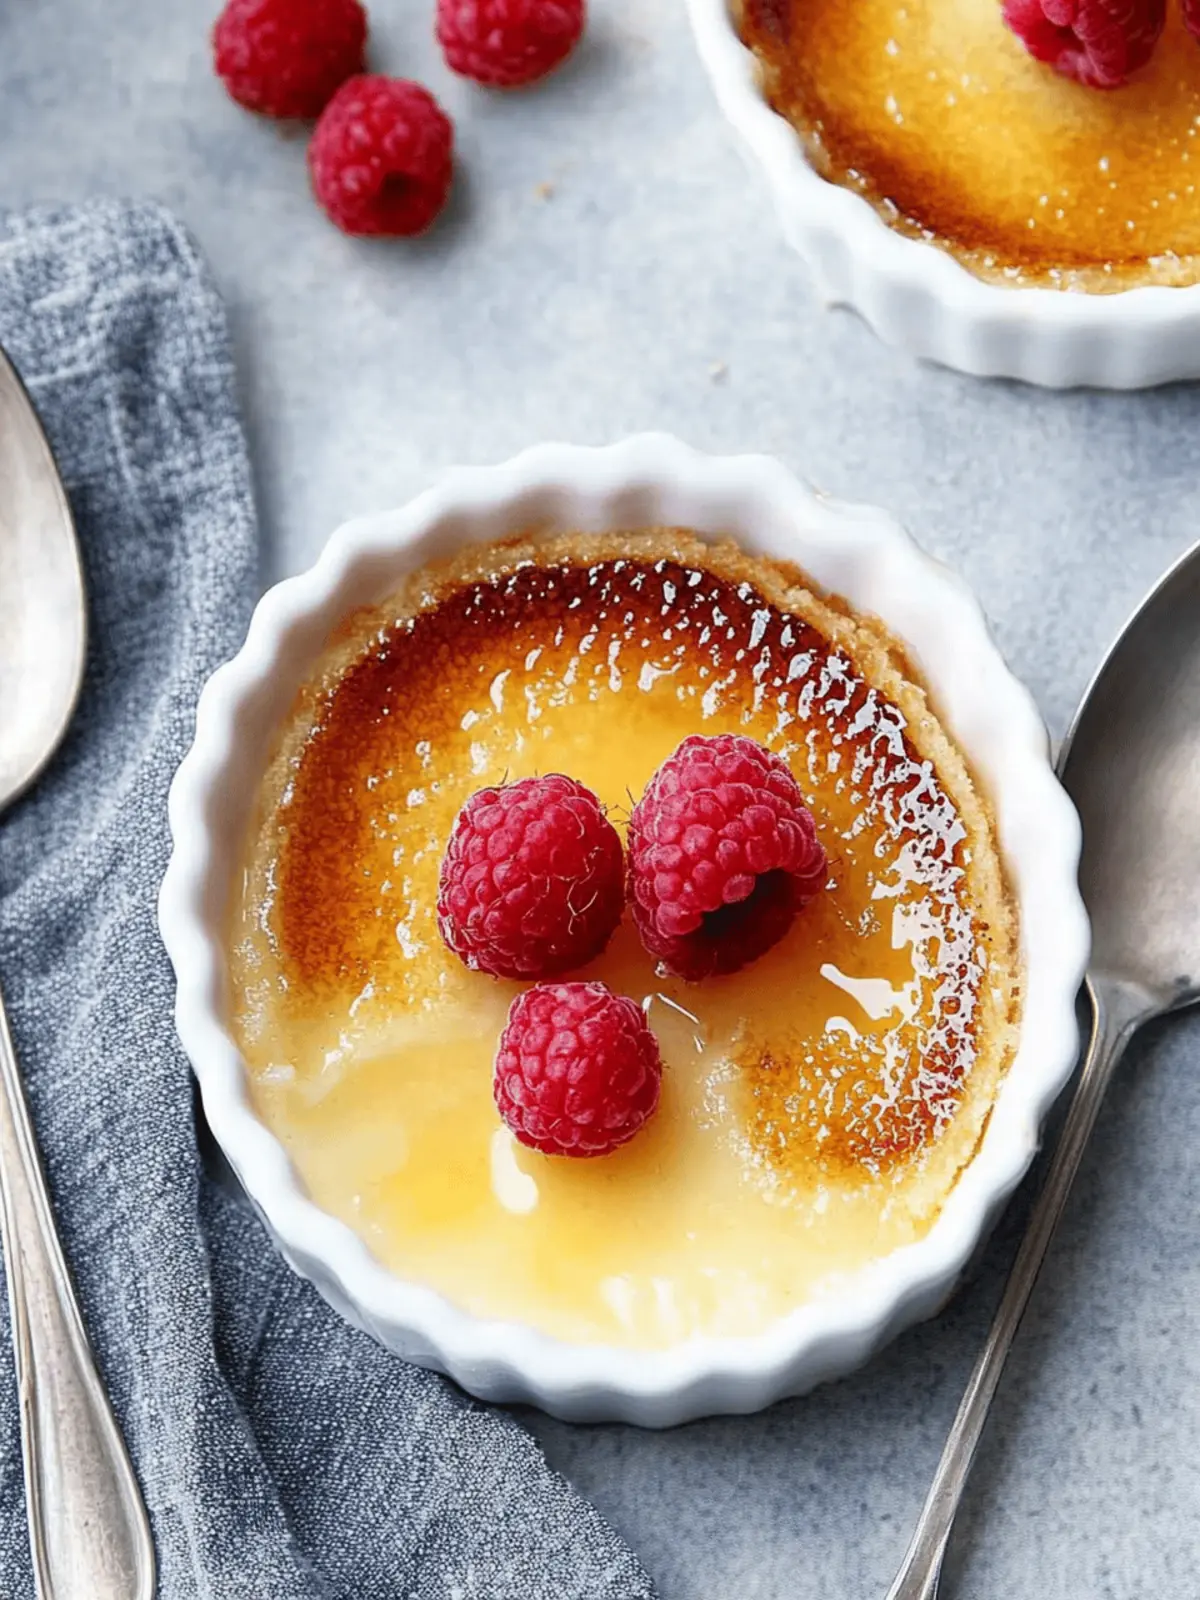
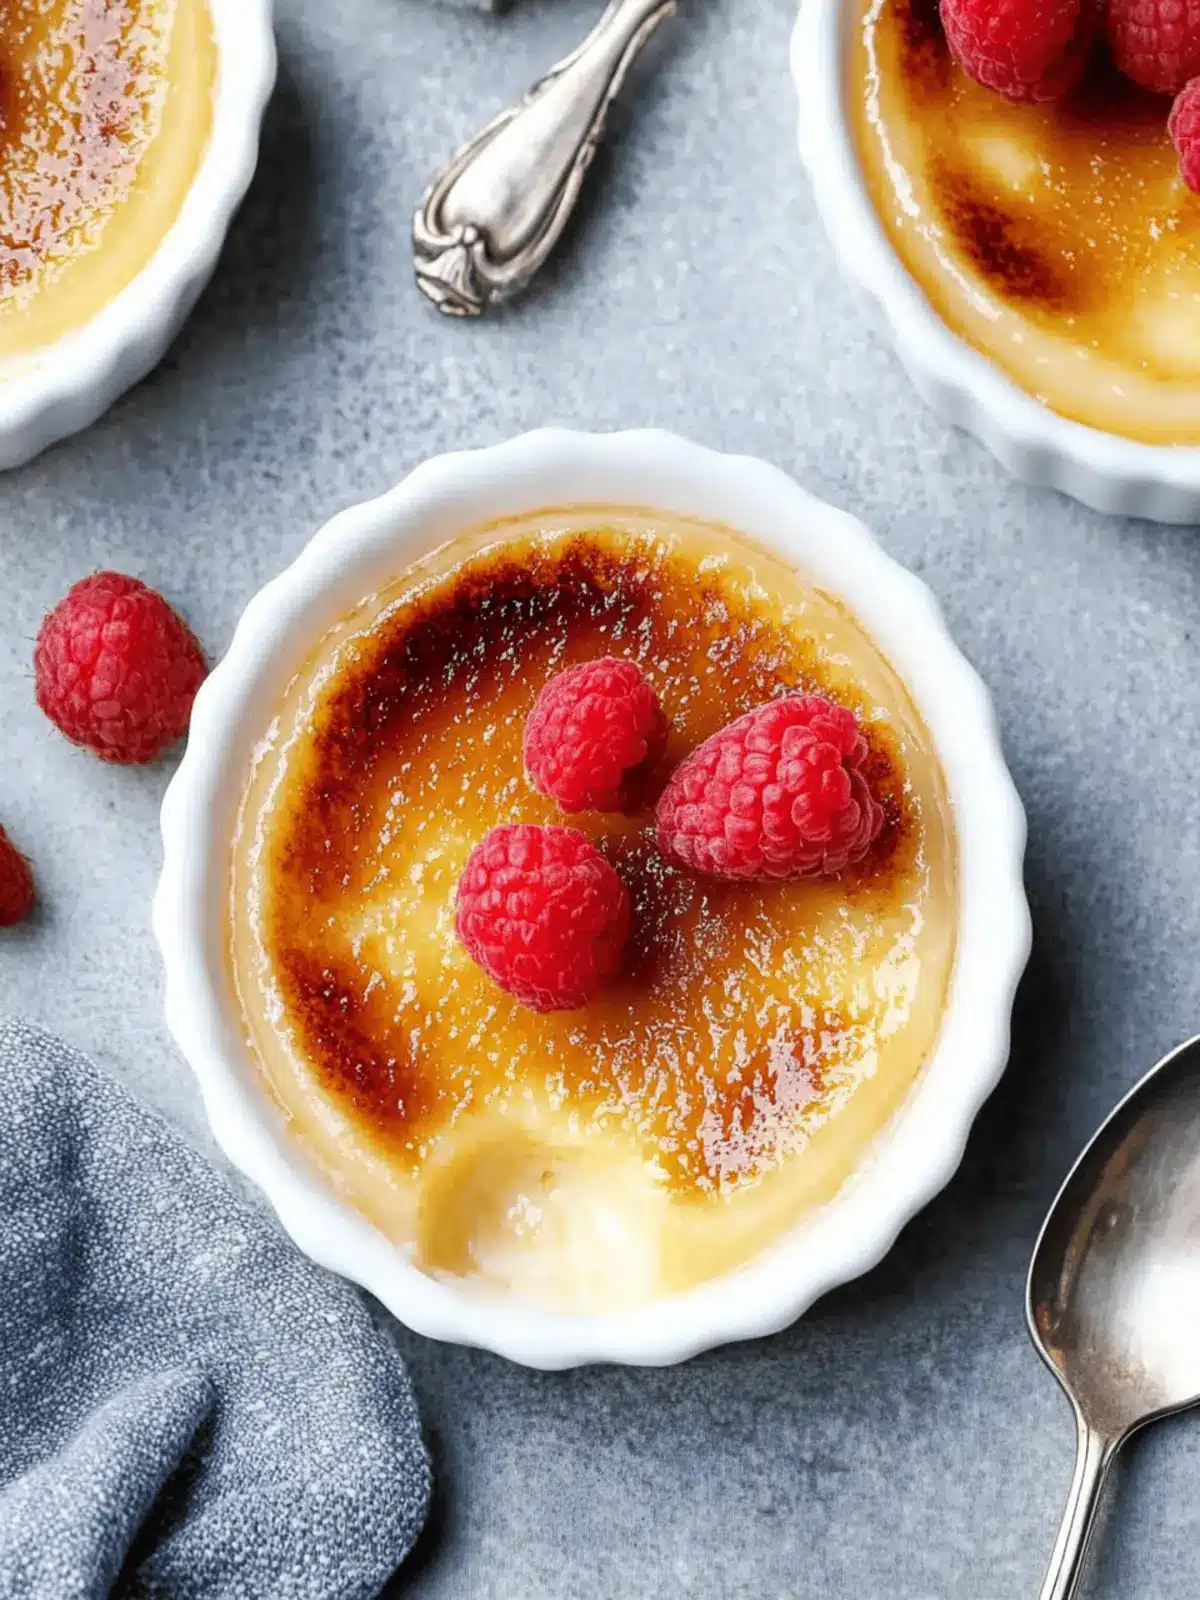
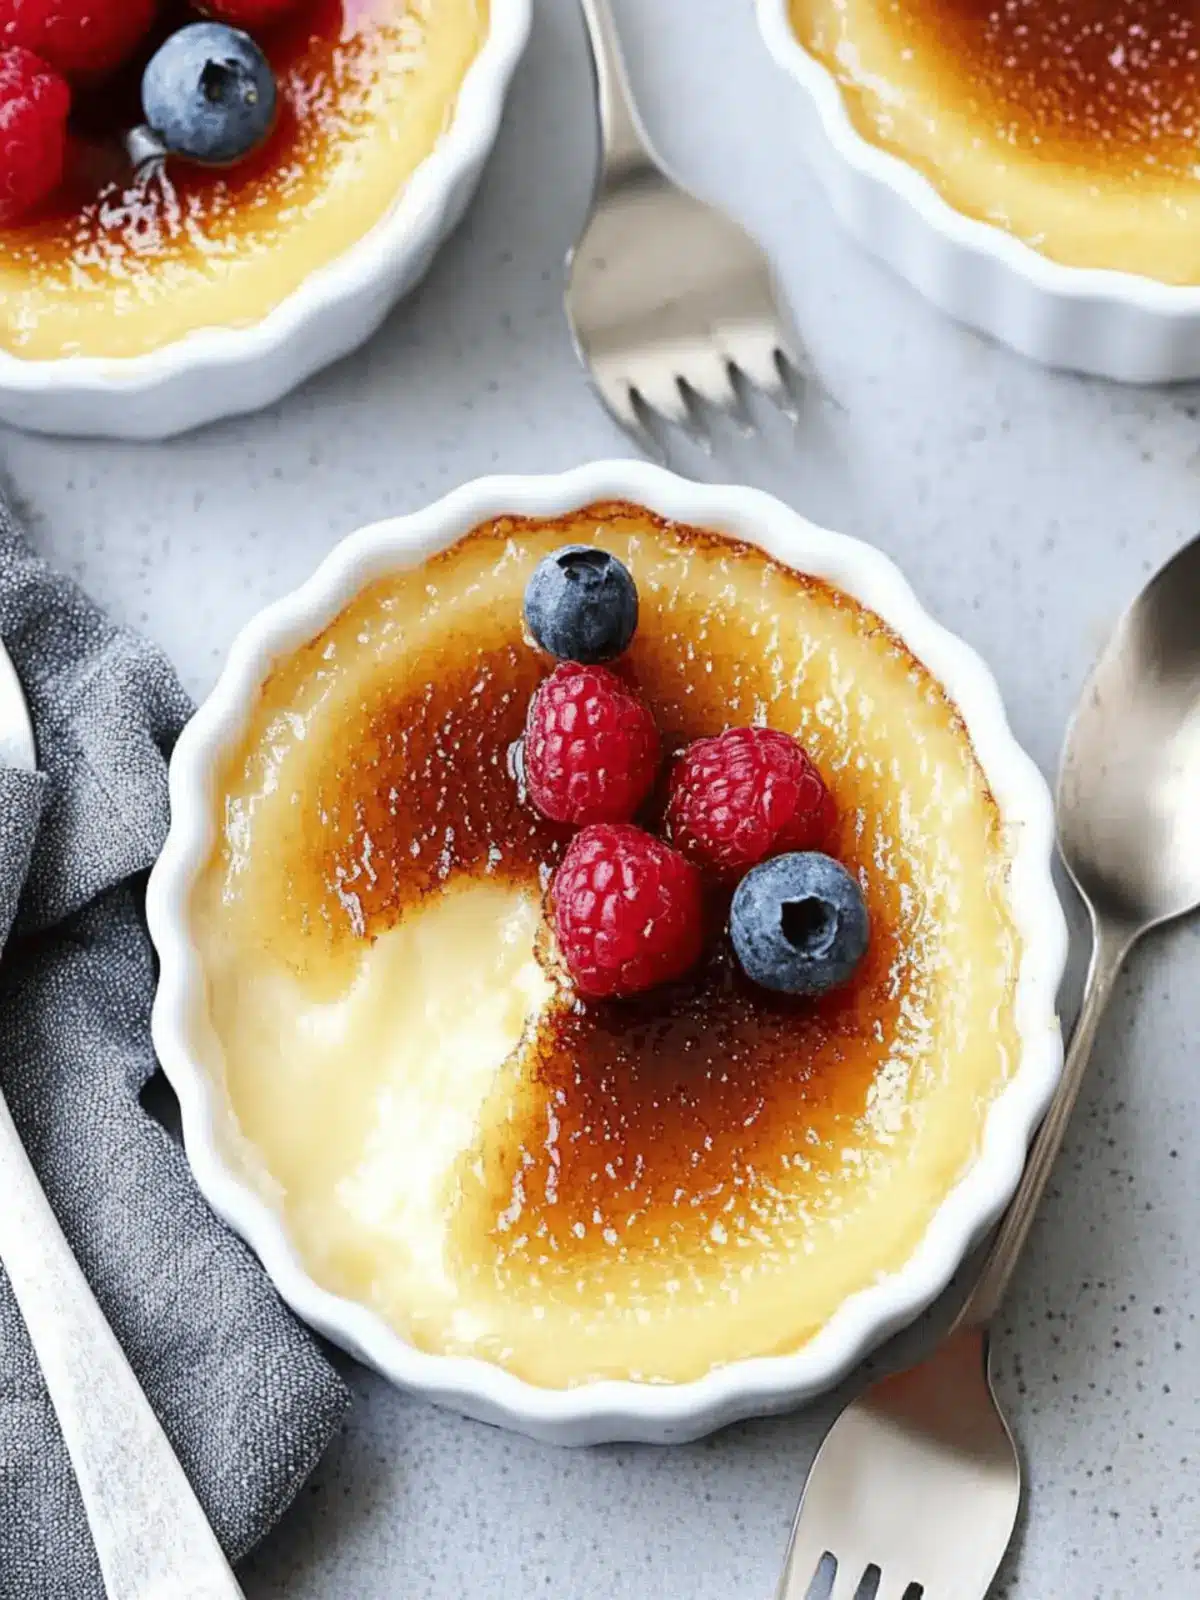
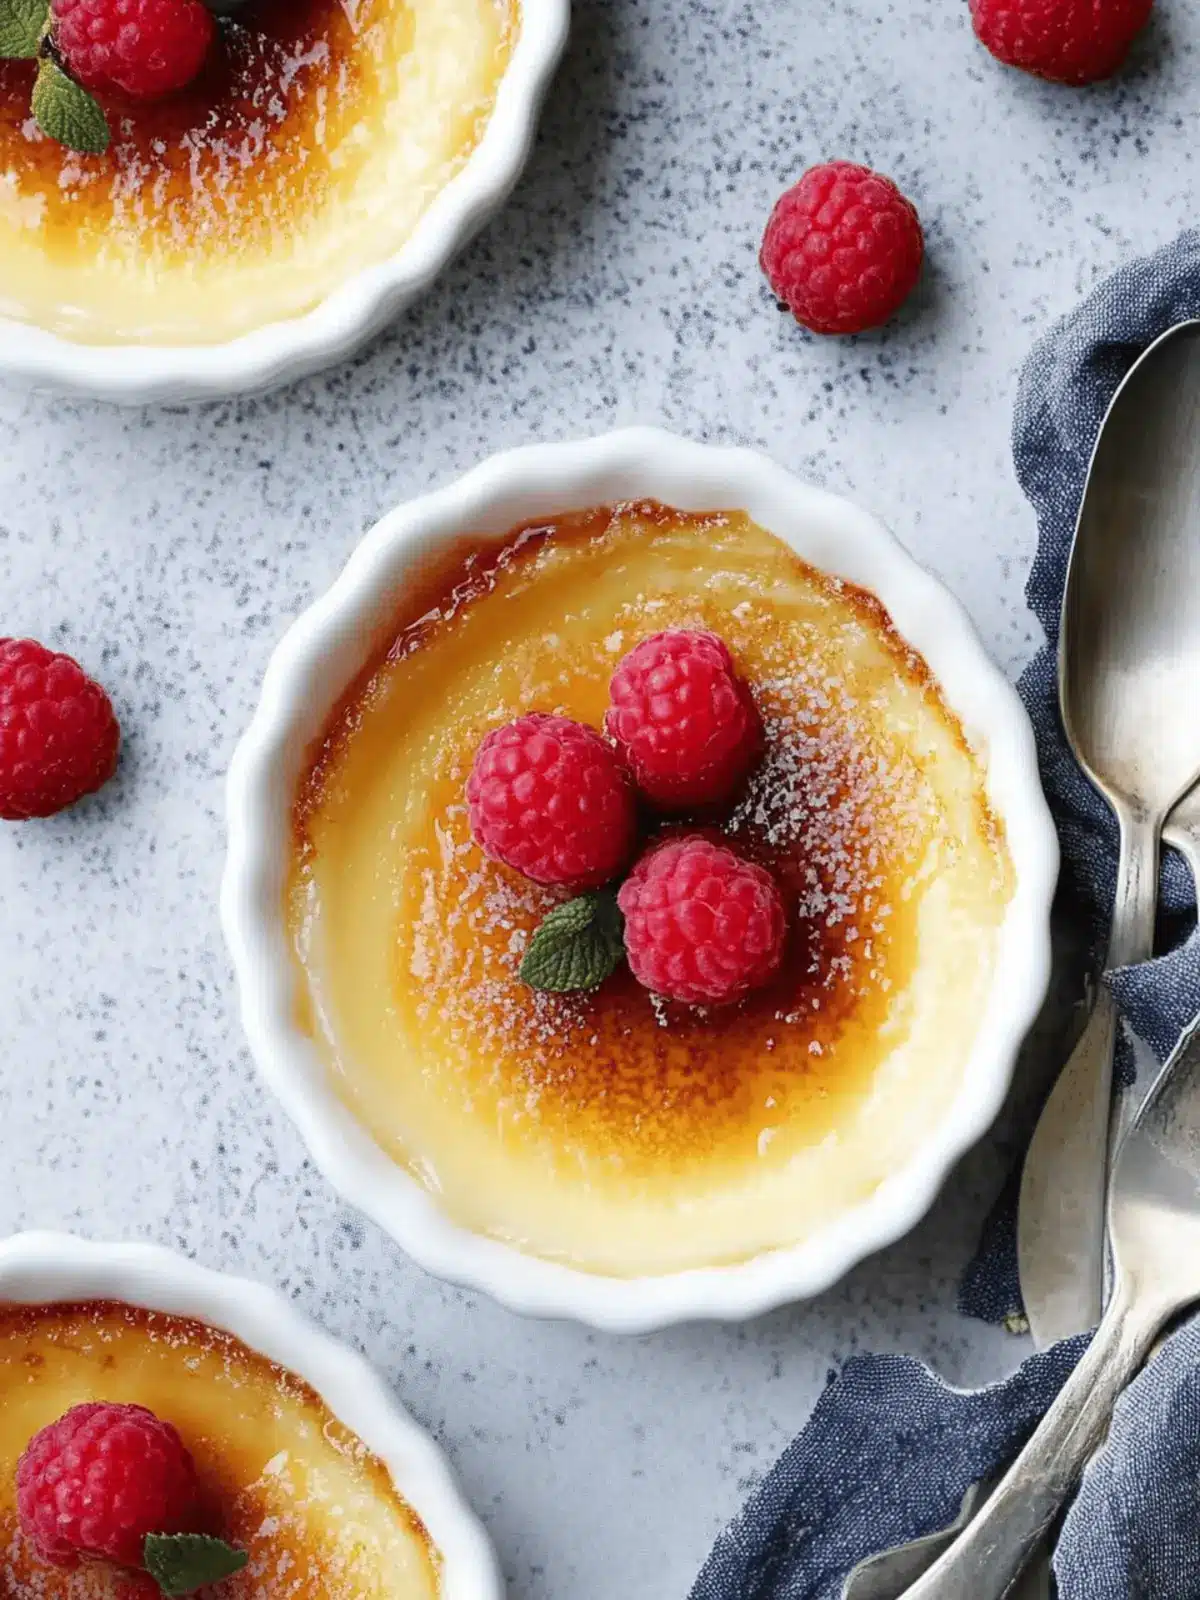
There’s something truly enchanting about cracking the caramelized surface of a crème brûlée. The moment that spoon breaks through to reveal the rich, velvety custard beneath is pure bliss. But what if I told you that you can create this luxurious dessert with minimal effort and without even needing to turn on the oven? This Easy No-Bake Crème Brûlée transforms a classic treat into a delightful, fuss-free experience that anyone can master.
As I dove into my pantry, I found just the right ingredients, ready to come together in a creamy concoction that would make even the most seasoned chefs proud. Whether you’re hosting a dinner party or simply treating yourself after a long day, this dessert is sure to impress. Join me in learning how to create a sweet indulgence that is rich in flavor but light on preparation—perfect for those moments when you crave something special without the fuss.
Why is this Easy No-Bake Crème Brûlée a Must-Try?
Indulgence Made Simple: You won’t believe how easy it is to whip up this gourmet dessert at home.
Rich Vanilla Delight: Each bite bursts with creamy goodness and aromatic vanilla, elevating your dessert experience.
No Oven Required: Say goodbye to the hassle of baking—just mix, chill, and torch for that signature crust!
Versatile and Customizable: Feel free to experiment with flavors like espresso or chocolate to suit your taste.
Impressive Crowd-Pleaser: Wow your guests with this elegant treat that looks and tastes like a high-end restaurant dessert—without the time commitment.
Get ready to impress!
Easy No-Bake Crème Brûlée Ingredients
For the Custard
- Heavy Whipping Cream – Provides richness and creaminess; substitute with half-and-half for a lighter alternative.
- Whole Milk – Adds a creamy texture while balancing the richness; can use skim milk for a lower-fat version.
- Granulated Sugar – Sweetens the custard and the caramelized topping; consider using a sugar substitute for a low-calorie option.
- Vanilla Bean – Delivers an intense vanilla flavor; swap in 1 tablespoon of vanilla extract if fresh beans aren’t available.
- Large Egg Yolks – Contributes to the luscious texture and richness; replace with a silken tofu blend for a vegan alternative.
- Cornstarch – Acts as a thickening agent, ensuring you don’t need to bake; other starches, like tapioca, may be used.
For Brûléeing
- Granulated Sugar (for brûléeing) – Essential for creating that delightful caramelized crust; ensure it’s finely granulated for easy melting.
How to Make Easy No-Bake Crème Brûlée
-
Combine Ingredients: In a medium saucepan, mix together heavy whipping cream, whole milk, and granulated sugar. Don’t forget to add the aromatic scraped vanilla bean seeds for maximum flavor.
-
Heat Mixture: Place the saucepan over medium heat and warm the mixture until it’s steaming, but ensure it doesn’t boil. You want to avoid curdling the cream!
-
Whisk Together: In a separate bowl, whisk the large egg yolks and cornstarch until smooth. Gradually add the hot cream mixture while whisking constantly to prevent the yolks from cooking too quickly.
-
Thicken Custard: Return the mixture to the saucepan and cook over medium heat, stirring constantly. Keep at it until it’s thickened, around 3-5 minutes. You want it to coat the back of a spoon.
-
Strain and Chill: Strain the custard through a mesh sieve into your ramekins. This will ensure a silky-smooth texture. Refrigerate uncovered for at least 2 hours to let it set perfectly.
-
Brûlée the Top: Just before serving, sprinkle a thin layer of granulated sugar on top of each custard. Use a kitchen torch to caramelize until golden brown—keep it moving for even melting!
Optional: Garnish with fresh berries or a mint leaf for a lovely presentation.
Exact quantities are listed in the recipe card below.
Make Ahead Options
These Easy No-Bake Crème Brûlée are perfect for busy home cooks looking to save time without sacrificing flavor! You can prepare the custard base up to 24 hours in advance; simply refrigerate it uncovered after straining into ramekins. This allows the flavors to develop beautifully while maintaining its silky texture. To keep the topping fresh, sprinkle sugar on top and torch it just before serving. Avoid adding the sugar layer too early, as it can become soggy if stored together with the custard. Enjoy a restaurant-quality dessert experience with minimal last-minute effort!
Easy No-Bake Crème Brûlée Variations
Feel free to enhance this dessert in delightful ways, making it your own masterpiece!
-
Chocolate Bliss: Add 1/2 cup of melted chocolate to the custard mixture for a rich, chocolate-infused version that chocolate lovers will adore.
-
Coffee Kick: Stir in 1 tablespoon of instant espresso or a shot of brewed espresso into the custard base for a delightful caffeine boost alongside that silky texture.
-
Fruit-Infused: Fold in pureed strawberries, raspberries, or mango to the custard before chilling. This adds a fresh fruitiness that complements the creaminess beautifully!
-
Vegan Delight: Swap out the egg yolks for a blend of silken tofu and almond milk to create a luscious, dairy-free version that everyone can enjoy.
-
Coconut Cream: Use coconut milk instead of dairy milk for a tropical twist. Top with toasted coconut flakes for added texture and flavor.
-
Spice It Up: A dash of cinnamon or cardamom can add an exotic flair that surprises and delights with each bite.
-
Nutty Crunch: Fold in finely chopped nuts like pistachios or hazelnuts for added crunch and a delightful contrast to the smooth custard.
-
Lemon Zest: Add the zest of one lemon to the custard for a refreshing citrus burst that elevates the entire dessert!
Expert Tips for Easy No-Bake Crème Brûlée
Continuous Stirring: Stir constantly while heating the mixture to prevent any sticking or burning on the bottom of the saucepan.
Cool Before Chilling: Allow the custard to cool slightly before refrigerating. This prevents condensation that can ruin the texture of your Easy No-Bake Crème Brûlée.
Sugar Layer: Keep the sugar topping thin; too much sugar can lead to uneven caramelization and a less satisfying crack!
Torch Technique: When using a kitchen torch, keep it moving in a circular motion to achieve consistent caramelization without burning spots.
Flavor Variations: Don’t hesitate to play with flavors! Incorporate espresso or your favorite fruit purée into the custard for delicious custom twists.
How to Store and Freeze Easy No-Bake Crème Brûlée
- Room Temperature: It’s best to keep the Easy No-Bake Crème Brûlée in the refrigerator. Avoid leaving it at room temperature for more than 2 hours to maintain its quality.
- Fridge: Store the custard in the fridge for up to 3 days. Cover the ramekins loosely with plastic wrap to prevent moisture buildup, but avoid covering them tightly until the sugar topping has been added.
- Freezer: For longer storage, the custard can be frozen for up to 2 months. However, freeze it without the sugar topping. Allow to thaw in the fridge overnight before serving, then brûlée just before enjoying.
- Reheating: Do not reheat the custard as it’s meant to be served cold. Simply add your sugar topping and caramelize it just before serving for the best experience.
What to Serve with Easy No-Bake Crème Brûlée?
To create a truly delightful dining experience, it’s essential to serve dishes that enhance the creamy indulgence of this stunning dessert.
-
Fresh Berries: Their natural sweetness and tartness contrast beautifully with the rich custard, adding a burst of freshness with each bite. A mix of strawberries and raspberries not only looks gorgeous but elevates the whole meal.
-
Dark Chocolate Mousse: This velvety treat echoes the creamy texture while offering a hint of bitterness that balances the sweetness of the crème brûlée, creating a heavenly duo.
-
Shortbread Cookies: The buttery crunch of homemade shortbreads adds a lovely texture, perfect for dipping into the silky custard, making each spoonful even more satisfying.
-
Mint Infused Whipped Cream: Adding a touch of freshness, a dollop of lightly sweetened whipped cream infused with mint offers a refreshing contrast that complements the vanilla notes of the dessert.
-
Espresso: A small cup of bold espresso awakens the palate and pairs beautifully by enhancing the flavors of the crème brûlée, making it a delightful way to end your meal.
-
Almond Biscotti: These crunchy cookies provide the perfect opportunity to enjoy the creamy custard, the nutty flavor and crunchy texture is an ideal combination that feels sophisticated yet comforting.
-
Caramel Sauce: Drizzling warm caramel over the crème brûlée introduces an additional layer of sweetness and a unique texture, making each bite irresistibly indulgent.
-
Chilled Fruit Salad: A light fruit salad featuring citrus and tropical fruits gives the palate a refreshing pause, allowing you to appreciate the richness of the crème brûlée even more.
-
Sherry or Dessert Wine: Serve a small glass alongside your dessert; the sweet notes of a good sherry or dessert wine can enhance the overall experience and round off your culinary journey.
-
Chocolate-Covered Strawberries: These little treats add a decadent flair and the contrast of flavors and textures keeps the dessert experience exciting and pleasing.
Easy No-Bake Crème Brûlée Recipe FAQs
How do I choose the right vanilla bean?
Absolutely! When selecting a vanilla bean, look for ones that are plump and slightly squishy. Avoid those that are dry or have dark spots all over. The fragrance should be sweet and aromatic. Fresh beans are often best, but if unavailable, you can substitute with high-quality vanilla extract at a ratio of 1 tablespoon per bean.
How should I store my Easy No-Bake Crème Brûlée?
You can store your Easy No-Bake Crème Brûlée in the refrigerator for up to 3 days. I recommend covering the ramekins loosely with plastic wrap to prevent moisture from ruining that silky texture while avoiding direct contact with the custard until you’re ready to serve.
Can I freeze crème brûlée, and how?
Certainly! To freeze your Easy No-Bake Crème Brûlée, first ensure it’s cooled completely. Then, wrap each ramekin tightly in plastic wrap to prevent freezer burn and place them in an airtight freezer container. It can be frozen for up to 2 months. When you’re ready to enjoy, simply thaw in the refrigerator overnight and brûlée right before serving.
What if my crème brûlée doesn’t set properly?
Very! If you find that your crème brûlée hasn’t set well, it may be due to not cooking the custard long enough or adding the hot cream too quickly to the egg mixture. If it doesn’t thicken within 5 minutes of cooking, be patient and keep stirring—it may need a little more time. If it still doesn’t set after chilling, it’s likely that the mixture was not emulsified properly; don’t fret! You can gently reheat it on low heat and add a bit more cornstarch to thicken it or simply enjoy it as a delicious custard.
Are there any dietary considerations for this dessert?
Yes! If you or your guests have dietary restrictions, the Easy No-Bake Crème Brûlée can be adapted. For a vegan version, replace the egg yolks with a blended silken tofu and ensure you’re using plant-based milk and dairy-free cream. Always check for allergies related to dairy, eggs, or sugar substitutes, especially if you’re serving guests with specific dietary needs.
What is the best way to achieve a perfect caramelized top?
To achieve that coveted crunchy caramel layer, sprinkle a thin, even layer of sugar on top of your chilled custard, using a fine granulated sugar for the best melt. When using a kitchen torch, keep the flame moving in a circular motion and don’t linger in one spot too long, as this can lead to burnt patches. Aim for a golden-brown color for the caramelized crust, which should crack beautifully when tapped!
Decadent Easy No-Bake Crème Brûlée You Can Make at Home
Ingredients
Equipment
Method
- In a medium saucepan, mix together heavy whipping cream, whole milk, and granulated sugar. Don't forget to add the aromatic scraped vanilla bean seeds for maximum flavor.
- Place the saucepan over medium heat and warm the mixture until it's steaming, but ensure it doesn’t boil.
- In a separate bowl, whisk the large egg yolks and cornstarch until smooth. Gradually add the hot cream mixture while whisking constantly.
- Return the mixture to the saucepan and cook over medium heat, stirring constantly, until thickened, around 3-5 minutes.
- Strain the custard through a mesh sieve into your ramekins. Refrigerate uncovered for at least 2 hours to let it set perfectly.
- Just before serving, sprinkle a thin layer of granulated sugar on top of each custard. Use a kitchen torch to caramelize until golden brown.

