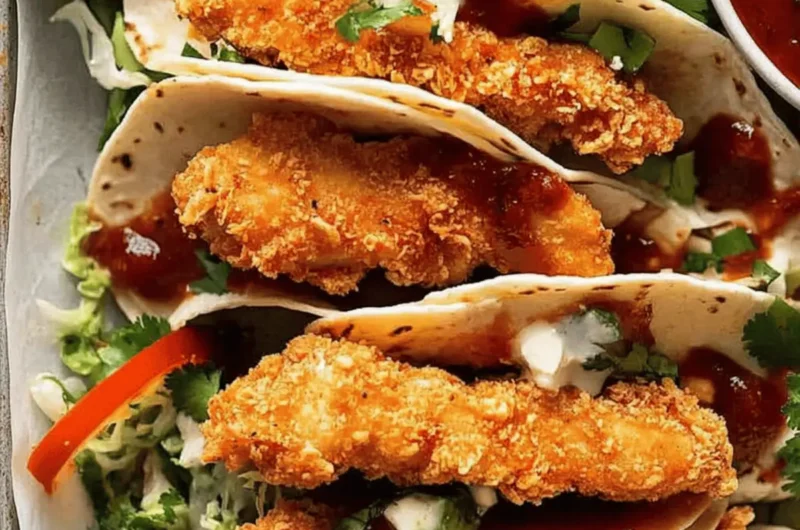
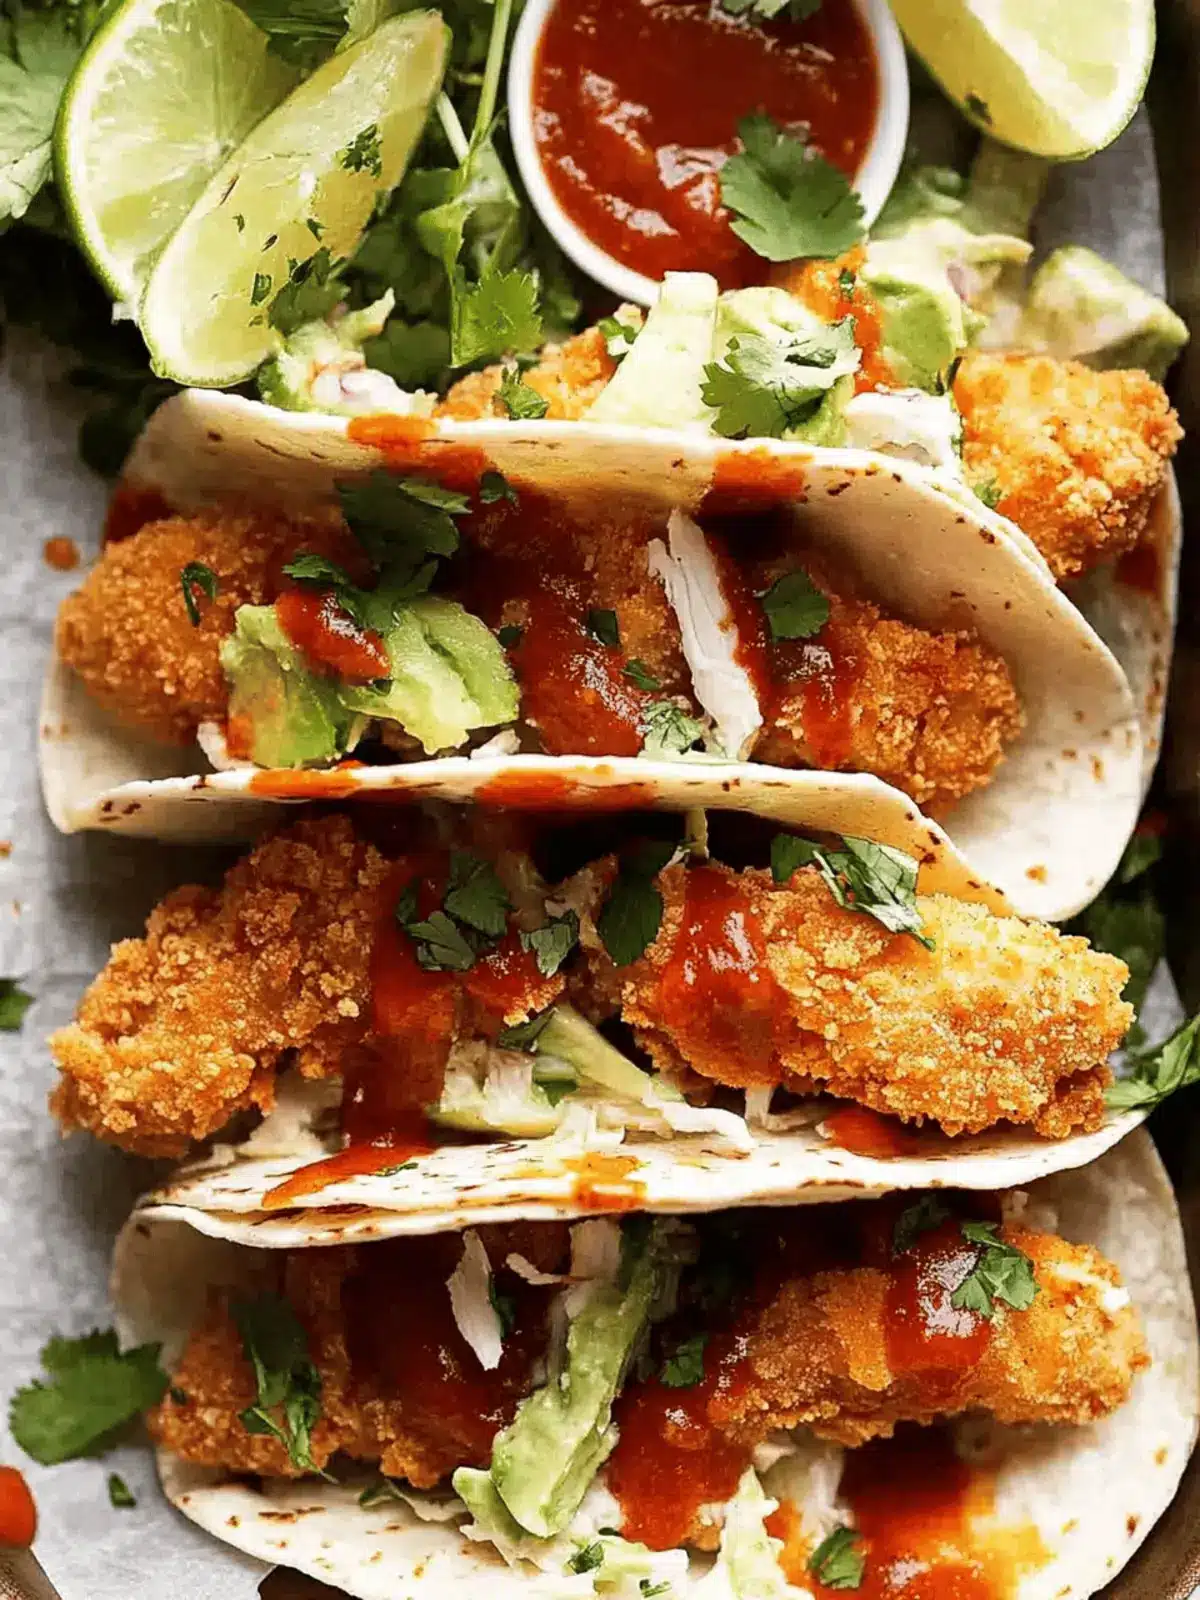
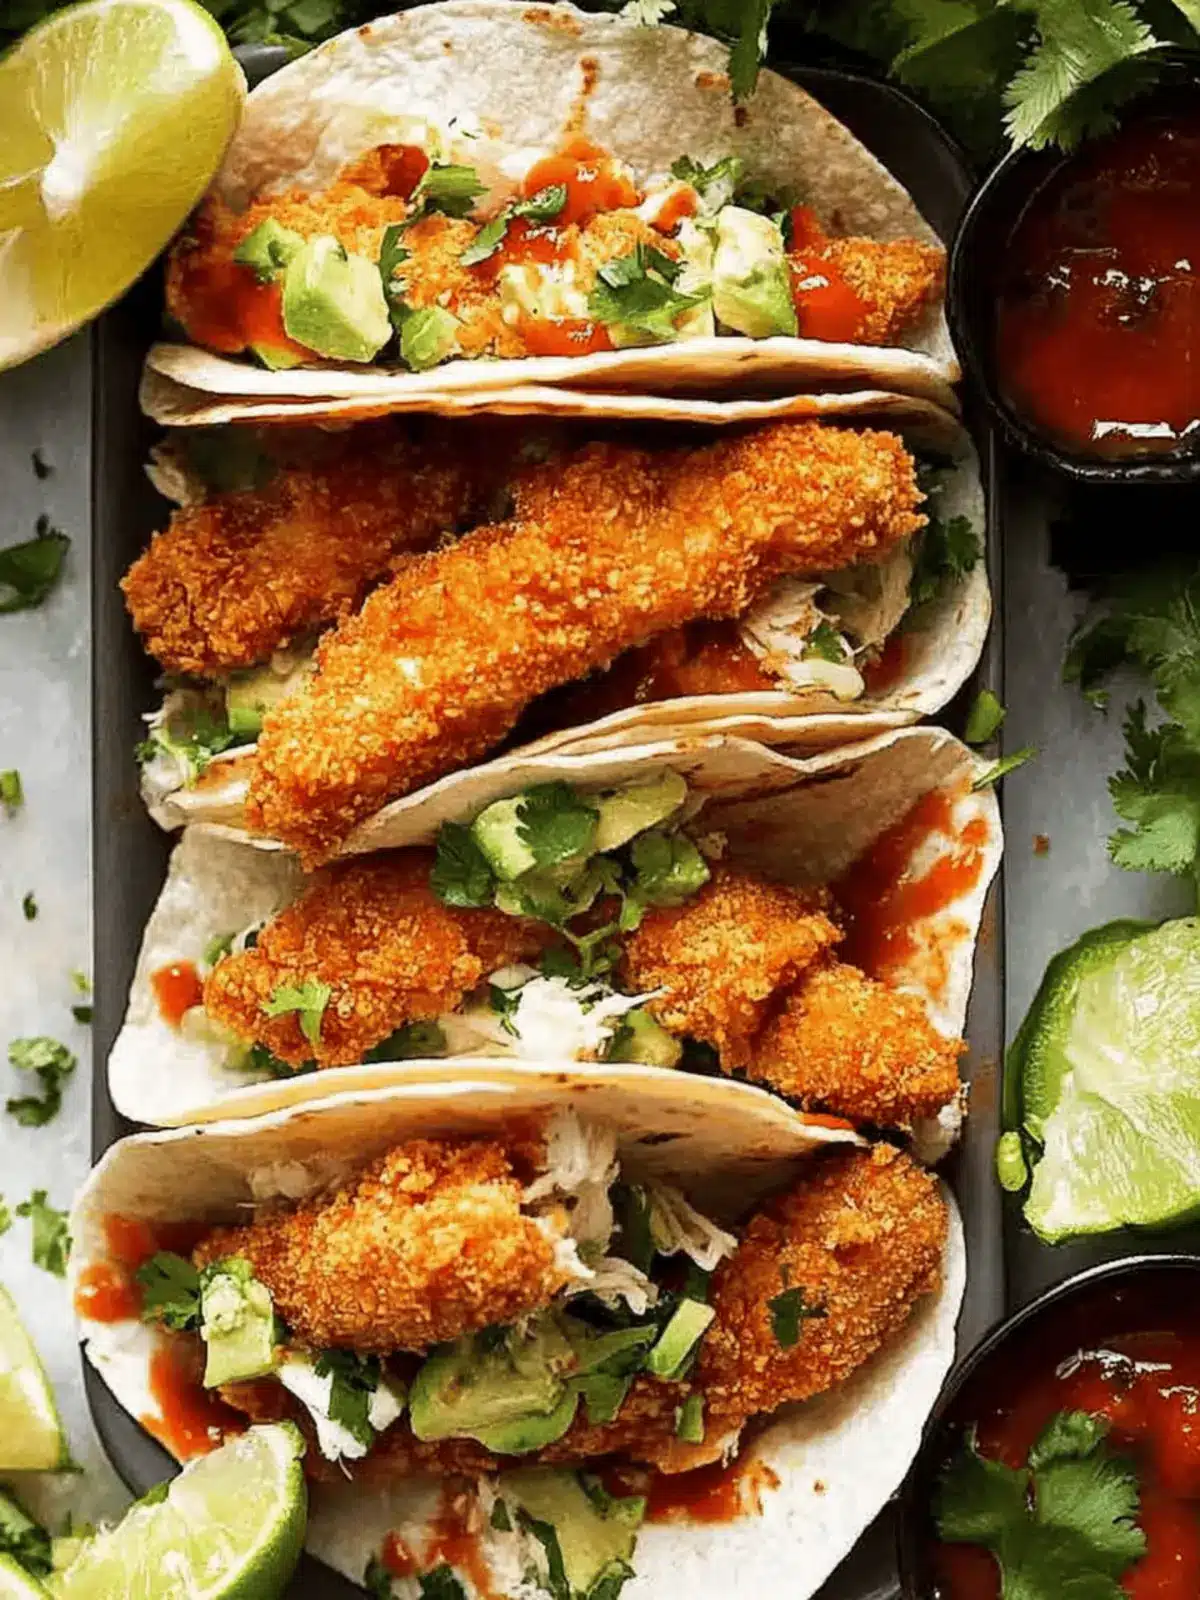
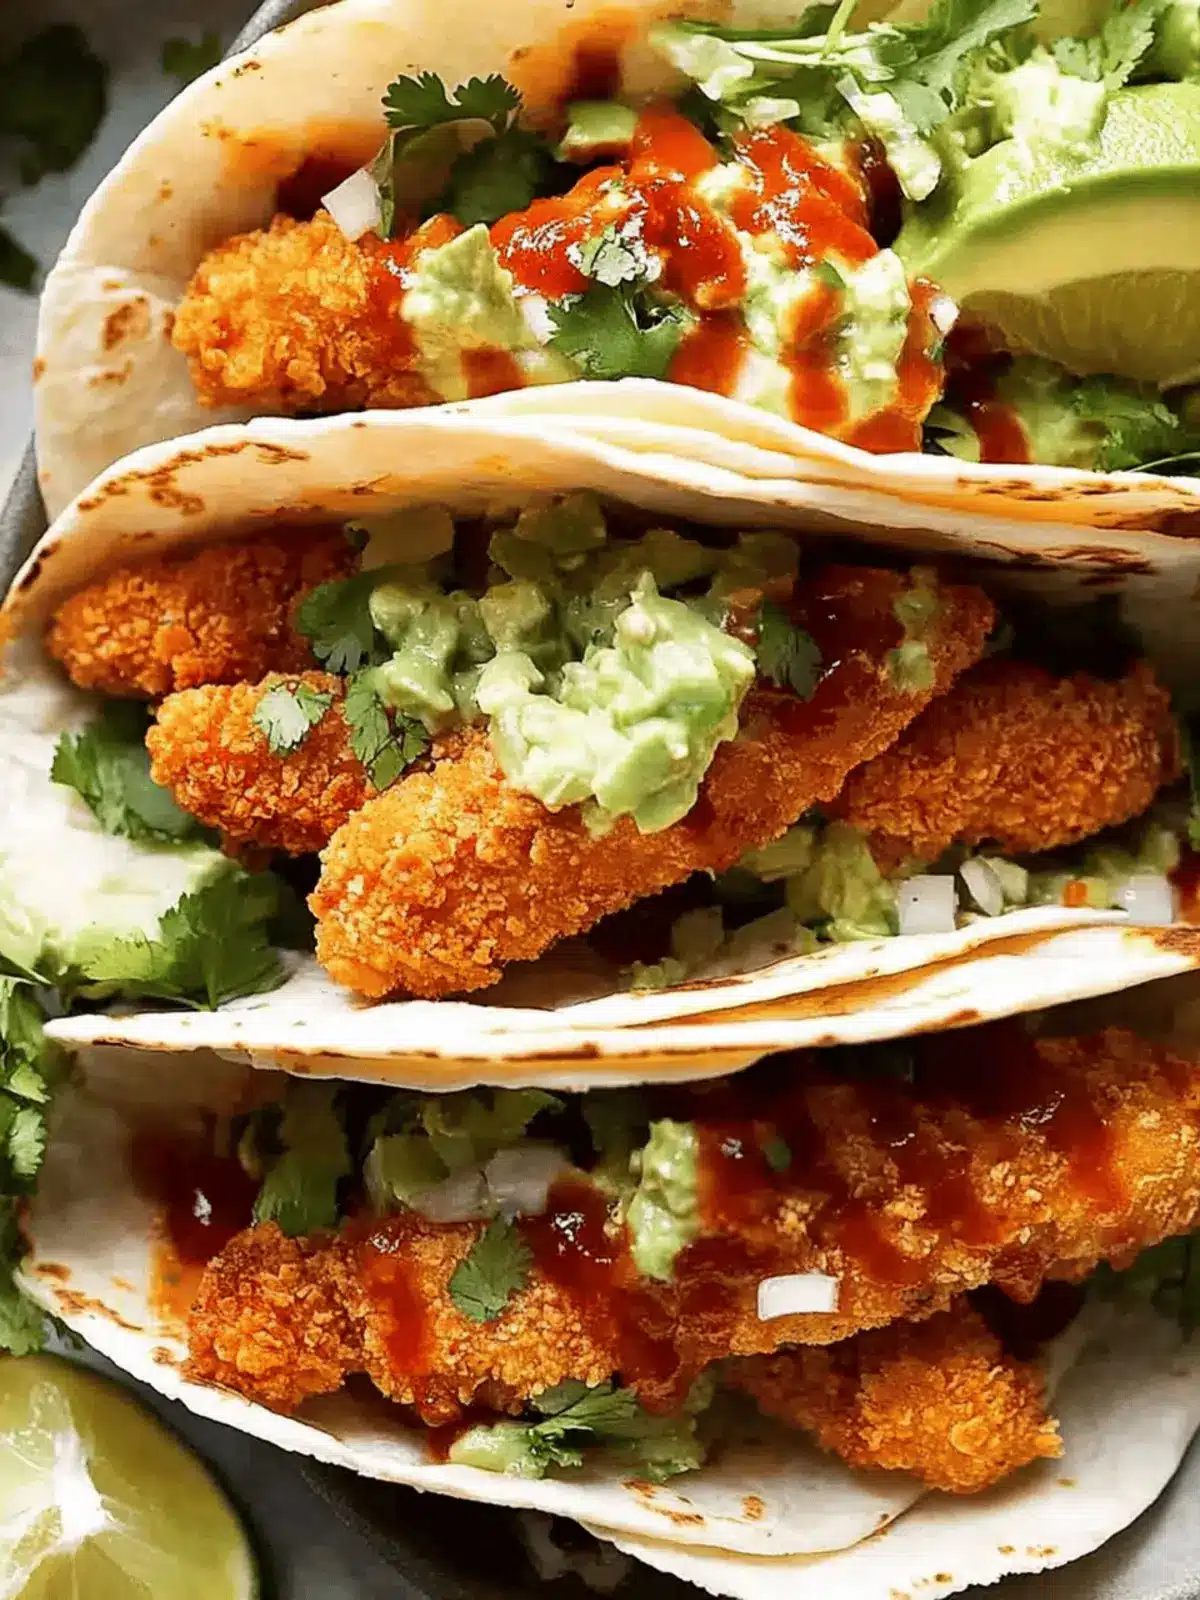
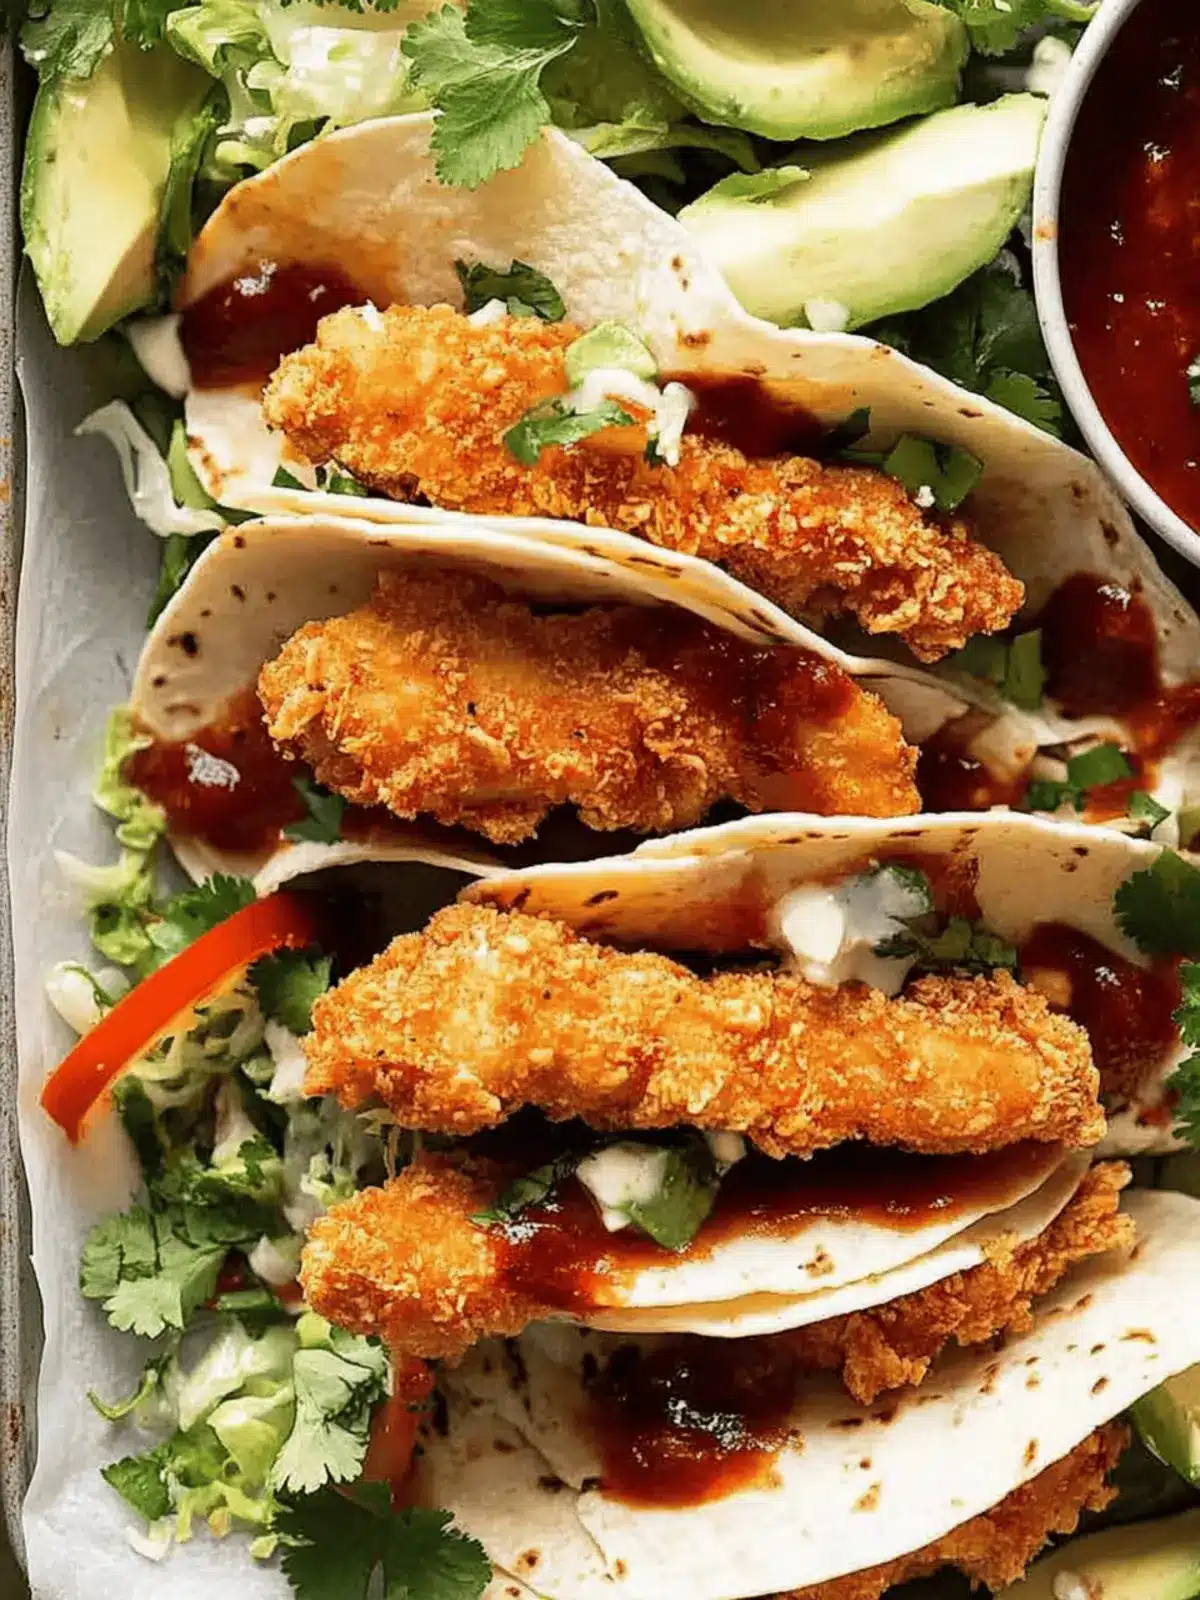
Imagine the playful crunch of a chicken finger with a spicy taco twist! When I first discovered how to turn tender chicken into Crispy Baked Chicken Taco Fingers, it felt like a revelation in my kitchen—a healthier alternative that the whole family would love. Picture this: golden-brown strips of chicken coated in a Mexican-seasoned crumb, lovingly nestled inside soft tortillas, ready to be personalized with your favorite toppings.
After a long week of quick, soul-sapping fast food meals, I craved something different—a dish that brims with flavor, fun, and scrumptiousness. Little did I know, this simple recipe not only delivers on taste but also hits the mark for being kid-friendly and gluten-free. So, let’s roll up our sleeves and whip up these delightful chicken taco fingers that are bound to make our mealtime exciting again! Perfect for dipping, stuffing, or snacking, this dish might just steal taco night right out from under your traditional options. Are you ready to crunch your way into a flavor fiesta?
Why are Crunchy Chicken Taco Fingers a Must-Try?
Flavor-packed fun: These taco fingers deliver an exciting twist on traditional chicken fingers, perfect for both kids and adults.
Healthier alternative: Baked instead of fried, they maintain a satisfying crunch while cutting down on calories.
Versatile serving: Stuff them in tortillas or serve them with your favorite dips – the possibilities are endless!
Quick preparation: With easy-to-follow steps, dinner doesn’t have to take all night.
Crowd pleaser: Perfect for family dinners or entertaining guests, everyone will love joining in on the taco fun!
Crunchy Chicken Taco Fingers Ingredients
• Get ready to crunch and savor the fun with these deliciously baked chicken fingers!
For the Chicken
- Chicken Tenderloins – The main protein source; can be substituted with chicken breast cut into strips.
For the Coating
- Panko Breadcrumbs – Offers incredible crunch; traditional breadcrumbs can be used but won’t yield the same texture.
- Olive Oil Spray – Helps crisp up the chicken and breadcrumb coating during the baking process.
- Taco Seasoning – A zesty blend of spices that adds depth; pre-made seasoning is a quick alternative if you’re short on time.
For the Dredge
- Eggs – Act as a binding agent to hold the coating onto the chicken.
- Flour – Provides a thickening base for the dredge mixture; all-purpose flour works best.
- Mayonnaise – Keeps the chicken moist and helps breadcrumbs stick better; can be swapped with oil if desired.
For Serving
- Tortillas – Use soft taco-size tortillas to wrap your crunchy chicken taco fingers.
- Taco Slaw – A tasty topping that adds freshness and crunch; try a blend of veggies mixed with a tangy sauce.
- Avocado – Sliced to add creaminess, pairing perfectly with the chicken flavors.
- Sriracha – Drizzle it for an extra kick of spice on top.
- Coriander/Cilantro – Fresh herbs to garnish and brighten the dish.
Dive into these Crunchy Chicken Taco Fingers (baked) and enjoy every satisfying bite that bursts with flavor!
How to Make Crunchy Chicken Taco Fingers
-
Preheat the Oven: Set your oven to 200°C (400°F). This step prepares the kitchen for that glorious golden-brown crunch!
-
Toast Panko Breadcrumbs: In a bowl, mix panko breadcrumbs with taco seasoning. Spray with olive oil and bake for 7 minutes until they’re golden, remembering to give them a stir halfway.
-
Prepare Chicken: Slice chicken tenderloins into strips about 1.5 – 2 cm wide. This size ensures they cook evenly and fit nicely in the tortillas.
-
Make Dredge Batter: In a mixing bowl, whisk together eggs, flour, mayonnaise, and a pinch of salt until smooth and well combined. This is the sticky goodness that will help the panko adhere!
-
Coat Chicken: Dip each chicken strip into the dredge batter, letting the excess drip off. Then, roll them in the toasted panko until fully coated. Get ready for that crunch!
-
Bake Chicken: Place the coated chicken strips on a greased rack over a baking tray. Spray lightly with olive oil. Bake for 10-12 minutes, until golden and the internal temperature reaches 67°C (152.6°F).
-
Serve: Remove from the oven and nestle the crispy chicken fingers inside warm tortillas. Top with taco slaw, creamy avocado slices, a drizzle of sriracha, and a sprinkle of fresh cilantro.
Optional: Serve with a side of your favorite dipping sauce for extra flavor!
Exact quantities are listed in the recipe card below.
Crunchy Chicken Taco Fingers Variations
Feel free to get creative and make this recipe your own with these tasty twists!
- Spicy Variation: Add more cayenne or your favorite hot sauce to the dredge for an extra kick that will awaken your taste buds.
- Cheesy Bites: Mix shredded cheese into the panko mixture for a deliciously cheesy crunch. Melted cheese creates a delightful gooey surprise with every bite!
- Herb-Infused: Incorporate fresh herbs like parsley or dried oregano into the breadcrumb mix to elevate the freshness and flavor profile.
- Vegetarian Option: Swap out chicken for zucchini or eggplant strips, coated and baked just like the chicken for a tasty plant-based version.
- Crispy Cornmeal: Replace half of the breadcrumbs with cornmeal to add a unique crunch and corny flavor that screams comfort.
- Tropical Twist: Mix cinnamon and brown sugar into the dredge for a hint of sweetness, then serve with pineapple salsa for a tropical flair.
- BBQ Style: Use barbecue sauce instead of mayo in the dredge before coating in breadcrumbs for a smoky-sweet twist on taco night.
- Full Taco Fill: Stuff the tortillas with beans and cheese before adding the chicken fingers for a hearty, fully-loaded taco experience!
These variations invite you to enjoy the process of cooking and the joy that comes from creating a meal that’s all your own!
What to Serve with Crunchy Chicken Taco Fingers?
Looking to create the perfect meal alongside your savory chicken taco fingers?
- Creamy Guacamole: This luscious dip adds a rich, creamy texture that balances the crunch of the chicken fingers beautifully.
- Zesty Mexican Rice: Flavorful with herbs and spices, it brings a hearty component that complements the taco theme splendidly.
- Tangy Salsa: Fresh tomato salsa brightens each bite, adding a touch of acidity that enhances the flavor profile of the dish.
- Crispy Taco Slaw: A mix of cabbage and carrots tossed in a zesty dressing adds a refreshing crunch, perfect for wrapping in the tortillas with the chicken.
- Roasted Corn: Slightly sweet and charred, this side highlights the Mexican flavors while providing a delightful contrast to the chicken’s crunch.
- Black Bean Salad: Protein-packed and vibrant, this salad brings a touch of earthiness to your plate, rounding out the meal nicely.
- Margaritas: A refreshing drink option, its citrus notes and slight sweetness pair wonderfully with the spice of the chicken.
- Churros: Finish off the meal with this classic Mexican dessert—a crunchy exterior with a soft, warm center that brings the meal full circle.
How to Store and Freeze Crunchy Chicken Taco Fingers
Fridge: Store leftover crunchy chicken taco fingers in an airtight container for up to 3-4 days. Reheat in the oven at 180°C (350°F) for best results.
Freezer: Wrap each chicken finger individually in plastic wrap or foil, then place in a freezer-safe bag. They can be frozen for up to 2 months for future taco nights.
Reheating: For the crispiest texture, reheat frozen chicken taco fingers in the oven at 200°C (400°F) for about 15-20 minutes, until heated through and crunchy again.
Preparation Tips: You can prepare the dredge and coating components in advance and keep them stored separately in the fridge for up to 2 days, ready to bake just before serving.
Make Ahead Options
These Crunchy Chicken Taco Fingers are perfect for busy home cooks looking to save time during the week! You can prepare the dredge mixture (eggs, flour, and mayonnaise) and coat the chicken strips up to 24 hours in advance. Simply store them in an airtight container in the refrigerator to keep them fresh. The dousing in the dredge helps maintain their moisture, while refrigerating prevents browning. When you’re ready to bake, place the coated chicken strips on a greased rack and spray with olive oil. Bake as directed for 10-12 minutes, and enjoy the same delicious crunch and flavor without the fuss on dinner night!
Expert Tips for Crunchy Chicken Taco Fingers
-
Breadcrumbs Matter: Toasting panko breadcrumbs before baking enhances that delightful crunch, ensuring you achieve the perfect texture for your crunchy chicken taco fingers.
-
Don’t Overcrowd: Ensure the chicken strips are placed apart on the baking tray. Overcrowding can lead to steaming instead of crisping, so give each piece space to shine.
-
Adjust for Air Fryer: If using an air fryer, reduce the cooking time slightly—check the chicken for an internal temperature of 67°C (152.6°F) for ideal results.
-
Gluten-Free Options: For a gluten-free version of crunchy chicken taco fingers, swap out the flour and breadcrumbs for gluten-free alternatives which maintain the flavor essence.
-
Oil is Key: Never skip the olive oil spray! It is crucial for proper browning, giving your chicken fingers that irresistible golden hue and crunchiness.
Crunchy Chicken Taco Fingers Recipe FAQs
How do I choose the right chicken for this recipe?
Absolutely! For these crunchy chicken taco fingers, I recommend using fresh chicken tenderloins or chicken breasts cut into strips. Look for firm, pink chicken without any dark spots. If you’re using frozen chicken, make sure to thoroughly defrost it in the refrigerator for 24 hours before cooking.
How should I store leftover taco fingers?
Store any leftover crunchy chicken taco fingers in an airtight container in your refrigerator for up to 3-4 days. When ready to eat, reheat them in a preheated oven at 180°C (350°F) for about 10 minutes, which will help restore that fabulous crunch.
Can I freeze the chicken taco fingers?
Of course! To freeze your crunchy chicken taco fingers, wrap each strip in plastic wrap or foil and place them in a labeled freezer-safe bag. They can be frozen for up to 2 months. When you want to enjoy them, just pop them in a preheated oven at 200°C (400°F) for 15-20 minutes until heated through and crispy again.
What if my panko breadcrumbs don’t turn out crunchy?
Very! If your panko breadcrumbs aren’t crunchy, it might be due to not toasting them properly before coating the chicken. Make sure to bake them for at least 7 minutes, stirring halfway through. Also, ensure that your chicken strips aren’t overcrowded on the baking tray; this helps maintain air circulation for optimum crispiness.
Are these chicken taco fingers safe for my kids?
Absolutely! These crunchy chicken taco fingers are not only kid-friendly, but they also provide a healthier baked alternative to traditional fried chicken. They’re packed with flavor, appealing to little ones, and gluten-free options are available to cater to dietary needs.
Can I make this recipe ahead of time?
Very! You can prepare the dredge and breadcrumb coating 1-2 days in advance. Simply store them in airtight containers in the refrigerator. When you’re ready to bake, just coat the chicken and pop them in the oven. This makes dinner preparation a breeze, especially on busy weeknights!
Crunchy Chicken Taco Fingers Baked for Taco Night Fun
Ingredients
Equipment
Method
- Preheat the Oven to 200°C (400°F).
- Toast panko breadcrumbs with taco seasoning, spray with olive oil, and bake for 7 minutes.
- Prepare chicken by slicing tenderloins into strips about 1.5 - 2 cm wide.
- Make dredge batter by whisking together eggs, flour, mayonnaise, and a pinch of salt.
- Coat chicken strips in dredge batter, then roll in toasted panko until fully coated.
- Bake the coated chicken strips on a greased rack for 10-12 minutes until golden and internal temperature reaches 67°C (152.6°F).
- Serve by nesting the crispy chicken fingers inside warm tortillas, topped with taco slaw, avocado slices, sriracha, and cilantro.

