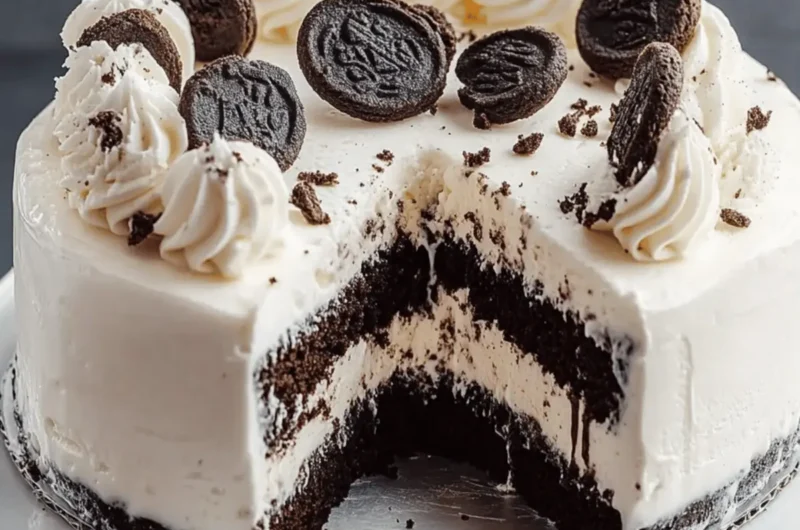
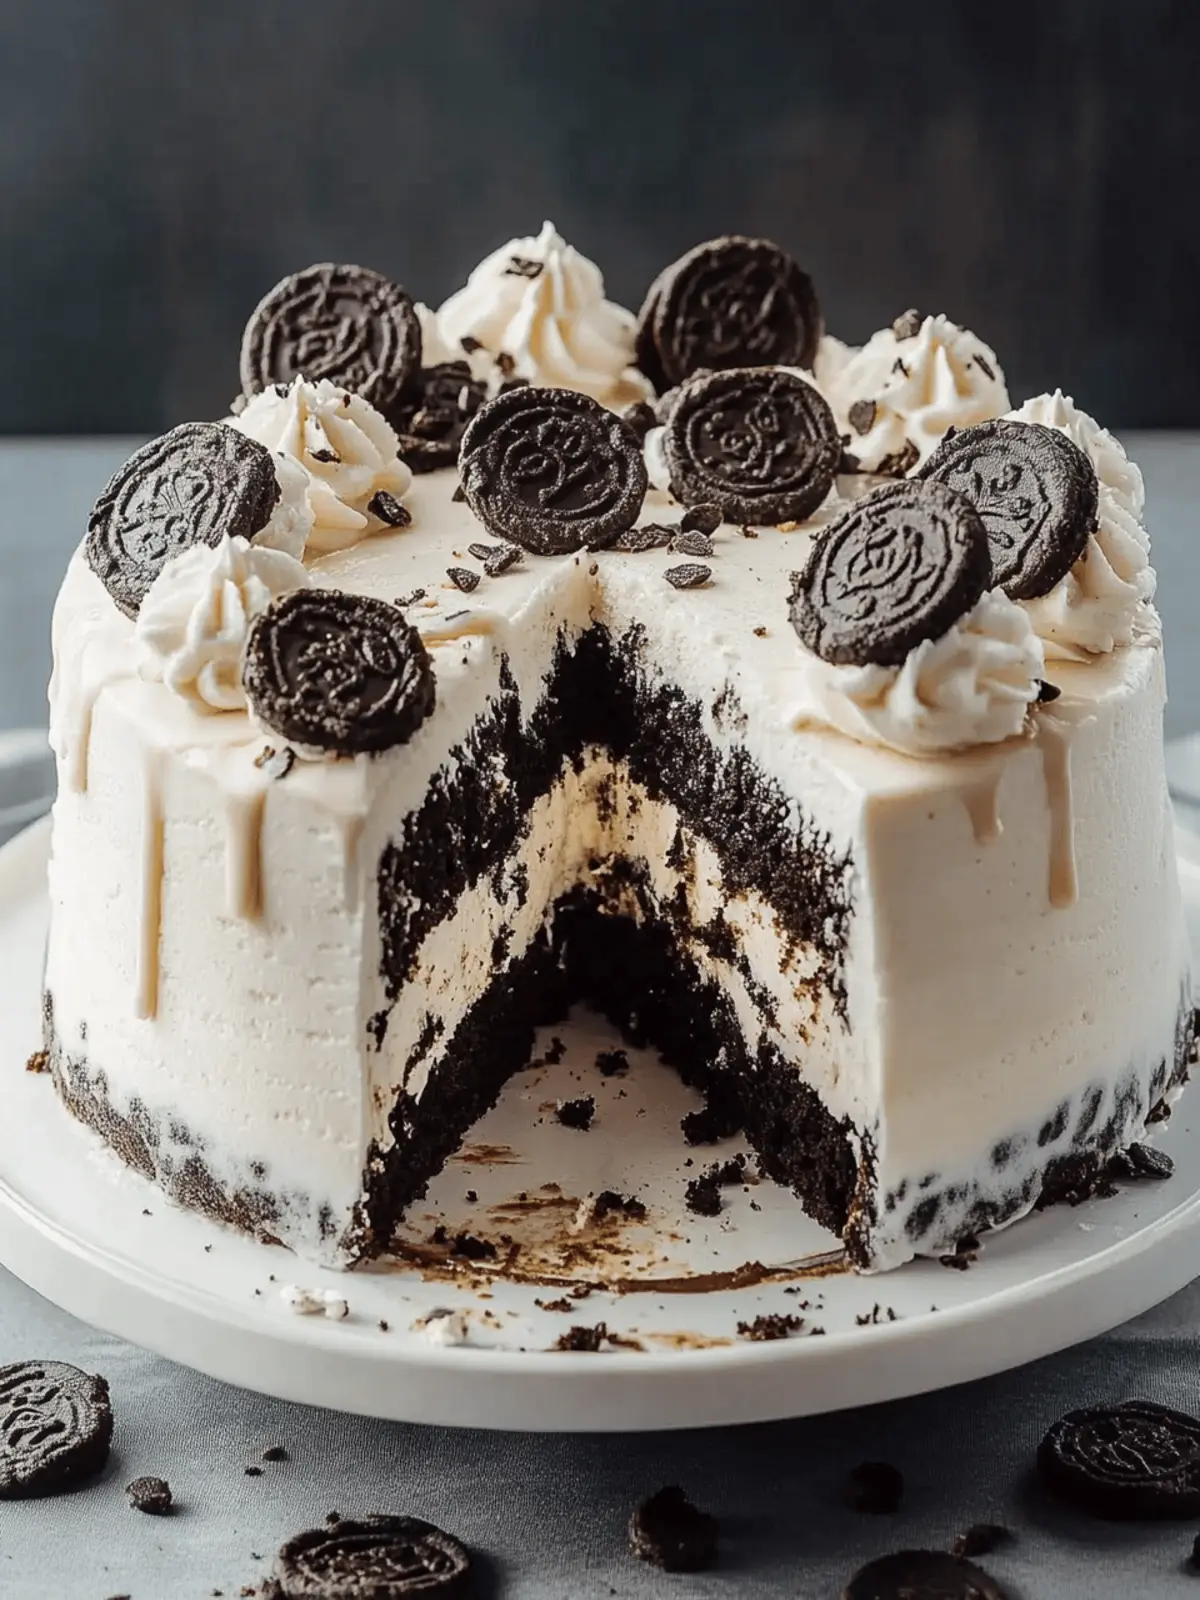
As the summer sun begins to shine brightly, there’s nothing quite like indulging in a dessert that captures pure nostalgic bliss. Picture this: a slice of my No-Churn Cookies & Cream Dream Ice Cream Cake, with layers of velvety vanilla and cookies-and-cream ice creams, mixed with soft, milk-soaked Oreos and a decadent fudge layer. It’s a delightful explosion of flavors and textures that has the power to transport me right back to childhood birthday parties, where sweet smiles and laughter filled the air.
Whether you’re planning a casual get-together or celebrating a special occasion, this easy homemade ice cream cake is your answer to a crowd-pleasing dessert that requires no baking skills. With its charming presentation topped with whipped cream and crunchy Oreos, this cake is ready to take center stage on any dessert table. So, grab your sprinkles and let’s dive into this delicious journey of creamy, dreamy layers!
Why is Cookies & Cream Dream Ice Cream Cake Amazing?
Nostalgic Charm: Each slice of this cake is a reminder of childhood birthday parties, filled with smiles and sweet memories.
No-Bake Simplicity: Forget the oven! This no-churn recipe is perfect for everyone, from novice cooks to seasoned chefs.
Irresistible Flavor Fusion: The combination of creamy ice creams and chocolatey Oreos creates an explosion of deliciousness in every bite.
Textural Delight: Enjoy the creamy layers combined with gooey fudge and crunchy bits for a memorable mouthfeel that’s truly satisfying.
Versatile Creation: Swap flavors or toppings to customize this cake for any occasion, making it as unique as your celebration.
Crowd-Pleasing Dessert: Ideal for summer gatherings, birthdays, or just treating yourself, this cake is guaranteed to impress!
Cookies & Cream Dream Ice Cream Cake Ingredients
For the Cake Layers
• Oreos – Adds rich chocolate flavor and texture; other sandwich cookies can be used for a different flavor.
• Kosher Salt – Enhances the flavors in the sweet mixture; regular salt can be substituted sparingly.
• Cold Heavy Cream – Creates the luscious texture of the whipped cream and ice creams; a dairy-free whipped cream can be used as an alternative.
• Powdered Sugar – Sweetens the whipped cream and stabilizes it; can be omitted for a less sweet flavor.
• Vanilla Extract – Enhances the flavor in both the ice cream and whipped cream; vanilla beans or imitation vanilla may work well as substitutions.
For the Crunchies Layer
• Unsalted Butter – Provides richness to the crunchies layer; margarine or vegan butter can be swapped.
• Chocolate Shell – Optional coating for added crunch; melted chocolate can be an alternative if not available.
• Additional Oreos – Crushed to create that delightful crunchy layer.
For the Decoration
• Whipped Cream – Use the reserved whipped cream for decoration; a fun touch, especially for parties.
• Whole Oreos – Perfect for garnishing and adding a whimsical touch to your beautiful creation.
• Chocolate Shell Drizzle – Adds an eye-catching finish and extra flavor.
This Cookies & Cream Dream Ice Cream Cake is sure to become a favorite in your home, creating joyful and delicious memories with every slice!
How to Make Cookies & Cream Dream Ice Cream Cake
-
Prepare the Pan: Line an 8×3-inch springform pan with plastic wrap and freeze it. This ensures easy removal and keeps your cake intact when serving.
-
Make No-Churn Ice Cream: Crush 6 Oreos into fine pieces. In a bowl, whisk together condensed milk, vanilla extract, and kosher salt. In another bowl, whip cold heavy cream to stiff peaks. Slowly fold the whipped cream into the milk mixture in thirds, mixing gently until combined. Divide into two bowls—keep one plain vanilla and fold the crushed Oreos into the other.
-
Layer Vanilla: Spread a thin layer of your vanilla mixture in the bottom of the frozen pan. Next, soak and layer 14 Oreos in milk, placing them on top of the vanilla mixture. Finish with the remaining vanilla layer and freeze for 45–75 minutes until set.
-
Prepare Crunchies: Crush 10 Oreos and mix them with melted unsalted butter and a pinch of kosher salt. Spread the mixture on a baking sheet and bake at 350°F for 8 minutes to achieve a golden color. Optionally, coat the baked crunchies with the chocolate shell for extra flavor.
-
Add Fudge Layer: Warm a jar of fudge in the microwave until pourable. Carefully spread it over the frozen vanilla layer, then sprinkle the crunchies on top. Freeze for an additional 15 minutes.
-
Layer Cookies & Cream: Spread the cookies-and-cream mixture over the fudge layer. Freeze the cake until solid, ideally for at least 6 hours or overnight.
-
Make Whipped Cream: Whip together cold heavy cream, powdered sugar, vanilla extract, and salt until stiff peaks form. Reserve 1 cup for decorating the top of the cake.
-
Unmold & Frost Cake: Carefully flip the springform pan to release your cake, then remove the plastic wrap. Frost the top and sides with the whipped cream, smoothly spreading it out.
-
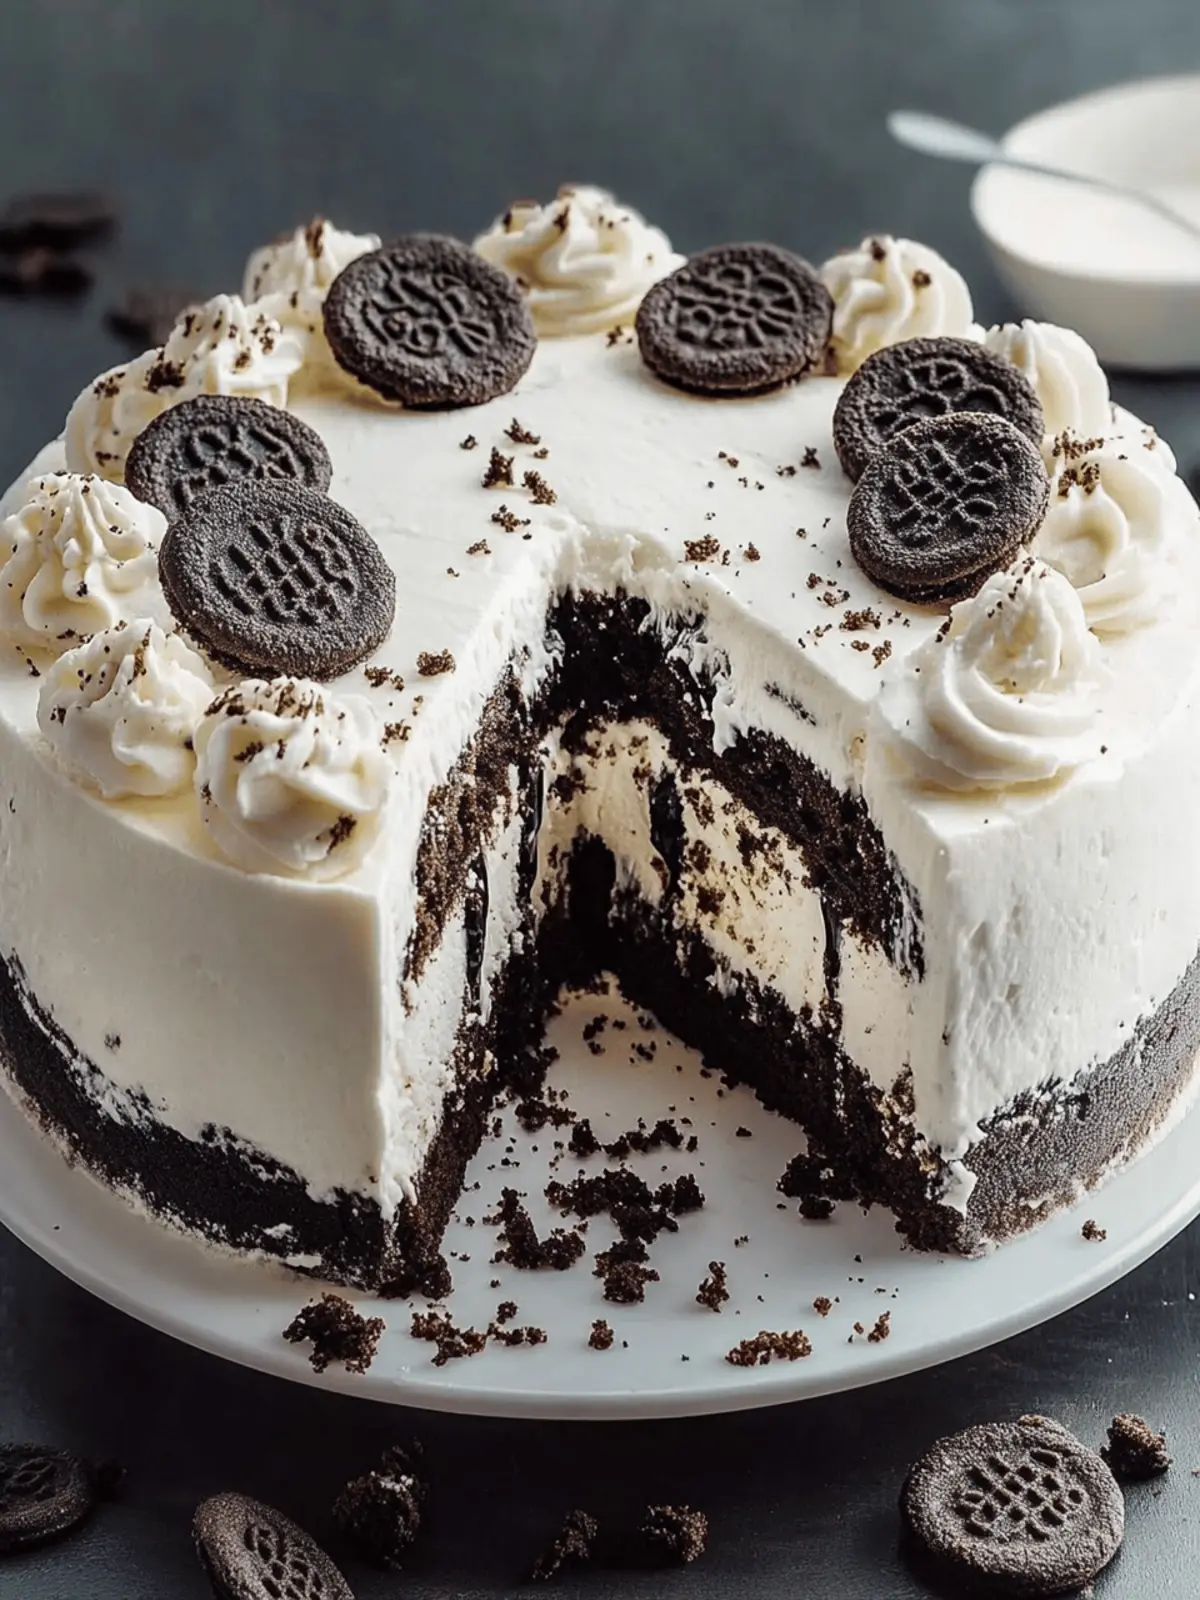
Decorate: Pipe a chocolate shell around the edge, then add whipped cream rosettes and finish with whole and crushed Oreos for a beautiful presentation. Freeze for another 20 minutes to set the decorations.
Optional: Garnish with chocolate drizzle for an extra special touch!
Exact quantities are listed in the recipe card below.
Make Ahead Options
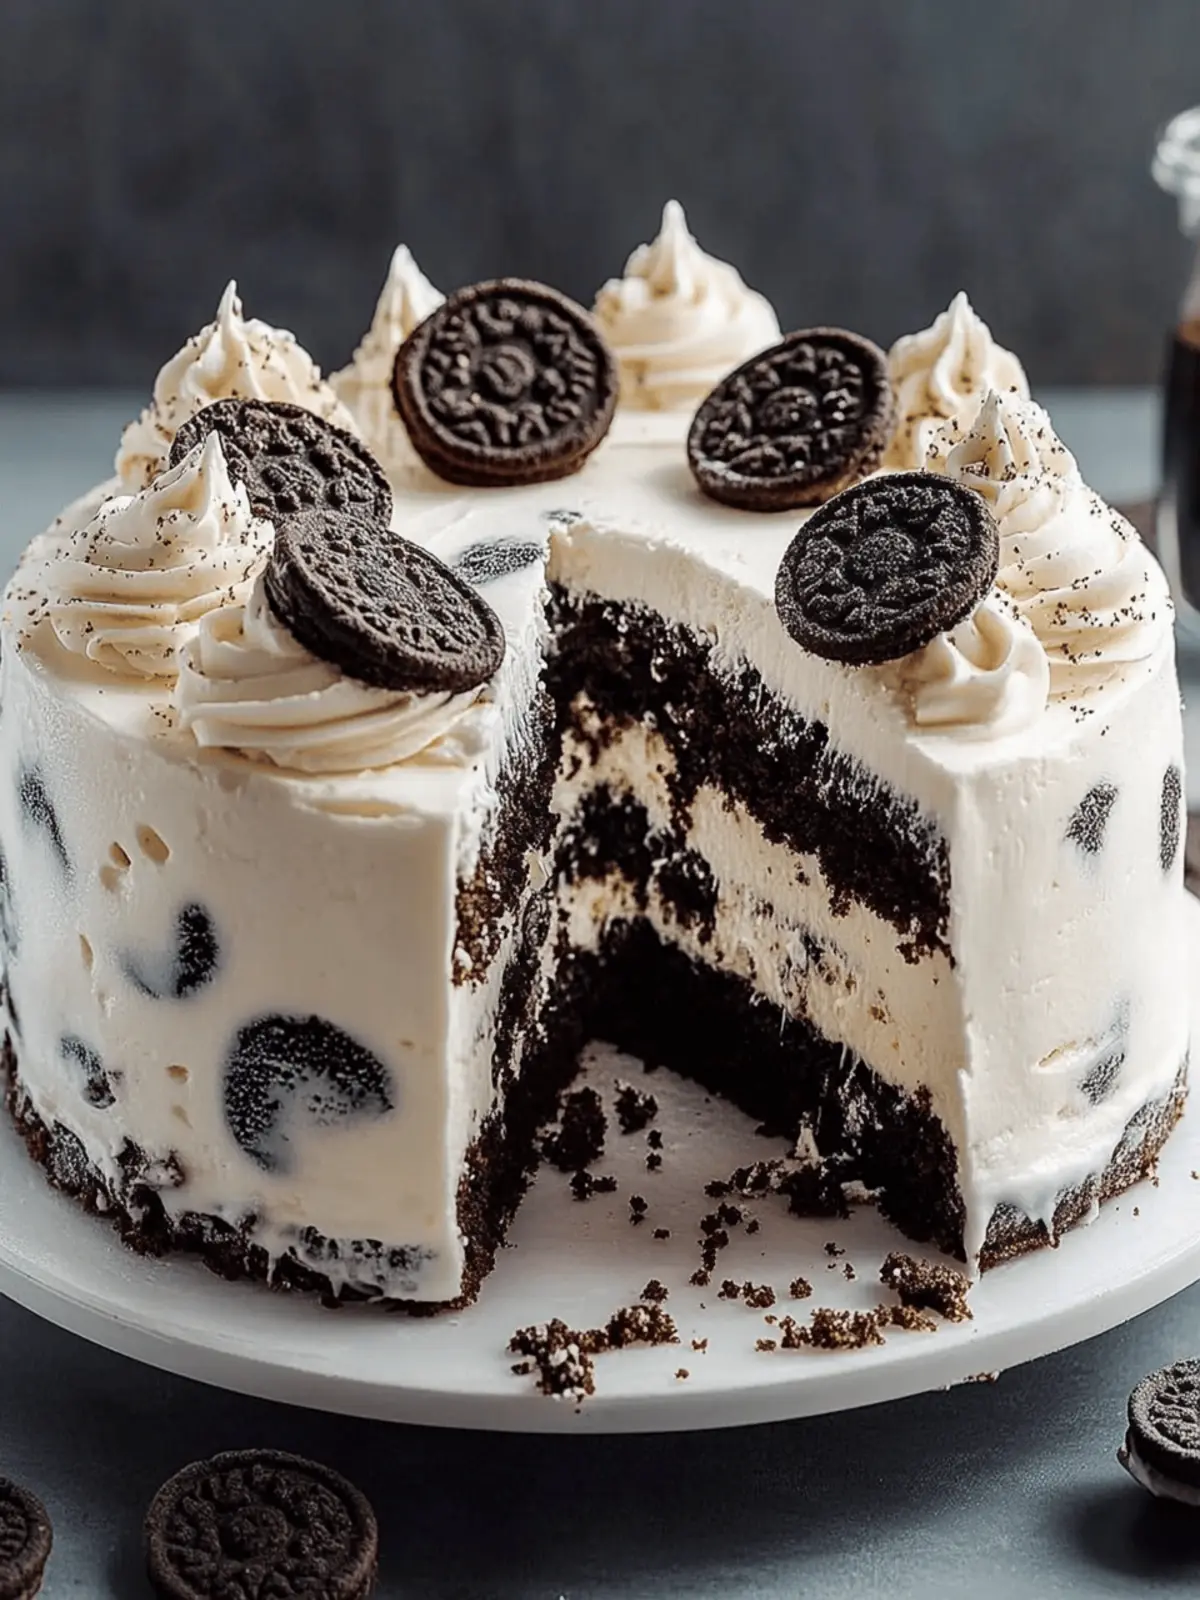
These Cookies & Cream Dream Ice Cream Cake layers are perfect for meal prep! You can make the no-churn ice creams and prepare the crunchy layer up to 24 hours in advance to save precious time on the day of your celebration. Simply follow the initial steps, including layering the vanilla and cookies-and-cream mixtures, and freeze it overnight. To maintain quality, ensure that your cake is tightly wrapped in plastic wrap to prevent freezer burn. When you’re ready to serve, whip up the cream topping, frost the cake, and decorate it just before serving, ensuring it remains fresh and delightful for your guests. Enjoy this hassle-free dessert with minimal effort on the big day!
What to Serve with Cookies & Cream Dream Ice Cream Cake?
As you plan the perfect summer gathering, complementing this delightful dessert with scrumptious pairings can elevate the entire experience.
- Fresh Berries: The tartness of strawberries or raspberries adds a refreshing contrast to the richness of the cake.
- Whipped Cream: Serve a dollop of fresh whipped cream on the side for an extra creamy touch and visual appeal.
- Chocolate Drizzle: A warm drizzle of chocolate sauce enhances the dessert’s indulgence and ties together the flavors beautifully.
- Mint Chocolate Chip Ice Cream: This creamy side offers a cool, minty freshness that perfectly complements the cookies and cream.
- Coffee or Espresso: A cup of strong coffee adds a sophisticated touch, balancing sweetness with its bold flavor while enhancing the dessert experience.
- Sparkling Lemonade: Bubbly and refreshing, a glass of sparkling lemonade provides a zesty contrast that lightens the meal.
- Chocolate Dipped Strawberries: These sweet bites double as a beautiful garnish and an additional treat that mirrors the cake’s flavors.
- Caramel Sauce: Pour warm caramel over a slice for a rich, buttery addition that partners perfectly with the chocolate elements of the cake.
- Nutty Crunch Mix: A side of mixed nuts brings in a delightful crunch factor, enhancing the textural experience of your dessert spread.
- Chocolate Milkshake: Indulge further with a creamy chocolate milkshake that echoes the sweetness of the cake while offering a playful drink option.
Expert Tips for Cookies & Cream Dream Ice Cream Cake
- Freeze the Pan: Begin by placing your springform pan in the freezer before starting. This helps to ensure easy unmolding of your cake later.
- Oreos Soaking: To achieve the perfect texture, soak the Oreos just until they’re soft but not falling apart. A quick dip in milk does the trick!
- Don’t Overwhip: When whipping the cream for your cake, be careful not to overwhip it. Doing so can lead to a grainy texture, ruining the creamy mouthfeel.
- Layer Time: Be patient and allow each layer to freeze appropriately between steps. This keeps the textures distinct and prevents blending.
- Make Ahead: You can prepare this Cookies & Cream Dream Ice Cream Cake a day in advance. Just store it in a well-sealed container in the freezer—perfect for stress-free entertaining!
- Decoration Ideas: Get creative with your toppings! Use other candies or fresh fruit to customize your cake for any occasion.
Cookies & Cream Variations
Feel free to customize this delightful cake to suit your taste and occasion!
- Chocolate Layer: Substitute the vanilla ice cream layer with chocolate ice cream for a rich, chocolaty twist.
- Minty Fresh: Use mint chocolate chip ice cream instead of cookies-and-cream for a refreshing surprise in every bite.
- Peanut Butter Bliss: Replace Oreos with peanut butter cookies for a nutty flavor that’s downright irresistible.
- Caramel Indulgence: Layer in a generous spread of caramel in place of the fudge for an extra touch of sweetness.
- Nutty Crunch: Add crushed nuts like pecans or almonds to the crunchies layer for a delightful texture contrast.
- Fruit Fusion: Incorporate crushed strawberries or bananas into the ice cream mix for a fruity spin on this classic dessert.
- Spicy Surprise: Mix in a pinch of cinnamon or cayenne pepper to the chocolate shell for a surprising kick that elevates the flavor.
- Dairy-Free Delight: Use coconut cream and dairy-free cookies to create a vegan-friendly version that’s just as delicious.
With these variations, you can create a unique cake experience that everyone will adore!
How to Store and Freeze Cookies & Cream Dream Ice Cream Cake
Fridge: Store any leftovers in an airtight container in the refrigerator for up to 3 days. This will help maintain the cake’s creaminess while keeping it fresh.
Freezer: If you want to keep your Cookies & Cream Dream Ice Cream Cake longer, freeze it in an airtight container for up to a week. Press plastic wrap against exposed sides to avoid freezer burn.
Thawing: To serve, transfer the cake from the freezer to the refrigerator and let it thaw for about 1–2 hours before slicing. This ensures each piece maintains its lovely texture.
Reheating: There’s no need to heat this cake, as it’s best enjoyed cold. Just slice and serve directly from the fridge or freezer!
Cookies & Cream Dream Ice Cream Cake Recipe FAQs
What kind of Oreos should I use?
Absolutely! Regular Oreos are perfect, but feel free to switch things up with other sandwich cookies for a unique flavor twist. Think about using mint Oreos for a refreshing bite or peanut butter Oreos for a nutty flair!
How long can I store my Cookies & Cream Dream Ice Cream Cake?
The cake can be kept in an airtight container in the freezer for up to a week. For optimal freshness, press plastic wrap against any exposed sides to prevent freezer burn. Just be sure it’s wrapped up tight to keep those delicious layers intact!
Can I freeze the Cookies & Cream Dream Ice Cream Cake?
Very! To freeze, make sure it’s in an airtight container. It will keep for up to a week. If you want to store it longer, you can cut it into individual slices and wrap each slice in plastic wrap for easy access later.
What should I do if my whipped cream is grainy?
If your whipped cream ends up grainy, it probably got overwhipped. To fix it, gently fold in a bit more cold heavy cream until it’s smooth and creamy again. Just a few strokes should bring it back to the luscious texture you’re looking for!
Can I make this cake dairy-free?
Absolutely! Use a dairy-free whipped cream alternative instead of heavy cream, and make sure to choose a dairy-free version of Oreos. Many store-brand sandwich cookies are naturally dairy-free as well. It’s an easy adjustment that doesn’t skimp on flavor!
What’s the best way to thaw my cake?
To thaw, move the cake to the fridge about 1-2 hours before serving. This gradual thawing method helps maintain the cake’s delightful texture, plus it makes it so much easier to slice! Enjoy each creamy piece at its best!
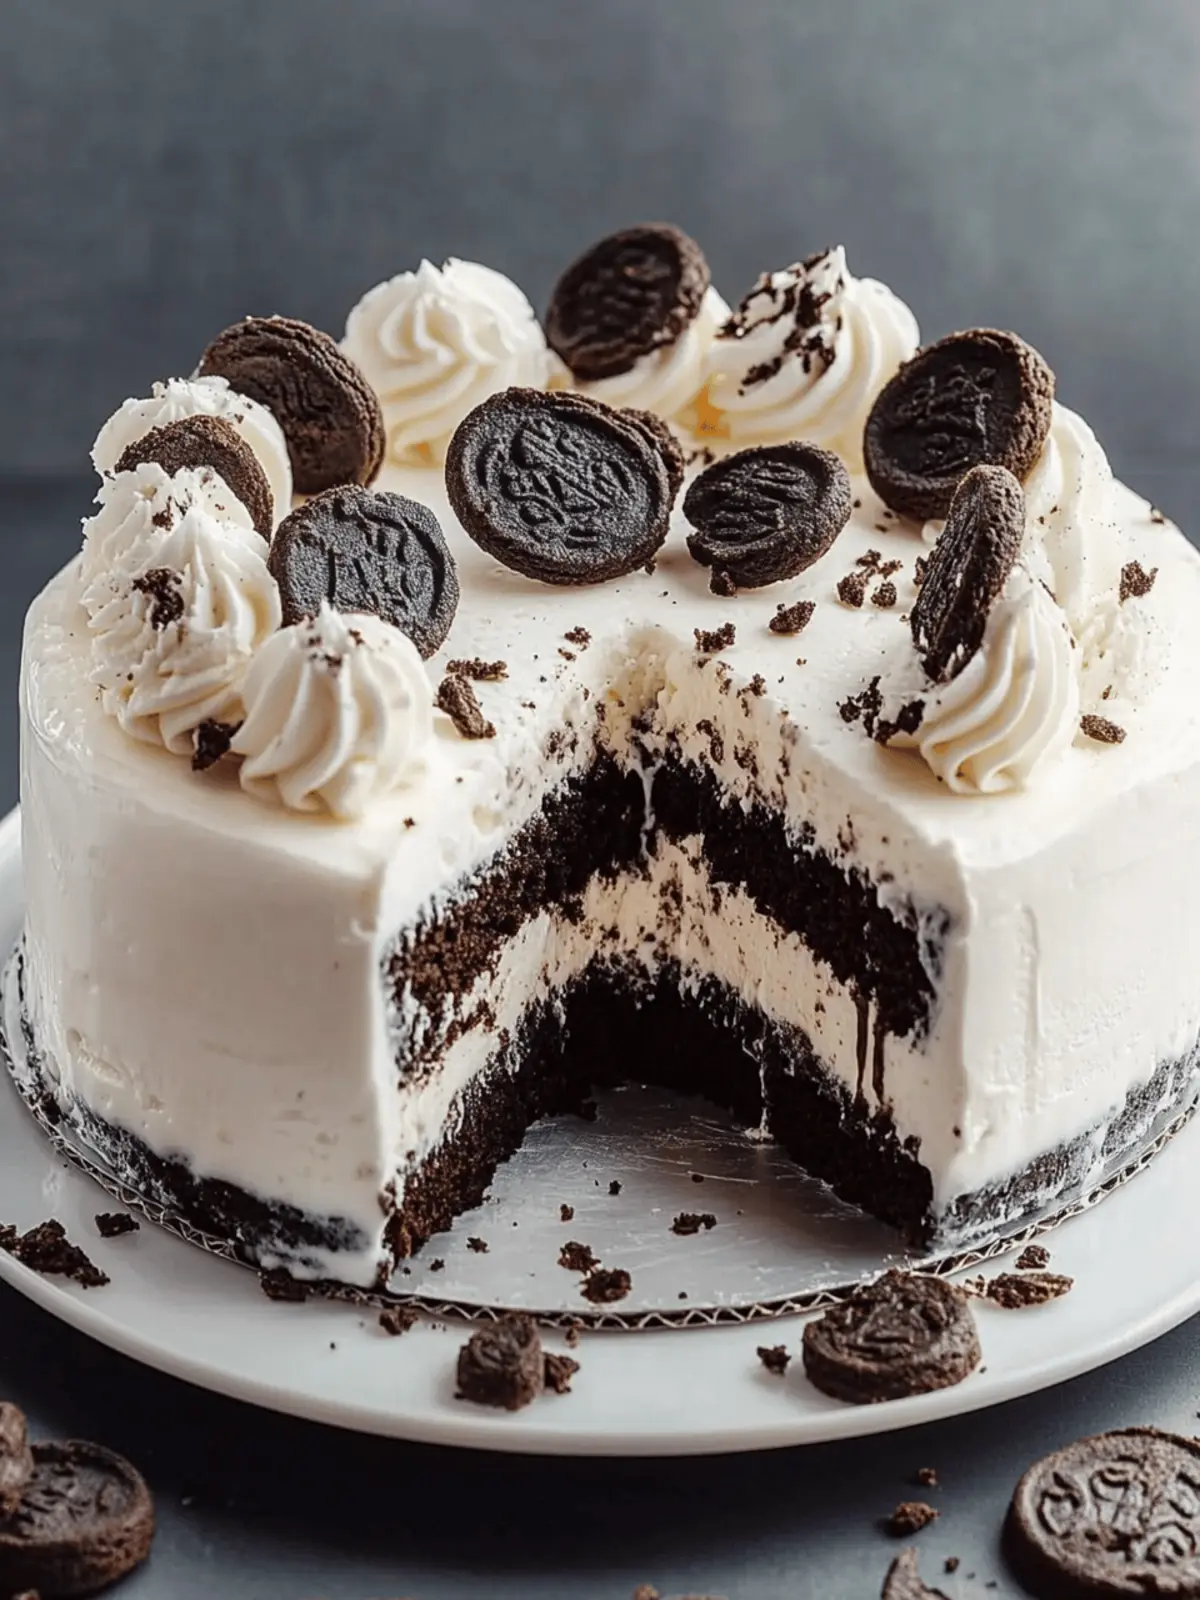
Indulge in Cookies & Cream Dream Ice Cream Cake Bliss
Ingredients
Equipment
Method
- Line an 8x3-inch springform pan with plastic wrap and freeze it.
- Crush 6 Oreos into fine pieces. In a bowl, whisk together condensed milk, vanilla extract, and kosher salt.
- In another bowl, whip cold heavy cream to stiff peaks. Slowly fold the whipped cream into the milk mixture in thirds.
- Divide into two bowls; keep one plain vanilla and fold the crushed Oreos into the other.
- Spread a thin layer of your vanilla mixture in the bottom of the frozen pan.
- Soak and layer 14 Oreos in milk, placing them on top of the vanilla mixture.
- Finish with the remaining vanilla layer and freeze for 45–75 minutes until set.
- Crush 10 Oreos and mix them with melted unsalted butter and a pinch of kosher salt.
- Spread the mixture on a baking sheet and bake at 350°F for 8 minutes.
- Optionally, coat the baked crunchies with the chocolate shell for extra flavor.
- Warm a jar of fudge in the microwave until pourable.
- Carefully spread it over the frozen vanilla layer, then sprinkle the crunchies on top.
- Freeze for an additional 15 minutes.
- Spread the cookies-and-cream mixture over the fudge layer.
- Freeze the cake until solid, ideally for at least 6 hours or overnight.
- Whip together cold heavy cream, powdered sugar, vanilla extract, and salt until stiff peaks form.
- Reserve 1 cup for decorating the top of the cake.
- Carefully flip the springform pan to release your cake, then remove the plastic wrap.
- Frost the top and sides with the whipped cream, smoothly spreading it out.
- Pipe a chocolate shell around the edge, then add whipped cream rosettes and finish with whole and crushed Oreos.
- Freeze for another 20 minutes to set the decorations.

