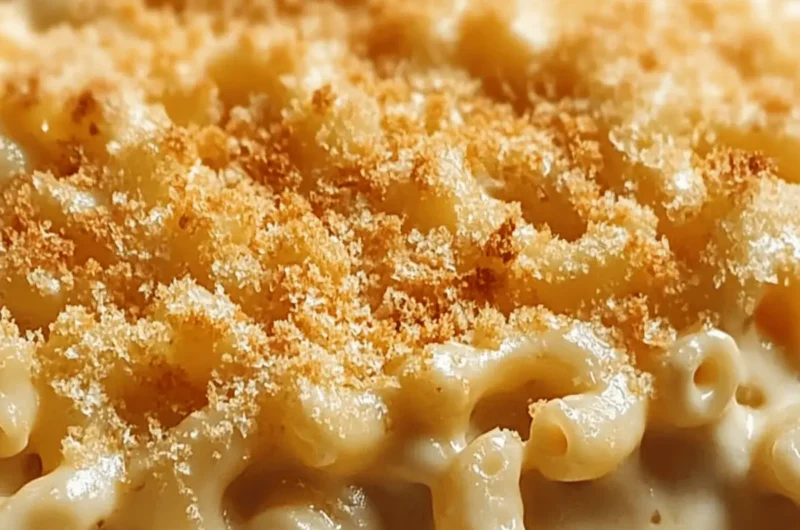
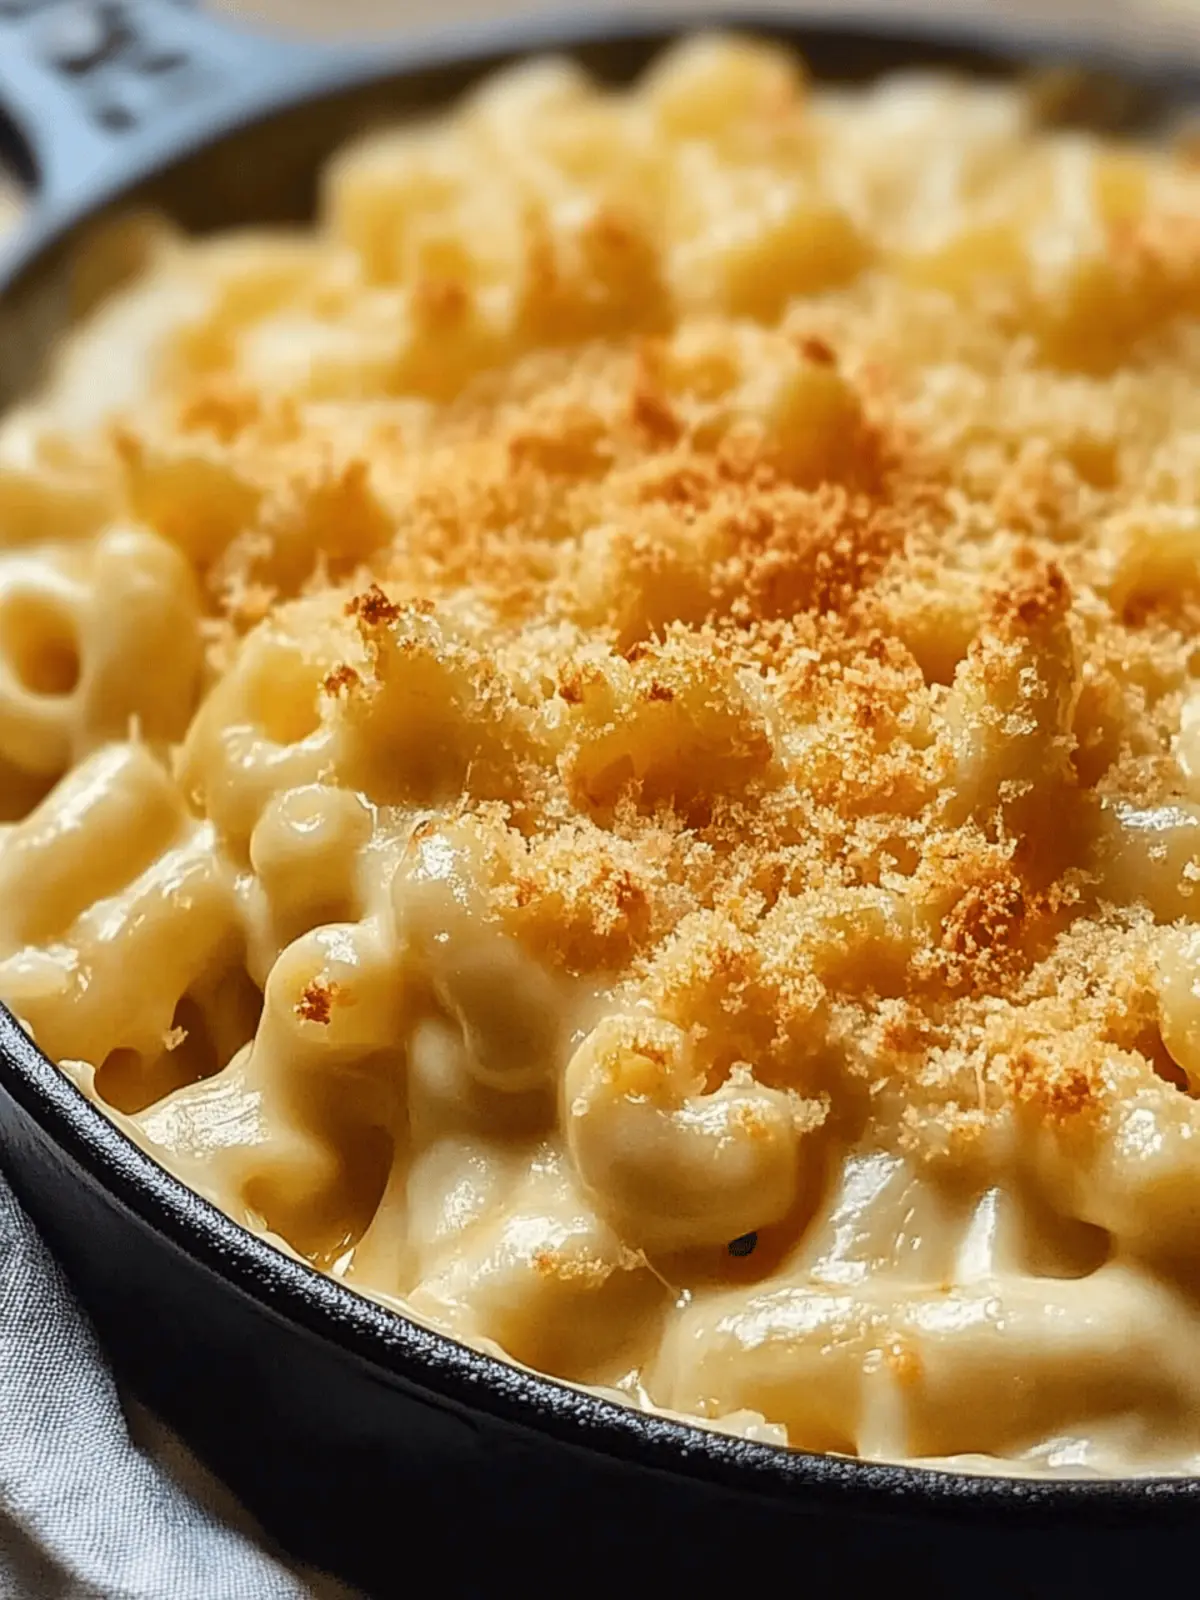
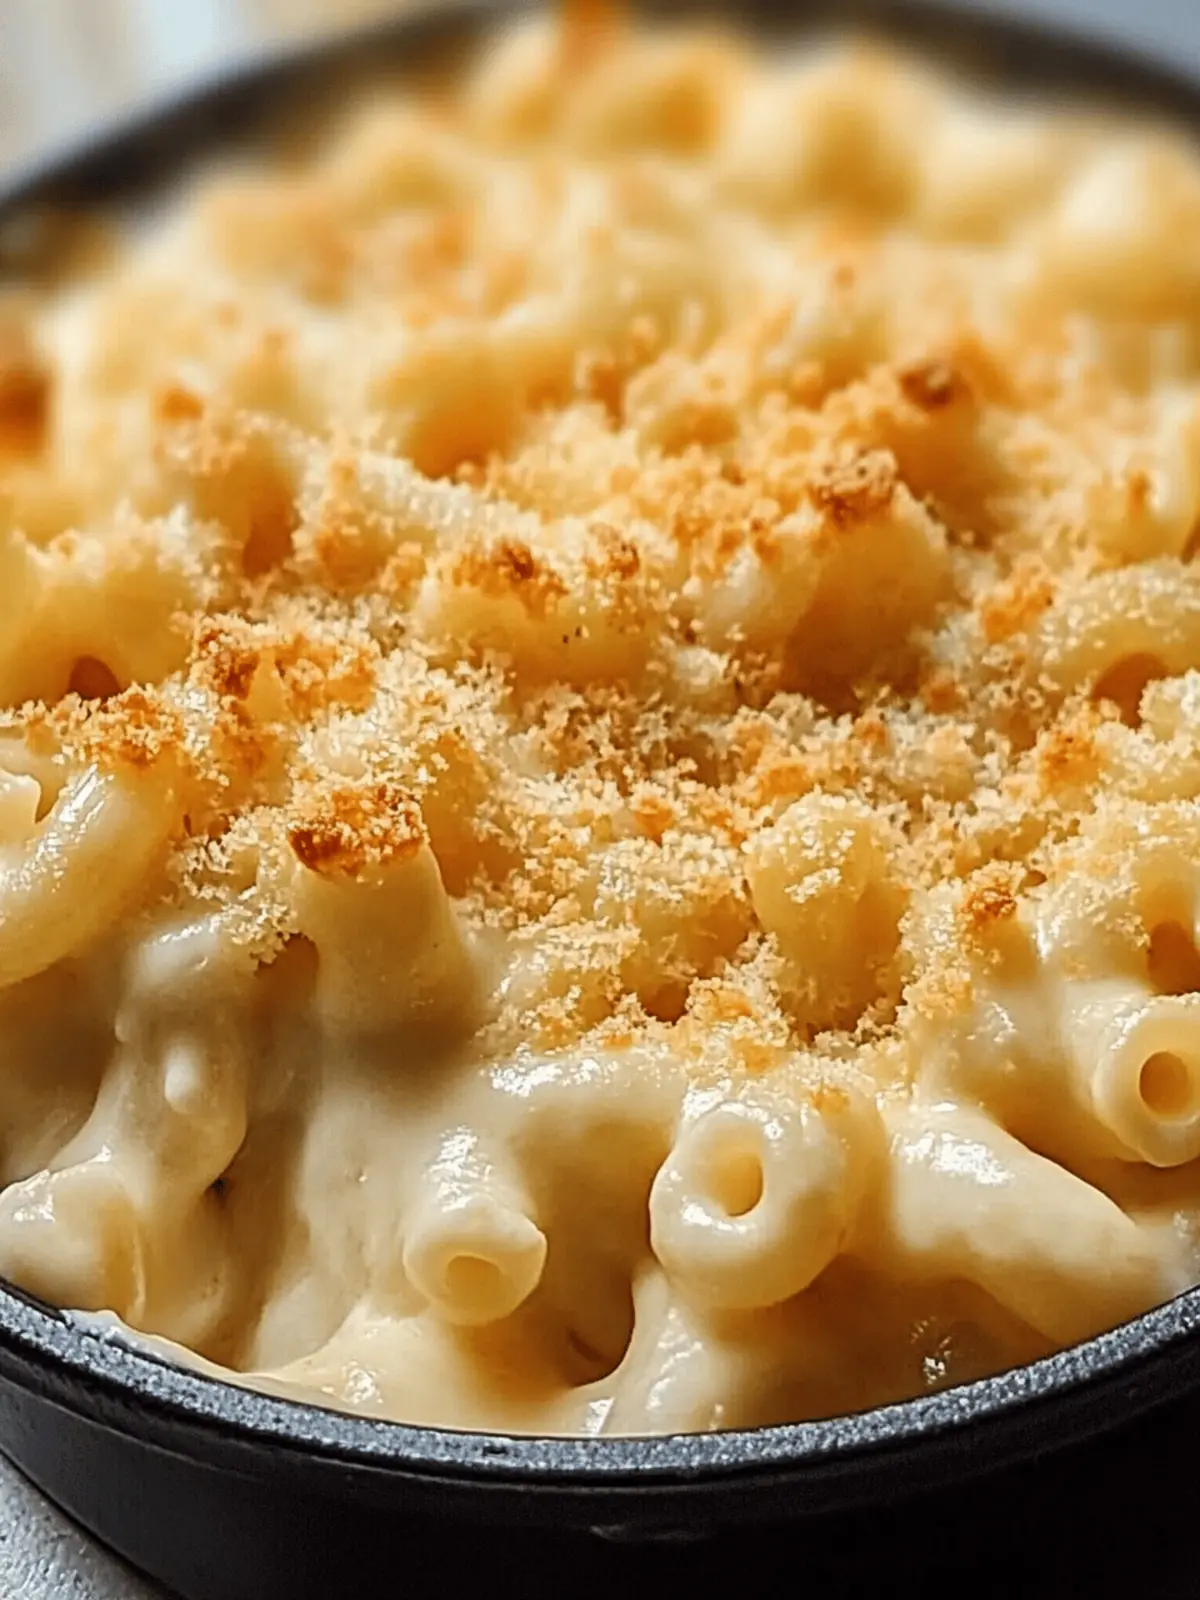
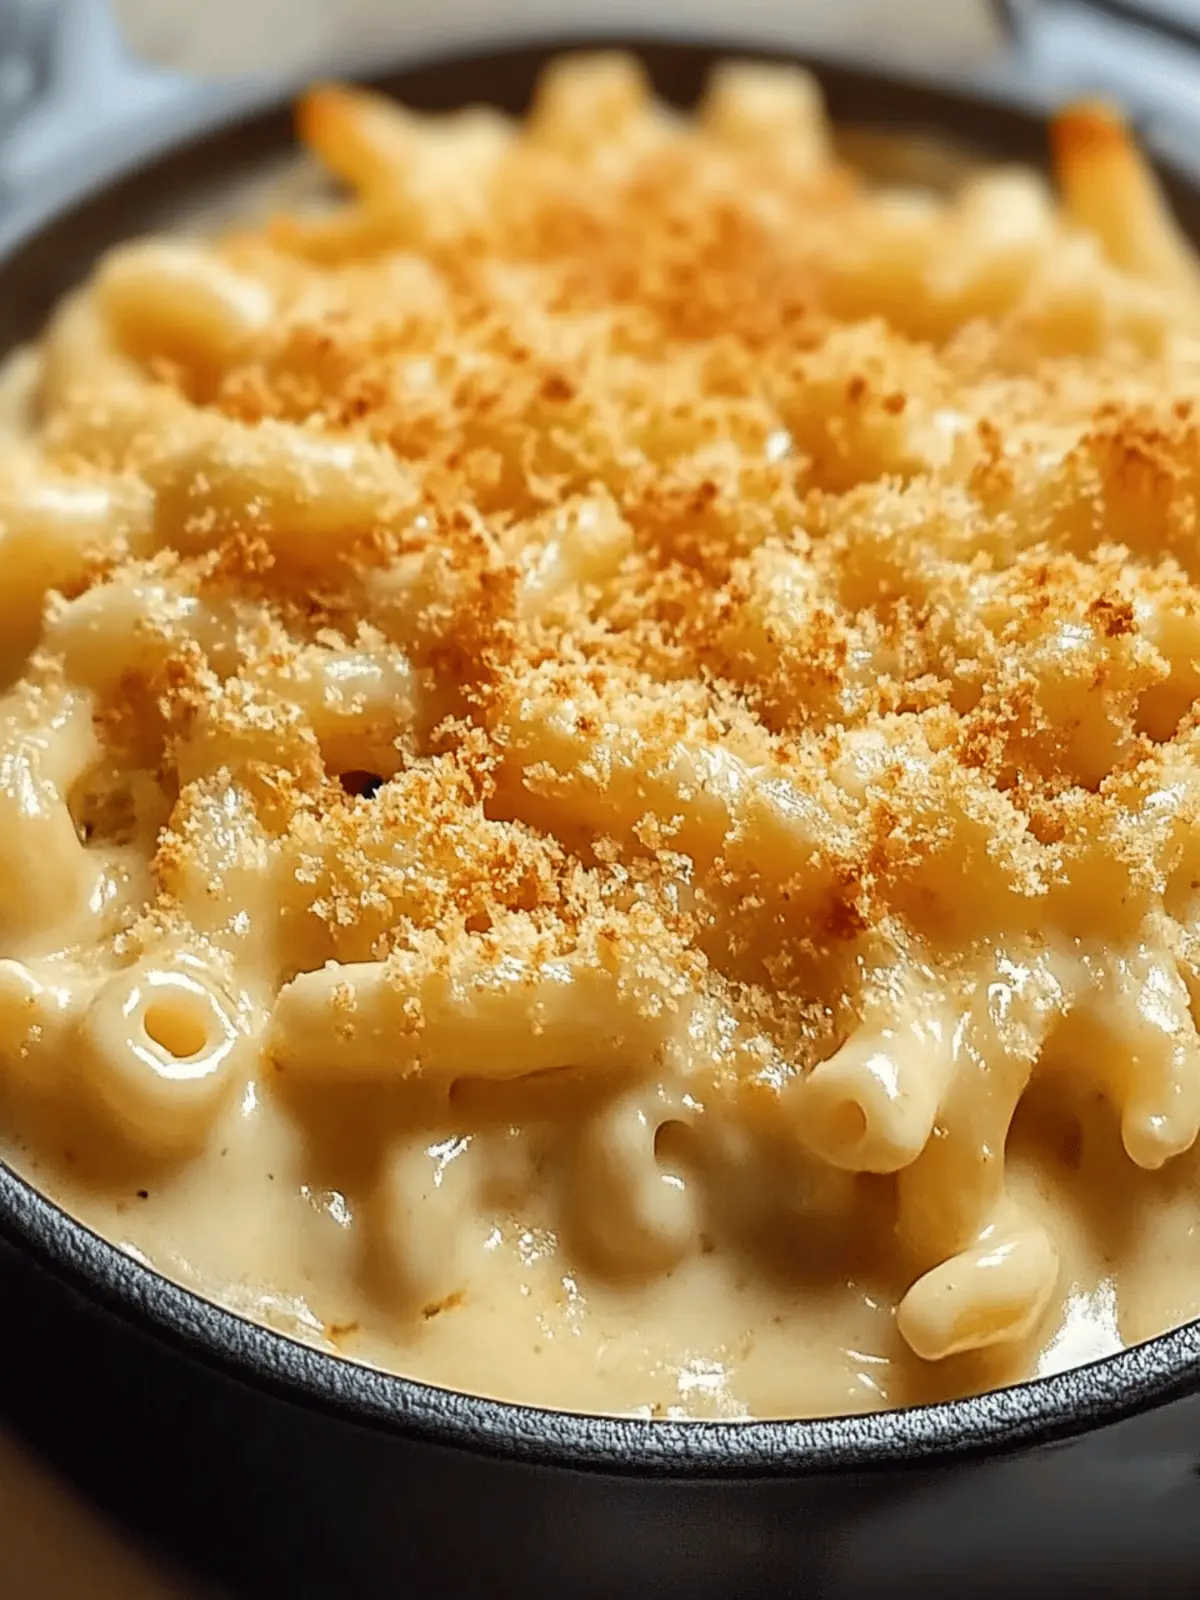
There’s nothing quite like the nostalgia of a warm, cheesy dish of mac and cheese that instantly transforms your kitchen into a cozy haven. Picture this: creamy cheese melting into perfectly tender elbow macaroni, all crowned with a crispy, golden breadcrumb topping. This Classic Baked Mac and Cheese is not just a meal; it’s a hug in a dish. On chilly evenings or during family gatherings, it delivers unmatched comfort and satisfaction.
I love how adaptable this recipe is—it invites you to get creative with your favorite cheeses and add-ins! Want to toss in some broccoli for a veggie boost? Go for it! Or how about a sprinkle of spicy jalapeños for an unexpected kick? The beauty lies in its versatility, making it a beloved option for both simple weeknights and festive occasions. So, roll up your sleeves and let’s dive into making a dish that warms the heart just as much as it fills the belly.
Why is Classic Baked Mac and Cheese a Must-Try?
Comforting Experience: There’s something magical about digging into a warm dish of cheesy goodness that instantly feels like a hug.
Easy to Customize: Whether you crave classic flavors or want to experiment with add-ins, this recipe accommodates it all—add veggies, spices, or different cheeses for your twist!
Family-Friendly: Even picky eaters can’t resist this creamy delight, making it the perfect crowd-pleaser for any gathering.
Quick Prep: With simple ingredients and a straightforward cooking process, you’ll have a satisfying meal on the table in no time.
Perfect for Leftovers: Enjoy the deliciousness the next day—just add a splash of milk when reheating to bring back the creaminess.
Classic Baked Mac and Cheese Ingredients
For the Pasta
• Elbow Macaroni – This is the backbone of your dish; short pasta shapes like shells or cavatappi can be used as tasty alternatives.
For the Cheese Sauce
• Whole Milk – Helps achieve that rich creaminess; low-fat milk can be used if you’re looking to lighten things up.
• Heavy Cream – Adds velvety richness to your sauce; for a lighter version, consider using additional milk or a plant-based cream alternative.
• Unsalted Butter – Essential for your roux; always opt for unsalted to better control the flavor.
• All-Purpose Flour – Thickens your cheese sauce beautifully; swap for gluten-free flour if you need a gluten-free option.
• Sharp Cheddar Cheese (shredded) – This is your star flavor player; freshly shredded cheese melts much better.
• Mozzarella Cheese (shredded) – Boosts gooeyness and creaminess; feel free to experiment with a blend of cheeses for exciting flavor profiles.
• Dijon Mustard – Provides depth to your sauce; can be omitted or exchanged for yellow mustard if you prefer a milder taste.
• Smoked Paprika – Introduces a hint of smokiness; regular paprika can be substituted for a less spicy flavor.
• Salt and Freshly Ground Black Pepper – Vital for seasoning; adjust to your taste preference.
For the Topping
• Panko Breadcrumbs – Creates that delightful crunchy topping; regular breadcrumbs can work too, though texture may differ.
• Grated Parmesan Cheese – Elevates your crispy crust; omit for a dairy-free version, but note that this will impact the flavor.
Discover the joy of making your very own Classic Baked Mac and Cheese!
How to Make Classic Baked Mac and Cheese
- Preheat the Oven:
Start by preheating your oven to 350°F (175°C). While the oven is warming up, butter a 9×13 inch baking dish to prepare it for your cheesy delight. - Cook the Pasta:
Boil elbow macaroni in salted water for about 6-8 minutes until it’s al dente. Drain it well and set it aside to let it cool slightly. - Prepare the Roux:
In a medium saucepan, melt ¼ cup of unsalted butter over medium heat. Whisk in ¼ cup of all-purpose flour for 1-2 minutes until it turns golden, creating a roux. - Create the Cheese Sauce:
Gradually whisk in 2 cups of whole milk and 1 cup of heavy cream. Continue cooking until the sauce thickens and bubbles, which should take around 5 minutes—it’s getting creamy! - Add the Cheese:
Remove the saucepan from heat and stir in 2 cups of shredded sharp cheddar cheese, 1 cup of shredded mozzarella cheese, 1 tablespoon of Dijon mustard, 1 teaspoon of smoked paprika, and a sprinkle of salt and pepper. Mix until the cheese is fully melted and the sauce is smooth. - Combine Pasta and Sauce:
Gently fold the cooked macaroni into the cheese sauce, making sure every piece of pasta is coated in that luscious goodness. - Transfer to Baking Dish:
Pour this heavenly mixture into your prepared baking dish, spreading it out evenly. - Prepare the Topping:
In a separate bowl, combine 1 cup of panko breadcrumbs and ½ cup of grated Parmesan cheese. Sprinkle this mixture generously on top of the macaroni and cheese. - Bake to Golden Perfection:
Bake in the oven for 25-30 minutes or until the top is golden and bubbly. For an extra crunch, broil for an additional 2-3 minutes—just keep an eye on it! - Cool and Serve:
Allow the baked mac and cheese to cool for about 5 minutes before serving. This will help the sauce set for easier portioning.
Optional: Garnish with fresh herbs for a pop of color and flavor!
Exact quantities are listed in the recipe card below.
Expert Tips for Classic Baked Mac and Cheese
- Use Fresh Cheese: Freshly shredded cheese creates a smoother, creamier sauce that melts beautifully, ensuring your classic baked mac and cheese is perfect!
- Cook Pasta Al Dente: Make sure to cook the elbow macaroni just until al dente; overcooked pasta can turn mushy when baked, ruining that lovely texture.
- Let It Rest: Allow your baked mac and cheese to cool for 5 minutes before serving. This step helps the sauce thicken and makes serving easier.
- Monitor While Broiling: Keep a close eye on your dish while broiling to avoid an overly browned topping—it should be perfectly golden for that delightful crunch!
- Experiment with Cheeses: Don’t hesitate to mix different cheeses for added depth of flavor; a blend of cheddar and Gruyère can elevate your classic baked mac and cheese experience!
How to Store and Freeze Classic Baked Mac and Cheese
- Fridge: Store leftovers in an airtight container for up to 3-4 days. To keep that luscious texture, consider adding a splash of milk when reheating.
- Freezer: For longer storage, freeze your classic baked mac and cheese for up to 2 months. Wrap it tightly in plastic wrap and foil to prevent freezer burn.
- Reheating: Thaw in the fridge overnight before reheating. Warm it in the oven at 350°F (175°C) until heated through, adding a bit of milk if needed for creaminess.
- Make-Ahead Tip: You can assemble the dish ahead of time and refrigerate it (without baking) for up to a day. When you’re ready, simply bake it straight from the fridge, adding an extra 10-15 minutes to the baking time.
What to Serve with Classic Baked Mac and Cheese?
Embrace the magic of a cozy dinner by pairing this rich, cheesy delight with complementary flavors and textures.
- Roasted Chicken: This savory addition offers a juicy contrast to the creamy mac, making each bite even more satisfying.
- Grilled Sausages: The smoky flavors of grilled sausages create an amazing contrast with the cheesy goodness, bringing excitement to your plate.
- Fresh Green Salad: A crisp salad drizzled with a light vinaigrette balances the richness of the mac and cheese, refreshing your palate with every forkful.
- Garlic Bread: The crunchiness from garlic bread enhances the comfort of your meal, while its buttery flavor harmonizes deliciously with the cheese.
- Steamed Broccoli: This classic pairing not only adds a pop of color but also a nutritious element, making your dinner feel wholesome and balanced.
- Sweet Tea or Lemonade: Kick back with a chilled glass of sweet tea or lemonade to counter the warmth of the mac and cheese while adding a refreshing twist to your meal.
- Apple Crisp: End with a sweet note; the warm, spiced apple crisp brings a delightful contrast to the cheesy comfort of your main dish.
Classic Baked Mac and Cheese Variations
Feel free to mix things up and add your personal touch to this beloved dish! Each variation is a delicious way to elevate your mac and cheese experience.
- Cheese Swap: Replace some cheddar with Gruyère or fontina for a nuttier, more complex flavor profile. Cheese lovers rejoice in the extra depth!
- Spicy Kick: Add diced jalapeños or a dash of hot sauce into the sauce for a fiery twist. Just the right amount of heat can turn comfort food into a flavorful adventure.
- Veggie Lovers: Stir in steamed broccoli or cauliflower for a nutritious boost without sacrificing taste. Sneaking in veggies never tasted this good!
- Vegan Delight: Opt for plant-based cheese and non-dairy milk to whip up a savory vegan mac and cheese. Comfort food can still be kind to your lifestyle choices!
- Herby Infusion: Mix in fresh herbs like thyme or basil for a fragrant twist that brings out a garden-like freshness in every bite. Your taste buds will dance with joy!
- Crunchy Textures: Add some crispy bacon bits or sautéed mushrooms for a delightful contrast between creamy and crunchy. Every forkful becomes a delicious surprise.
- Smoky Flavor: Toss in some smoked cheddar or a hint of liquid smoke to naturally elevate the dish with a warm, smoky flavor. It’s like camping food without the camping!
- Truffle Oil Drizzle: Finish with a drizzle of truffle oil before serving for an upscale twist that elevates the entire dish to gourmet status. Your meal deserves this luxurious touch!
Make Ahead Options
These Classic Baked Mac and Cheese options are perfect for meal prep, saving you valuable time during busy weekdays! You can prepare the creamy cheese sauce and cook the macaroni up to 24 hours in advance. Simply store the sauce and pasta separately in the refrigerator. When you’re ready to enjoy, combine the cooked macaroni with the sauce, pour it into a baking dish, and top with your breadcrumb mixture. Bake as directed, and you’ll have a delicious, comforting meal on the table with minimal effort. For maintaining quality, ensure the cheese sauce is well-cooled before refrigerating to prevent separation. Enjoy your comforting dish, just as delightful as if made fresh!
Classic Baked Mac and Cheese Recipe FAQs
How do I choose the best ingredients for my Classic Baked Mac and Cheese?
Absolutely! For the best flavor, select high-quality cheeses like sharp cheddar and fresh mozzarella. Aim for cheeses that are freshly shredded, as they melt more smoothly. Also, check for ripeness in your dairy; the milk should smell fresh (not sour), and butter should be creamy without any grainy texture.
What’s the best way to store leftover mac and cheese?
After enjoying your delicious meal, refrigerate leftovers in an airtight container. They can last for up to 3-4 days. I often suggest adding a splash of milk when reheating to restore that creamy texture. Just warm it in the microwave or oven, and it’s ready to go!
Can I freeze Classic Baked Mac and Cheese?
Yes! To freeze, allow your classic baked mac and cheese to cool completely. Wrap it tightly in plastic wrap and then aluminum foil to prevent freezer burn. It can be stored for up to 2 months. When you’re ready to eat, thaw it overnight in the refrigerator, then reheat in the oven at 350°F (175°C) until it’s heated through, adding a bit of milk if necessary to bring back its creaminess.
What should I do if my mac and cheese is too dry after baking?
If, after baking, you find your mac and cheese has dried out, don’t worry! You can add a splash of milk or cream when reheating. Stir it in gently while warming it on the stovetop or in the microwave. If you’re baking it again, you might cover it with foil to retain moisture until it’s heated through.
Can I make Classic Baked Mac and Cheese vegetarian-friendly?
Very much so! If you’d like to keep this dish vegetarian, simply ensure that your cheese is made without animal rennet, often found in some processed cheeses. Many brands offer vegetarian-friendly options. Additionally, feel free to add in roasted vegetables like broccoli or spinach to enhance its nutrition without sacrificing flavor.
Is there a way to make the dish gluten-free?
Indeed! To make your Classic Baked Mac and Cheese gluten-free, substitute regular elbow macaroni with gluten-free pasta, which is widely available these days. For the roux, use a gluten-free flour blend instead of all-purpose flour, and the rest of the ingredients are typically gluten-free, so you’re all set to enjoy this comforting dish without worry!
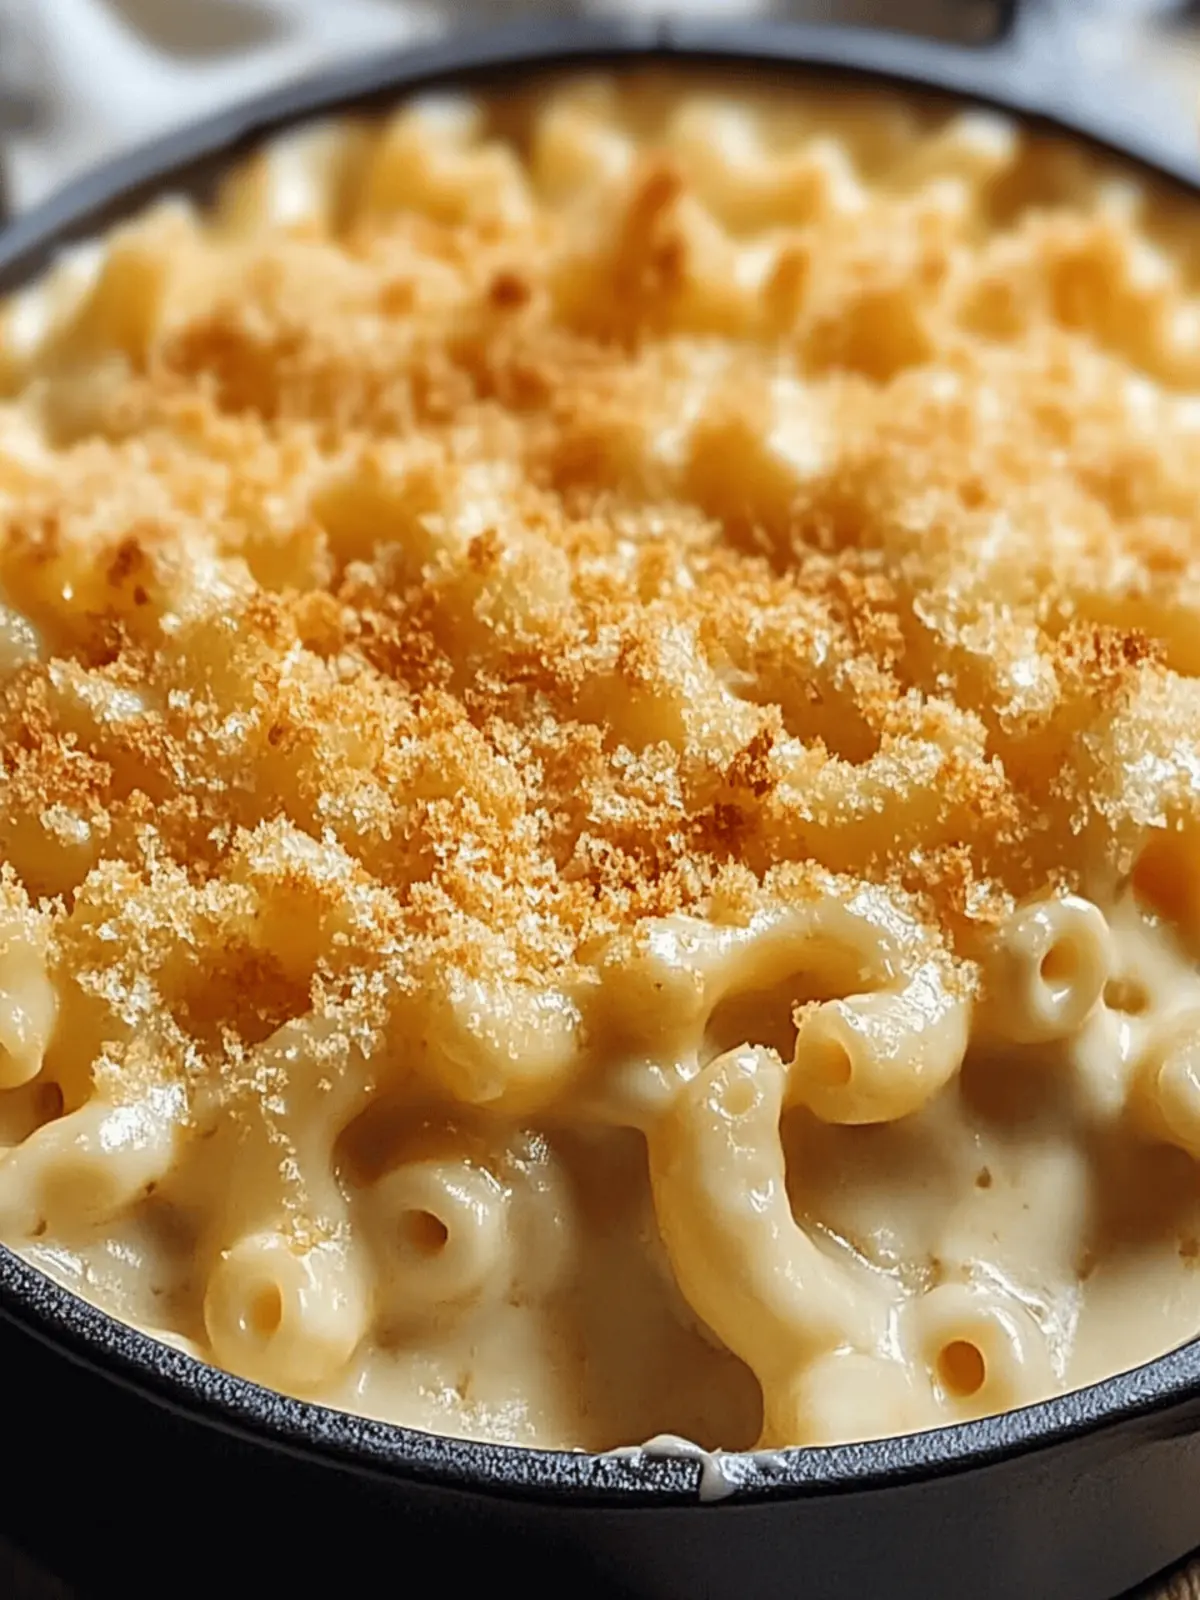
Ultimate Classic Baked Mac and Cheese with Crunchy Topping
Ingredients
Equipment
Method
- Preheat your oven to 350°F (175°C) and butter a 9x13 inch baking dish.
- Boil elbow macaroni in salted water for about 6-8 minutes until it's al dente, then drain and set aside.
- In a medium saucepan, melt ¼ cup of unsalted butter over medium heat. Whisk in ¼ cup of all-purpose flour for 1-2 minutes until golden.
- Gradually whisk in 2 cups of whole milk and 1 cup of heavy cream, cooking until thickened and bubbling, about 5 minutes.
- Remove from heat and stir in 2 cups of shredded sharp cheddar, 1 cup of shredded mozzarella, 1 tablespoon of Dijon mustard, 1 teaspoon of smoked paprika, and season with salt and pepper.
- Fold the cooked macaroni into the cheese sauce until well coated.
- Pour the mixture into the baking dish, spreading it evenly.
- In a separate bowl, combine 1 cup of panko breadcrumbs and ½ cup of grated Parmesan cheese. Sprinkle on top.
- Bake for 25-30 minutes until golden and bubbly; broil for an additional 2-3 minutes for extra crunch.
- Let cool for about 5 minutes before serving.
