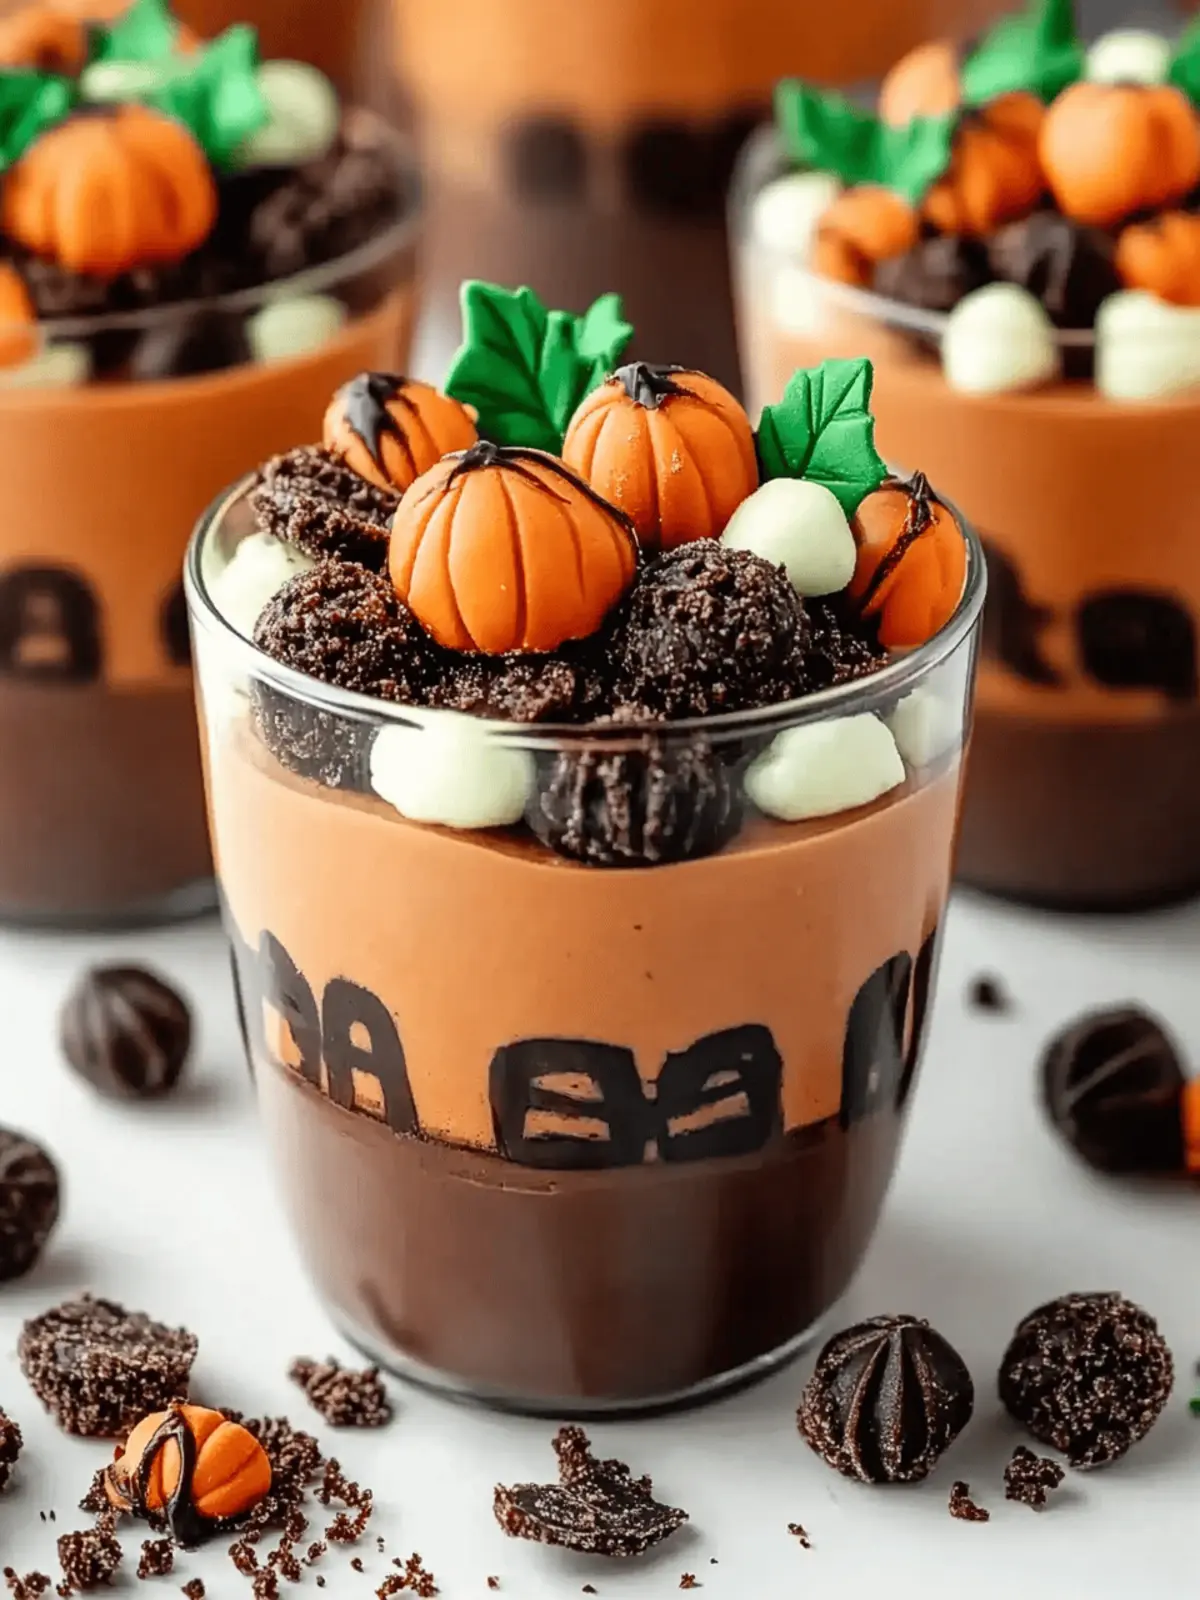
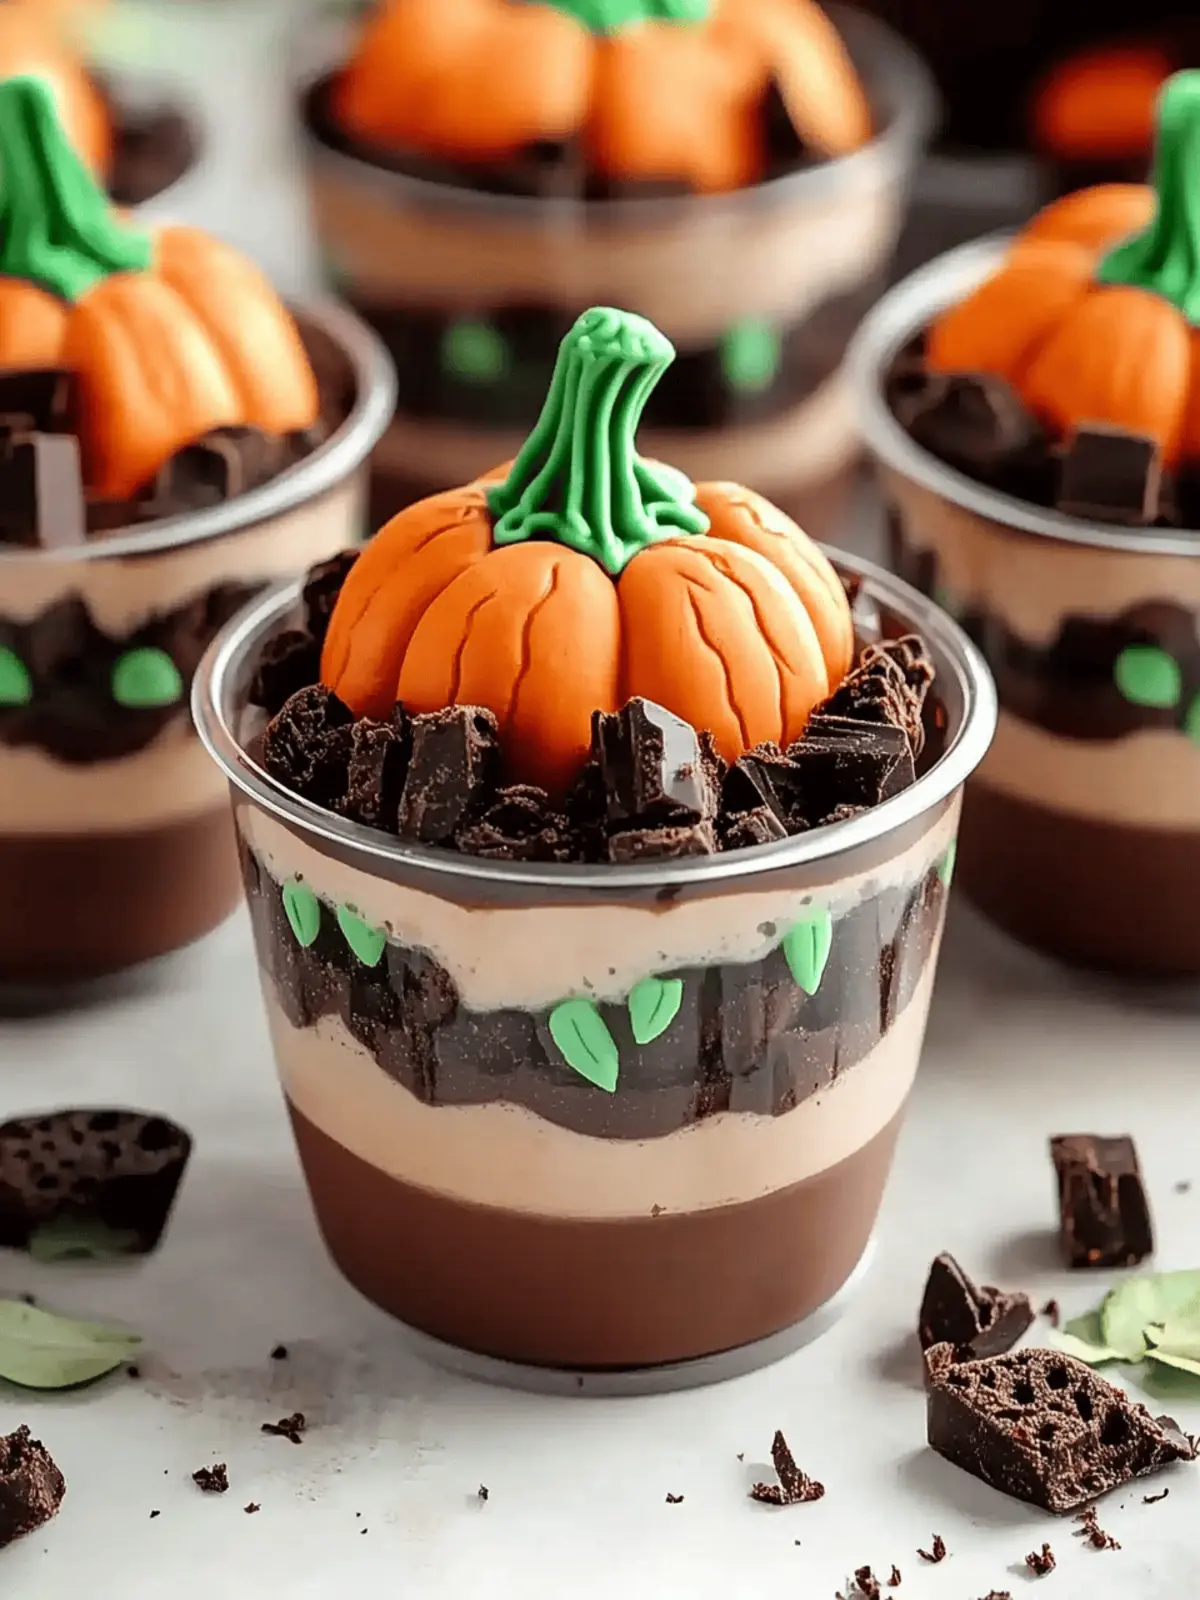
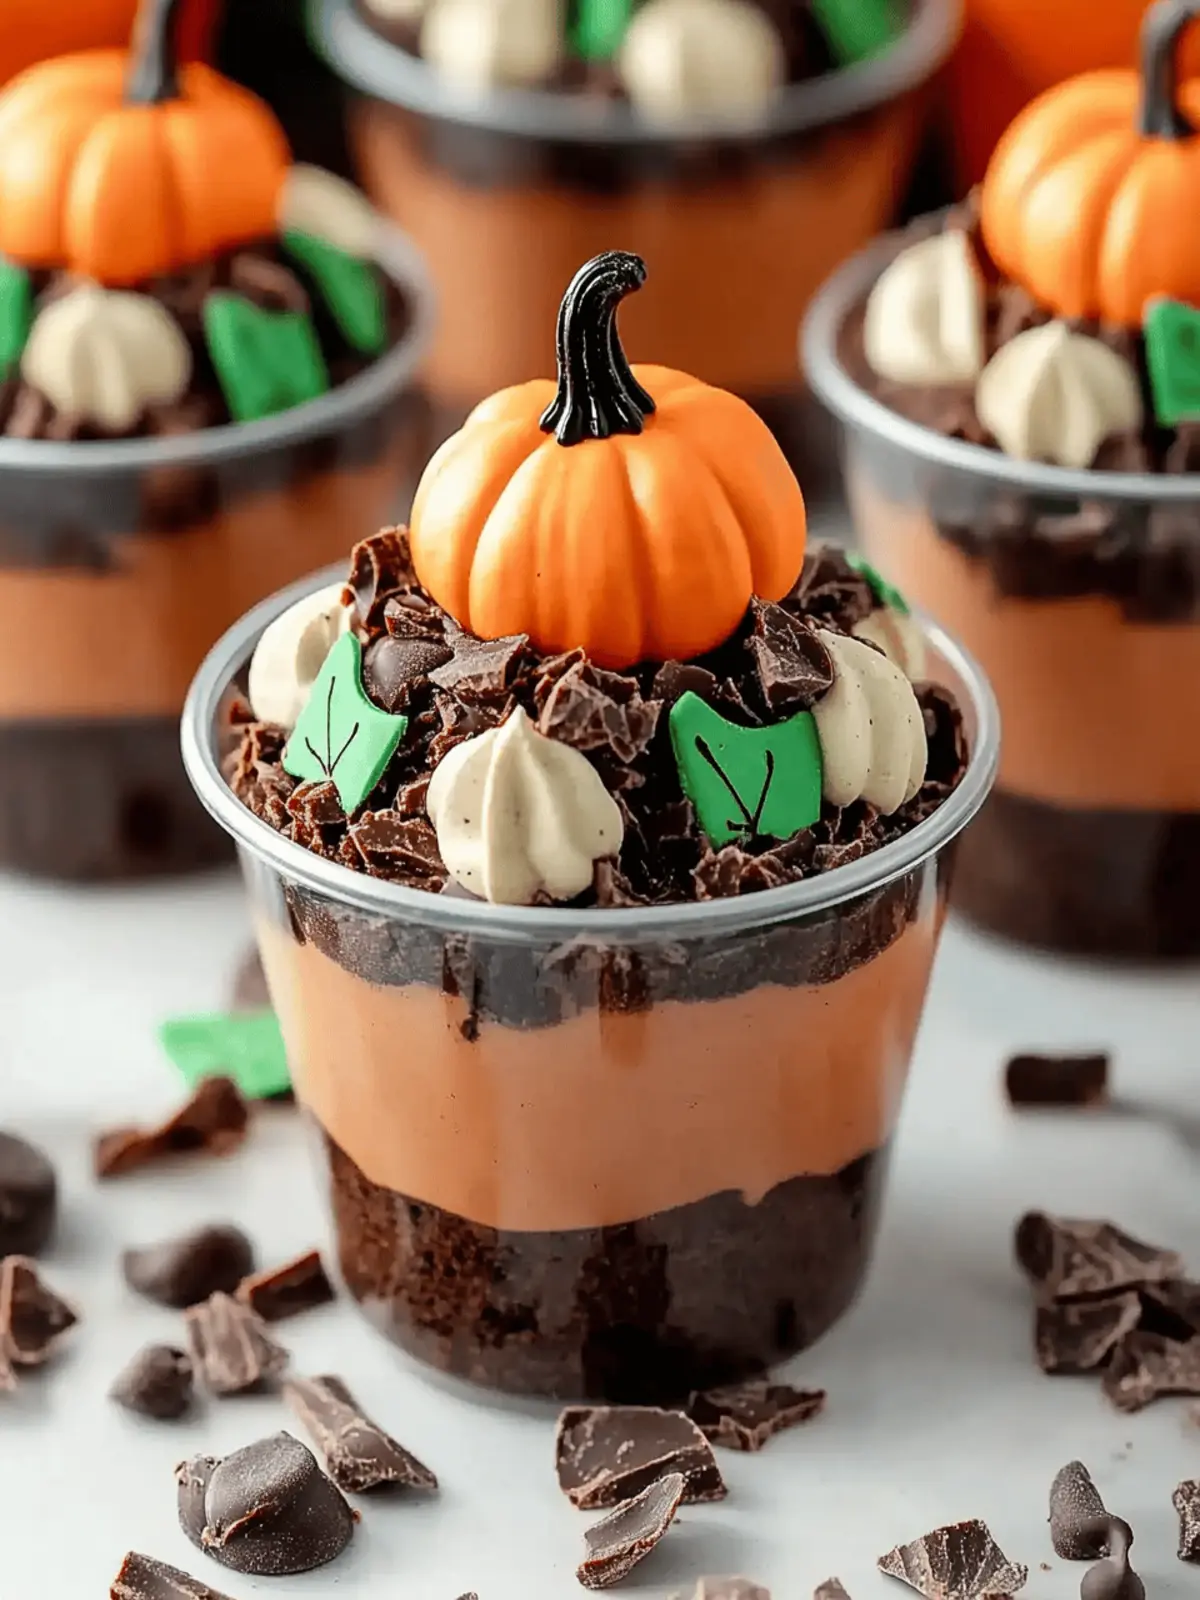
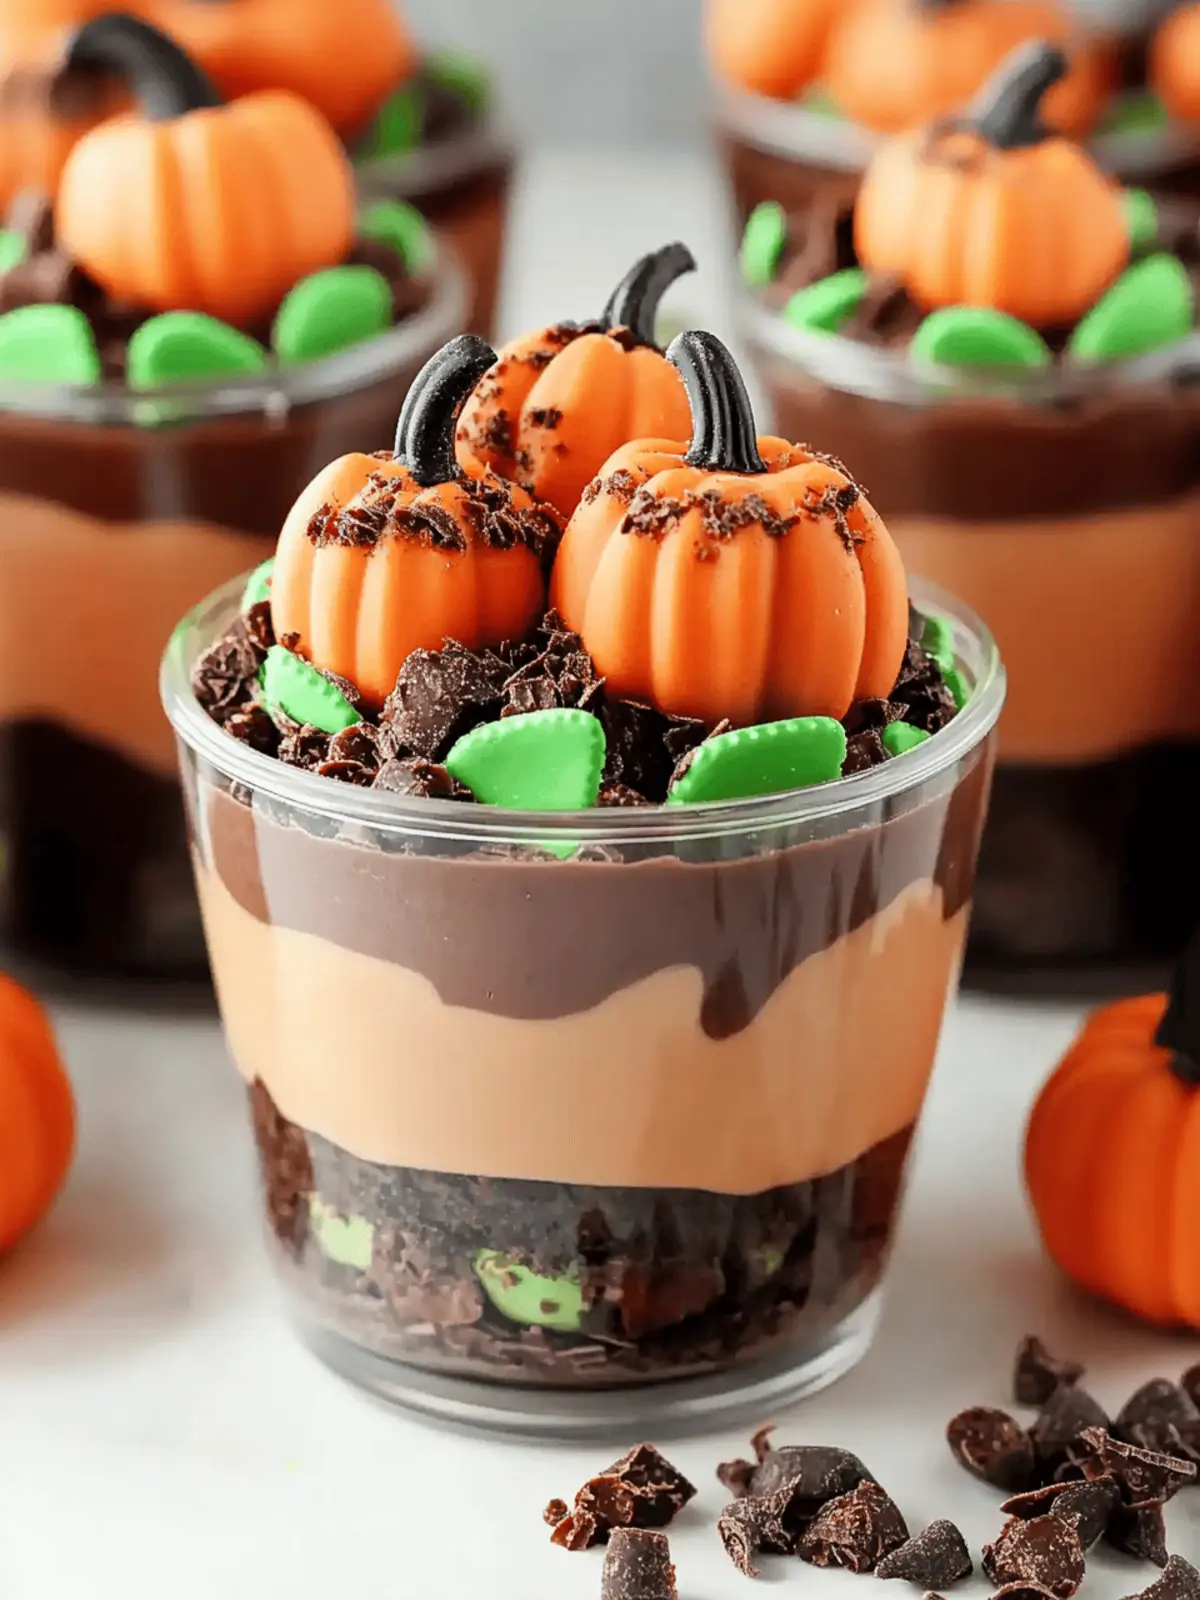
As the vibrant hues of fall surround us, there’s something irresistibly nostalgic about indulging in a cozy dessert that captures the season’s magic. I stumbled upon this delightful treat while trying to keep my kids entertained on a rainy afternoon. Chocolate Pumpkin Patch Dirt Cups combine the rich allure of creamy chocolate pudding with the fun crunch of Oreo “dirt,” topped with playful candy pumpkins. Best of all, this no-bake recipe requires hardly any effort, making it perfect for spicing up family gatherings or Halloween festivities.
As the layers come together, it feels like a little culinary adventure—you’ll want to get your hands dirty mixing and assembling these whimsical cups! Not only do they please the crowd with their adorable presentation, but they also cater to those who crave a sweet escape from fast food. So grab your favorite mixing bowl, and let’s dive into creating a dessert that will leave everyone smiling, from kids to adults!
Why Are Chocolate Pumpkin Patch Dirt Cups a Must-Try?
Fun and Festive: These juicy cups not only taste amazing but also bring the spirit of Halloween right to your table. They’re a delightful feast for the eyes!
No-Bake Delight: Say goodbye to lengthy baking sessions—this recipe comes together quickly, perfect for busy schedules.
Kid-Friendly: Involving children in the assembly makes this a memorable family activity that sparks creativity and laughter!
Versatile Toppings: Customize to your heart’s content! Swap in different candies or use various colors for added fun.
Crowd-Pleaser: Whether for a party or a cozy night in, these cups are guaranteed to brighten anyone’s day!
Chocolate Pumpkin Patch Dirt Cups Ingredients
• Discover the delicious components of this easy fall dessert!
For the Pudding
- Instant Chocolate Pudding – This is essential for a rich and creamy texture; only use the instant variety for quick preparation.
- Milk – Needed to prepare the pudding; you can use whole or any non-dairy milk as a substitute.
- Whipped Topping (Cool Whip) – Adds a delightful creaminess; feel free to replace with homemade whipped cream if you wish.
For the Dirt Layer
- Chocolate Sandwich Cookies (e.g., Oreos) – Crushed to create that iconic dirt look; choose gluten-free cookies for a suitable alternative.
For Decorating
- Candy Pumpkins – These colorful treats enhance the Halloween theme; you can interchange them with other seasonal candies as needed.
- Shredded Coconut – Mimics grass and adds a fun texture; swap with green sprinkles if you prefer a sweeter look.
- Green Food Coloring – Used to tint the coconut for a festive appearance; omit if you want a simpler presentation.
How to Make Chocolate Pumpkin Patch Dirt Cups
-
Prepare Cookie Crumbs: Crush the chocolate sandwich cookies using a rolling pin or food processor until they resemble chunky crumbs. Set them aside for layering, ensuring you have some larger pieces for that authentic “dirt” look.
-
Make Pudding: In a medium bowl, whisk the instant chocolate pudding mix with 2 cups of milk until well combined, about 2 minutes. Let the mixture sit for 5 minutes, allowing it to thicken to a creamy consistency.
-
Combine Ingredients: Gently fold in the whipped topping to the pudding until just incorporated. This will keep your mixture light and fluffy, giving your dessert that delightful, airy quality everyone loves.
-
Assemble Cups: Begin layering your cups! Start with a layer of crushed cookie crumbs, followed by a layer of the chocolate pudding mixture, and repeat until you reach the top, finishing with an extra sprinkle of cookie crumbs for that perfect dirt effect.
-
Chill: Place your assembled cups in the refrigerator for at least 1 hour. This allows the layers to set, which is crucial for that visually stunning presentation.
-
Decorate: Just before serving, mix the shredded coconut with a few drops of green food coloring. Top each chilled cup with this colored coconut and finish off with several candy pumpkins for a festive touch.
Optional: Garnish with a dusting of cocoa powder for an extra chocolate kick!
Exact quantities are listed in the recipe card below.
What to Serve with Chocolate Pumpkin Patch Dirt Cups?
Create an unforgettable autumn feast by pairing these whimsical dessert cups with delightful accompaniments that enhance the seasonal spirit.
-
Spiced Apple Cider: The warm, comforting flavors of spiced apple cider enrich the fall vibe while balancing the sweetness of the cups.
-
Creamy Mac and Cheese: Indulge in a smooth and cheesy dish that offers a savory contrast to the sweet, rich pudding cups. It’s the ultimate comfort food!
-
Pumpkin Soup: Start your meal with a bowl of velvety pumpkin soup. The mild flavors echo the pumpkin theme and create a cozy dining experience.
-
Halloween Charcuterie Board: Offer a spooky twist with a selection of cheeses, crackers, and themed treats. This playful display will fascinate guests before they dive into dessert!
-
Chocolate Milkshake: This rich, creamy drink complements the chocolatey goodness of the dirt cups while adding a fun, nostalgic element everyone will love.
-
Ginger Snap Cookies: The spiced flavor of ginger snaps lines up beautifully with the dessert’s flavors, creating a traditional taste of fall.
Elevate your gathering with these delicious pairings that harmonize perfectly with your Chocolate Pumpkin Patch Dirt Cups!
Expert Tips for Chocolate Pumpkin Patch Dirt Cups
- Layering Technique: Use a spoon to gently layer the pudding mix and cookie crumbs to maintain the beautiful separation between layers; this ensures a visually appealing dessert.
- Right Consistency: If the pudding mixture is too thick after mixing, add a splash of milk to loosen it; keeping the right consistency is key for perfect Chocolate Pumpkin Patch Dirt Cups.
- Cookie Crush Caution: Don’t over-crush the cookies; you want larger crumbs for the dirt effect. Aim for a mix of small and chunky pieces for visual appeal.
- Chilling Matters: Letting the cups chill for at least one hour allows the layers to set properly. Rushing this step can result in a messy mix!
- Decorative Flexibility: Get creative with toppings—try gummy worms or edible flowers for different holiday themes! This lets your Chocolate Pumpkin Patch Dirt Cups shine in any season.
How to Store and Freeze Chocolate Pumpkin Patch Dirt Cups
Fridge: Keep your assembled Chocolate Pumpkin Patch Dirt Cups in an airtight container for up to 3 days. This helps maintain their freshness and prevents the layers from mixing.
Make-Ahead: You can prepare the cups a day in advance without the candy topping. Just layer the pudding and cookie crumbs, cover, and store in the fridge until ready to serve.
Freezer: If you need to store leftovers, you can freeze the cups for up to 2 months. Cover tightly with plastic wrap, followed by foil, to prevent freezer burn. Thaw overnight in the fridge before enjoying.
Reheating: Since this is a no-bake dessert, there’s no need for reheating. Just let them chill in the fridge, and they’re ready to delight your friends and family!
Chocolate Pumpkin Patch Dirt Cups Variations
Feel free to get creative with your Chocolate Pumpkin Patch Dirt Cups and make them your own!
- Vanilla Pudding: Swap chocolate pudding for vanilla for a lighter taste! This twist pairs beautifully with the chocolate cookie base.
- Gluten-Free Option: Use gluten-free chocolate sandwich cookies to keep your treat friendly for everyone, allowing all to enjoy without worry.
- Homemade Whipped Cream: Replace Cool Whip with homemade whipped cream for a fresh, light touch. It adds a lovely, fluffy texture to your dessert.
- Candy Alternatives: Get festive with toppings! Gummy worms or Halloween-themed candies can bring an extra element of fun to your cups.
- Coconut Variations: Use green sprinkles instead of tinted coconut for a fun pop of color and sweetness without the extra steps.
- Boozy Version: Add a splash of coffee liqueur to the pudding mix for a grown-up twist! It enhances the chocolate flavor while keeping it playful.
- Nutty Crunch: Throw in some crushed nuts or granola between the layers for an unexpected crunch and added texture contrast.
- Fruity Fusion: Throw in fresh berries or banana slices for a fruity twist! The fresh bites will brighten and complement the rich chocolatey flavor.
Make Ahead Options
These Chocolate Pumpkin Patch Dirt Cups are perfect for meal prep, allowing you to host with ease during busy fall weekends! You can assemble the pudding layers and crushed cookie “dirt” up to 24 hours in advance, refrigerating them in an airtight container. However, for the best results, add the shredded coconut and candy pumpkins just before serving to maintain their freshness and crunch. When you’re ready to impress your guests, simply layer the prepped dirt cups with the coconut and decorative candies, and enjoy dessert that’s just as delightful as if you made it that day. Think of it as a simple way to serve an enticing treat that saves time and effort!
Chocolate Pumpkin Patch Dirt Cups Recipe FAQs
How do I choose the right pumpkins for my Chocolate Pumpkin Patch Dirt Cups?
Absolutely! For the best results, look for candy pumpkins that are vibrant in color and have a firm texture. Avoid any with visible damage or a dull appearance, as these can affect the aesthetic of your dessert. Fresh and appealing decorations will truly enhance the festive feel of your Chocolate Pumpkin Patch Dirt Cups.
How can I store my Chocolate Pumpkin Patch Dirt Cups?
You can keep your assembled Chocolate Pumpkin Patch Dirt Cups in an airtight container in the fridge for up to 3 days. This ensures they stay fresh and the layers remain distinct. Just remember, it’s best to add any candy toppings right before serving to prevent them from becoming soggy.
Can I freeze Chocolate Pumpkin Patch Dirt Cups?
Yes, you can freeze these delightful treats for up to 2 months! To do this, first, assemble the cups without the toppings. Cover them tightly with plastic wrap and then with foil to prevent freezer burn. When you’re ready to enjoy them, simply thaw them overnight in the refrigerator. They’ll maintain their creamy texture and flavor with ease!
What if my pudding mixture is too thick?
Very! If your pudding mixture seems too thick, simply add a splash of milk and mix gently until it reaches your desired consistency. This flexible approach allows for perfect integration into your dessert, helping it remain light and airy while ensuring the layers maintain their beautiful structure.
Are there any allergy considerations with this recipe?
Definitely! This recipe contains dairy and gluten from the pudding and cookie layers. For gluten-free options, substitute Oreos with gluten-free cookies. Additionally, those allergic to dairy can use non-dairy milk and whipped topping. Always check ingredient labels for allergens to accommodate dietary needs, as ingredient formulations can change.
Can I make these Chocolate Pumpkin Patch Dirt Cups ahead of time?
Absolutely! You can prepare the pudding and cookie layers a day in advance without the candy topping. Simply layer everything in your cups, cover them securely, and refrigerate. When it’s time to serve, add your candy pumpkins for that fresh festive look! This make-ahead option is convenient for busy schedules or party planning.
Chocolate Pumpkin Patch Dirt Cups: A Fun No-Bake Treat
Ingredients
Equipment
Method
- Crush the chocolate sandwich cookies until they resemble chunky crumbs. Set aside.
- Whisk the instant chocolate pudding mix with 2 cups of milk in a medium bowl for about 2 minutes. Let sit for 5 minutes to thicken.
- Fold in the whipped topping until just incorporated to keep the mixture light and fluffy.
- Layer the cups with crushed cookie crumbs, chocolate pudding mixture, and repeat until topped with cookie crumbs.
- Chill in the refrigerator for at least 1 hour to allow layers to set.
- Mix shredded coconut with green food coloring. Top each cup with the colored coconut and candy pumpkins before serving.

