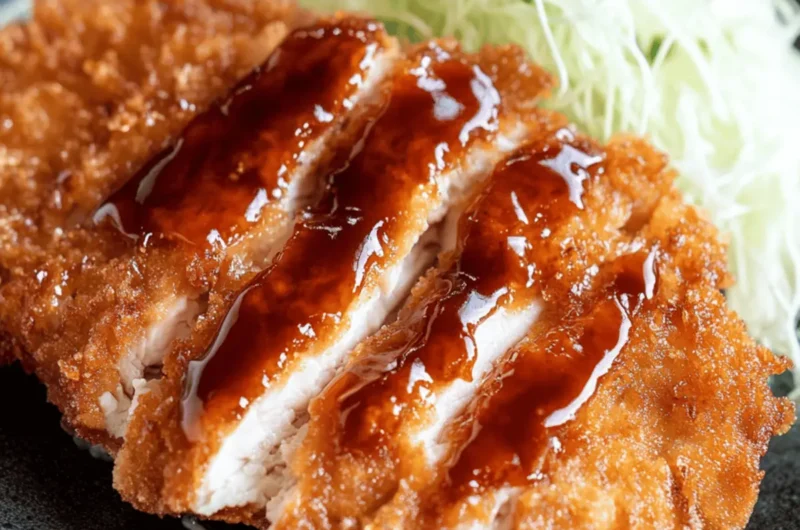
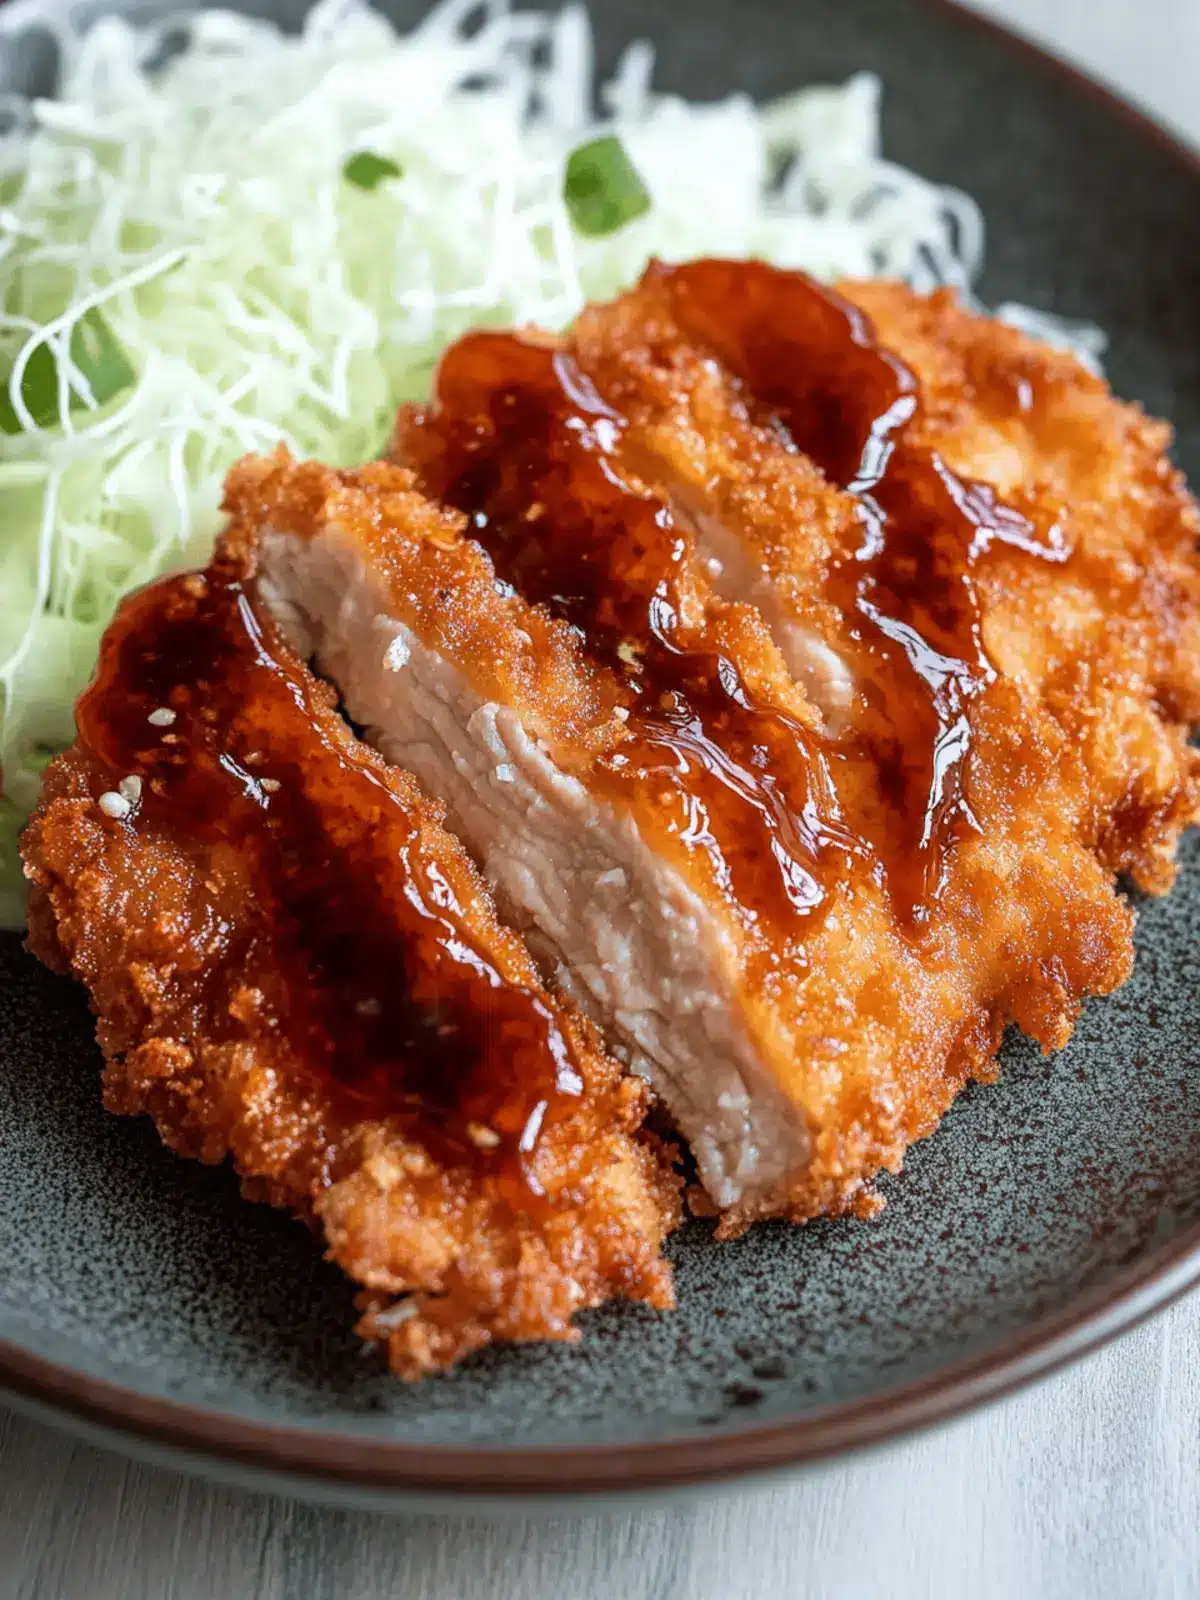
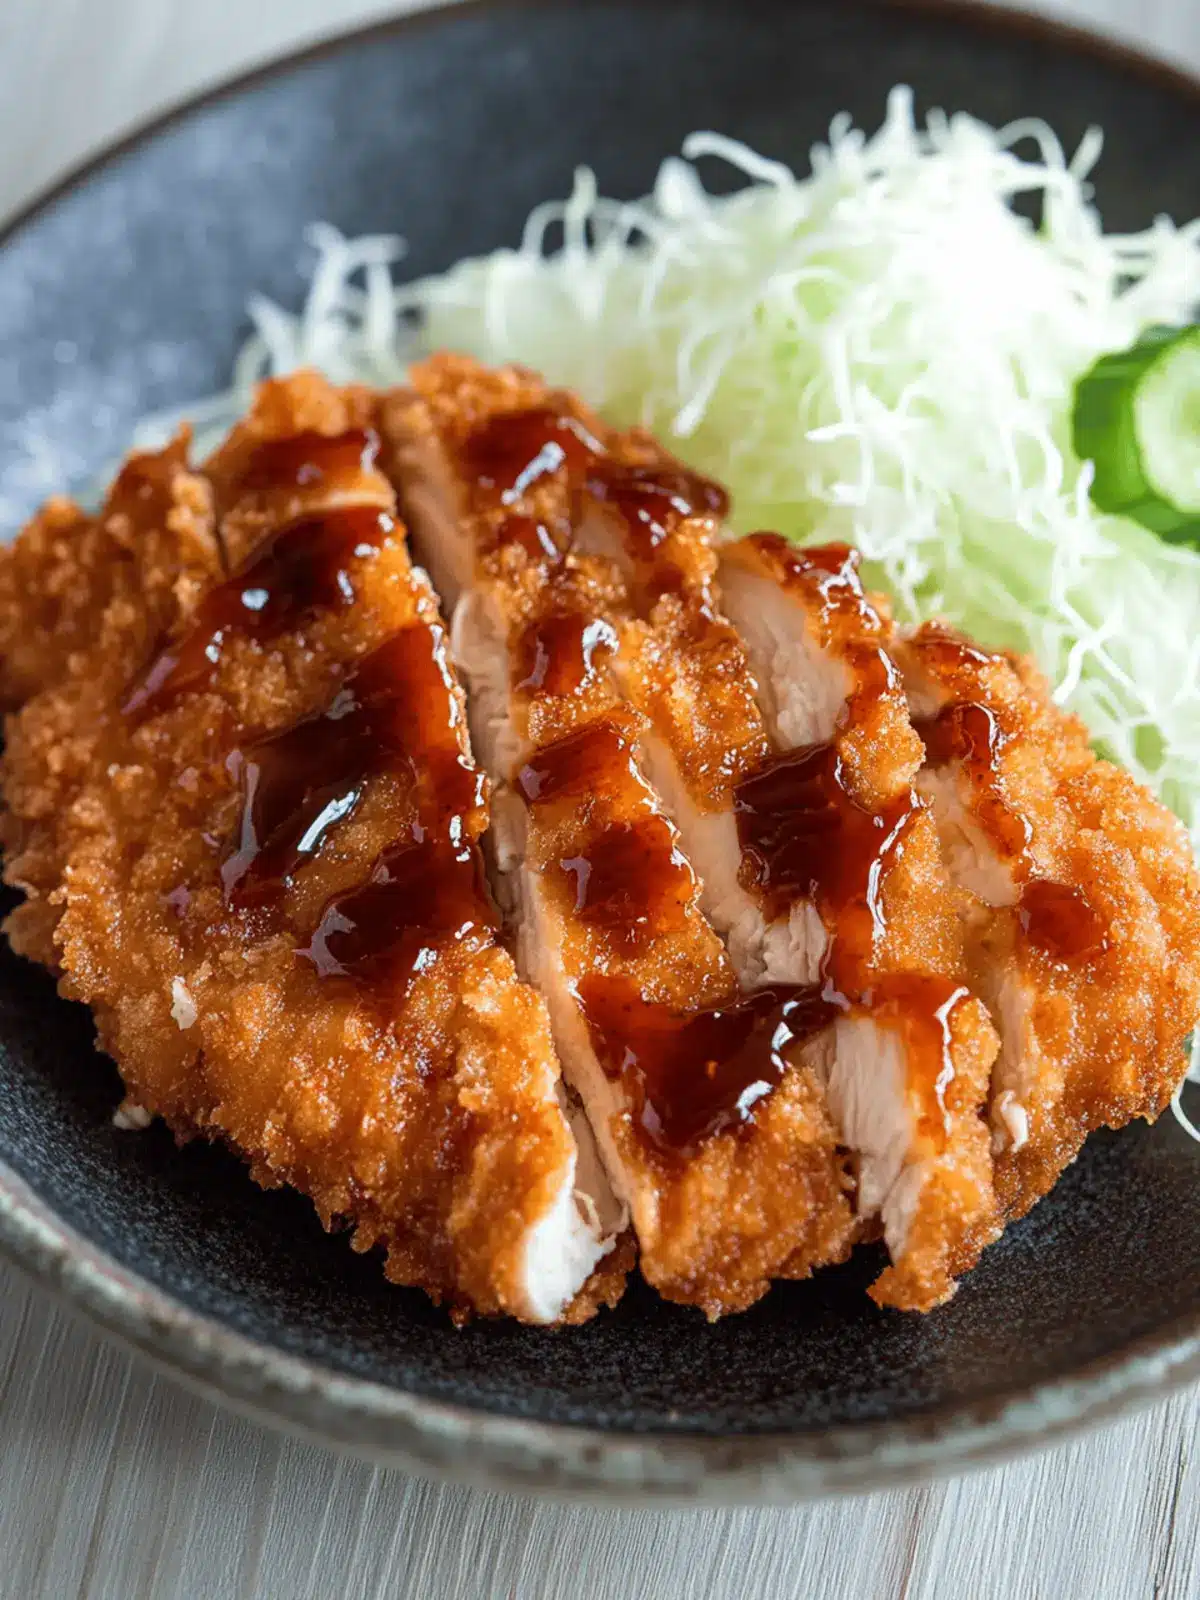
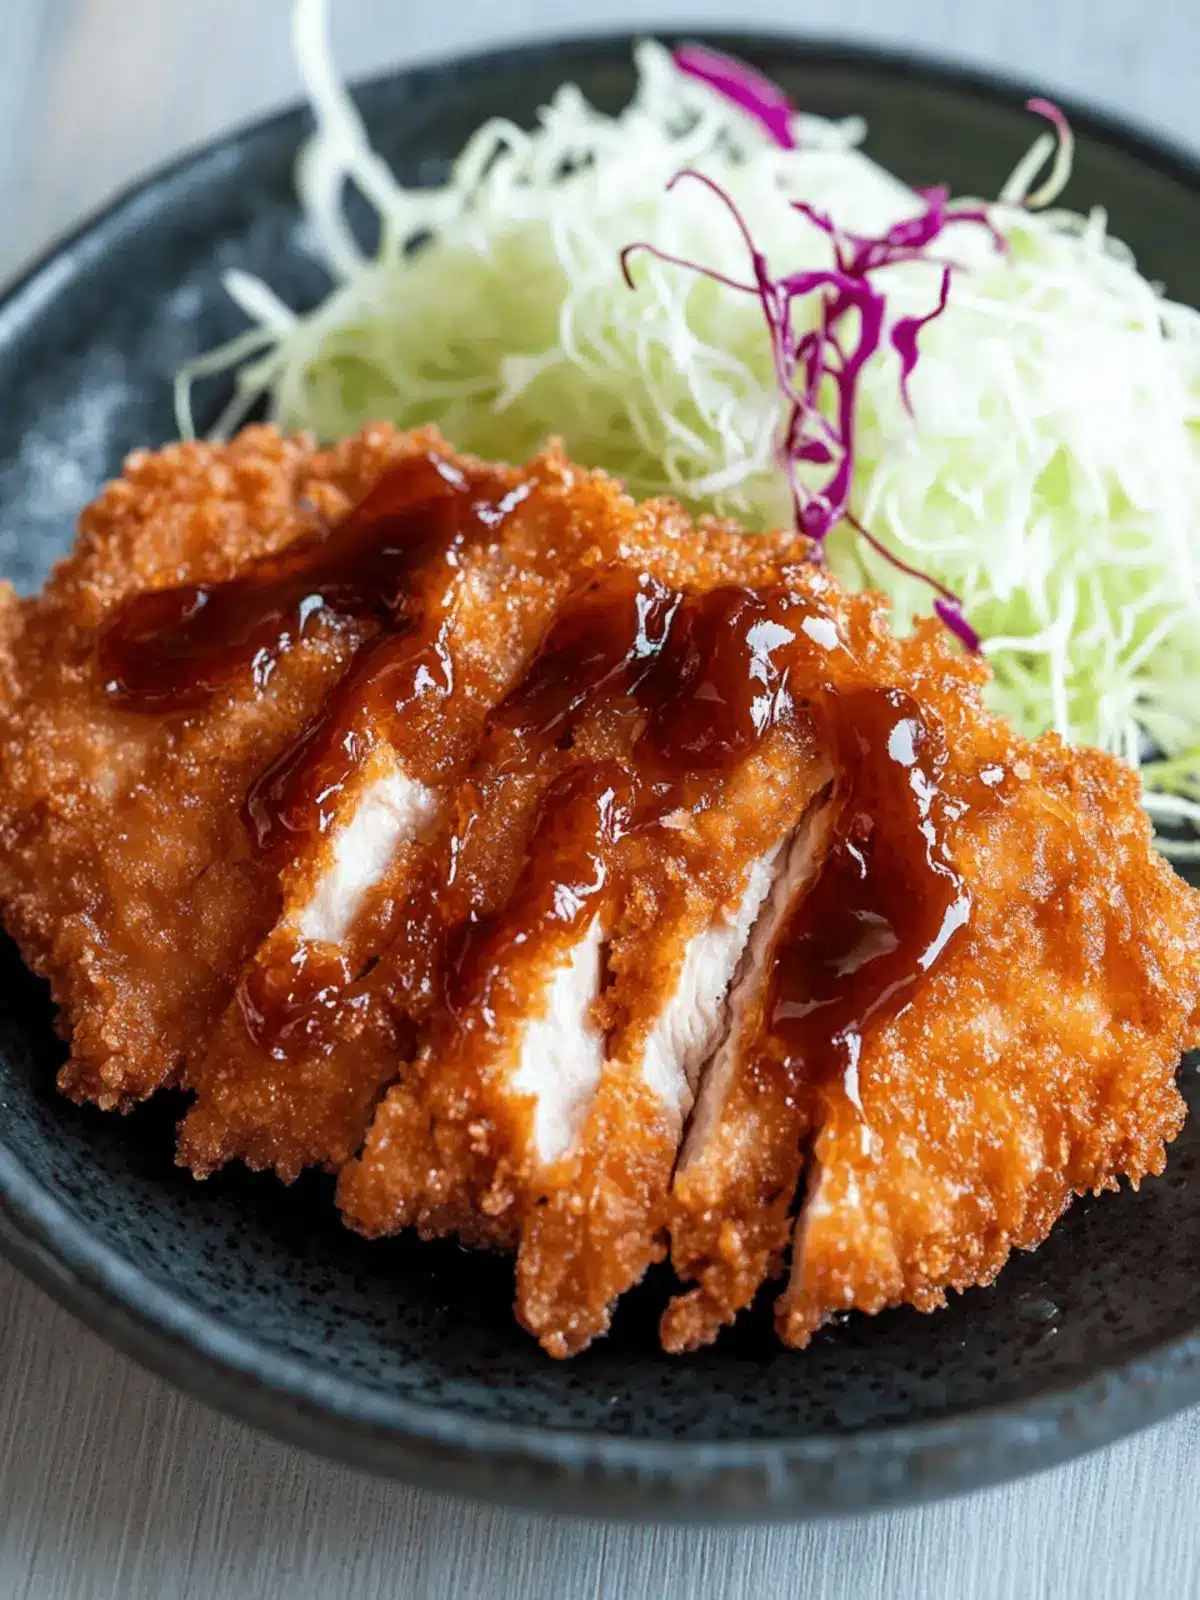
There’s something incredibly satisfying about the first bite of Chicken Katsu—the way the crispy, golden breadcrumb coating gives way to tender, juicy chicken beneath. I first discovered this delightful dish during a family gathering, where the aroma of deep-fried goodness drew me to the kitchen like a moth to a flame. As I savored the combination of crunch and flavor, I knew I had stumbled upon a new favorite.
This recipe is more than just a meal; it’s a crowd-pleaser that brings everyone together. Whether served alongside fluffy jasmine rice and colorful cabbage or nestled inside a hearty sandwich, Chicken Katsu is the perfect comfort food that impresses family and friends alike. Plus, it’s quick and easy to whip up, making it an ideal addition to busy weeknight dinners. So roll up your sleeves, and let’s dive into creating this crispy, mouthwatering Japanese classic that promises to turn any ordinary meal into a special occasion!
Why is Chicken Katsu a Must-Try Dish?
Deliciously Crunchy: Every bite offers a delightful crunch from the panko breadcrumbs, elevating your dining experience.
Family Favorite: This dish appeals to both kids and adults, making it a hit for any family gathering.
Quick Preparation: With simple ingredients and a straightforward process, it’s perfect for weeknight dinners.
Versatile Pairings: Serve it with rice, salad, or in a sandwich for endless meal possibilities.
Authentic Flavor: Enjoy the real taste of Japanese cuisine right at home; it’s a comforting dish that showcases amazing culinary traditions.
Chicken Katsu Ingredients
For the Chicken
• Thinly sliced chicken breast – The star ingredient that provides tenderness and flavor; turkey cutlets work well for a leaner dish.
• Kosher salt – Essential for seasoning, enhancing the overall taste; sea salt is a great alternative for a slightly different flavor.
For the Breading
• All-purpose flour – Creates a nice base for the panko to adhere; consider using gluten-free flour for a special dietary requirement.
• Eggs – Acts as the binding agent to help the breadcrumbs stick; for a vegan option, flax eggs can be used.
• Panko breadcrumbs – Gives Chicken Katsu its signature crunchy coating; regular breadcrumbs can be substituted but won’t provide the same light texture.
For Frying
• Oil for frying (at least 3 cups) – Necessary for deep frying, ensuring a crispy texture; opt for vegetable or canola oil, as olive oil has a low smoke point.
How to Make Chicken Katsu
-
Heat Oil: Begin by heating oil in a wok or deep skillet to 350°F (175°C). This ensures your Chicken Katsu gets that perfect crispy coating when frying.
-
Season Chicken: Lightly sprinkle both sides of the chicken filets with kosher salt. This helps to enhance the flavor and prepare the chicken for the batter.
-
Prepare Breading: In a shallow dish, whisk together eggs and flour until smooth. In a separate bowl, place panko breadcrumbs. This setup will help streamline the coating process.
-
Batter Chicken: Dip each chicken piece into the egg-flour mixture, ensuring it’s well coated, and then press firmly into the panko breadcrumbs. This step is key for achieving that delightful crunch!
-
Fry Chicken: Carefully place the coated chicken into the hot oil, frying for about 3-4 minutes per side or until golden brown and cooked through. You’re looking for a beautiful golden color!
-
Drain Excess Oil: Once cooked, remove the Chicken Katsu and let it drain on a wire rack for a few minutes. This prevents sogginess, allowing the chicken to maintain its crispiness.
-
Slice and Serve: Slice the chicken into strips or serve whole, garnished with lemon wedges or your favorite dipping sauce. Pair it with rice and cabbage for a complete meal.
Optional: Serve with a drizzle of tonkatsu sauce for an extra flavor kick!
Exact quantities are listed in the recipe card below.
What to Serve with Chicken Katsu?
Creating a balanced meal with Chicken Katsu is a delightful way to excite your taste buds and bring the family together.
-
Fluffy Jasmine Rice: The subtly sweet and sticky grains soak up the savory juices, creating a satisfying bite with each mouthful.
-
Fresh Cabbage Slaw: Crisp and refreshing, this slaw adds a crunchy contrast and brightens the dish with a touch of zest.
-
Sesame Soy Dipping Sauce: A rich and savory blend, this sauce enhances the flavors, making each bite more enjoyable and indulgent.
-
Miso Soup: Warm and comforting, this classic Japanese soup complements Chicken Katsu perfectly, bringing warmth and depth to your meal.
-
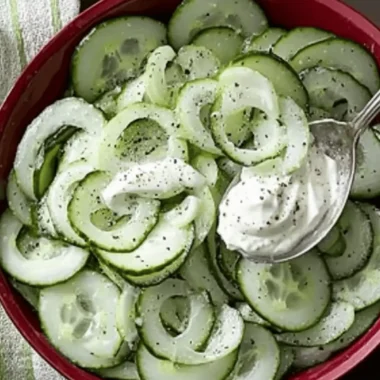
Pickled Vegetables: The tanginess of pickled cucumbers or radishes cuts through the richness of the fried chicken, adding a delightful crunch.
-
Mochi Ice Cream: For dessert, this sweet treat offers a chewy and creamy contrast, rounding out your meal with a satisfying finale.
-
Beer or Green Tea: Pouring a light lager or fragrant green tea alongside enhances the dining experience, balancing the meal beautifully.
How to Store and Freeze Chicken Katsu
-
Fridge: Store leftover Chicken Katsu in an airtight container for up to 3 days. This keeps the flavors fresh and prevents sogginess.
-
Freezer: For longer storage, freeze Chicken Katsu after it has cooled completely. Wrap in plastic wrap and then aluminum foil to maintain quality for up to 2 months.
-
Reheating: To reheat, use an air fryer or bake in the oven at 350°F (175°C) for about 10-15 minutes until the coating is crispy again, preserving its delicious texture.
-
Thawing: When ready to enjoy frozen Chicken Katsu, thaw it in the refrigerator overnight before reheating, ensuring it retains flavor and moisture.
Make Ahead Options
These Chicken Katsu are perfect for busy weeknight meal prep! You can bread the chicken up to 24 hours in advance, making the process so much easier when you’re ready to cook. To prep ahead, simply follow the breading steps—coat the seasoned chicken with the egg-flour mixture, then cover it thoroughly with panko breadcrumbs. Place the coated chicken on a baking sheet, wrap it tightly with plastic wrap, and refrigerate. When you’re ready to serve, simply heat your oil and fry the chicken for about 3-4 minutes per side until golden brown. This method ensures your Chicken Katsu remains just as delicious and crispy, saving you time without compromising on quality!
Tips for the Best Chicken Katsu
-
Dry Chicken First: Ensure chicken filets are patted dry before battering. This helps the breadcrumb coating stick better, preventing it from falling off during frying.
-
Double Fry for Crunch: For an extra crispy coating, consider double frying the Chicken Katsu. After the first fry, let it rest briefly and then fry again until golden brown.
-
Avoid Soggy Crust: Always fry at the right oil temperature (350°F) to achieve that perfectly crispy Chicken Katsu; using too low of a temperature can lead to a soggy crust.
-
Use the Right Oil: Choose oils with high smoke points, like canola or vegetable oil, to ensure a nice crispiness without burning, steering clear of olive oil for frying.
-
Store Properly: If you have leftovers, store Chicken Katsu in an airtight container—for optimal crispiness when reheating, use an air fryer instead of a microwave.
Chicken Katsu Variations
Feel free to explore these delightful twists on Chicken Katsu and let your culinary creativity shine!
-
Turkey Swap: Use turkey cutlets instead of chicken for a leaner family-friendly option that still retains all the juicy goodness.
-
Pork Cutlets: Try using thinly sliced pork loin to make tonkatsu, a delicious variation that offers a different flavor profile while remaining just as satisfying.
-
Spicy Crunch: Mix some cayenne pepper or chili powder into the flour for a spicy kick in each crispy bite. Your taste buds will thank you!
-
Herb-Infused Panko: Add dried herbs like oregano or thyme to the panko breadcrumbs for an aromatic twist that enhances every crunchy mouthful.
-
Sesame Seeds: Sprinkle toasted sesame seeds into the panko mixture to add a nutty flavor and an appealing crunch, enhancing the traditional Japanese flair.
-
Garlic Powder: Incorporate garlic powder into the egg-flour mix for an added layer of savory flavor that makes each bite even more delicious.
-
Gluten-Free Alternative: Substitute the flour and panko with gluten-free options to make a scrumptious and satisfying meal for those with dietary restrictions.
-
Cheesy Katsu: Add grated cheese to the panko for a cheesy crust that delights—each bite melts in your mouth while still maintaining that perfect crunch.
Chicken Katsu Recipe FAQs
How do I choose the best chicken for Chicken Katsu?
Absolutely! For the best Chicken Katsu, look for thinly sliced chicken breast, as it offers tenderness and quick cooking time. If you’re looking for a leaner option, turkey cutlets are a great alternative. Ensure the chicken is fresh, with no dark spots, indicating it’s passed its prime.
How should I store leftover Chicken Katsu?
Very! Store leftover Chicken Katsu in an airtight container in the refrigerator for up to 3 days. This helps maintain its flavor and freshness. To keep the crust crispy when reheating, I recommend using an air fryer, as microwaving can make it soggy.
Can I freeze Chicken Katsu, and how?
Absolutely! To freeze Chicken Katsu, allow it to cool completely after cooking. Wrap each piece tightly in plastic wrap, then cover it with aluminum foil. This keeps it fresh for up to 2 months. When ready to eat, thaw in the refrigerator overnight before reheating.
What if my breading falls off during frying?
Oh no! If the breading falls off, it might be because the chicken was wet before battering. Always pat the chicken dry with a paper towel before dipping it in the egg-flour mixture. Additionally, ensure your oil is heated to 350°F (175°C) to ensure the coating adheres well and crisps nicely.
Are there any dietary considerations for Chicken Katsu?
Certainly! For those with gluten sensitivities, you can substitute regular breadcrumbs with gluten-free panko and use gluten-free flour for the batter. If you’re accommodating a vegan diet, consider using flax eggs in place of regular eggs. Always make sure to check for any hidden allergens in the ingredients you choose.
How can I ensure my Chicken Katsu is super crispy?
Very! For an extra crispy Chicken Katsu, I recommend double frying. After the first fry, let the chicken rest for a couple of minutes, then fry again until golden brown. Pattering chicken dry before battering is also crucial for the best crust, and frying at the right temperature is key.
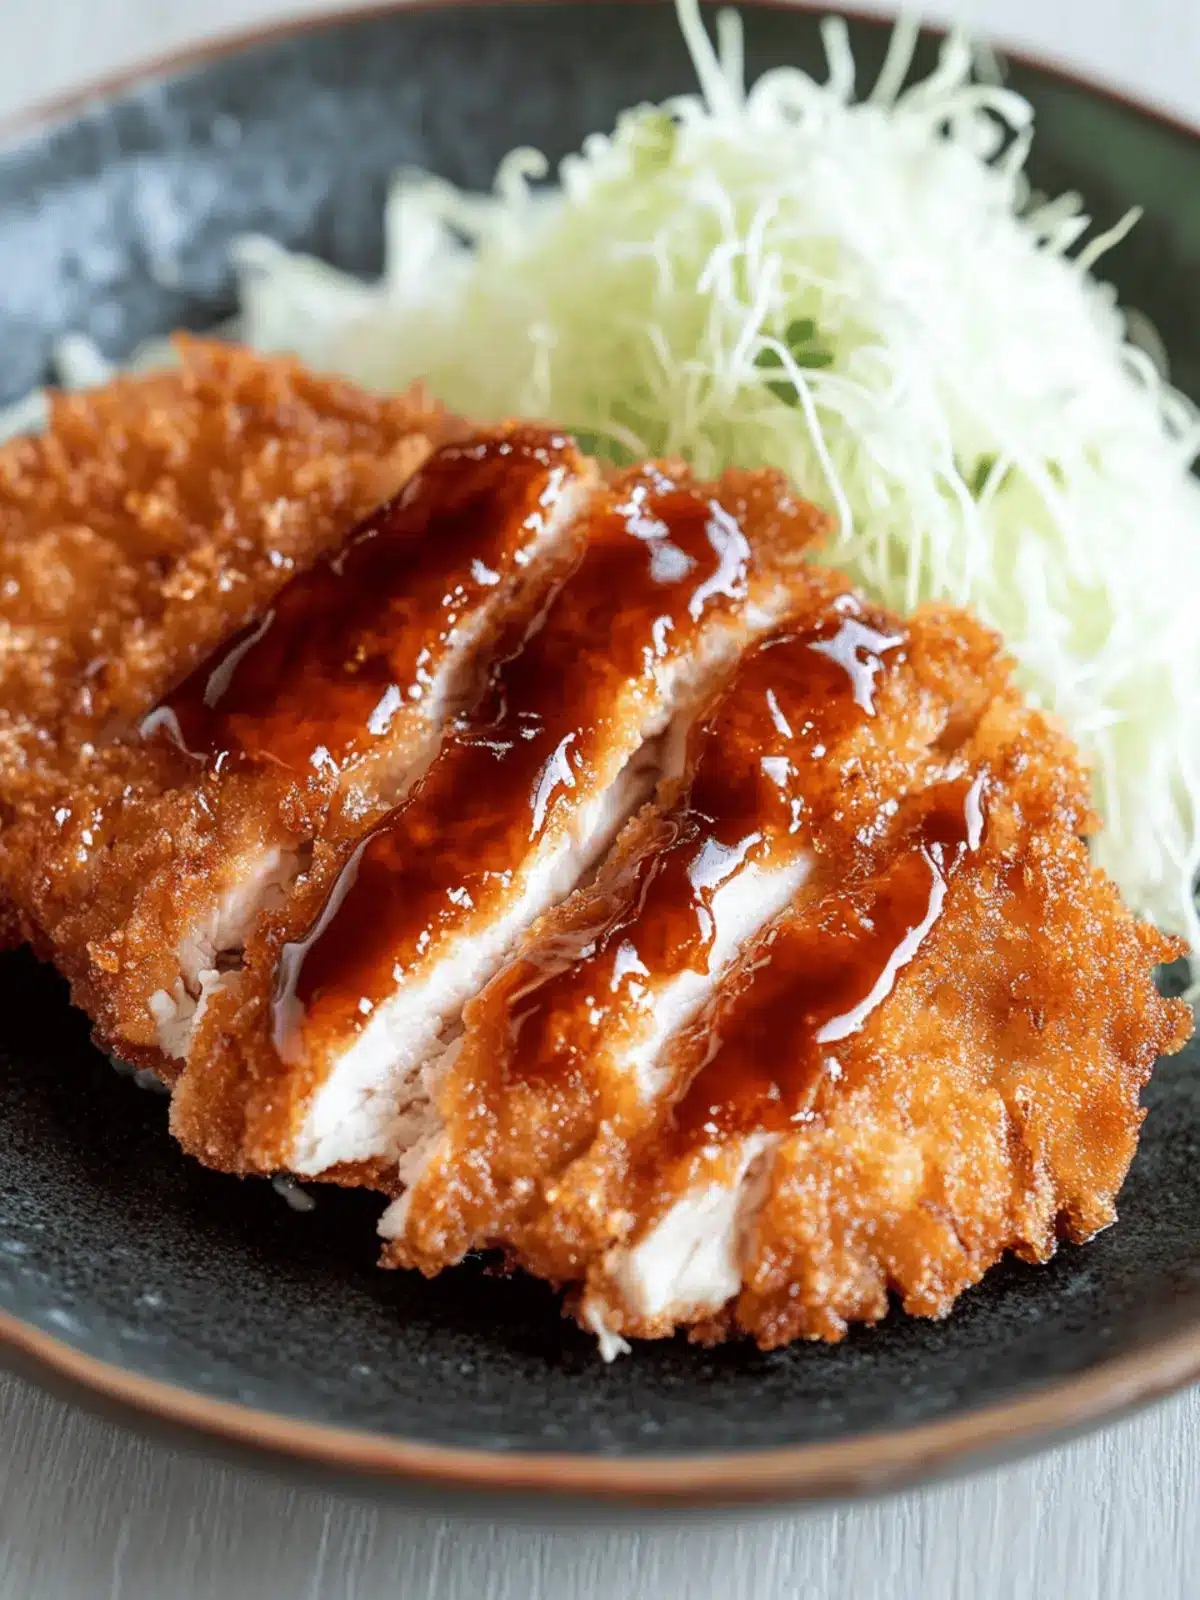
Crispy Chicken Katsu: Your New Family Favorite Comfort Food
Ingredients
Equipment
Method
- Heat oil in a wok or deep skillet to 350°F (175°C).
- Lightly sprinkle both sides of the chicken filets with kosher salt.
- In a shallow dish, whisk together eggs and flour until smooth.
- In a separate bowl, place panko breadcrumbs.
- Dip each chicken piece into the egg-flour mixture, then press into the panko.
- Fry the coated chicken in hot oil for 3-4 minutes per side.
- Remove and let it drain on a wire rack.
- Slice and serve, garnished with lemon and your favorite dipping sauce.

