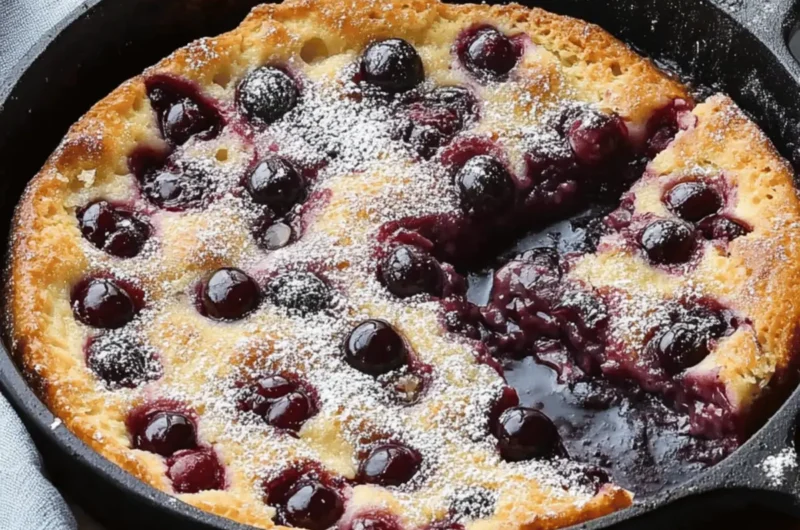
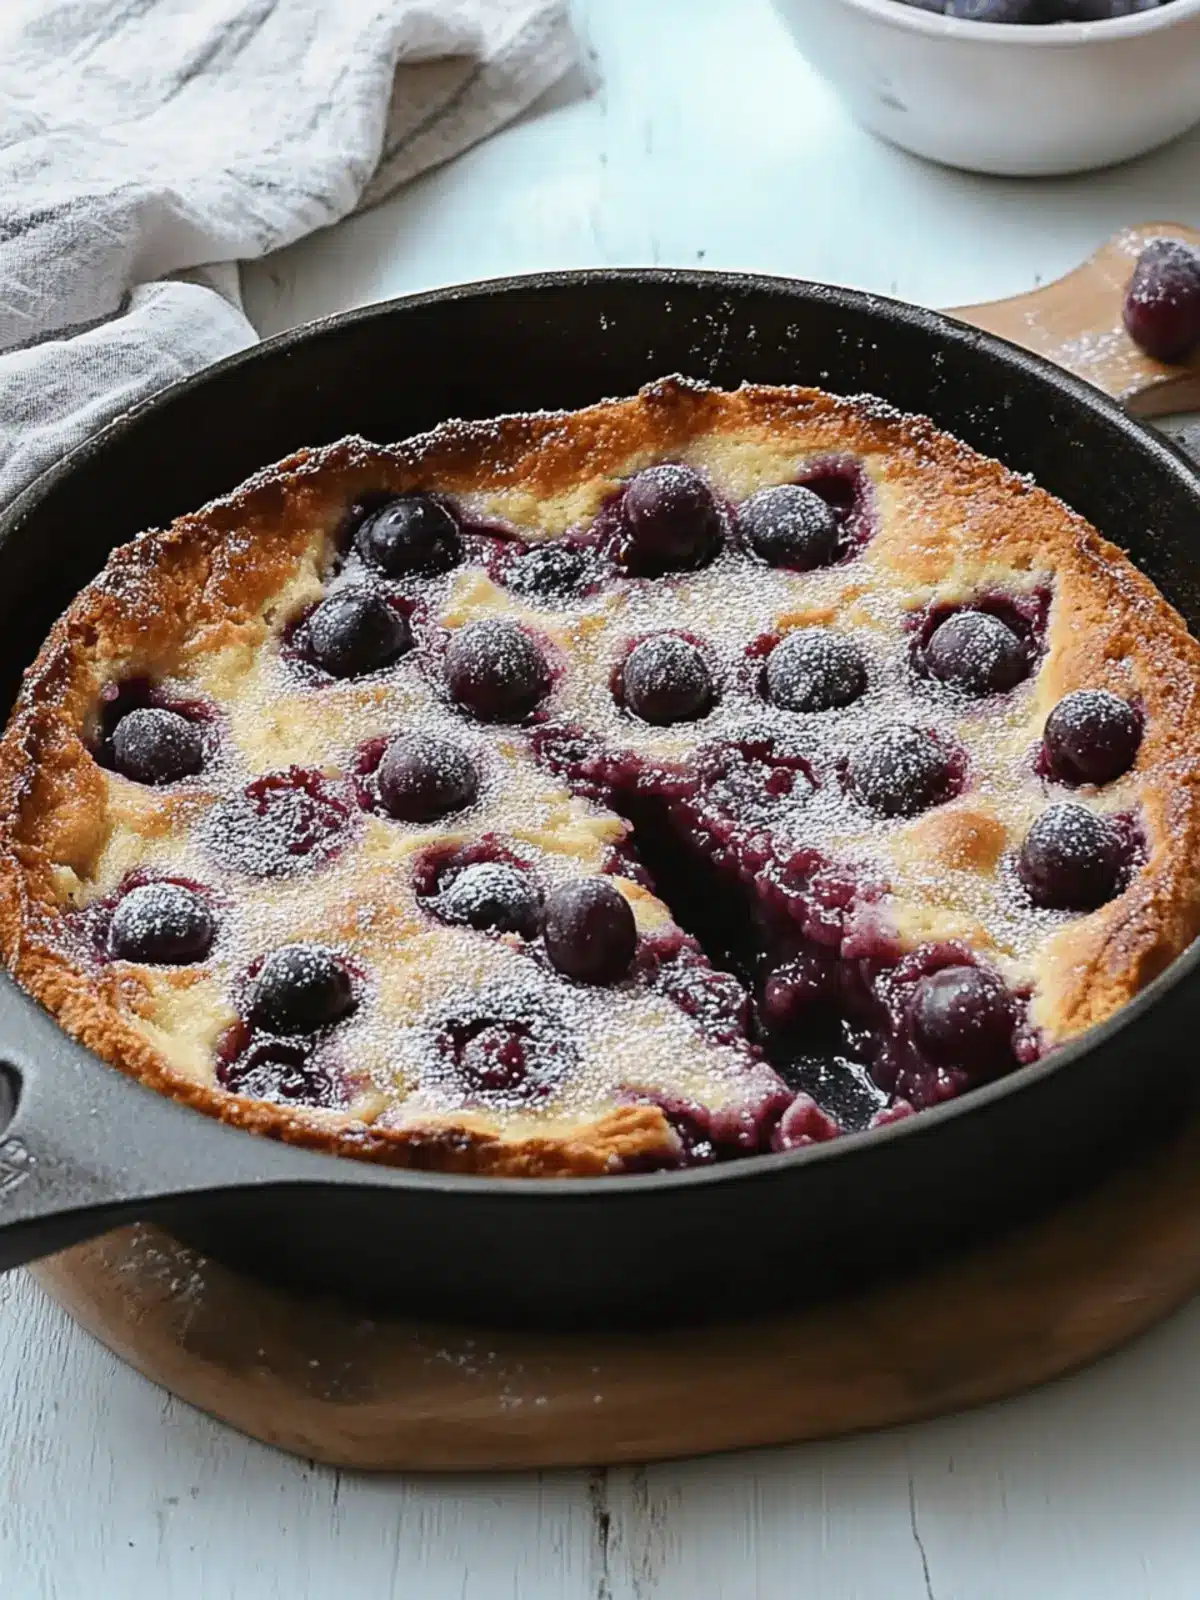
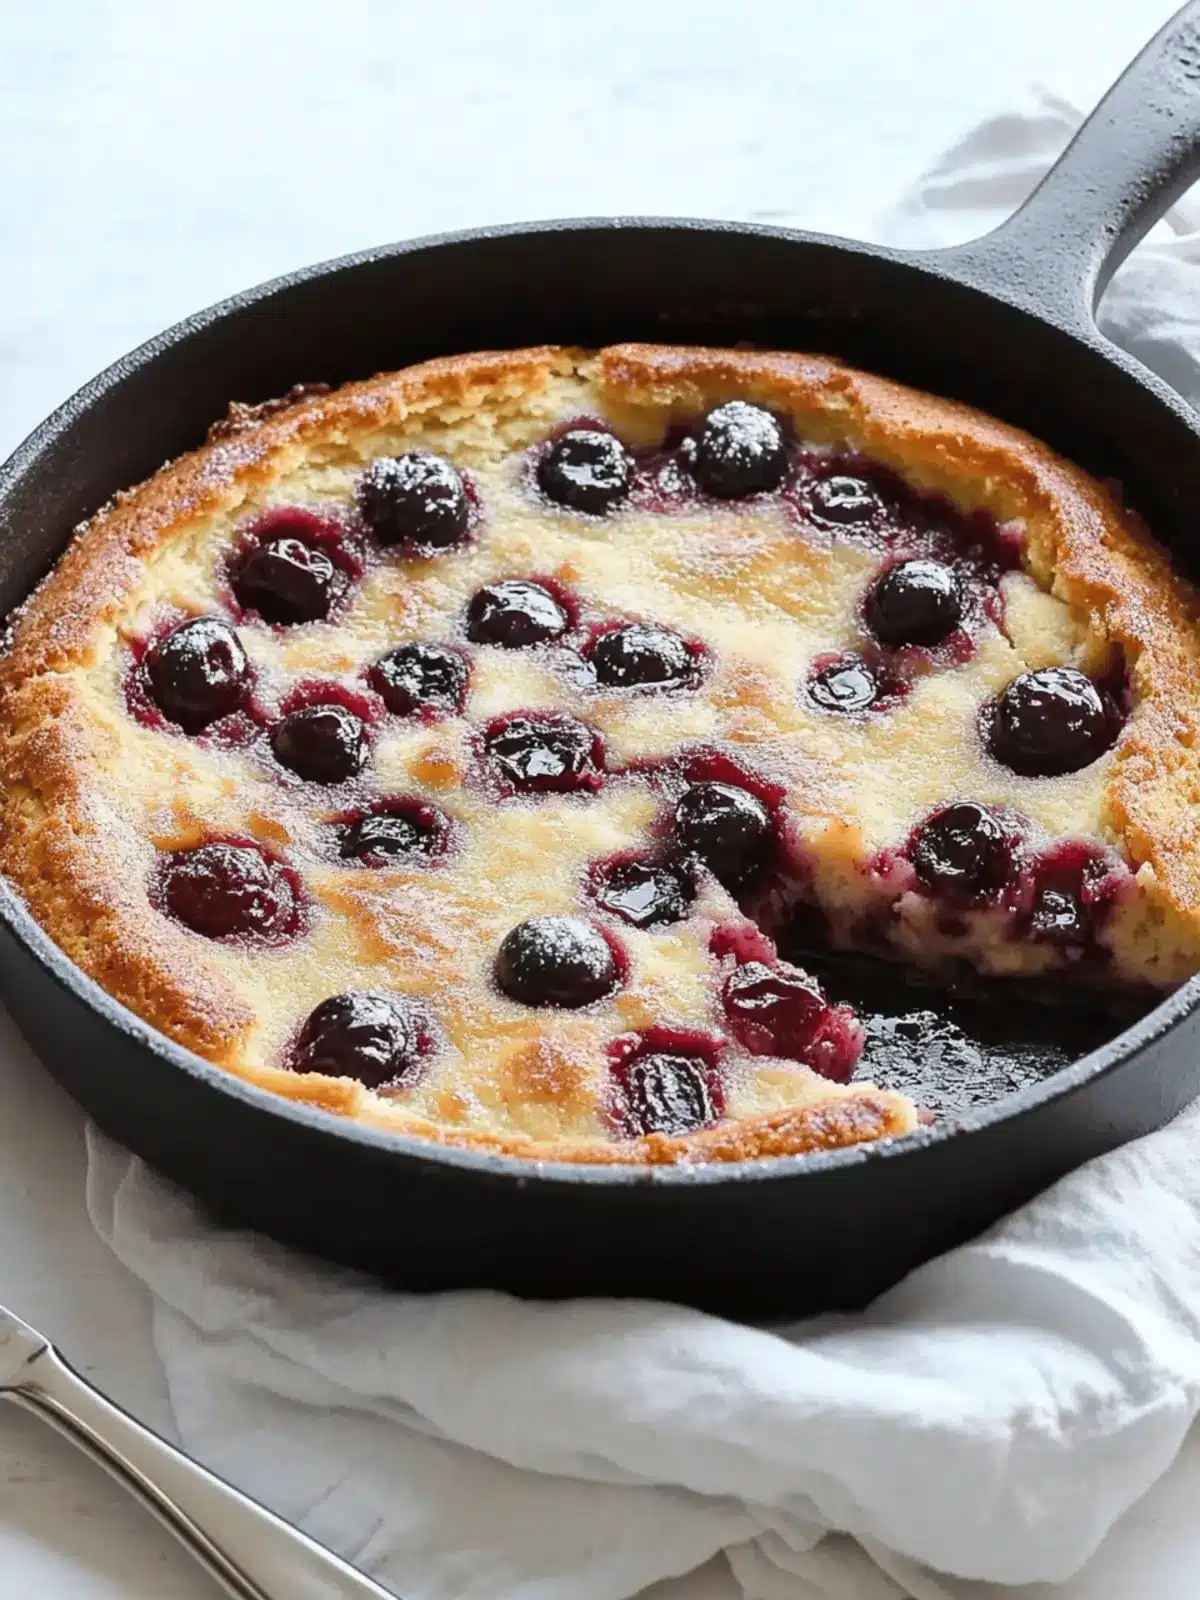
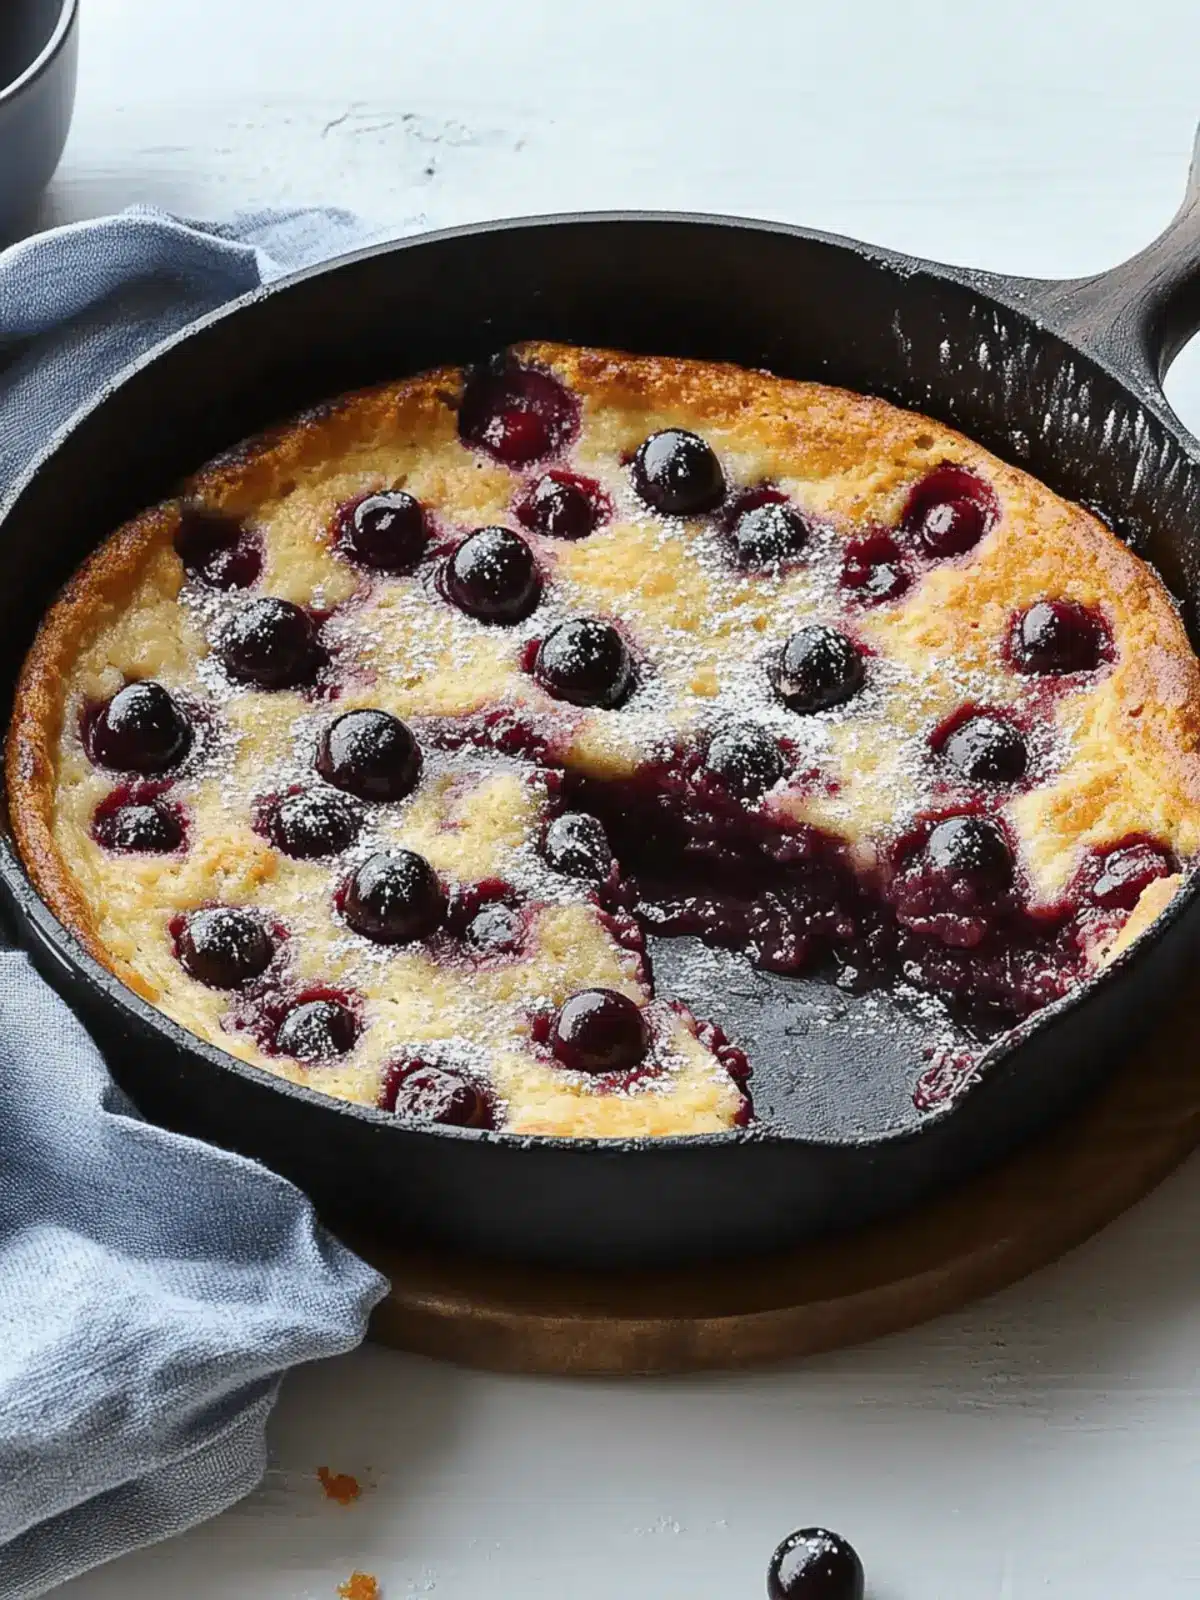
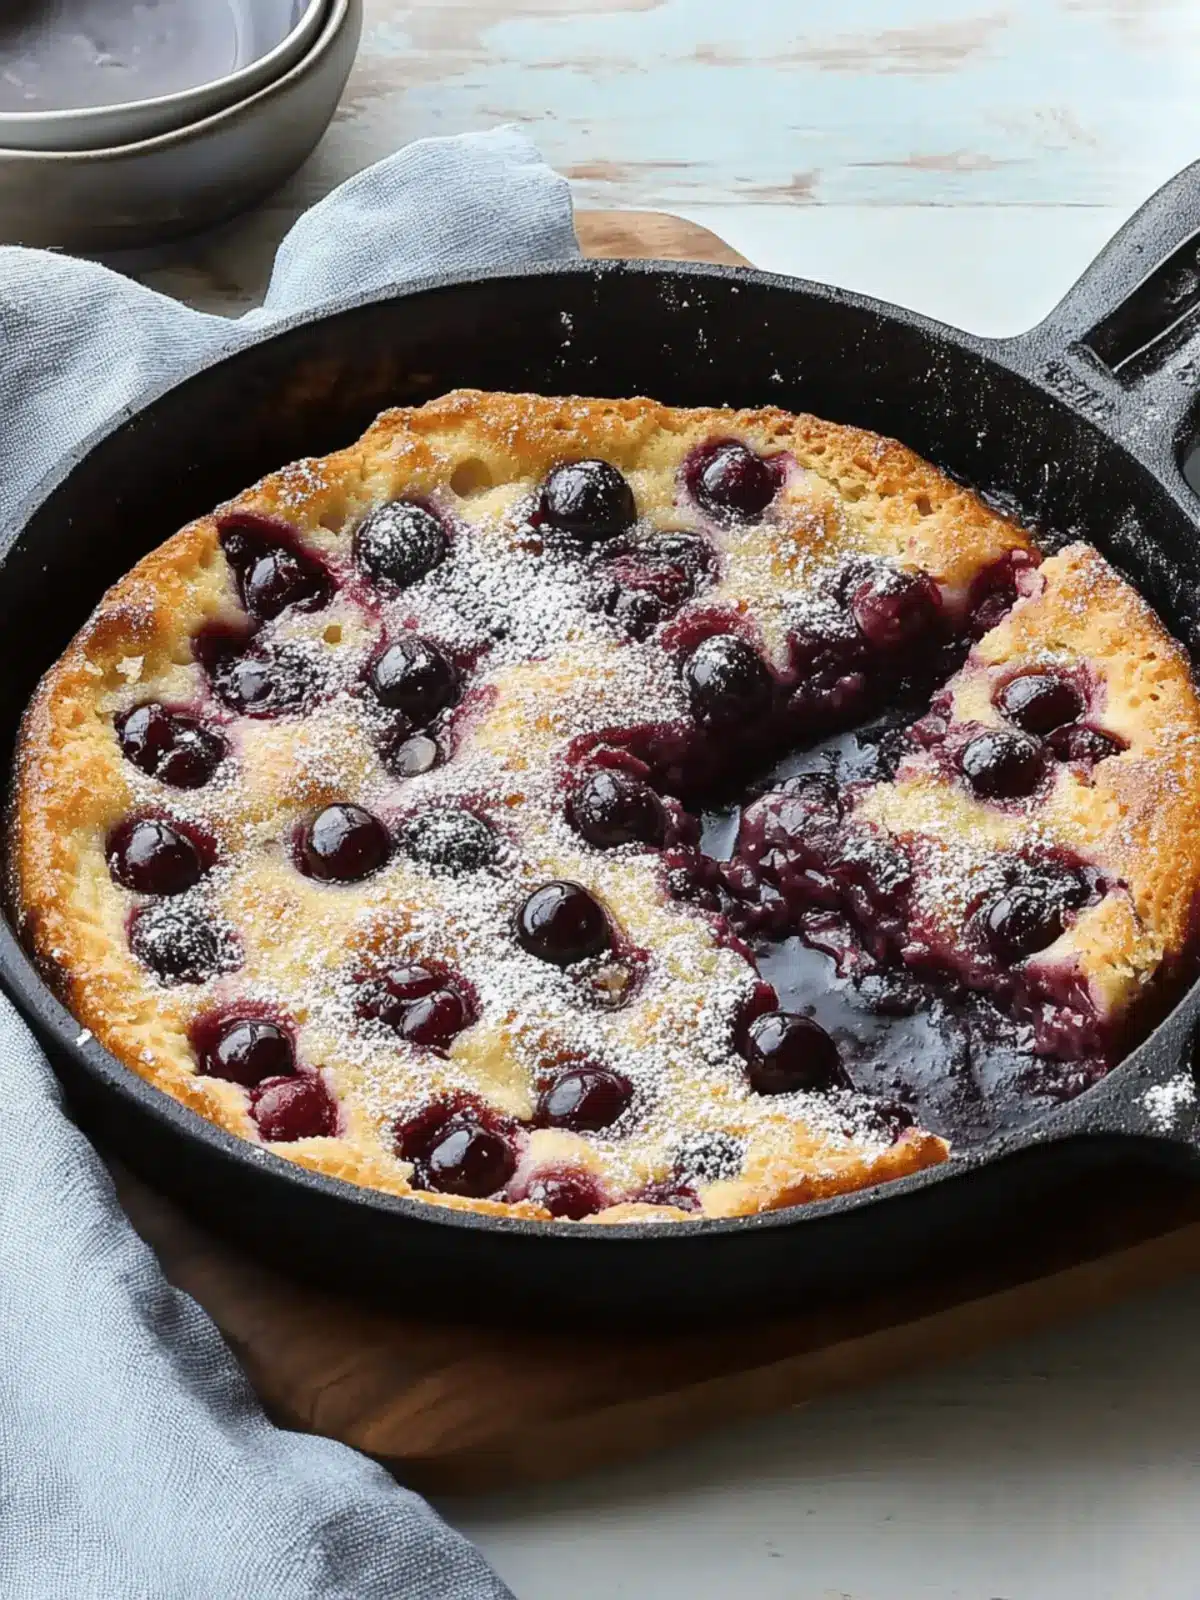
There’s something undeniably enchanting about a dish that transforms simple ingredients into something truly special, and that’s exactly what our Cherry Clafoutis brings to the table. As cherries hit their peak season, I couldn’t resist whipping up this classic French dessert that feels both indulgent and refreshingly light. The way the custardy batter hugs the juicy cherries creates a delightful contrast you won’t forget—it’s like enjoying a warm hug from your favorite childhood memories.
I stumbled upon this cherished recipe while exploring new ways to make use of summer’s bounty, and it soon became a go-to for any occasion, from casual weeknight dinners to festive gatherings. Best of all, this clafoutis is incredibly easy to whip up; just blend the ingredients, pour over your fruit, and let the oven work its magic!
Whether you serve it warm or at room temperature, with a light dusting of powdered sugar or a dollop of crème fraîche, trust me—you’ll have friends and family asking for seconds. So, grab those cherries and let’s create something delicious together!
Why is Cherry Clafoutis a Must-Try Dessert?
Indulgent yet simple: Master the art of French cooking without the complexity.
Seasonal joy: Utilize fresh summer cherries for a burst of flavor.
Versatile delights: Easily swap in your favorite fruits— blueberries or peaches work beautifully.
Perfect for any occasion: Impress guests at dinners and enjoy casual treat on cozy evenings.
Quick assembly: Just blend, pour, and bake—get dessert done in no time!
Flavorful and satisfying: Enjoy a custard-like texture that wraps around every piece of fruit, providing a delightful experience in each bite.
Cherry Clafoutis Ingredients
For the Batter
• Unsalted Butter – Adds richness and helps cook the clafoutis. Substitution: Can use a dairy-free butter alternative.
• Large Eggs – Provide structure and stability to the custard. No substitutions recommended for best results.
• Whole or 2% Milk – Adds creaminess; also helps in the batter formation. Substitution: Use non-dairy milk alternatives; however, texture may vary.
• Heavy Cream – Enhances richness and silkiness in the batter. Substitution: Can use half-and-half or extra milk, but results will be less rich.
• Granulated Sugar – Sweetens the batter and helps with browning. Substitution: Can reduce quantity or use alternative sweeteners like maple syrup.
• All-purpose Flour – Provides structure and thickness to the batter. Substitution: Gluten-free flour mixtures can work—ensure it’s a 1:1 ratio.
• Salt – Balances sweetness and enhances flavor. No substitutions necessary.
• Vanilla Extract – Adds aroma and flavor depth. Substitution: Almond extract can be used for an extra flavor twist.
• Almond Extract (optional) – Enhances the flavor, especially if cherries’ pits are removed. No substitutes necessary; use if pitting cherries.
For the Fruit Layer
• Cherries – Primary fruit providing sweetness and moisture. Substitution: Use berries, plums, or other fruits depending on availability.
For the Topping
• Confectioners’ Sugar – For optional dusting before serving. Omit if forgo topping.
How to Make Cherry Clafoutis
-
Prepare the Cherries: Start by pitting and halving the cherries, allowing their juicy sweetness to shine in the clafoutis. This step enhances flavor and makes for a delightful presentation.
-
Melt the Butter: Preheat your oven to 375°F. In a skillet or baking dish, melt the butter until bubbly, creating a lovely base for the clafoutis to cook in.
-
Layer Cherries: Evenly distribute the pitted cherries across the bottom of the skillet or baking dish. This ensures each slice will be bursting with fruit!
-
Make the Batter: In a blender, combine the eggs, milk, heavy cream, ½ cup of sugar, flour, salt, vanilla extract, and almond extract. Blend until the mixture is smooth and creamy, creating the perfect custard base.
-
Assemble & Bake: Pour the batter over the cherries in the skillet. Bake for about 20 minutes or until it starts to set but is still slightly jiggly in the center.
-
Finish Baking: Sprinkle the remaining sugar on top of the clafoutis and return it to the oven. Bake for an additional 25-30 minutes, until golden brown and puffed, forming a delicate crust.
-
Cool & Serve: Allow the clafoutis to cool for at least 30 minutes. Dust with powdered sugar and serve directly from the pan, warm or at room temperature, for a charming presentation.
Optional: Consider serving with a dollop of crème fraîche for added richness.
Exact quantities are listed in the recipe card below.
Cherry Clafoutis Variations & Substitutions
Feel free to get creative while making this delightful dish—your personal touch only enhances its charm!
-
Berry Medley: Combine raspberries and blueberries for a vibrant mix that adds a pop of color and tartness. The resulting clafoutis will have a stunningly fruity flavor and a beautiful presentation.
-
Peachy Keen: Swap in fresh peaches for a summertime adaptation; their sweetness pairs beautifully with the custardy batter, creating a sweet and juicy delight.
-
Gluten-Free: Use a gluten-free flour blend to cater to dietary needs, ensuring it’s a 1:1 ratio for seamless substitutions. This way, everyone can enjoy this classic dessert without compromise!
-
Dairy-Free Delight: Substitute with almond or oat milk and a dairy-free butter alternative for a hotel-style treat that everyone can indulge in. Don’t worry—the clafoutis will still be deliciously soft and creamy!
-
Tart Twist: Opt for sour cherries for a tangier version that balances the sweetness of the batter perfectly. The contrast makes each bite even more exciting!
-
Sweet Surprise: Use maple syrup instead of granulated sugar for a delightful twist that adds a complex sweetness to the batter. Just be mindful of the liquid consistency when using it!
-
Luxardo Love: Incorporate a few drained Luxardo cherries along with fresh ones for an intense cherry flavor that elevates the dessert while reducing sweetness. Your guests will be left guessing the secret ingredient!
-
Nutty Flavor: Add a sprinkle of toasted almonds or hazelnuts on top before serving for a delightful crunch and an extra layer of flavor. This simple addition offers a lovely contrast to the soft custard.
Expert Tips for Cherry Clafoutis
-
Timing is Key: Keep an eye on the baking time. If overbaked, the clafoutis can become dry; it should be slightly jiggly when you take it out.
-
Fruit Prep: Make sure the cherries are well-pitted and halved. This maximizes fruit sweetness and prevents pits from sneaking into your dessert.
-
Avoiding Sinking: For an even distribution of cherries, toss them in a little flour before layering them in the dish. This prevents them from sinking to the bottom of the batter.
-
Right Texture: Use both milk and cream for a creamy consistency that pairs beautifully with the Cherry Clafoutis. Skipping the cream can lead to a thinner texture.
-
Baking Dish Matters: A cast-iron skillet produces a lovely golden crust. Always ensure that your dish is oven-safe and suitable for high heat.
-
Flavor Variations: Feel free to experiment with different fruits, but limit the number of different types to avoid overwhelming the clafoutis’ delicate flavor.
How to Store and Freeze Cherry Clafoutis
Fridge: Store leftover cherry clafoutis in an airtight container for up to 2 days to keep it fresh. Lightly reheat in the oven for a warm treat.
Freezer: For longer storage, wrap slices in plastic wrap and place them in a freezer-safe bag. They can be frozen for up to 3 months, preserving the delicious flavors.
Thawing: When you’re ready to enjoy, thaw the frozen clafoutis overnight in the fridge. Reheat in the oven, ensuring it’s warmed through and regain that delightful texture.
Serving: Always serve cherry clafoutis warm or at room temperature with a dusting of powdered sugar for an irresistible presentation.
Make Ahead Options
These Cherry Clafoutis are perfect for meal prep enthusiasts! You can prepare the batter up to 24 hours in advance—just blend all the ingredients and store it in the refrigerator to maintain freshness. Additionally, you can pit and halve the cherries a day ahead and keep them in an airtight container (this helps to prevent browning). When you’re ready to bake, simply preheat the oven, layer the cherries in the skillet, pour the chilled batter over them, and bake according to the recipe instructions. This way, you’ll have a delightful, homemade dessert ready to impress with minimal effort, allowing you to save valuable time during busy weeknights!
What to Serve with Cherry Clafoutis?
Indulge in the delightful experience of pairing this French dessert with complementary flavors and textures for a memorable meal.
-
Crème Fraîche: A dollop adds creamy richness and a tangy contrast that enhances the clafoutis’ subtle sweetness.
-
Fresh Mint Leaves: The bright, refreshing flavor of mint brings a vibrant touch and elevates the dessert’s appeal.
-
Vanilla Ice Cream: The cold, creamy texture of vanilla ice cream melts beautifully into the warm clafoutis, creating a luscious delight.
-
Chilled Rosé Wine: A glass of chilled rosé offers fruity notes that harmonize perfectly with the sweet cherries in the clafoutis.
-
Lemon Zest: A sprinkle of fresh lemon zest over the clafoutis adds a bright citrus note that cuts through the richness.
-
Simple Green Salad: A light salad with mixed greens and a tangy vinaigrette provides a fresh, crisp contrast to the custardy dessert.
-
Dark Chocolate Shavings: A sprinkle of rich dark chocolate can take your dessert to the next level, adding depth and indulgence.
-
Homemade Whipped Cream: A light, fluffy topping brings an extra layer of sweetness and texture, enhancing each bite of clafoutis.
-
Espresso or Coffee: A cup of rich espresso or coffee offers a bold finish, balancing the sweetness of this delightful French treat.
When creating your meal, think about how these pairings can elevate the overall enjoyment, making your Cherry Clafoutis the star of the show.
Cherry Clafoutis Recipe FAQs
How do I select the best cherries for my clafoutis?
Absolutely! Look for cherries that are bright, firm, and shiny, with no blemishes. The best cherries should be fully ripe, which usually means they’re dark red or black and sweet to the taste. Avoid any cherries that have dark spots all over or feel soft to the touch.
What’s the best way to store leftover clafoutis?
Very easy! Simply place any leftover cherry clafoutis in an airtight container and store it in the fridge. It will stay fresh for up to 2 days. When you’re ready to enjoy it again, lightly reheat it in the oven at 350°F for about 10-15 minutes to bring back its delightful texture.
Can I freeze cherry clafoutis for later?
Absolutely! To freeze, wrap individual slices tightly in plastic wrap, then place them in a freezer-safe bag. They can be frozen for up to 3 months. When the craving hits, thaw them overnight in the fridge and reheat in the oven to enjoy a warm, comforting dessert.
How can I prevent my cherries from sinking to the bottom of the clafoutis?
A fantastic trick is to toss the cherries in a little flour before layering them in the dish. This creates a light barrier that helps keep them suspended in the batter as it bakes. Additionally, using both milk and cream in your batter ensures a thicker consistency, also helping to support the fruit.
Are there any dietary considerations for making clafoutis that I should be aware of?
Great question! If needed, you can easily adapt the recipe to make it gluten-free by using a gluten-free flour blend. Additionally, if you need to avoid dairy, dairy-free butter and non-dairy milk alternatives can be substituted—just keep in mind that the texture may vary a bit. Always double-check for allergies to specific fruits you choose to use!
Can I add other fruits besides cherries in the clafoutis?
Very much so! While this recipe features cherries, you can use other fruits like blueberries, plums, or even a mix of seasonal fruit. Just ensure whatever fruits you choose are ripe and in good condition to maintain that delightful texture and flavor. The more the merrier!
Delicious Cherry Clafoutis: Your New Favorite Easy Dessert
Ingredients
Equipment
Method
- Prepare the Cherries: Start by pitting and halving the cherries, allowing their juicy sweetness to shine in the clafoutis.
- Melt the Butter: Preheat your oven to 375°F. In a skillet or baking dish, melt the butter until bubbly.
- Layer Cherries: Evenly distribute the pitted cherries across the bottom of the skillet or baking dish.
- Make the Batter: In a blender, combine the eggs, milk, heavy cream, sugar, flour, salt, vanilla extract, and almond extract. Blend until smooth.
- Assemble & Bake: Pour the batter over the cherries in the skillet. Bake for about 20 minutes.
- Finish Baking: Sprinkle the remaining sugar on top and return to the oven. Bake for an additional 25-30 minutes.
- Cool & Serve: Allow the clafoutis to cool for at least 30 minutes. Dust with powdered sugar and serve.

