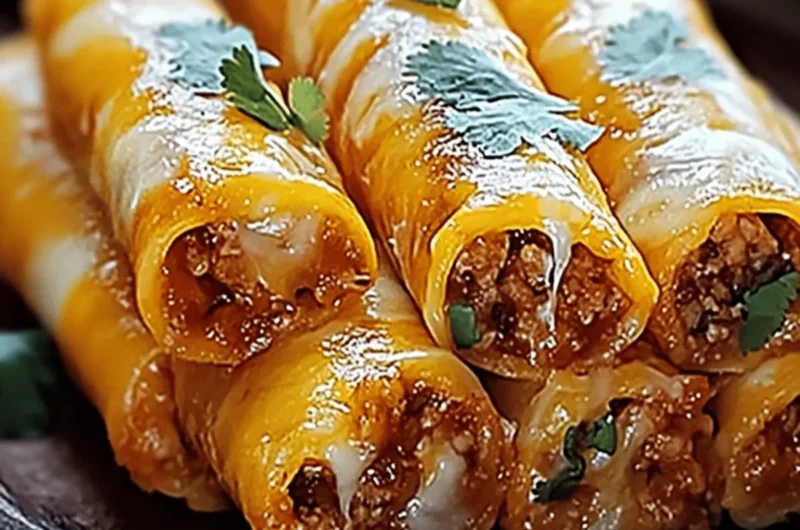
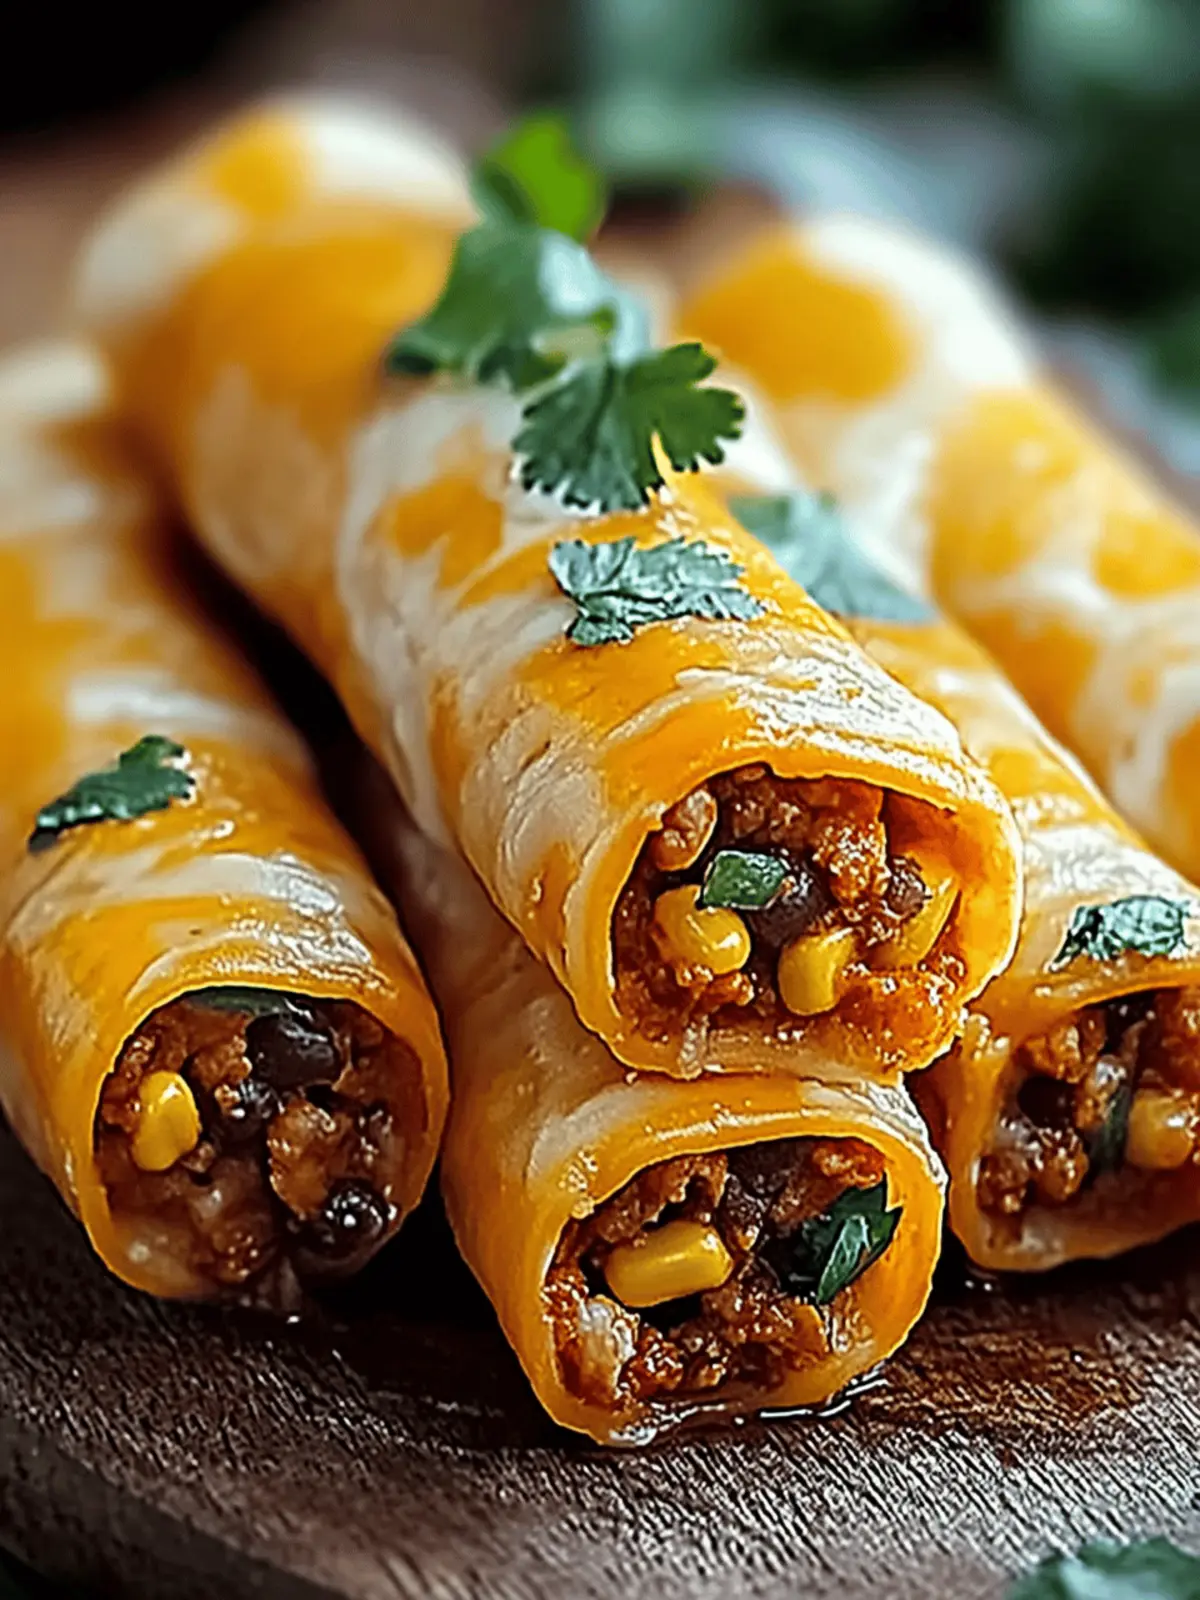
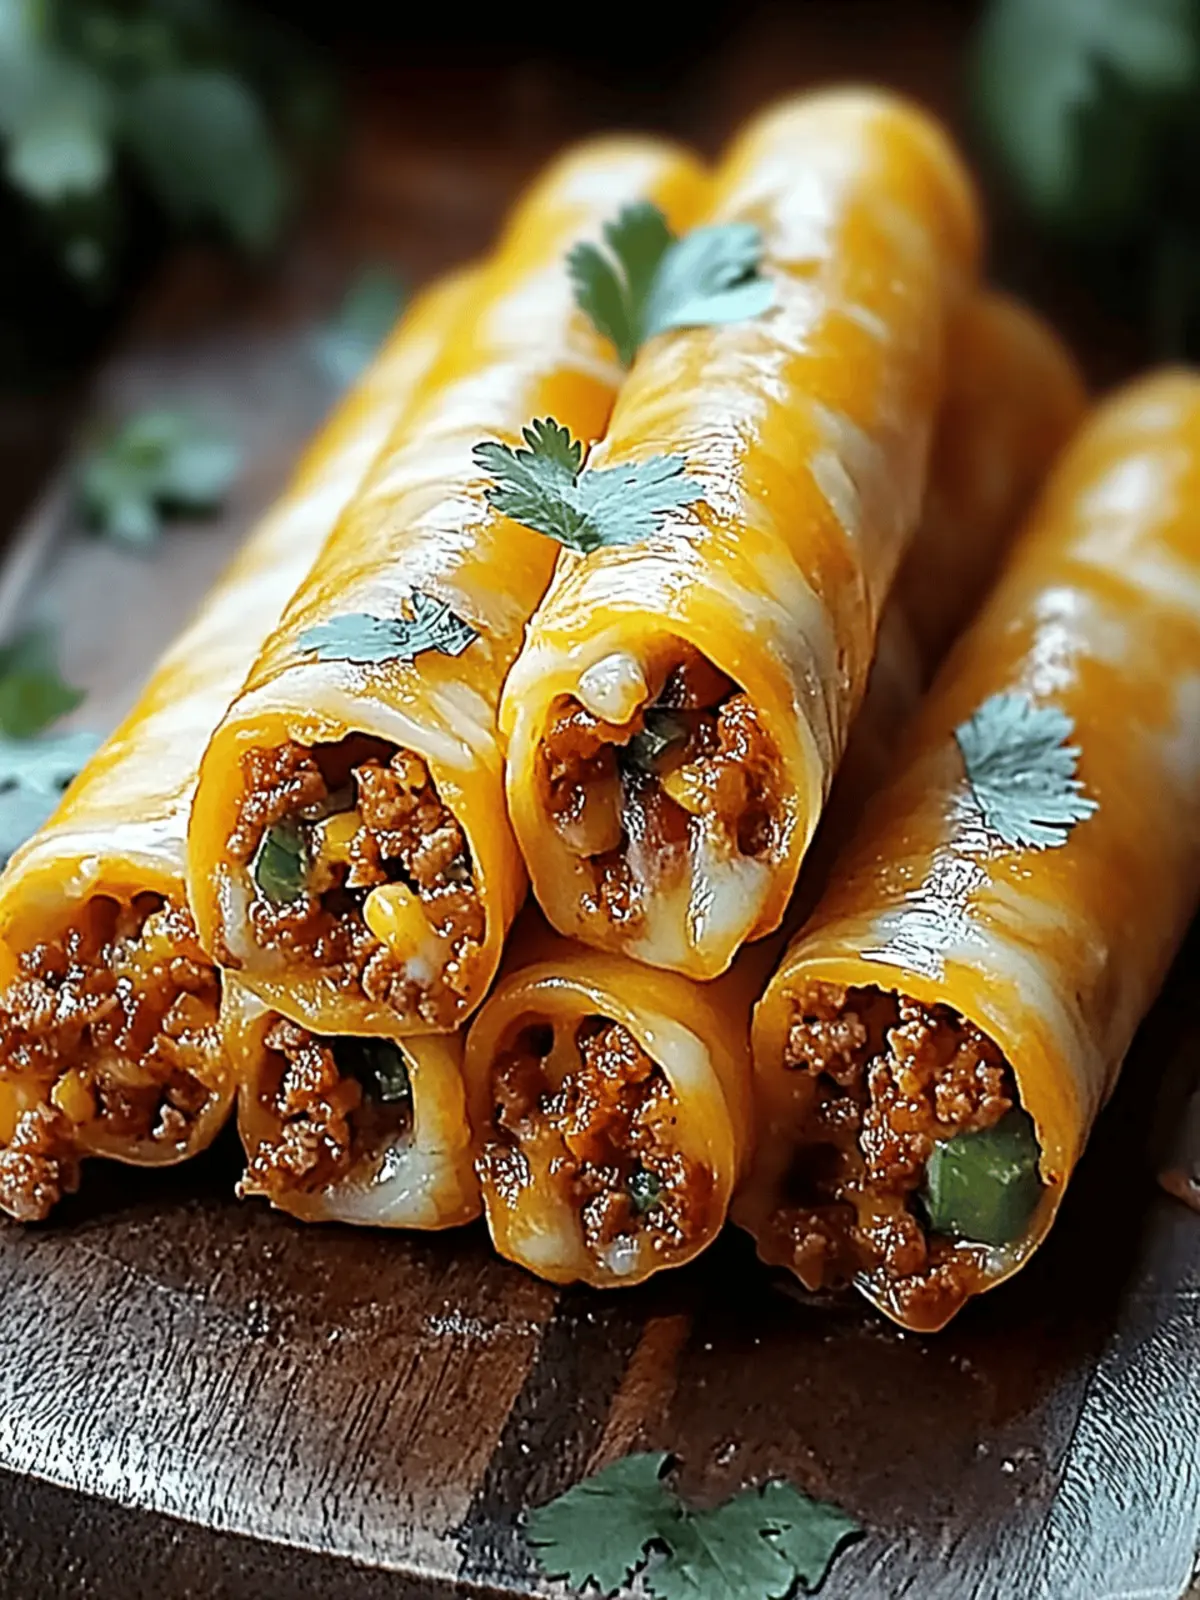
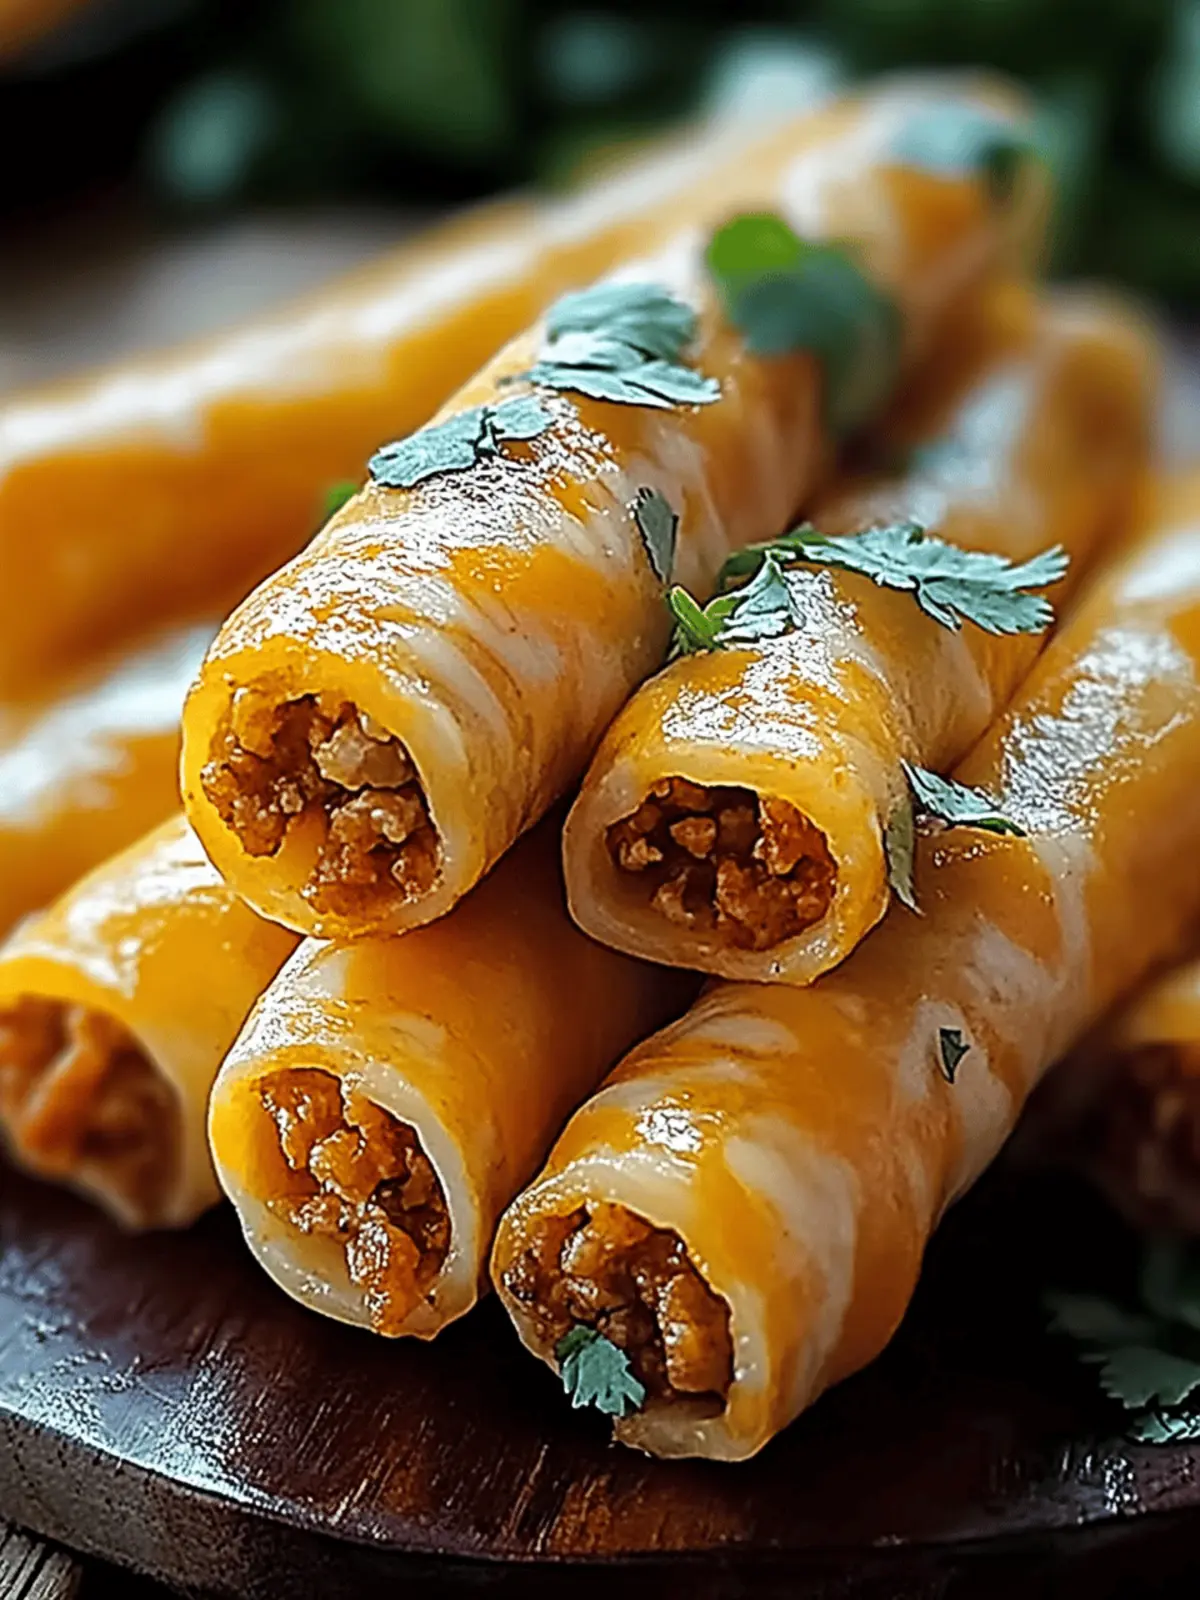
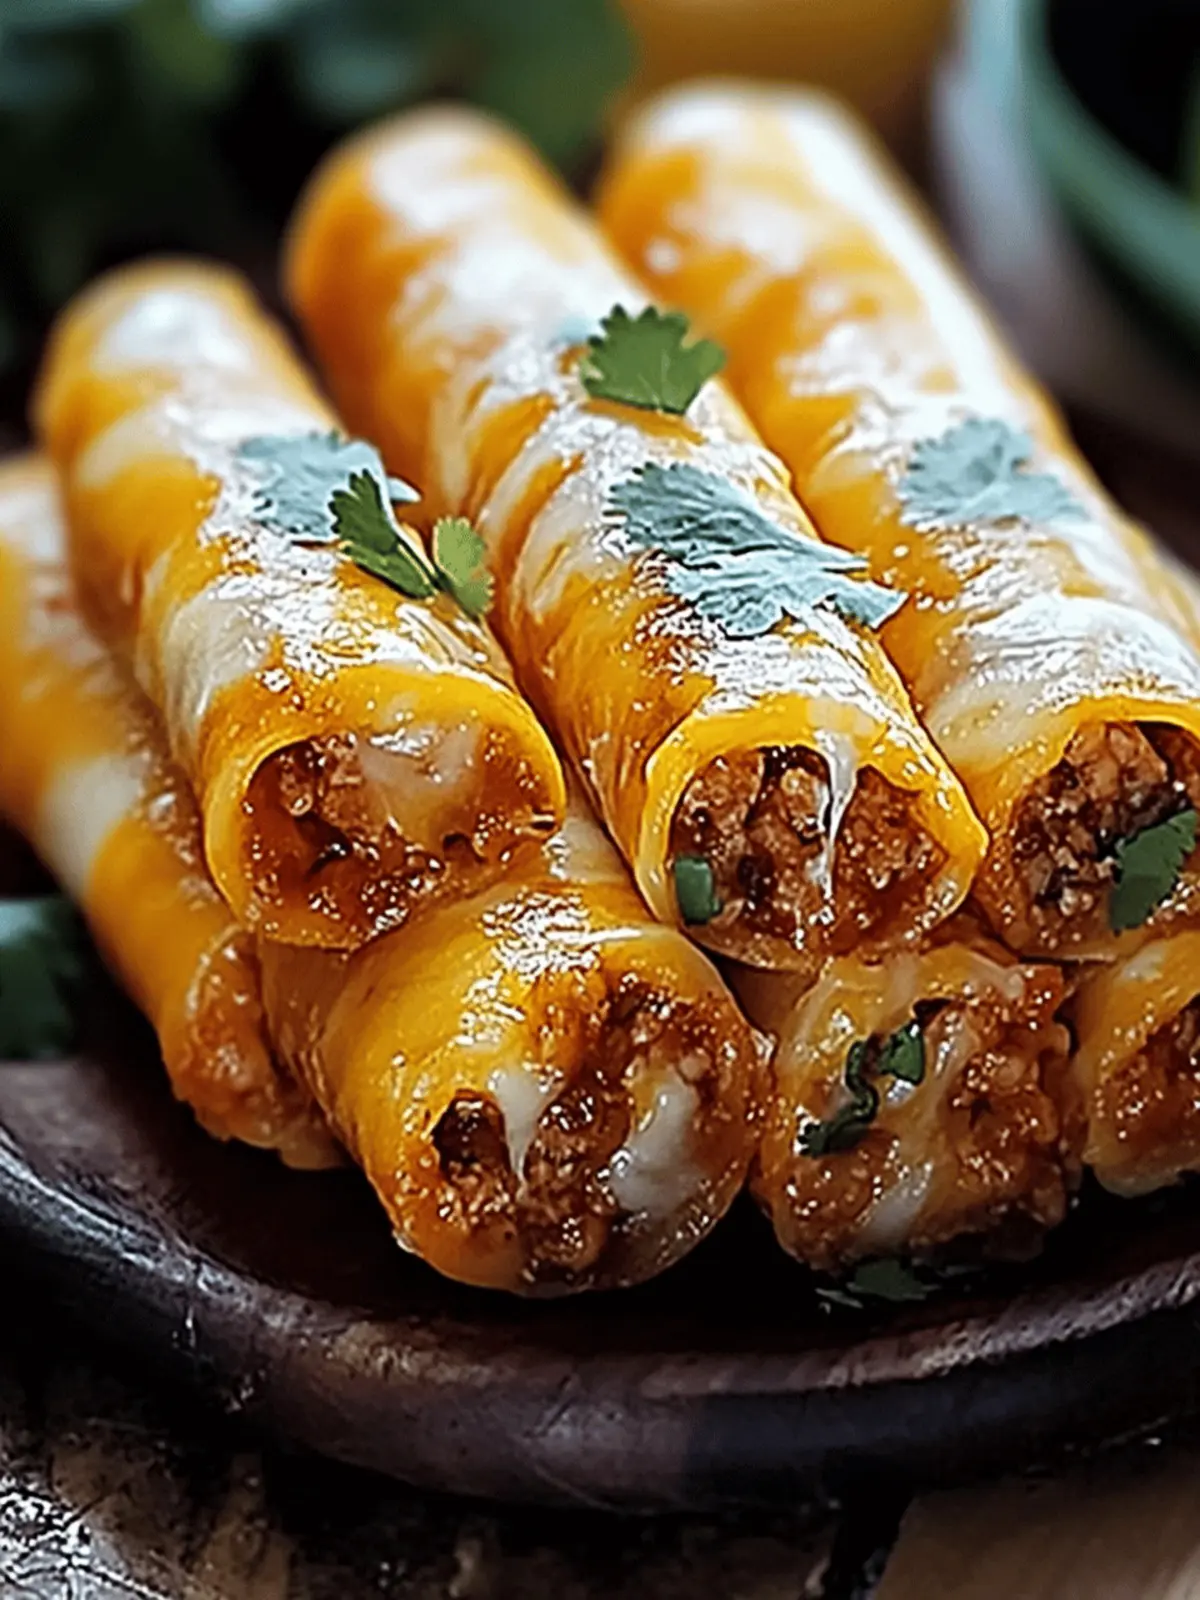
There’s nothing quite like the joy of biting into a crispy, cheesy delight that feels like home. When I first discovered Cheesy Taco Sticks, I was instantly taken by the brilliant combination of seasoned beef and gooey cheddar, all wrapped up in a flaky, golden exterior. This recipe has become a staple in my kitchen for its simplicity and flavor, turning casual dinners into something special. With ingredients you likely have on hand, these taco sticks cater to beginners and culinary pros alike, delivering a little slice of comfort food heaven.
Perfect for gatherings or just a cozy night in, they offer that satisfying crunch that makes every bite feel indulgent. Whether you’re a fan of classic Mexican fare or just looking for an easy, crowd-pleasing treat, these Cheesy Taco Sticks will quickly become a favorite in your household. Let’s dive into how you can whip these up in no time, so you can enjoy the smiles they bring at your table!
Why are Cheesy Taco Sticks so irresistible?
Deliciously Crispy: Each bite offers a delightful crunch that sets the stage for the cheesy goodness within.
Quick to Prepare: With simple ingredients and straightforward instructions, you’ll have a tasty dinner ready in under 30 minutes!
Versatile Filling: Customize your taco sticks easily by adding veggies or swapping proteins to fit any dietary preference.
Crowd-Pleasing: Perfect for parties, these treats will be the star of any gathering, making you the ultimate host.
Easy Leftovers: Store them for later, and enjoy a quick snack that’s just as delicious reheated.
Family-Friendly: Kids love them, and you’ll love how easy they are to make, ensuring everyone’s happy at the table!
Cheesy Taco Sticks Ingredients
• The essential elements for a delightful taco treat!
For the Filling
- Ground Beef – This main protein provides that authentic, savory taco flavor; feel free to use ground turkey or black beans for a lighter or vegetarian option.
- Taco Seasoning – Infuses the filling with signature taco spices; homemade seasoning is a fun way to customize the flavor!
For the Wrapper
- Tortillas – These serve as the cozy wrapper for your filling; consider using pizza dough for a unique twist on texture!
For the Cheese
- Cheddar Cheese – Melts perfectly for creamy richness; swap in Monterey Jack or pepper jack for a spicy kick!
For the Dipping
- Sour Cream – This cool dip balances out the spices beautifully; Greek yogurt works as a healthier alternative if you’re watching calories.
With these perfect ingredients in hand, you’re just a few steps away from creating irresistible Cheesy Taco Sticks that everyone will love!
How to Make Cheesy Taco Sticks
-
Preheat your oven to 375°F (190°C). This is essential for achieving that perfect crispiness all around your Cheesy Taco Sticks.
-
Cook the ground beef in a skillet over medium heat. Stir occasionally until it’s nicely browned and no longer pink, about 7-10 minutes.
-
Mix in the taco seasoning. Allow it to simmer for about 2-3 minutes, letting those fabulous flavors meld together.
-
Lay the tortillas flat on a clean surface. Spoon a generous amount of the seasoned beef mixture onto each tortilla and sprinkle with cheddar cheese.
-
Roll the tortillas tightly around the filling, creating beautiful sticks. Make sure to tuck in the edges to keep the filling from spilling out!
-
Arrange the rolled sticks on a parchment-lined baking sheet, leaving some space between them. Bake for 10-12 minutes until they are golden brown and crispy.
-
Serve warm with a side of sour cream for dipping, enhancing the flavors with every crunchy bite.
Optional: Top with fresh cilantro or a squeeze of lime for added freshness!
Exact quantities are listed in the recipe card below.
Storage Tips for Cheesy Taco Sticks
-
Fridge: Store leftover Cheesy Taco Sticks in an airtight container for up to 3 days. This keeps them fresh and delicious for your next snack attack!
-
Freezer: For longer storage, freeze individual Cheesy Taco Sticks tightly wrapped in plastic wrap, then place in a freezer bag. They can be frozen for up to 2 months.
-
Reheating: To reheat, bake from frozen at 375°F (190°C) for 12-15 minutes until crispy and hot. Alternatively, you can microwave them for about 1-2 minutes, but baking will maintain their crunch.
-
Make-Ahead: Prepare the taco sticks in advance and store unbaked in the fridge for up to 24 hours. Simply pop them in the oven when you’re ready for a quick dinner!
Expert Tips for Cheesy Taco Sticks
-
Cool Before Serving: Allow the Cheesy Taco Sticks to rest for a few minutes after baking. This helps reduce the risk of burns and enhances the overall eating experience.
-
Make-Ahead Magic: Prepare your Cheesy Taco Sticks ahead of time! Roll them up and refrigerate until you’re ready to bake; they’ll save time during busy evenings or parties.
-
Avoid the Burst: Be careful not to overfill the tortillas. This will prevent them from bursting open while baking, ensuring each delightful bite is filled just right.
-
Customize Flavor: Feel free to experiment! Add jalapeños for heat, or throw in some veggies for added nutrition and texture to your taco filling.
-
Quick Serving Ideas: Pair these Cheesy Taco Sticks with easy dips like guacamole or salsa to elevate your snacking and impress your guests.
With these tips in mind, you’re ready to create the best Cheesy Taco Sticks that everyone will love!
What to Serve with Cheesy Taco Sticks?
Elevate your Cheesy Taco Sticks experience with these delightful pairings that bring flavors and freshness to your meal.
-
Fresh Guacamole: This creamy dip adds a rich, avocado flavor that complements the spices in the taco sticks perfectly.
-
Pico de Gallo: A fresh tomato salsa offers bright acidity, enhancing the savory taste of the taco sticks with each bite.
-
Crunchy Coleslaw: The crisp texture and tangy dressing provide a refreshing contrast to the warm, cheesy filling, balancing the meal beautifully.
-
Mexican Street Corn: The sweet and smoky flavors of this dish harmonize with the seasoned beef, adding an enticing side option.
-
Spicy Salsa: A zesty salsa will amp up the heat and make those cheesy, crispy bites even more exciting!
-
Creamy Cilantro Dressing: Drizzle this vibrant sauce over a simple salad to bring an herbaceous, refreshing touch alongside your taco sticks.
-
Light Mexican Beer: Pair your cheesy creation with a chilled cerveza, which complements the bold flavors and keeps the vibe fun.
-
Fruit Salad: A bright mix of fruits can cleanse the palate between bites, offering a sweet respite from the savory taco sticks.
-
Churros: End the meal on a sweet note with these crispy pastries, making for a delightful contrast to your hearty dinner.
Make Ahead Options
These Cheesy Taco Sticks are perfect for meal prep, allowing you to save valuable time during busy weeknights! You can prepare the filling (ground beef and taco seasoning) up to 3 days in advance; simply refrigerate it in an airtight container. To assemble, roll the tortillas with the filling and cheese, then store them in the fridge for up to 24 hours before baking. This way, the sticks remain fresh and delicious. When you’re ready to serve, just bake them straight from the fridge for about 12-15 minutes until golden brown, ensuring that they maintain their crispy texture and flavorful goodness. Enjoy effortless, restaurant-quality snacks with minimal effort!
Cheesy Taco Sticks Variations
Feel free to tailor this recipe to your taste and dietary needs for an even more delightful experience!
-
Dairy-Free: Swap cheddar cheese for a dairy-free alternative like cashew cheese or vegan mozzarella to keep it creamy without the dairy.
-
Spicy Kick: Add jalapeños or cayenne pepper to the beef mixture for an extra layer of heat that will make your taste buds dance.
-
Veggie-Packed: Incorporate diced bell peppers or onions into the filling for a delicious crunch and a boost of nutrients. This twist makes the taco sticks heartier and adds a pop of color!
-
Gluten-Free: Use gluten-free tortillas to accommodate those with gluten sensitivities while enjoying the same tasty flavors.
-
Air-Fryer: For a healthier option, try air-frying the sticks at 375°F (190°C) for about 8-10 minutes. They’ll still come out crispy without extra oil!
-
Herb Infusion: Mix chopped fresh herbs like cilantro or oregano into the beef for a fresh burst of flavor that brightens each bite.
-
Pizza Style: Swap out taco seasoning for Italian herbs, use mozzarella cheese, and consider adding pepperoni or mushrooms for a fun pizza-inspired twist.
-
Sweet Touch: Experiment with a touch of honey or BBQ sauce mixed in with the filling for a sweet contrast that enhances the savory flavors.
With these exciting variations, you can indulge in endless possibilities with your Cheesy Taco Sticks!
Cheesy Taco Sticks Recipe FAQs
What is the best way to select ripe tortillas for making Cheesy Taco Sticks?
Absolutely! When choosing tortillas, look for ones that are pliable and free of dark spots or cracks. Fresh tortillas will roll more easily around your filling without breaking. If you can, opt for whole wheat or corn tortillas for added flavor and nutrition!
How should I store leftover Cheesy Taco Sticks?
Very simply! Store leftover Cheesy Taco Sticks in an airtight container in the fridge for up to 3 days. This method keeps them fresh, so you’ll still enjoy that delightful crunch with each bite!
Can I freeze Cheesy Taco Sticks, and how do I do it?
Yes, you can! To freeze, wrap each uncooked Cheesy Taco Stick tightly in plastic wrap to prevent freezer burn. Place them in a zip-top freezer bag and label with the date. They can be frozen for up to 2 months. To cook, preheat your oven to 375°F (190°C), then bake straight from frozen for about 12-15 minutes until they are hot and crispy.
What should I do if my Cheesy Taco Sticks are bursting open while baking?
Don’t worry; it happens! To prevent bursting, avoid overfilling the tortillas when you roll them up. Make sure to tightly tuck in the edges too! If you notice that some are particularly prone to bursting, consider using smaller amounts of filling or thicker tortillas for better structure.
Are Cheesy Taco Sticks suitable for people with certain dietary restrictions?
Yes, they can be! For those with gluten sensitivities, opt for corn tortillas or gluten-free wraps. Instead of ground beef, you might use ground turkey or veggie-based proteins like black beans. As always, ensure the taco seasoning is gluten-free if necessary, and check labels on other ingredients to accommodate any allergies.
How can I reheat Cheesy Taco Sticks to regain their crispiness?
To keep that fantastic crispiness when reheating, place your Cheesy Taco Sticks on a baking sheet and heat them in a preheated oven at 375°F (190°C) for about 8-10 minutes. This method will help revive that crunchy exterior! Microwaving is faster but might result in a softer texture.
Irresistible Cheesy Taco Sticks for Quick, Fun Dinners
Ingredients
Equipment
Method
- Preheat your oven to 375°F (190°C).
- Cook the ground beef in a skillet over medium heat until browned, about 7-10 minutes.
- Mix in the taco seasoning and allow to simmer for 2-3 minutes.
- Lay tortillas flat and spoon a generous amount of the beef mixture onto each tortilla, then sprinkle with cheddar cheese.
- Roll the tortillas tightly around the filling and tuck in the edges.
- Arrange the rolled sticks on a parchment-lined baking sheet and bake for 10-12 minutes until golden brown.
- Serve warm with a side of sour cream for dipping.

