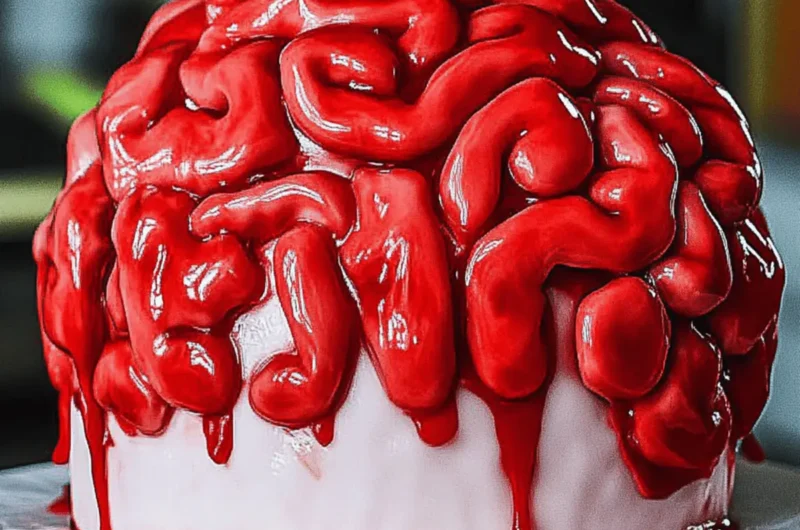
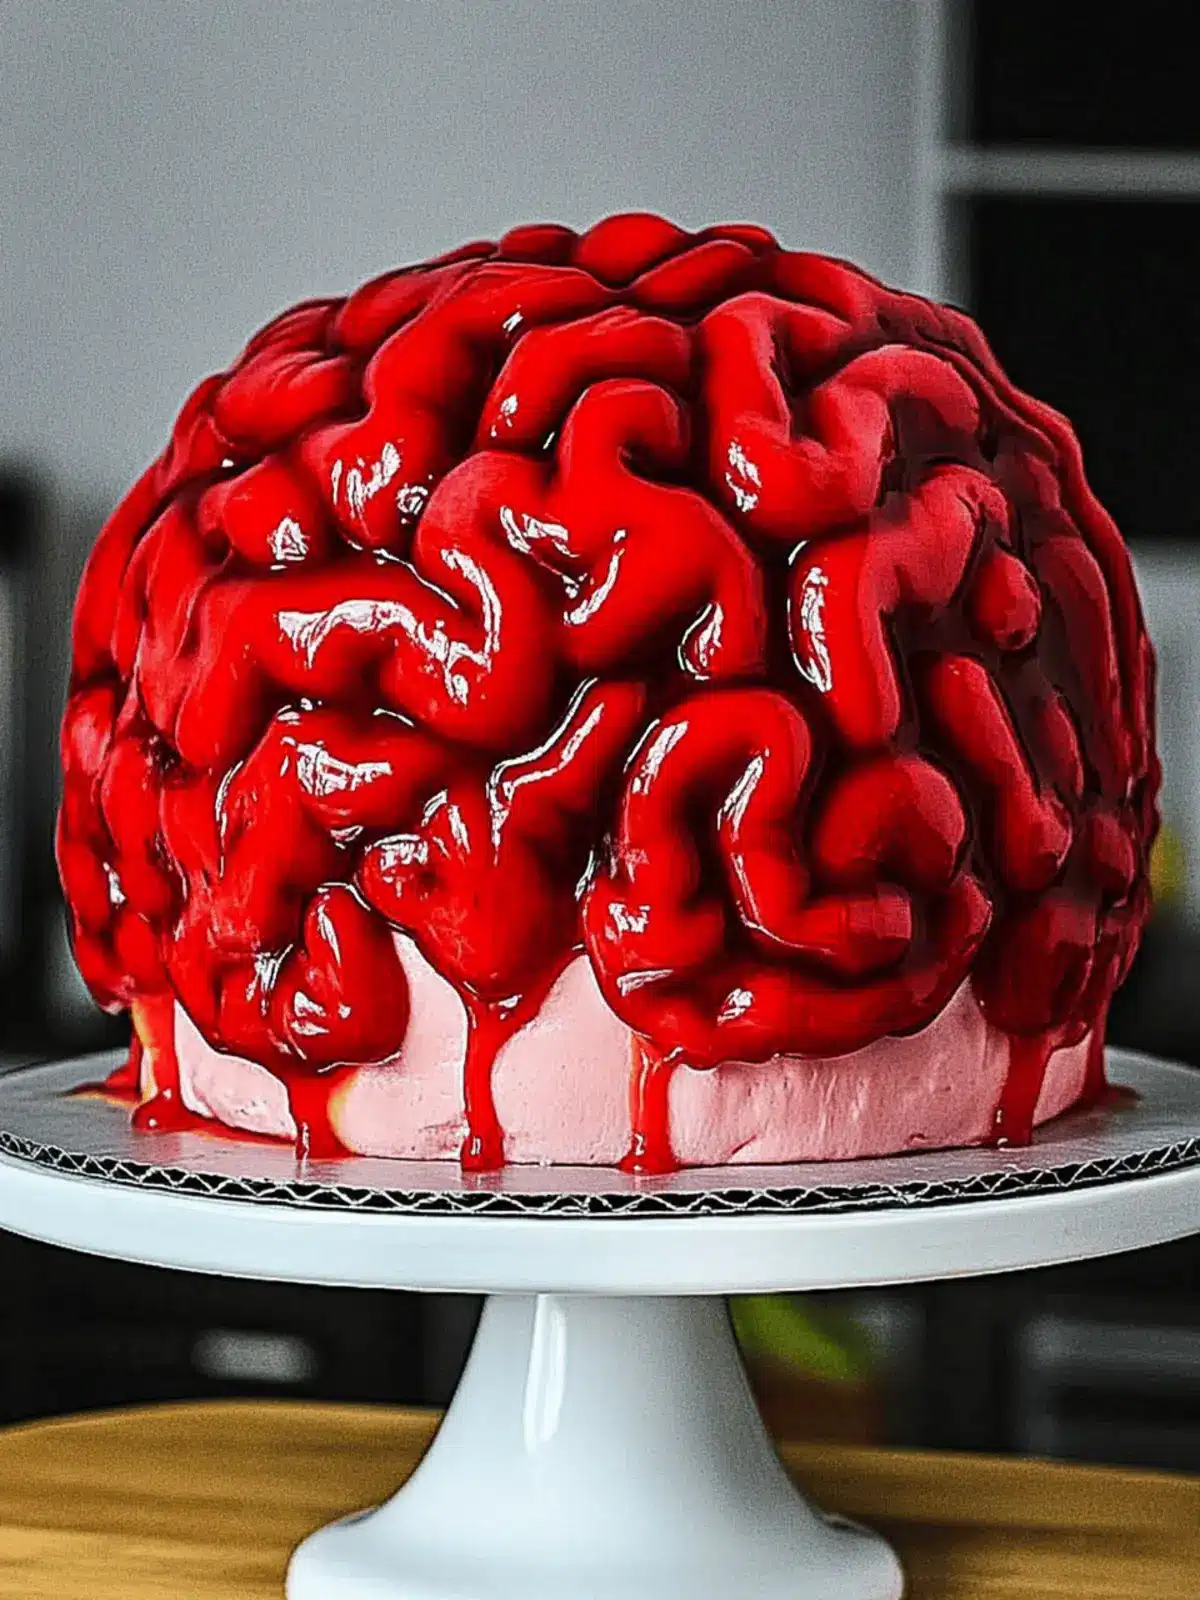
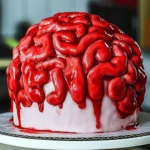
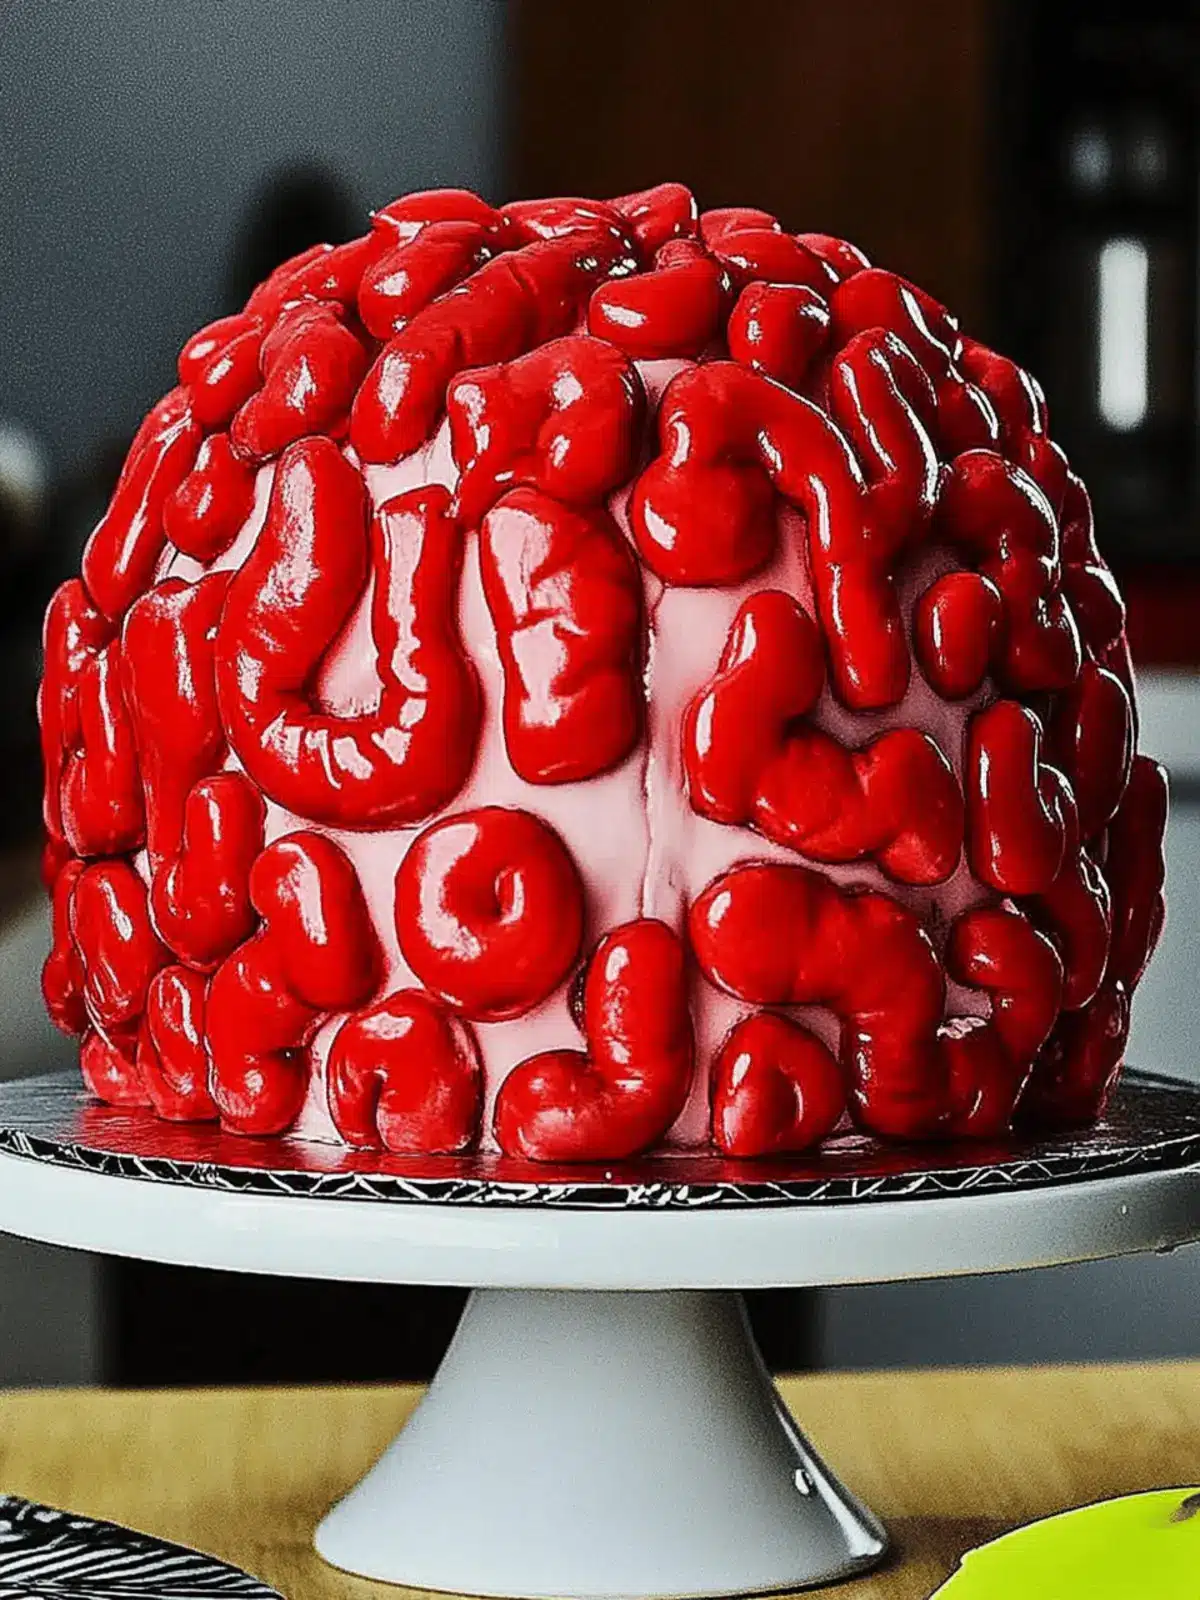
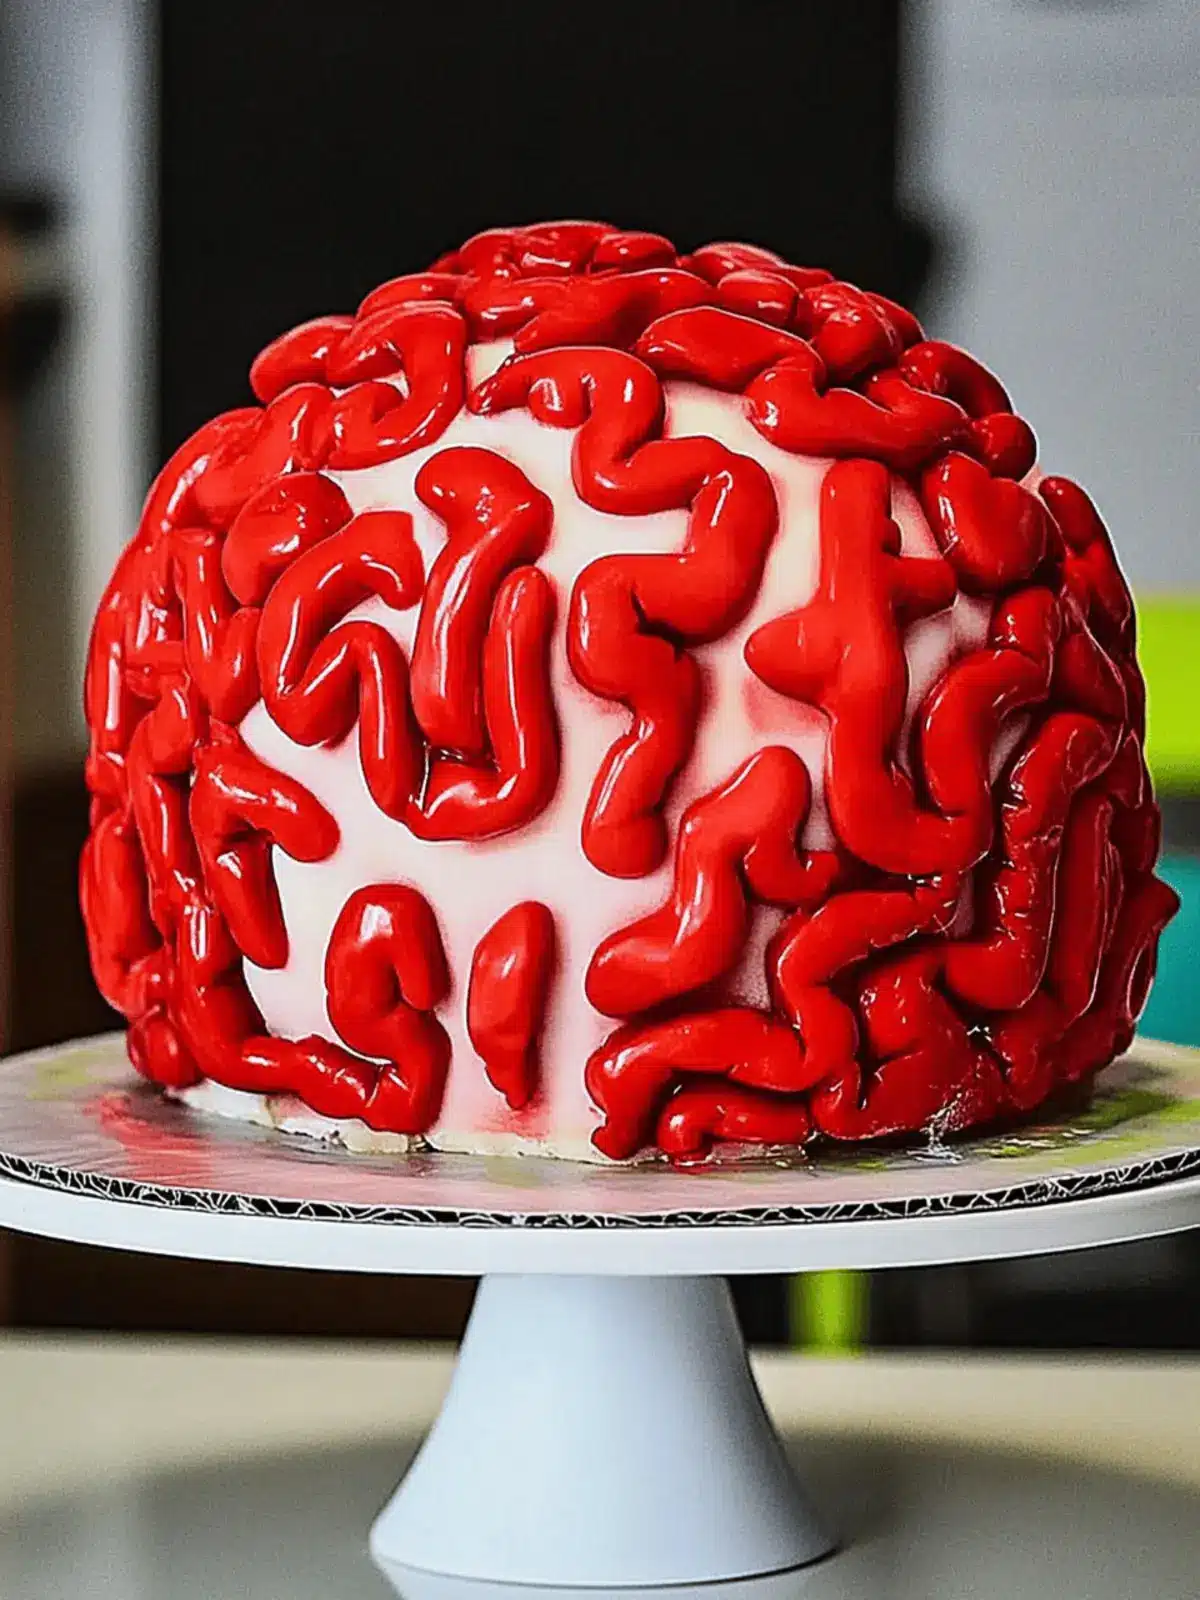
When the crisp autumn air begins to seep in and the leaves crunch beneath our feet, it’s that magical time of year again—Halloween! To celebrate, I’ve concocted a delightfully spooktacular treat that’s sure to be the highlight of any fright fest: the Brain Cake! Imagine serving up a beautiful, moist red velvet cake, cleverly shaped and adorned to resemble the intricacies of a brain. Topped with a creamy, light pink cream cheese frosting and oozing a delicious raspberry jam “blood,” this whimsical dessert will have your guests both intrigued and delighted.
What surprises me most about this showstopper is how simple it is to create with just a few ingredients and no special molds required! Whether you’re a seasoned baker or a kitchen novice, this recipe invites everyone to join the fun of baking. So, gather your ingredients and get ready to impress friends and family with this creepy, creative masterpiece that brings the spirit of Halloween straight to your table!
Why is this Brain Cake a must-try?
Spook-tacular Presentation: Your guests will be both surprised and delighted by this cake that looks just like a brain!
Moist Red Velvet Layers: Each slice offers a rich, tender texture that’s reminiscent of classic red velvet.
Easy to Make: No special molds or complicated techniques are required—perfect for bakers of any skill level!
Creepy Yet Delicious: The combination of sweet cream cheese frosting and tart raspberry jam creates a flavor explosion that’s too good to resist.
Versatile Options: You can easily personalize the colors and flavors, making it suitable for any festive occasion!
Brain Cake Ingredients
For the Cake
• Cake Flour – Provides structure and lightness; substitute with gluten-free flour if necessary.
• Unsweetened Cocoa Powder – Adds depth of flavor; check for Dutch-processed vs. natural based on taste preference.
• Baking Soda – Acts as a leavening agent for rise; ensure it’s fresh for optimal results.
• Fine Salt – Balances sweetness; kosher salt can work if finely ground.
• Unsalted Butter – Creates a rich flavor and moisture; vegan butter can be used for a dairy-free version.
• Granulated Sugar – Sweetens the cake; brown sugar gives a deeper flavor profile.
• Eggs – Provide structure and moisture; use flax eggs as a vegan alternative.
• Buttermilk – Adds moisture and tang; substitute with plant-based milk + vinegar for a dairy-free option.
• Vegetable Oil – Ensures moist texture; can swap for coconut oil or melted butter.
• Vanilla Extract – Enhances flavor; vanilla bean paste offers a more intense taste.
• White Vinegar – Activates baking soda, helping the cake rise.
• Red Gel Food Coloring – Gives the cake its signature red hue; liquid food coloring may affect consistency.
For the Frosting
• Cream Cheese – Forms the creamy base of the frosting; use dairy-free cream cheese if needed.
• Powdered Sugar – Sweetens and thickens the frosting; substitute with powdered erythritol for a low-sugar option.
• Heavy Whipping Cream – Adds richness and desired frosting consistency; coconut cream can be used for dairy-free.
For Decoration
• Raspberry or Strawberry Jam – Creates the “blood” effect; any berry jam or preserves can work.
How to Make Brain Cake
-
Prepare the Cake Layers: Preheat your oven to 350°F (175°C) and generously grease three 8-inch round cake pans. Sift the dry ingredients together, then cream the butter and sugar until light and fluffy. Mix in the eggs, buttermilk, vegetable oil, vinegar, and food coloring. Gradually fold in the dry ingredients until just combined.
-
Bake: Divide the batter evenly among the prepared pans and bake for 24-28 minutes. The cakes are done when a toothpick inserted comes out with a few moist crumbs. Let them cool in the pans for about 10 minutes before transferring to a wire rack.
-
Shape Cake: Once the cakes are completely cooled, stack the layers on top of each other, trimming them to create an oval “brain” shape using a sharp knife. If you experience any tearing, freeze the layers for about 20 minutes before cutting.
-
Make Frosting: Beat the butter and cream cheese together until smooth. Incorporate the vanilla extract and fine salt, then gradually add powdered sugar and heavy cream, adjusting your frosting’s consistency as needed. Add a touch of red food coloring to create a light pink hue that matches the fun!
-
Frost the Cake: Stack and frost the cake layers with the pink buttercream, smoothing the frosting around the sides. Chill the cake in the refrigerator until firm, about 30 minutes.
-
Decorate: Pipe squiggly lines over the top of the cake to achieve that brain-like appearance. Chill once more until the frosting is firm. To finish, brush the raspberry jam onto the squiggly lines, creating a gory “blood” effect!
Optional: Serve with additional raspberry jam drizzled on the plate for an extra spooky touch.
Exact quantities are listed in the recipe card below.
Brain Cake Variations
Feel free to get creative and make this recipe your own; the possibilities are deliciously endless!
-
Gluten-Free: Substitute cake flour with a 1:1 gluten-free flour blend for a delightful alternative that everyone can enjoy.
-
Different Cake Flavors: Switch up the flavor by replacing red velvet with chocolate or vanilla cake for a completely new twist on this spooky treat.
-
Fruity Swaps: Try using other berry jams, like blueberry or blackberry, to create a unique “blood” effect that adds a fun flavor contrast.
-
Dairy-Free Delight: Use coconut cream and dairy-free cream cheese to create an irresistibly creamy frosting suitable for lactose-sensitive guests.
-
Peppermint Infusion: Add a few drops of peppermint extract to the frosting for a refreshing twist that brightens up this decadent cake.
-
Spicy Kick: Incorporate a pinch of cinnamon or cayenne pepper into the batter for a surprising hint of warmth and spice that complements the sweetness.
-
Color Variations: Add colors to the frosting using different gel food colorings to match any event theme, like green for a monster cake!
-
Mini Cakes: Instead of a large cake, consider making mini brain cakes using a muffin tin for a fun, single-serving option that’s perfect for parties.
How to Store and Freeze Brain Cake
Fridge: Store leftovers in an airtight container in the refrigerator for up to 5 days. This will keep the Brain Cake moist and fresh for later enjoyment.
Freezer: Wrap tightly in plastic wrap and aluminum foil to prevent freezer burn. It can be frozen for up to 1 month. Thaw in the fridge before serving for the best texture.
Reheating: If you prefer a warm treat, gently warm a slice in the microwave for 10-15 seconds. This allows the flavors of the Brain Cake to shine anew without drying it out.
Layer Preservation: It’s best to store any leftover frosting separately to maintain its creamy texture.
What to Serve with Brain Cake?
Imagine the delightful spread you’ll create, perfect for your Halloween gathering. These pairings will elevate the spooky experience!
-
Mummy Cake Pops: Adorable and spooky, these cake pops are easy to grab and add a fun touch to your dessert table.
-
Candy Corn Cookies: Their cheerful colors and sweet taste contrast perfectly with the rich, red velvet of the Brain Cake, appealing to all ages.
-
Witch’s Brew Punch: A fizzy, fruity punch adds a refreshing element bursting with Halloween spirit. Serve it chilled for an enchanting experience!
-
Ghostly White Chocolate Dip: Pair slices of cake with this creamy dip for a delicious flavor contrast. The white chocolate will enhance the cake’s richness.
-
Ghoulish Green Grapes: For a healthy side, serve grapes skewered on sticks. They could be a fun way to balance the sweetness of the cake.
-
Coffin-Shaped Cheese Board: Complement the sweetness with savory delights. Include crackers, meats, and ghost-shaped cheeses to surprise your guests.
-
Spiced Apple Cider: Warm spiced cider adds coziness to a chilly autumn evening and makes for a delightful pairing with the Brain Cake’s festive flavors.
Let your imagination run wild as you create the perfect spooky spread!
Make Ahead Options
These Brain Cake layers are perfect for busy home cooks eager to save time during the Halloween festivities! You can bake the cake layers up to 3 days in advance; just let them cool completely and wrap each layer tightly in plastic wrap before refrigerating. This keeps them fresh and moist. Additionally, you can prepare the cream cheese frosting up to 24 hours ahead; store it in an airtight container in the fridge. When you’re ready to assemble the Brain Cake, simply frost the chilled layers and decorate as directed. This way, you’ll enjoy a delightful dessert without the last-minute rush—just as delicious, and ready for your spooky celebration!
Expert Tips for Brain Cake
- Room Temperature Ingredients: Ensure all ingredients are at room temperature to achieve a smoother batter and better mixing, which results in a fluffy Brain Cake.
- Chill Before Frosting: Chill the cake layers for about 30 minutes before frosting to prevent tearing. This will ensure a clean finish.
- Accurate Coloring: Use gel food coloring for the best shade—you’ll achieve the iconic red hue without altering your cake’s texture.
- Storage Solution: Keep leftover cake covered with its frosting in the refrigerator to prevent it from drying out; enjoy it up to a week later!
- Advance Planning: Consider baking the cake in advance and freezing it. Just thaw, frost, and decorate for easier party prep.
Brain Cake Recipe FAQs
How do I pick the best ingredients for my Brain Cake?
Absolutely! When choosing your ingredients, freshness is key, especially for the baking soda and butter. I recommend using cake flour for a light texture and ensuring your cocoa powder is high-quality. If you’re feeling adventurous, gluten-free flour can work wonderfully as a substitute! For the red velvet color, opt for gel food coloring as it won’t alter the batter consistency.
What’s the best way to store leftover Brain Cake?
You can keep your Brain Cake in the refrigerator for up to 5 days in an airtight container. This helps maintain its moistness and freshness. If you have leftover frosting, store it separately to keep it creamy. For extra convenience, consider covering the cake well to prevent it from absorbing odorous fridge smells!
Can I freeze my Brain Cake for later?
Absolutely! To freeze the Brain Cake, wrap it tightly in plastic wrap followed by aluminum foil to prevent freezer burn. It can be stored for about 1 month. When you’re ready to enjoy it, simply thaw it overnight in the refrigerator for optimal texture.
What should I do if my cake layers are tearing while shaping?
Very common! If your layers are fragile and tearing, pop them in the freezer for about 20 minutes before cutting. This makes them firmer and easier to trim without damage. Always use a sharp knife for clean edges. If you find yourself in a bind, you can use frosting to fill any gaps or tears—it’s all part of the spooky charm!
Are there any dietary considerations for the Brain Cake?
Yes! This recipe can easily accommodate various dietary preferences. For a dairy-free version, substitute with vegan butter and dairy-free cream cheese. You can also use flax eggs in place of regular eggs for a vegan alternative. It’s always wise to double-check the labels on your ingredients for potential allergens, especially if you’re serving it to guests with specific dietary restrictions.
How can I decorate my Brain Cake for an even creepier presentation?
For an extra spooky flair, you could add edible eyeballs or chocolate spiders on top of the cake! Drizzle more raspberry jam over the sides to enhance the “blood” effect, or sprinkle edible glitter for a fun twist. The more, the merrier when it comes to Halloween decorations!
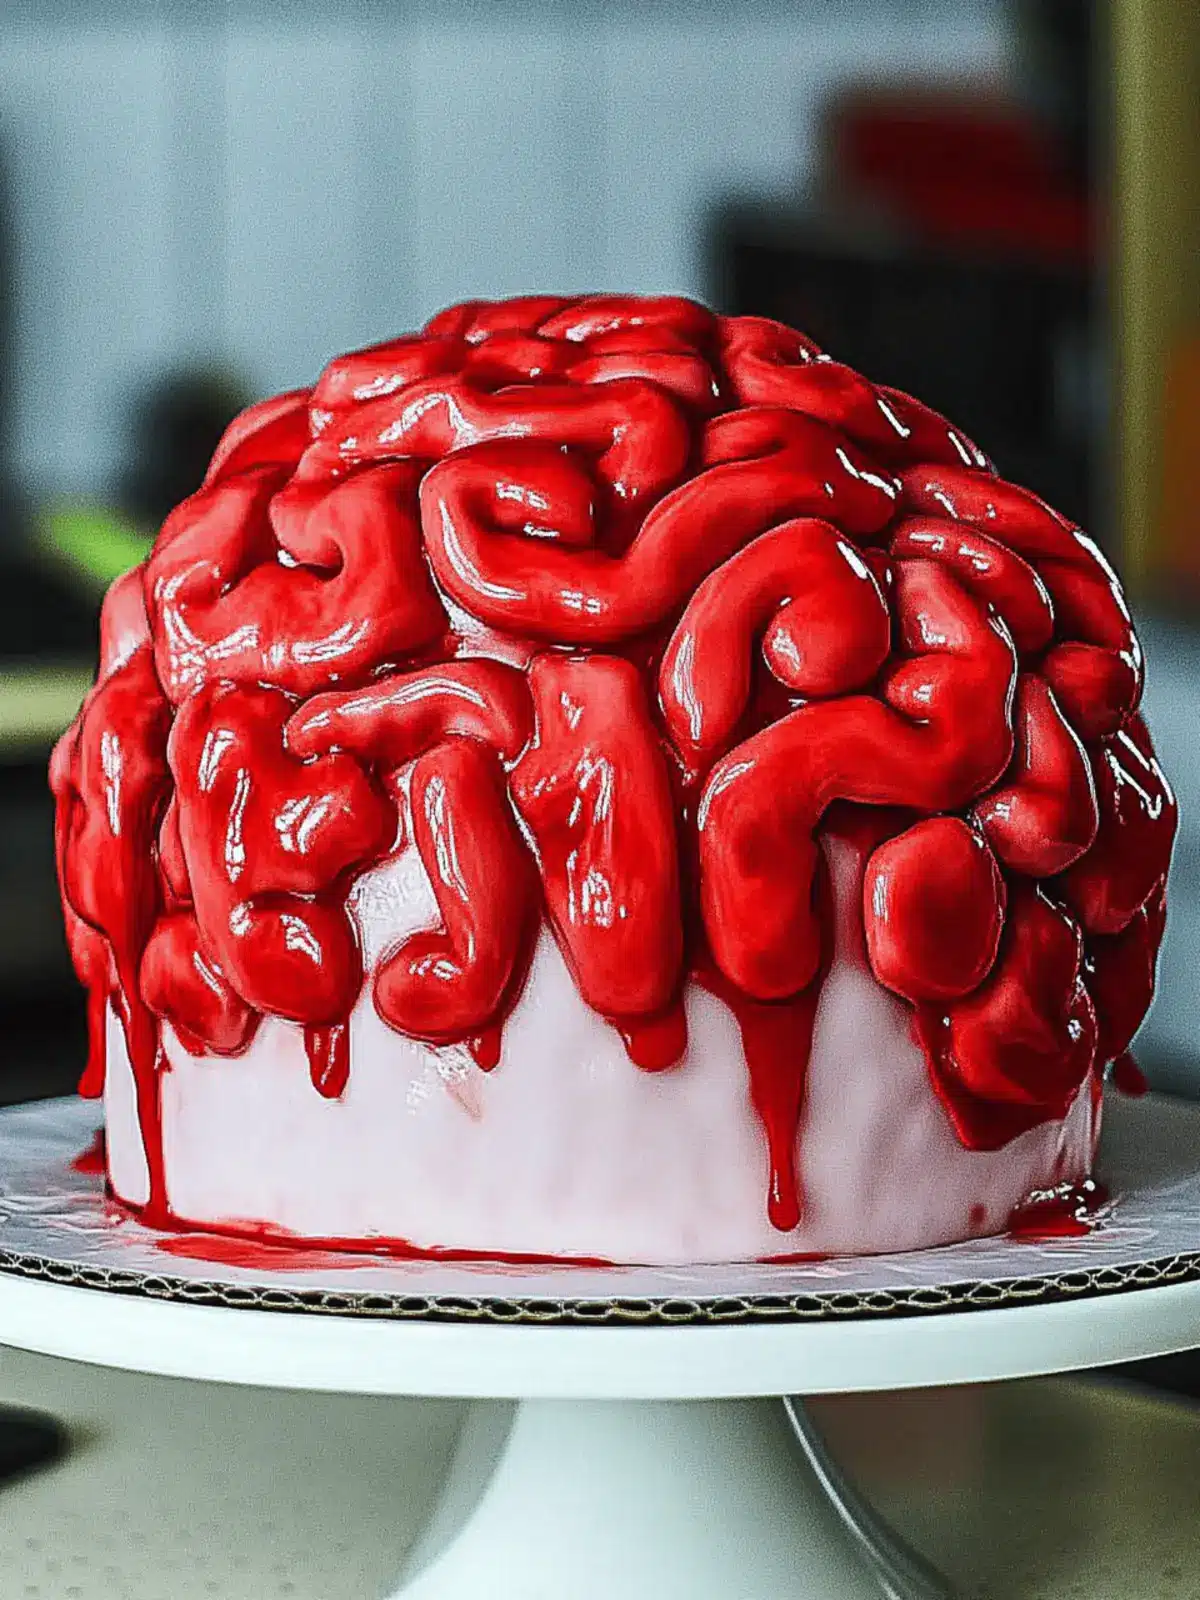
Craft Your Spooktacular Brain Cake: A Halloween Delight
Ingredients
Equipment
Method
- Preheat your oven to 350°F (175°C) and generously grease three 8-inch round cake pans.
- Sift the dry ingredients together, then cream the butter and sugar until light and fluffy.
- Mix in the eggs, buttermilk, vegetable oil, vinegar, and food coloring.
- Gradually fold in the dry ingredients until just combined.
- Divide the batter evenly among the prepared pans and bake for 24-28 minutes.
- The cakes are done when a toothpick inserted comes out with a few moist crumbs.
- Let them cool in the pans for about 10 minutes before transferring to a wire rack.
- Once the cakes are completely cooled, stack the layers on top of each other.
- Trim them to create an oval 'brain' shape using a sharp knife.
- If you experience any tearing, freeze the layers for about 20 minutes before cutting.
- Beat the butter and cream cheese together until smooth.
- Incorporate the vanilla extract and fine salt.
- Gradually add powdered sugar and heavy cream, adjusting consistency as needed.
- Add a touch of red food coloring to create a light pink hue.
- Stack and frost the cake layers with the pink buttercream, smoothing the frosting around the sides.
- Chill the cake in the refrigerator until firm, about 30 minutes.
- Pipe squiggly lines over the top of the cake to achieve that brain-like appearance.
- Chill once more until the frosting is firm.
- Brush raspberry jam onto the squiggly lines, creating a 'blood' effect!

