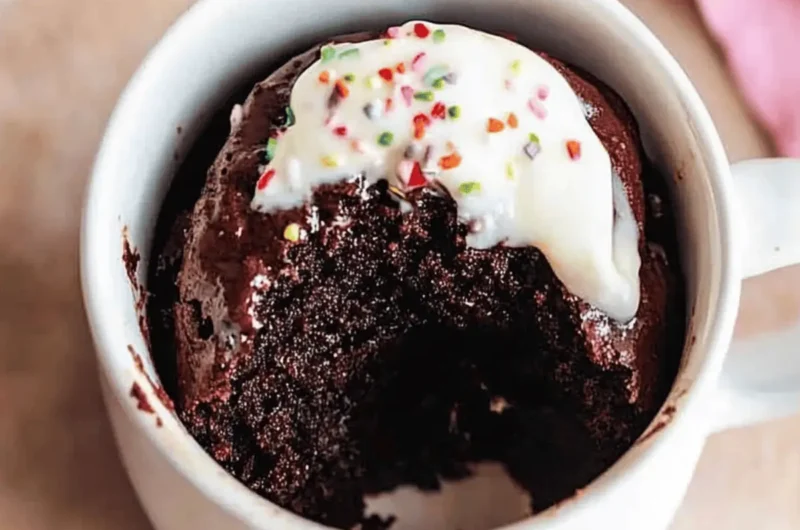
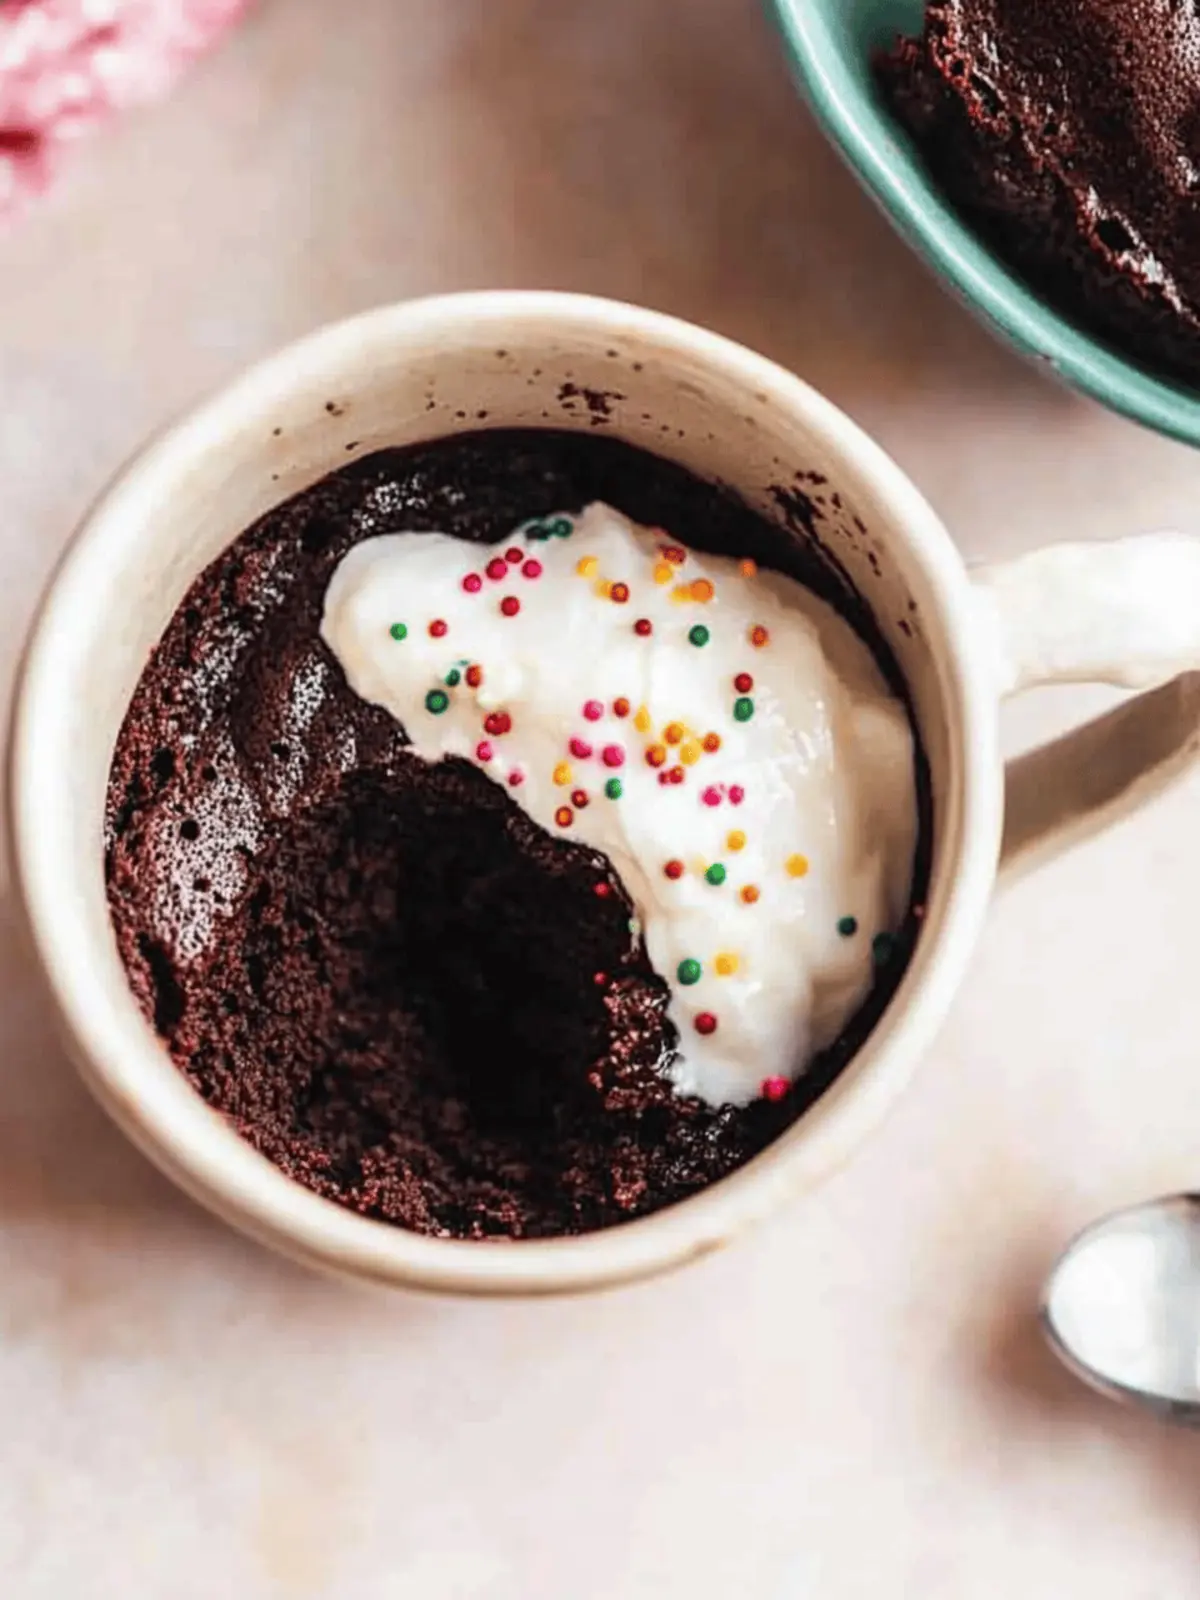
After a long day, there’s nothing quite like the moment I press “start” on my microwave and wait for the rich scent of chocolate to fill the air. This Microwave Chocolate Mug Brownie has become my secret to tranquility – a decadent escape that only requires a few simple ingredients and a mere minute of patience. Whether you’re in need of a midnight snack or a sweet pick-me-up during a busy afternoon, this recipe is a lifesaver.
With its luxurious fusion of chocolate, this gooey brownie satisfies cravings without the fuss of traditional baking. And the best part? You’ll find joy in indulging without the guilt of complicated recipes or a lengthy cleanup. Grab your favorite mug, and let’s create a warm, chocolatey treat that’s ready in a flash! Trust me, you won’t want to miss this easy, delicious indulgence.
Why will you adore Chocolate Cookies?
Simplicity at its finest: With just four ingredients, these cookies are incredibly easy to whip up! Perfect for beginners and seasoned bakers alike.
Rich, Fudgy Texture: Each cookie is soft and chewy, satisfying your chocolate cravings with every delightful bite.
Quick and Convenient: Ready in under 15 minutes, you can enjoy these warm treats anytime you need a sweet pick-me-up.
Versatile Variations: With options for triple chocolate or peanut butter versions, there’s a flavor for everyone!
Crowd-Pleasing Delight: These cookies are sure to impress family and friends, making them ideal for gatherings or a comforting treat at home.
Chocolate Cookie Ingredients
• Create delicious Chocolate Cookies with these simple staples!
For the Dough
- Melted Butter/Oil – Adds moisture and richness to the cookies; substitute with coconut oil for a dairy-free option.
- Milk/Chocolate Milk – Provides moisture and creaminess; chocolate milk enhances the chocolate flavor, but feel free to swap in any non-dairy milk for a vegan twist.
- Vanilla Extract – Elevates the flavor profile; it can be omitted if you prefer a simpler taste.
- Salt – Balances sweetness and enhances chocolate flavor; essential for a well-rounded bake.
- White Sugar – Sweetens the dough; adjust based on how sweet you like your cookies, or use brown sugar for a chewier texture.
- Unsweetened Cocoa Powder – Imparts a rich chocolate flavor; make sure it’s unsweetened to control the overall sweetness.
- Flour – Provides necessary structure to the cookies; gluten-free flour can be substituted for a gluten-free treat.
How to Make Chocolate Cookies
-
Preheat the oven to 350°F (175°C). This initial step ensures your cookies bake evenly and achieve that perfect gooey texture.
-
Mix the melted butter (or oil), milk (or chocolate milk), and vanilla extract in a mixing bowl until smooth. You’ll know it’s ready when the mixture is glossy and thoroughly blended.
-
Combine white sugar, cocoa powder, and flour into the mixture. Stir gently until just combined; don’t overmix to keep the cookies tender and soft.
-
Scoop tablespoon-sized amounts of dough and place them on a lined baking sheet, leaving about 2 inches of space between each. This allows them to spread without merging into each other.
-
Bake for 10-12 minutes, until the edges of the cookies are set and the centers look soft and indulgently gooey. A little underbaking is okay for that chewy goodness!
-
Cool the cookies on the baking sheet for a few minutes before transferring them to a wire rack. This helps maintain their shape while letting them firm up just enough.
Optional: Serve warm with a scoop of vanilla ice cream for an extra delightful treat.
Exact quantities are listed in the recipe card below.
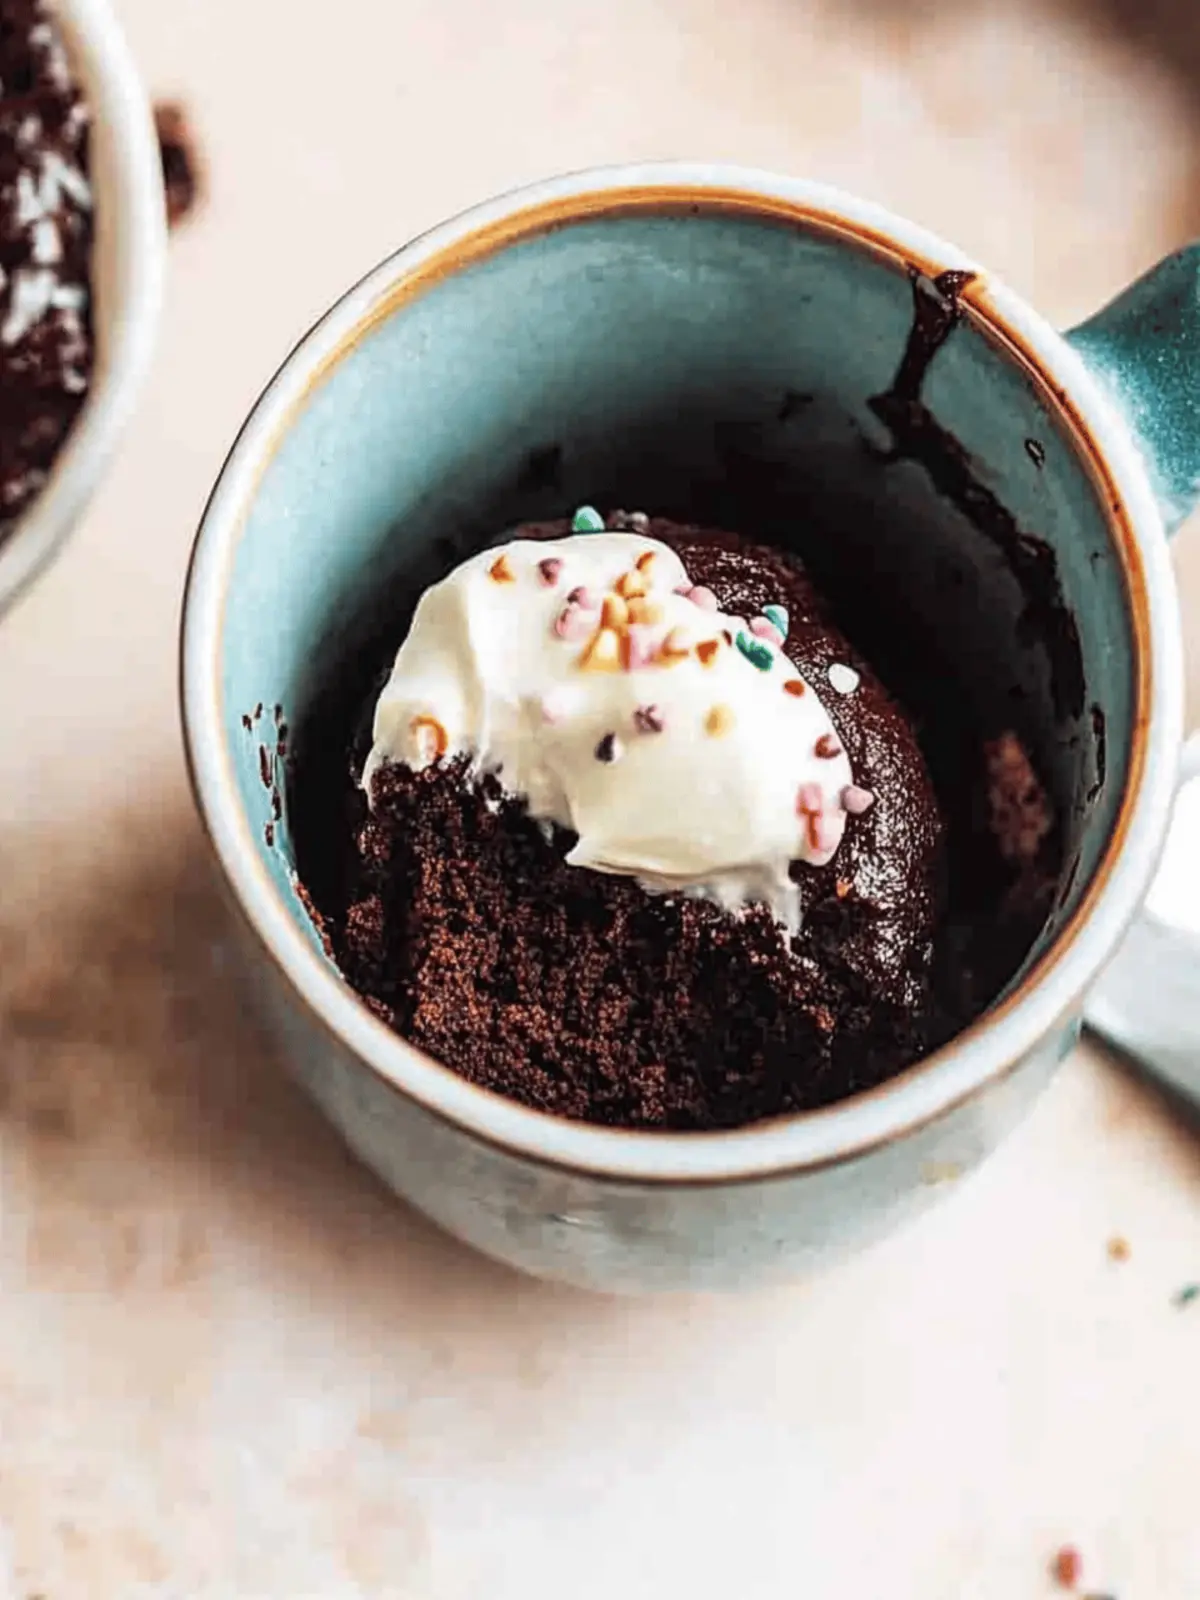
Tips for the Best Chocolate Cookies
-
Room Temperature Ingredients: Ensure all ingredients are at room temperature to achieve a consistent and velvety cookie dough.
-
Gentle Mixing: Avoid overmixing the dough which can lead to tough cookies. Mix just until combined for that tender texture we adore.
-
Perfect Baking Time: Keep a close eye on your cookies while baking. Slightly underbaking them will result in a soft, gooey center that enhances their fudgy experience.
-
Cooling Tip: Allow the cookies to cool on the baking sheet before transferring them. This prevents them from breaking apart and helps maintain their shape.
-
Chocolate Boost: For an extra chocolatey experience, consider adding chocolate chips into the dough before baking. Your taste buds will thank you!
-
Storage Made Easy: Store any leftover cookies in an airtight container for up to five days to keep them fresh and delicious, or freeze for a longer treat!
Storage Tips for Chocolate Cookies
- Room Temperature: Store your chocolate cookies in an airtight container for up to 5 days. This keeps them fresh and chewy, ready to enjoy at a moment’s notice.
- Freezer: For longer storage, freeze your cookies in a single layer on a baking sheet, then transfer to an airtight container for up to 3 months. Just thaw and enjoy, or pop them in the microwave for a warm treat!
- Reheating: When you’re ready to indulge, reheat cookies in the microwave for about 10-15 seconds. This revives their soft, fudgy texture and brings back that delightful warmth.
- Avoid Sticking: If stacking cookies in a container, place parchment paper between layers to prevent sticking—this ensures every bite stays perfect!
What to Serve with Chocolate Cookies?
After baking these delightful cookies, it’s time to think about what to pair with them to create a truly indulgent experience.
-
Cold Glass of Milk: The classic pairing! The cool, creamy texture cuts through the sweetness of the cookies, enhancing their rich chocolate flavor.
-
Vanilla Ice Cream: A scoop of vanilla ice cream melting over warm cookies is pure bliss. The creaminess and vanilla notes perfectly complement the fudgy texture.
-
Fresh Strawberries: Juicy, fresh strawberries offer a burst of fruity sweetness that beautifully contrasts the deep chocolate. A perfect way to add a refreshing touch!
-
Espresso or Coffee: Sip on a rich espresso or a cup of coffee to bring out the complex flavors of chocolate. The warmth balances the sweetness, creating a delightful experience.
-
Chocolate Sauce Drizzle: For true chocolate lovers, drizzle a bit of warm chocolate sauce on top. This adds an extra layer of decadence that is utterly irresistible.
-
Nutty Garnish: Sprinkle toasted nuts, like walnuts or pecans, for a crunch that complements the soft, chewy cookies. The earthy flavor adds depth and richness.
Experimenting with these pairings not only elevates your cookie experience but turns every bite into a moment of joy!
Chocolate Cookie Variations
Feel free to get creative with these chocolate cookies and customize them to suit your taste buds!
- Triple Chocolate: Mix in chocolate chips, use chocolate milk, and drizzle with chocolate syrup for a decadent treat.
- Peanut Butter Swirl: Substitute half the butter with creamy peanut butter for a delightful nutty twist that pairs beautifully with chocolate.
- Mint Chocolate: Add a few drops of mint extract to the dough for a refreshing minty flavor that will transport you to a chocolate mint paradise.
- Spicy Kick: Sprinkle in a pinch of cayenne pepper or chili powder for an unexpected, exciting heat that elevates the chocolate experience.
- Nutty Crunch: Fold in chopped nuts like walnuts or pecans for added texture and a hearty crunch that perfectly complements the soft cookies.
- Dried Fruit Delight: Toss in some dried cranberries or cherries for a fruity contrast that adds a burst of flavor with every bite.
- Zesty Lemon: Grate some lemon zest into the dough to provide a bright note that balances the sweetness of the chocolate.
- Coconut Bliss: Stir in sweetened shredded coconut for a tropical twist that brings a chewy texture and delightful flavor to your cookie jar.
Make Ahead Options
These 4-Ingredient Chocolate Cookies are perfect for meal prep, allowing you to enjoy them fresh while saving time on busy days! You can prepare the cookie dough up to 24 hours in advance; just mix all the ingredients and refrigerate it in an airtight container. This helps maintain the cookies’ soft texture and rich flavor. When you’re ready to bake, simply scoop the chilled dough onto a lined baking sheet and follow the normal baking instructions. For longer storage, you can freeze the cookie dough for up to 3 months. Just thaw it overnight in the refrigerator before baking, ensuring deliciously fresh cookies whenever the craving strikes!
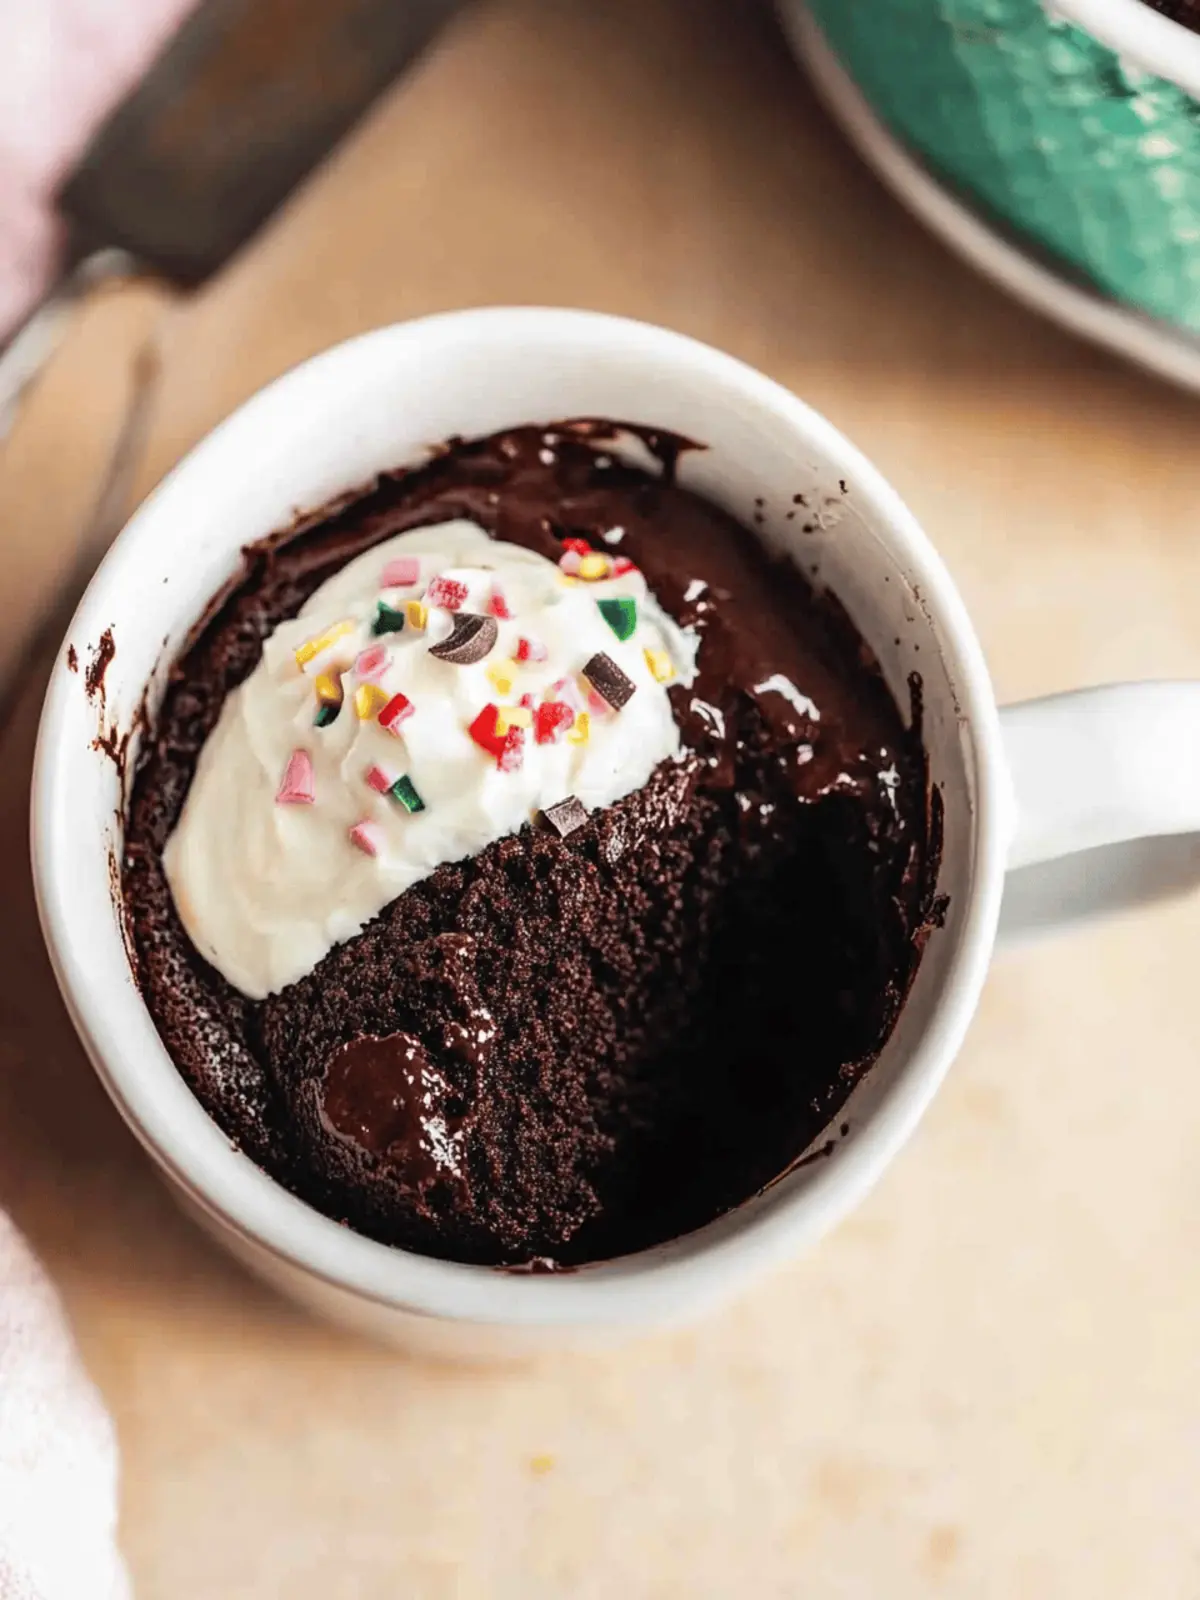
4-Ingredient Chocolate Cookies Recipe FAQs
How do I choose the best ingredients for these cookies?
Absolutely! For the melted butter or oil, I recommend using fresh, high-quality options to ensure a rich flavor. Look for no dark spots or strong smells in your butter, and for oils, opt for light olive or vegetable oil. When selecting cocoa powder, ensure it’s unsweetened—this makes a big difference in the cookie’s overall sweetness and flavor.
What’s the best way to store my cookies?
Very simple! Store your chocolate cookies in an airtight container at room temperature for up to 5 days. This keeps them fresh and delicious. If you won’t finish them in that time, freezing is a fantastic option. Just ensure they’re in a single layer on a baking sheet until frozen, then transfer to an airtight container or freezer bag. They can last up to 3 months!
Can I freeze the dough for later use?
Absolutely! To freeze your cookie dough, scoop the rounded tablespoon amounts onto a lined baking sheet as you would for baking. Freeze until firm, then transfer to a freezer-safe container. You can store the frozen dough for up to 2 months! When you’re ready to bake, simply preheat your oven and bake directly from frozen, adding an extra minute or two to the baking time.
What can I do if my cookies are too hard or dry?
To achieve that perfect balance, monitoring your baking time is crucial. If your cookies turn out hard or dry, they may have been in the oven for too long. Consider reducing the time by 1-2 minutes on your next batch. Also, make sure to check that your oven temperature is accurate; using an oven thermometer can help!
Are these cookies safe for pets or people with allergies?
These cookies contain ingredients like butter, sugar, and chocolate, which are not safe for pets and can be problematic for individuals with certain allergies. If anyone has allergies, especially to gluten or dairy, I suggest substituting with dairy-free butter and gluten-free flour. Always double-check ingredient labels for allergens, and consult with a doctor if there’s any concern.
Can I use different types of sweeteners?
Definitely! While this recipe calls for white sugar for its sweetness and texture, you can experiment with alternatives like coconut sugar or honey. If you choose to use liquid sweeteners like honey or maple syrup, reduce the amount of milk slightly to maintain the right dough consistency. Just remember that these alternatives may subtly change flavor and texture, but the more, the merrier when it comes to experimenting!
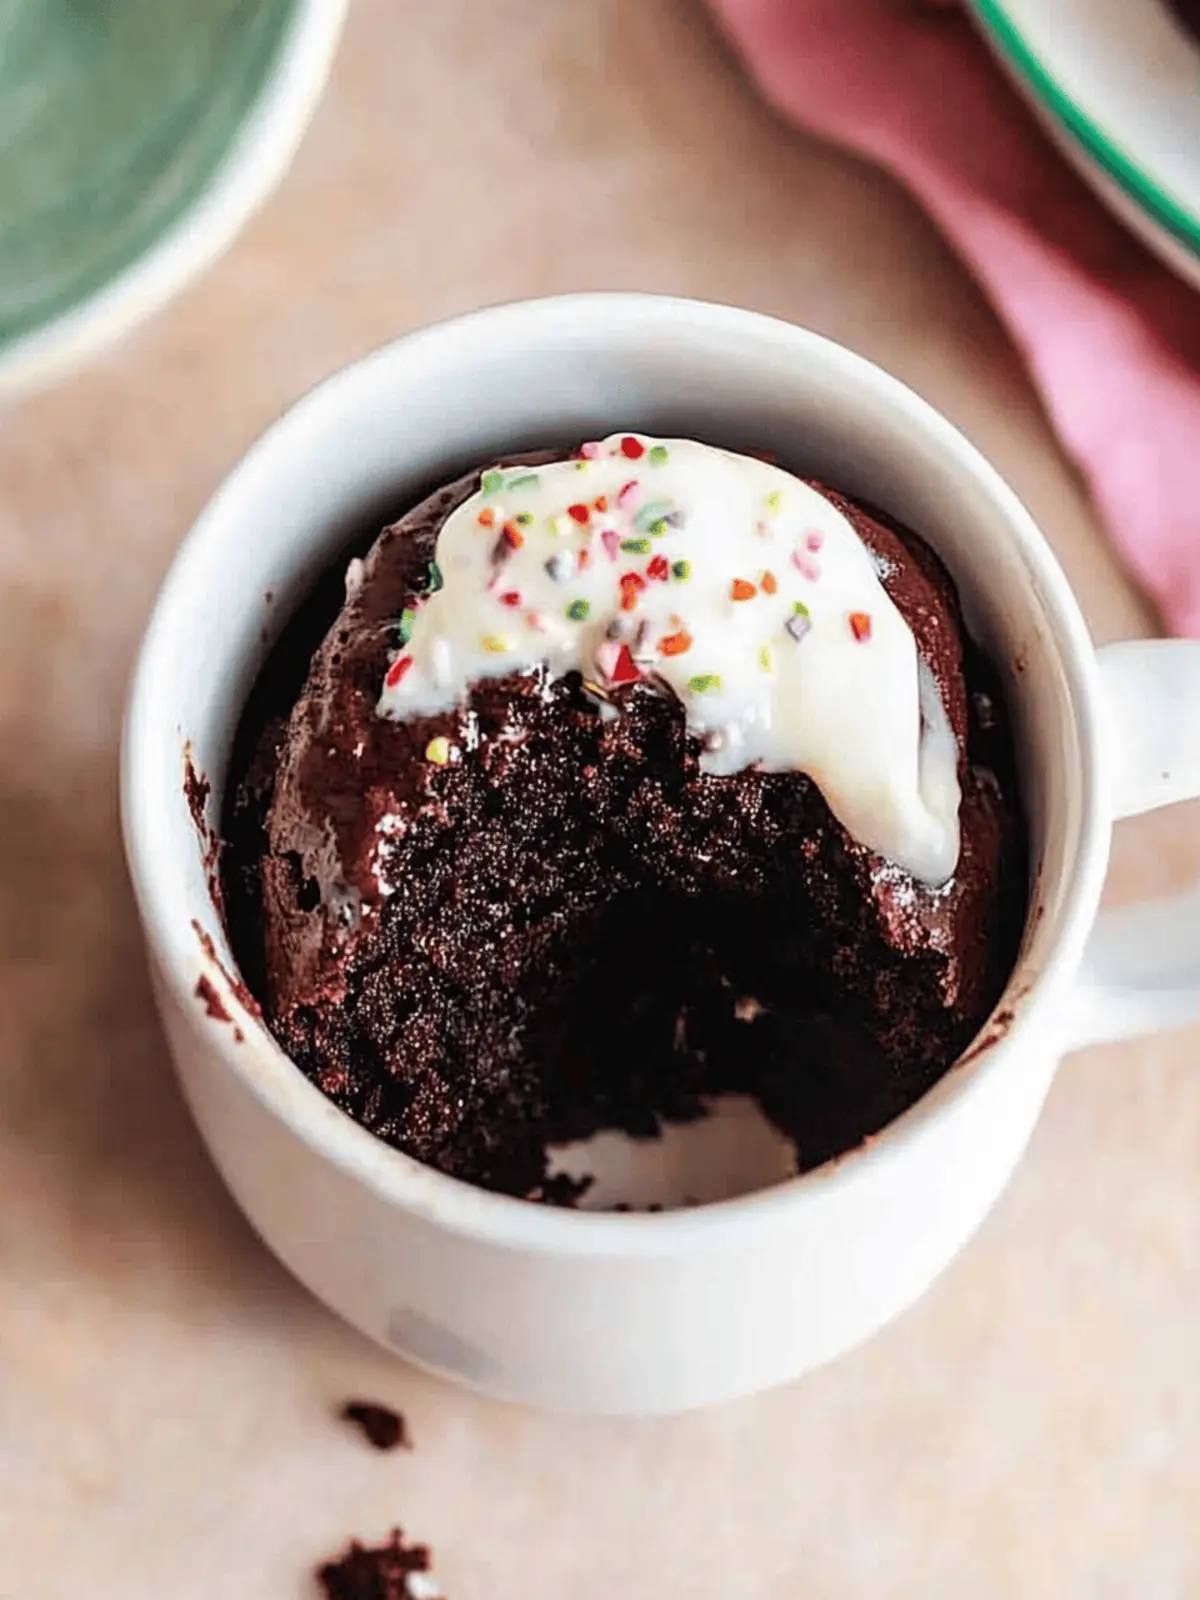
Microwave Chocolate Mug Brownie in 5 Minutes of Bliss
Ingredients
Equipment
Method
- In a mug, mix the flour, sugar, cocoa powder, vegetable oil, milk, vanilla extract, and salt until smooth.
- Microwave on high for 1 minute or until the brownie has risen and is set in the middle.
- Let it cool for a minute before indulging in your delicious chocolate mug brownie.

